Low-carbon steel turns up almost everywhere in manufacturing. It’s cheap, it machines well, and welding it is rarely a headache. But there’s a catch. On its own, the stuff is just too soft to stand up to wear. That’s the problem case hardening was built to solve.
The idea is simple enough. You build a tough, wear-resistant skin on the outside of the part while leaving the inner core soft and ductile. For components that take constant abuse—gears, shafts, fasteners grinding away under load—this matters a great deal. This guide walks through what low-carbon steel actually is, how to case harden it across seven steps on how to case harden low carbon steel parts, and the safety habits and small refinements that tend to separate a clean result from a frustrating one.
Understanding Low Carbon Steel
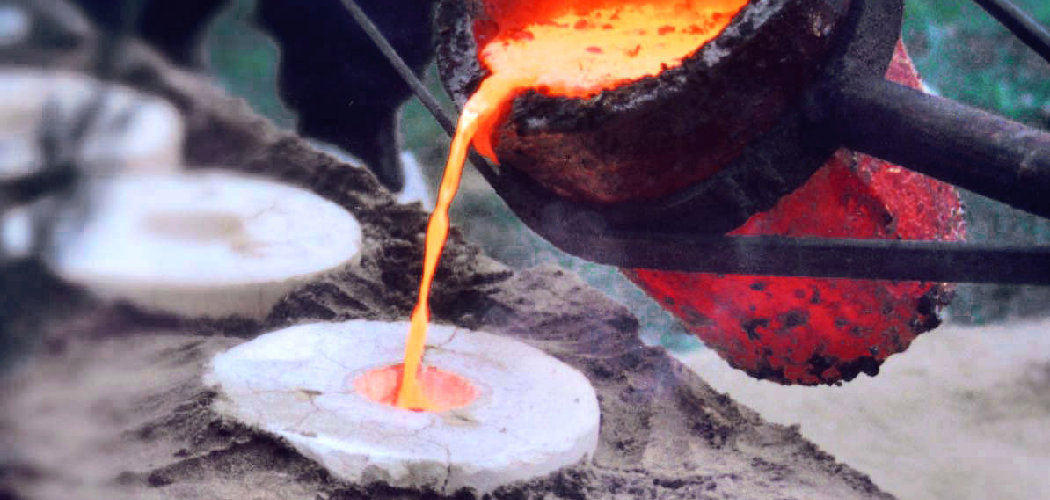
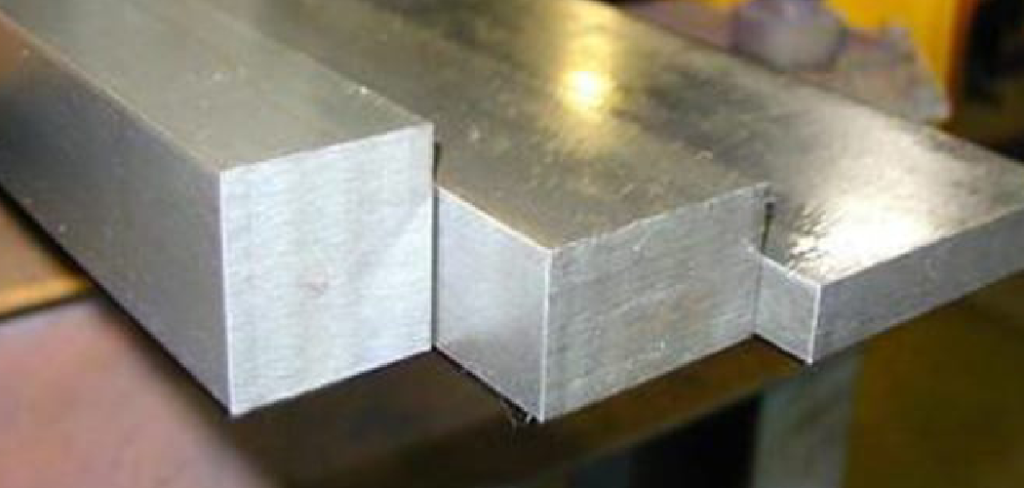
Low-carbon steel, which most people just call mild steel, holds somewhere around 0.05% to 0.25% carbon by weight. That low-carbon figure is what makes it soft and easy to bend into shape, which explains why you’ll find it in car bodies, construction beams, and a thousand other places.
Durability is where it falls short. It simply doesn’t carry enough carbon to harden through conventional heat treatment, so it wears down fast under friction and stress. Picture a gear cut from untreated mild steel—it would grind itself smooth before long, and you’d be back to square one.
Case hardening gets around this by adding carbon to the surface layer alone. Heat the steel inside a carbon-rich environment and carbon atoms slowly migrate into the outer skin. Quench it afterward, and that thin surface turns hard and wear-resistant while the core stays soft enough to soak up shocks without cracking. You end up with a hard shell and a forgiving center, which is roughly the ideal arrangement for parts that get knocked around.
7 Step-by-step Guidelines on How to Case Harden Low Carbon Steel Parts
Work through these steps on how to case harden low carbon steel parts with some care, and you should get an even, durable hardened surface on your parts.
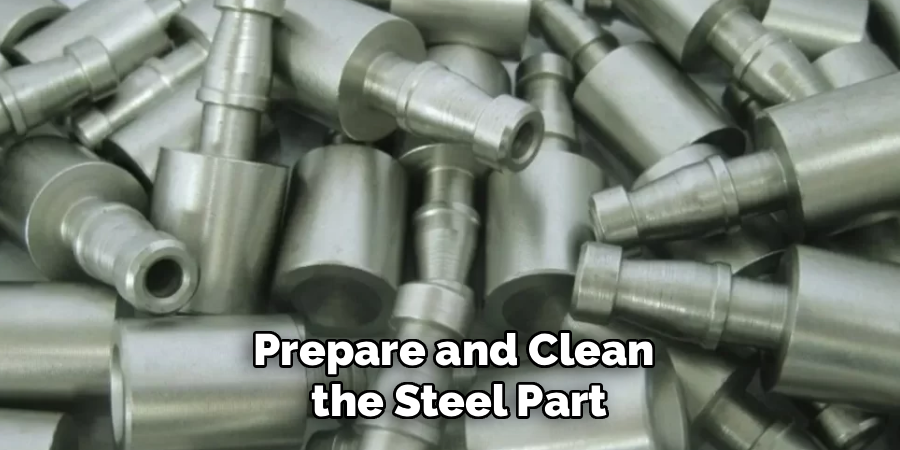
Step 1: Prepare and Clean the Steel Part
Nothing happens until the part is clean. Really clean. Oil, grease, leftover paint, rust—any of these will get in the way of carbon absorption and leave you with patchy results.
Wipe the part down with a degreaser first to lift off any oily film. Stubborn rust or scale calls for sandpaper, a wire brush, or a chemical rust remover, whatever it takes to get back to bright bare metal. After that, keep your bare hands off it. Skin oils leave marks that can throw off the process more than you’d expect. Gloves or clean tools only, from here on out.
Step 2: Gather the Right Materials and Equipment
You need two things above all: a carbon-rich compound and a heat source you can trust. The usual compound is a commercial case hardening powder, which carries carbon and nitrogen that bond to the steel’s surface during heating.
Beyond that, you’ll want a propane torch, forge, or kiln that can climb to around 1,650°F (900°C). Sort out your quenching medium too—water or oil, depending on what the compound’s instructions call for. Lay out your safety gear, metal tongs, a heat-resistant surface, and a steel container before you light anything. Getting everything within arm’s reach ahead of time keeps the whole job moving once the metal is glowing and there’s no spare moment to go hunting for tongs.
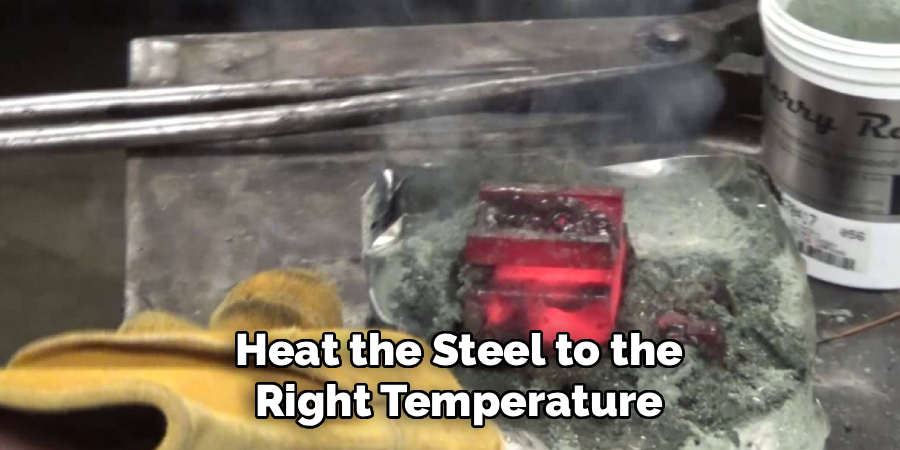
Step 3: Heat the Steel to the Right Temperature
Set your clean part in the forge, or run the torch evenly across it. What you’re after is a bright cherry-red glow, the visual cue that the steel has hit the critical temperature where carbon absorption can happen.
Bring the heat up slowly and steadily. Rush it, and you risk warping or cracking, plus uneven heating tends to seed weak spots in the finished layer. Watch the color like a hawk, because temperature control really is the whole ballgame here. Too cool and the carbon never penetrates. Too hot and you may damage the steel’s internal structure. Hold the heat steady once the part glows the same shade across its full surface.
Step 4: Apply the Case Hardening Compound
With the steel at temperature, carbon comes next. Dip or roll the glowing part into your case hardening powder, taking care that the compound coats every face evenly.
The powder bubbles and clings to the hot metal as carbon starts working its way into the surface. Want a deeper case? Return the part to the heat and repeat the coating a few times. Each pass feeds more carbon into the outer layer. Move quickly here, though never carelessly, and always handle the part with tongs. The more thoroughly that compound wraps the steel, the more uniform your hardened case is likely to turn out.
Step 5: Reheat the Coated Steel
Once the compound is on, send the part back to the heat. This second heating lets the carbon soak fully into the surface layer, which deepens the hardened zone.
Keep that bright cherry-red color steady and hold it for several minutes. Longer time at heat means deeper carbon penetration, though only up to a point. For most small parts, a few minutes do the job. Turn the part now and then so that no single area runs hotter than the rest. How even and durable your final surface ends up is tied directly to how consistent you are at this stage.
Step 6: Quench the Steel Rapidly
Quenching is what locks in everything you’ve built. Grab the hot part with tongs and plunge it into your quenching medium—water or oil—in one smooth motion, no hesitation.
That sudden cooling converts the carbon-rich surface into a hard, wear-resistant layer. Swirl the part around in the liquid so it cools evenly and you don’t leave soft spots behind. Mind the steam and splashing, which can catch you off guard. Stick to what the compound’s instructions say about water versus oil. Pick the wrong one and you might crack the part or fail to harden it at all. A fast, clean quench tends to make or break the result.
Step 7: Clean and Inspect the Finished Part
After the part has cooled all the way through, pull it from the quenching medium and clear off any compound residue. A wire brush handles scale and burnt powder well enough.
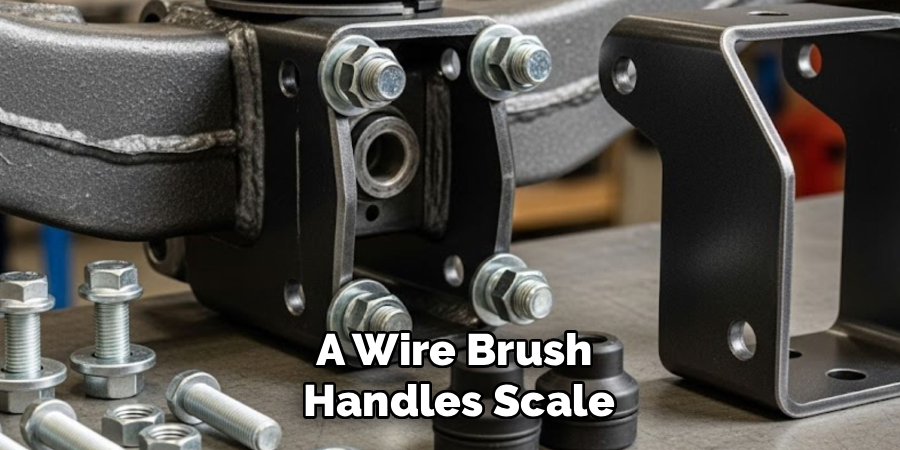
Then look it over for an even, hardened finish. A file makes a quick test—if it skates across the surface without biting in, the hardening took. Check for cracks, warping, or soft patches that might mean reprocessing. If the result looks uneven, running the hardening cycle again is always an option. A careful inspection here is what tells you whether the part will hold up where it counts.
Following these steps on how to case harden low carbon steel parts, you will be able to achieve the desired hardness for your specific application needs.
Safety Considerations
Extreme heat and chemical compounds are part of this job, so safety isn’t negotiable. Wear heat-resistant gloves, safety goggles, and a flame-resistant apron to guard against burns and the splashing that comes with quenching.
Ventilation matters more than people assume, since these compounds give off fumes when heated. A respirator or mask earns its keep here. Keep a fire extinguisher close and clear the area of anything flammable before you start. Don’t quench hot metal near other people, and use long tongs so you’re holding steam and sparks at a comfortable distance.
Common Mistakes to Avoid
Skipping the cleaning step is probably the most common slip, and it leads straight to patchy, uneven hardening—carbon just won’t bond to a dirty surface. Uneven heating is another one that quietly creates weak spots and warping.
Rushing the quench, or reaching for the wrong quenching medium, can crack the steel outright or leave it soft where you needed it hard. Plenty of beginners also cut the heating time short and end up with a thin, fragile case. And then there’s the safety gear. Treating protective equipment as optional puts you at real risk, full stop.
Industrial Applications
Case hardening shows up across a surprising range of industries, anywhere that durable, wear-resistant parts are non-negotiable. In automotive work, it hardens gears, camshafts, and crankshafts that live under constant friction and load. Aerospace leans on it for components that need a hard surface paired with a tough interior.
Manufacturing plants case-harden tools, dies, and machine parts to stretch their working life. Agriculture hardens plow blades and cutting edges that chew through abrasive soil day after day. Even humble fasteners, nuts, bolts, and hinges pick up the surface durability they need to survive years of wear. That kind of range is what keeps the process so useful to modern industry.
Best Practices for Better Results
Consistency drives good case hardening more than anything else. Heat your parts evenly and steer clear of hot spots that throw off the outcome. Spending a little more on a quality compound makes a real, visible difference in surface hardness and finish.
Keep notes on your temperatures, timing, and quenching methods. It’s an unglamorous habit, but it lets you repeat what worked and learn from what didn’t. For a deeper case, run several coating and heating cycles rather than trying to force it in one go. Test every finished part with a file before you trust it in service. And match your quenching medium to the specific compound and steel you’re working with, because that single choice can swing the whole result. Patience tends to pay off here in ways that shortcuts never quite do.
Frequently Asked Questions
How Deep Does Case Hardening Penetrate Low Carbon Steel?
Case hardening usually produces a hardened layer somewhere between 0.005 and 0.030 inches deep, which depends on the process and how long the steel sits in contact with carbon. For most home and small-scale work using case hardening powder, the layer leans toward the thinner end. Deeper cases call for longer heating and several coating cycles. Industrial methods like gas carburizing can push much further, sometimes past 0.050 inches, by holding controlled temperatures steady over several hours.
Can You Case Harden Steel at Home Without Special Equipment?
You can, at least for small parts. A propane torch, a commercial case hardening compound, and a quenching medium are often all a hobby project or small component needs. The real challenge is reaching and holding the correct temperature, which a basic torch struggles with on anything large. For consistent results on bigger or critical parts, a forge or kiln gives you far better temperature control and more even heating.
How Long Does Case-Hardened Steel Last?
That depends on the job, the depth of the hardened layer, and the conditions the part faces. Under normal use, a well-hardened surface can hold up for years, shrugging off wear and friction in a way untreated mild steel never could. The catch is that the case is relatively thin, so heavy abrasion or grinding may eventually cut through it. Once the soft core is exposed, the part loses its protective skin and likely needs reprocessing or replacement.
Final Thoughts
Case hardening takes ordinary low-carbon steel and gives it a durable, wear-resistant surface without giving up the toughness that made mild steel worth using in the first place. Follow the seven steps laid out here—cleaning, gathering materials, heating, applying compound, reheating, quenching, and inspecting—and you can harden parts effectively, whether you’re in a full workshop or working out of a corner of the garage.
In the end, results come down to preparation, temperature control, and a willingness to be consistent from one part to the next. Take your time, put safety ahead of speed, and keep notes so each project sharpens your technique a little more. Stick with it, and you’ll be turning out parts that pair a hard surface with dependable performance for years. Thanks for reading this guide on how to case harden low carbon steel parts.

About
Stuart Rich is a distinguished figure in the world of metalworking and fabrication, with a decade of expertise creating innovative and sustainable metal projects. His professional focus lies in merging traditional blacksmithing and machining with modern manufacturing techniques, fostering designs that are both practical and durable. As the author of Metalenify, Stuart Rich delves into the art and science of metallurgy and DIY metal creation, inspiring artisans, hobbyists, and industry professionals alike.
Education
RMIT University
(Melbourne, Australia)
Associate Degree in Engineering Technology (Mechanical / Manufacturing)
Focus on metallurgical properties, industry-driven projects, and practical metal craftsmanship. Gained hands-on experience with traditional machining and digital manufacturing tools, such as CAD, CNC software, and precision welding equipment.
Nottingham Trent University
(United Kingdom)
Bachelor’s in Product Design and Materials Engineering (Honors)
Specialized in product design with a heavy focus on blending creativity with metal production and fabrication techniques. Participated in real-world industry projects, collaborating with architectural and hardware manufacturing companies to optimize material efficiency.
Publications and Impact
In Metalenify, Stuart Rich shares his insights on structural metal design processes, material grades, and strategies for efficient shop production. His writing bridges the gap between raw artisan knowledge and modern industrial needs, making it a must-read for both budding DIY metalworkers and seasoned fabrication professionals.