Pennies are more than just pocket change. Since 1982, the U.S. penny has been made mostly of zinc, with only a thin copper coating on the outside. In fact, modern pennies contain about 97.5% zinc and just 2.5% copper. That makes them a surprisingly interesting source of metal for hobbyists, science enthusiasts, and curious minds who enjoy hands-on experiments.
Separating zinc from melted pennies is a fascinating project that blends chemistry, metallurgy, and a bit of patience. When you melt a penny, the copper and zinc behave very differently because they have different melting points.
This guide on how to separate zinc from melted pennies is meant for educational purposes, and you should always prioritize safety. Let’s walk through the benefits, the tools you’ll need, and the step-by-step process to do this the right way.
What are the Benefits?
Why would anyone want to separate zinc from melted pennies? Beyond the simple thrill of the experiment, there are several real benefits worth knowing about.
- Learning real chemistry and physics. This project teaches you about melting points, boiling points, and how different metals react to heat. It’s a hands-on way to understand metallurgy concepts that textbooks only describe in theory.
- Recovering usable zinc. Zinc is a valuable metal used in batteries, galvanizing, and alloys. Recovering it teaches recycling principles, even if the amounts are small.
- Understanding coin composition. Many people don’t realize their pennies are mostly zinc. This project reveals what everyday objects are actually made of.
- Building practical skills. You’ll practice handling heat sources, using protective equipment, and working with molten metal safely. These skills carry over to other DIY and crafting hobbies.
- A satisfying science demonstration. If you teach or mentor young learners, this makes a memorable demonstration about elements and their unique properties.
In short, the value here is mostly educational. You won’t get rich melting pennies, but you’ll gain a deeper appreciation for materials science.
What Will You Need?
Gathering the right gear is essential before you start. Working with molten metal is no joke, so don’t skip any of the safety items.
Materials:
- A handful of post-1982 pennies (these are mostly zinc)
- A clean, dry crucible (graphite or ceramic works well)
- A mold or container to pour molten zinc into
Heat Source:
- A propane torch or a small foundry furnace capable of reaching at least 800°F (427°C)
Safety Equipment:
- Heat-resistant gloves (leather or welding gloves)
- A face shield or safety goggles
- A respirator rated for metal fumes
- A heavy apron made of leather or other flame-resistant material
- Sturdy closed-toe boots
Tools:
- Long metal tongs or pliers
- A steel skimming spoon or ladle
- A fire extinguisher rated for metal or general fires
- A non-flammable work surface, like a steel table or concrete slab
Workspace:
- A well-ventilated outdoor area or a space with strong exhaust ventilation
Once you have everything ready, double-check that your work area is clear of clutter and flammable materials. Now you’re set to begin.
10 Easy Steps on How to Separate Zinc From Melted Pennies
Step 1: Gather and Sort Your Pennies
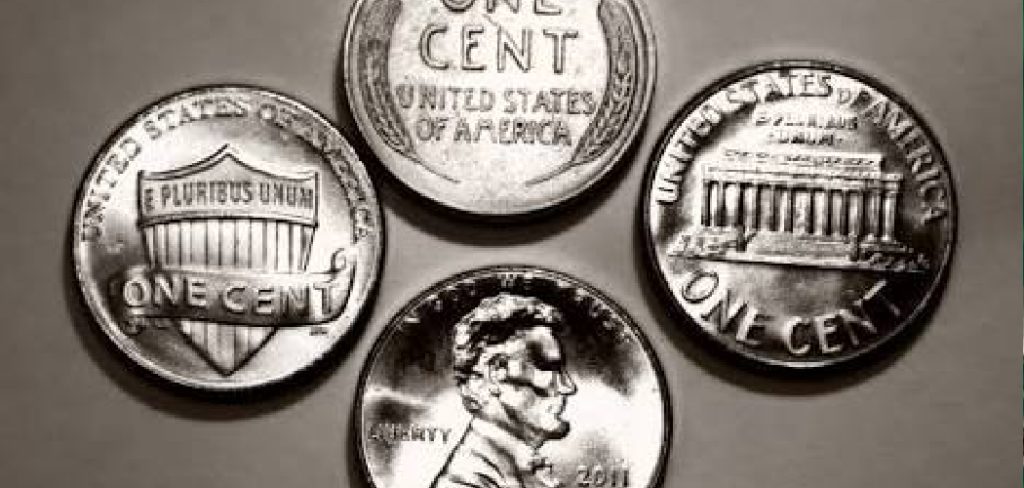
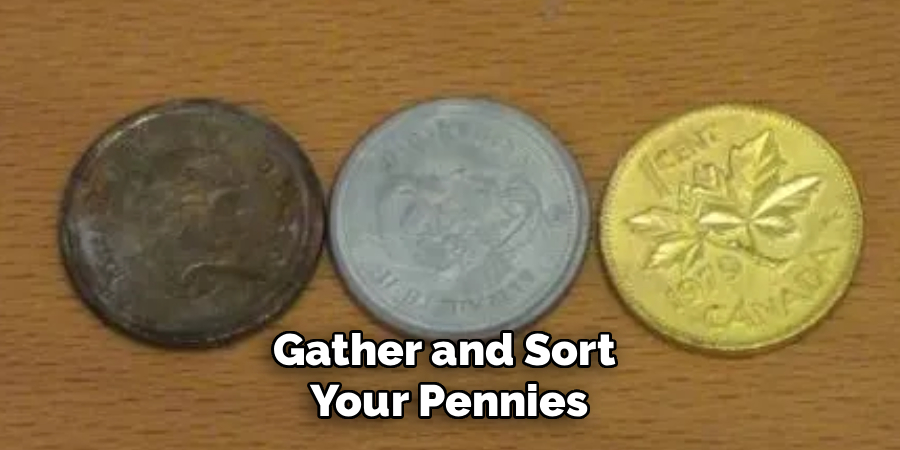
Start by collecting your pennies and checking their dates. Only pennies minted in 1983 or later are made primarily of zinc. Pennies from before 1982 are nearly all copper, and 1982 itself is a mix of both types. Sorting carefully ensures you’re working with the right material. Wipe each penny clean to remove dirt, grease, or sticky residue. Clean coins melt more evenly and produce fewer impurities in your final zinc. Set your sorted pile aside in a dry container.
Step 2: Set Up a Safe Workspace
Choose an outdoor location or a workshop with powerful ventilation. Zinc fumes are toxic, so airflow is non-negotiable. Lay down a non-flammable surface such as a steel sheet or concrete block. Keep your fire extinguisher within arm’s reach and clear away anything that could catch fire. Position your mold nearby so you can pour quickly once the metal is molten. A tidy, organized space reduces the chance of accidents when you’re handling hot materials.
Step 3: Put On Your Protective Gear
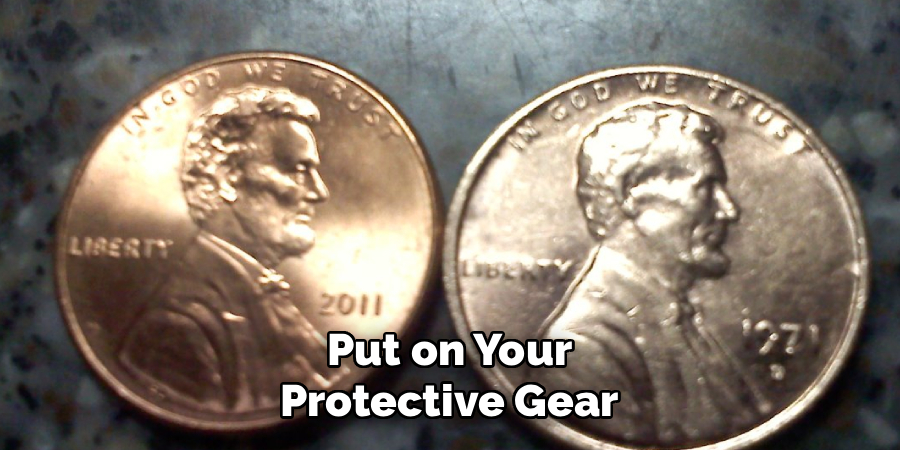
Before lighting any torch, suit up completely. Wear your heat-resistant gloves, face shield, flame-resistant apron, and closed-toe boots. Most importantly, put on a respirator rated for metal fumes. Regular dust masks won’t protect you from zinc vapor. Make sure no skin is exposed near your hands and forearms, where splashes are most likely. Taking these few minutes to gear up properly is the single most important safety step in the entire process.
Step 4: Heat the Crucible
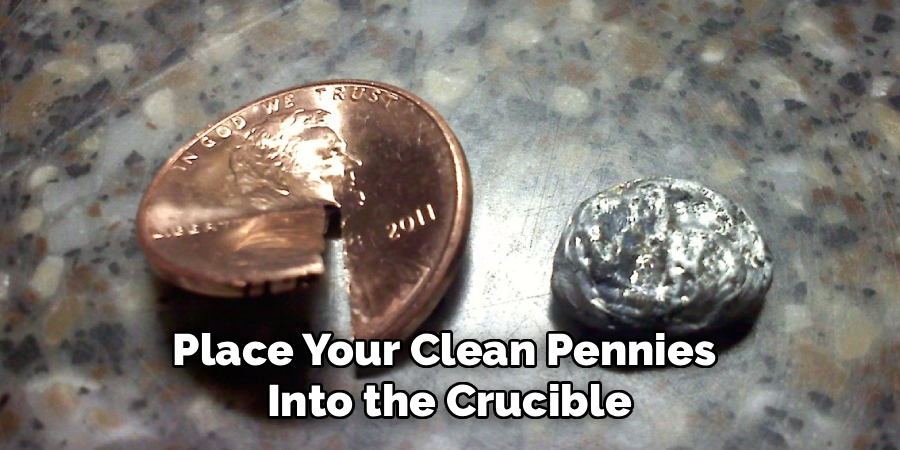
Place your clean pennies into the crucible. Light your propane torch or fire up your furnace and begin heating the crucible gradually. Don’t blast it with maximum heat right away, as sudden temperature changes can crack ceramic crucibles. Apply steady, even heat and watch the coins closely. Within a few minutes, you’ll notice the pennies starting to soften and slump as the zinc inside begins to warm toward its melting point.
Step 5: Melt the Zinc Core
Keep the heat steady until you reach around 800°F (427°C). At this temperature, the zinc inside the pennies liquefies while the copper coating, which melts at a much higher temperature, stays solid. This difference is exactly what makes the separation possible. You’ll see shiny liquid zinc pooling at the bottom of the crucible while the copper remains as thin, hollow shells. Be patient and avoid overheating, which can cause excessive fuming.
Step 6: Skim Off the Copper Shells
Once the zinc has melted out, the copper coatings will float or rest as flaky, hollow husks. Using your steel skimming spoon or ladle, gently scoop these copper shells off the surface of the molten zinc. Work slowly and carefully to avoid splashing. Set the copper pieces on a heat-safe surface to cool. This skimming step is what physically separates the two metals, leaving you with cleaner liquid zinc.
Step 7: Pour the Molten Zinc
With the copper removed, you’re ready to pour. Using your tongs, carefully lift the crucible and pour the molten zinc into your prepared mold. Pour in a smooth, controlled motion to avoid splatter. Keep your face and body angled away from the stream. Molten zinc cools relatively fast, so work steadily. If you’re making an ingot, a small steel or graphite mold works perfectly for shaping the recovered metal.
Step 8: Let Everything Cool Completely
Patience matters here. Allow the poured zinc and the leftover copper shells to cool fully before touching them. Molten metal stays dangerously hot long after it stops glowing. Depending on the amount, cooling can take 15 to 30 minutes or more. Resist the urge to speed things up with water, which can cause violent steam explosions. Let nature do the work and walk away until everything reaches a safe temperature.
Step 9: Remove and Inspect Your Zinc
Once cooled, pop the solidified zinc out of the mold. You should have a small chunk or ingot of recovered zinc with a dull, silvery-gray appearance. Inspect it for impurities or trapped copper bits. If you see contamination, you can remelt and skim again for a purer result. Compare the zinc to the copper shells you saved, and you’ll clearly see how the two metals separated based on their melting points.
Step 10: Clean Up and Store Safely
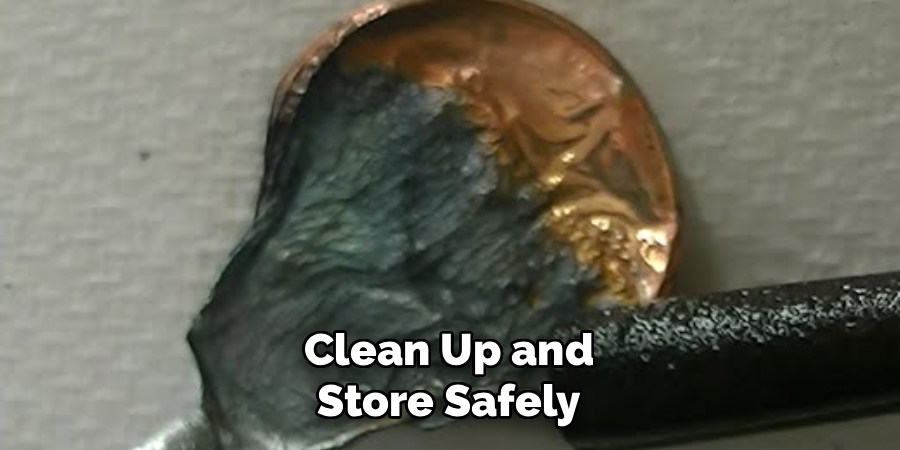
Finish by cleaning your workspace thoroughly. Let all tools cool, then store them properly. Dispose of any debris according to local guidelines, since metal waste shouldn’t go in regular trash. Store your recovered zinc and copper in labeled containers away from children and pets. Wash your hands and any exposed skin well, even though you wore gloves. A clean finish keeps your space safe and ready for your next project.
5 Things You Should Avoid
- Never work indoors without ventilation. Zinc fumes cause metal fume fever, a real illness with flu-like symptoms. Always work outside or with powerful exhaust airflow.
- Don’t skip the respirator. A cloth mask or dust mask will not stop toxic metal vapor. Use a proper respirator rated for fumes, every single time.
- Avoid adding water to molten metal. Pouring water on hot zinc can trigger violent steam explosions that fling molten metal everywhere. Always let metal cool naturally.
- Don’t overheat the metal. Pushing temperatures far past zinc’s melting point increases dangerous fuming and wastes material through evaporation. Keep your heat controlled and steady.
- Never melt coins with bare skin exposed. Molten metal splashes can cause severe burns instantly. Cover your arms, wear gloves, and use a face shield without exception.
Conclusion
How to separate zinc from melted pennies is a genuinely fascinating way to explore the hidden science inside everyday objects. By understanding that pennies are mostly zinc wrapped in a thin copper skin, and that these two metals melt at very different temperatures, you can carefully pull them apart with heat, patience, and the right tools.
The real reward here isn’t the small amount of zinc you’ll recover. It’s the deeper understanding of how metals behave, how melting points drive separation, and how careful safety practices make hands-on chemistry possible. Throughout the process, your protective gear, ventilation, and steady technique matter far more than speed.
With the steps and precautions outlined above, you now have a clear, complete roadmap. Stay safe, stay curious, and enjoy discovering what your spare change is really made of.

About
Stuart Rich is a distinguished figure in the world of metalworking and fabrication, with a decade of expertise creating innovative and sustainable metal projects. His professional focus lies in merging traditional blacksmithing and machining with modern manufacturing techniques, fostering designs that are both practical and durable. As the author of Metalenify, Stuart Rich delves into the art and science of metallurgy and DIY metal creation, inspiring artisans, hobbyists, and industry professionals alike.
Education
RMIT University
(Melbourne, Australia)
Associate Degree in Engineering Technology (Mechanical / Manufacturing)
Focus on metallurgical properties, industry-driven projects, and practical metal craftsmanship. Gained hands-on experience with traditional machining and digital manufacturing tools, such as CAD, CNC software, and precision welding equipment.
Nottingham Trent University
(United Kingdom)
Bachelor’s in Product Design and Materials Engineering (Honors)
Specialized in product design with a heavy focus on blending creativity with metal production and fabrication techniques. Participated in real-world industry projects, collaborating with architectural and hardware manufacturing companies to optimize material efficiency.
Publications and Impact
In Metalenify, Stuart Rich shares his insights on structural metal design processes, material grades, and strategies for efficient shop production. His writing bridges the gap between raw artisan knowledge and modern industrial needs, making it a must-read for both budding DIY metalworkers and seasoned fabrication professionals.