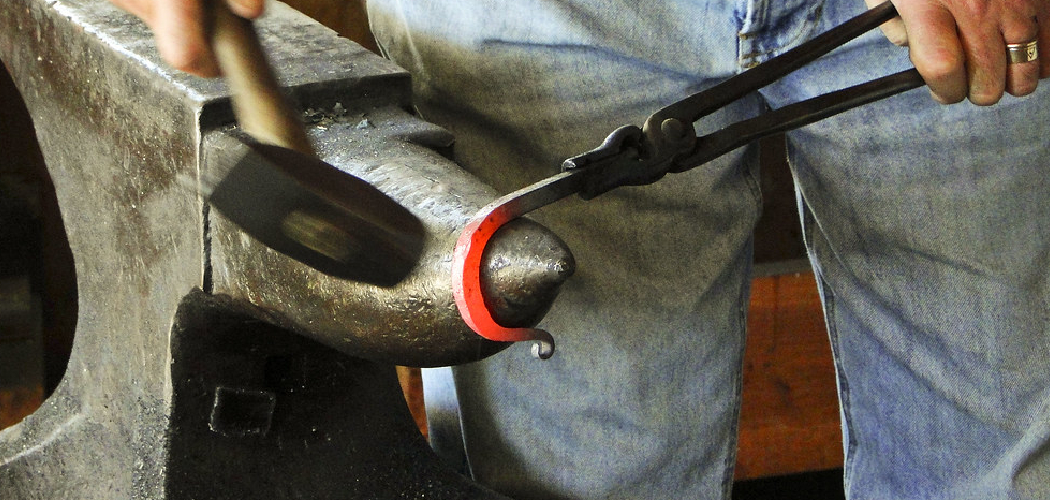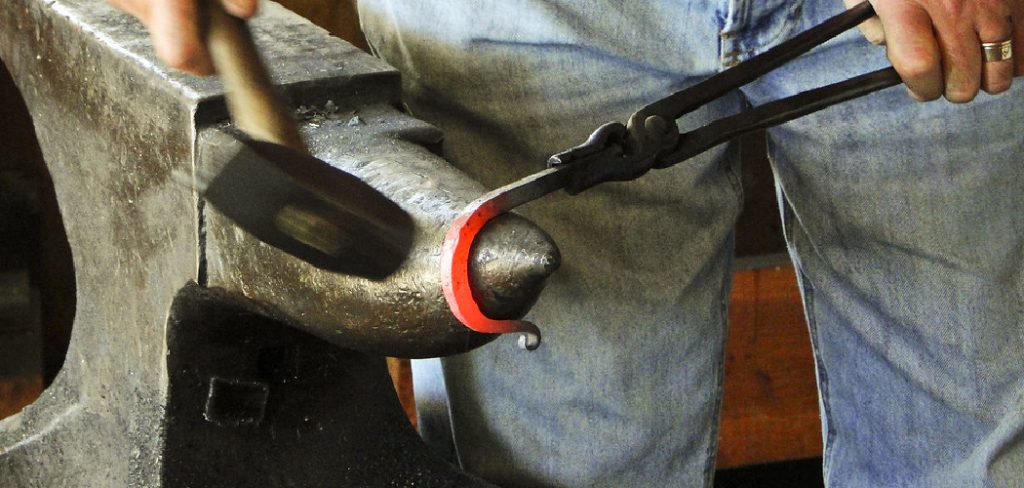
Drawing out steel is one of the most fundamental skills you’ll learn as a blacksmith. At its heart, the technique is simple: you make a piece of metal longer and thinner by hammering it. Think of it like rolling out dough, except your “rolling pin” is a hammer and your “dough” is glowing hot steel.
Whether you want to forge a knife blade, taper the end of a poker, or shape a hook, drawing out is the move you’ll reach for again and again. It looks deceptively easy when an experienced smith does it, but there’s real skill behind those rhythmic hammer blows.
In this guide on how to draw out steel on anvil, we’ll walk through everything you need to know to draw out steel on your anvil. Grab your hammer and let’s get started.
What Are the Benefits?
Learning to draw out steel opens up a whole world of forging possibilities. Here’s why it’s worth mastering.
- You build a foundational skill. Almost every forging project relies on drawing out at some point. Once you’ve got this technique down, picking up other methods like upsetting, bending, and tapering becomes much easier.
- You save money on materials. Instead of buying steel in dozens of different thicknesses, you can start with stock bar and shape it yourself. Drawing out lets you stretch a thick piece into a longer, thinner one, so you get more use out of every bit of metal.
- You gain precise control. With practice, you’ll learn to move metal exactly where you want it. This control means cleaner edges, smoother tapers, and pieces that need far less grinding and filing later.
- You develop hammer control and rhythm. Drawing out trains your arm, eye, and timing all at once. The muscle memory you build carries over into every other forging task you tackle.
- You create stronger work. Properly drawn-out steel keeps its grain structure aligned, which can make your finished pieces more durable. That matters a lot for tools and blades that take real use.
What Will You Need?
Before you fire up the forge, gather your equipment. Having everything ready makes the work safer and far less frustrating.
- An anvil
- A forge
- Steel stock
- A cross-peen hammer
- Tongs
- Safety gear
- A wire brush
- A bucket of water
- A leg vise (optional)
Once you have these on hand, you’re ready to begin.
10 Easy Steps on How to Draw Out Steel on Anvil
Step 1: Prepare Your Workspace and Safety Gear
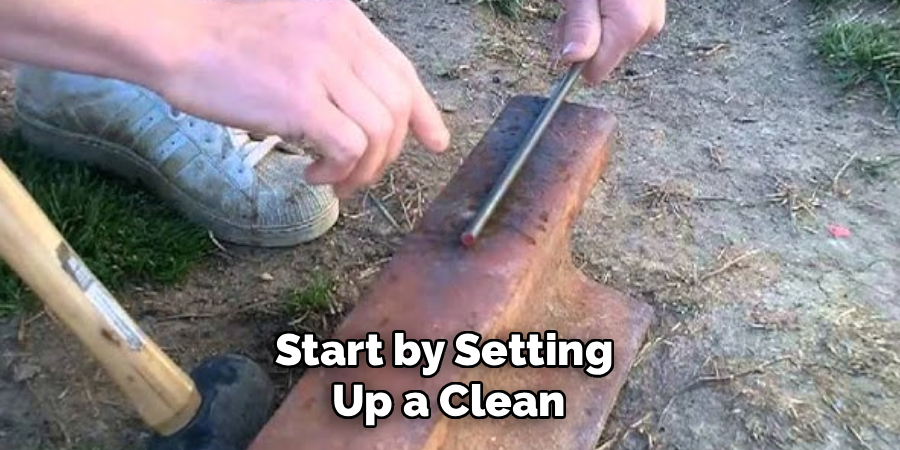
Start by setting up a clean, organized work area. Keep your tongs, hammer, and brush within easy reach so you’re not scrambling mid-task. Put on your safety glasses, leather apron, and ear protection before you light the forge. Make sure the floor around your anvil is clear of trip hazards. A tidy space isn’t just about comfort; it keeps you safe when you’re handling glowing metal. Position your anvil at the right height too. When you stand next to it, the face should sit at about knuckle height with your arm hanging loose. This height saves your back and gives you better hammer control.
Step 2: Heat the Steel to Forging Temperature
Place your steel in the forge and bring it up to a bright orange or yellow-orange color, roughly 1,800 to 2,200°F. This is the sweet spot where steel moves easily under the hammer. Avoid working steel that’s too cool, shown by a dull red glow, because cold steel resists shaping and can crack. Watch the color carefully and let the heat soak into the metal evenly. A good even heat means the steel will draw out smoothly rather than bunching up in spots. If your piece is long, focus heat on the section you plan to work first.
Step 3: Position the Steel on the Anvil
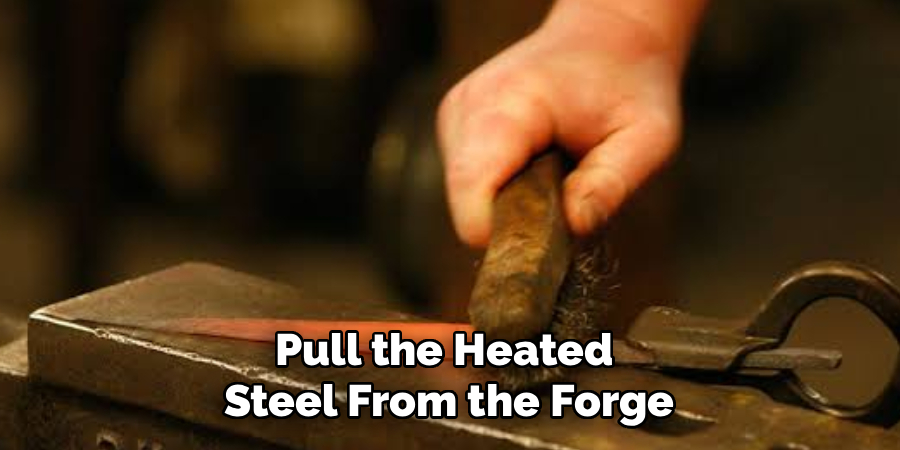
Pull the heated steel from the forge with your tongs and lay it flat across the anvil face. Grip the tongs firmly but stay relaxed in your shoulders. Position the part you want to draw out over the solid section of the anvil, not over the hardy hole or the edge. Hold the steel at a slight angle if you want to work the tip, but keep it flat for general thinning. Your free hand controls the steel while your dominant hand swings the hammer. Make sure you have a stable, comfortable stance before your first blow.
Step 4: Strike with the Cross-Peen Hammer
Now the real drawing begins. Turn your hammer so the peen edge runs across the width of the steel, then strike firm, even blows. The peen pushes metal lengthwise, stretching the piece much faster than a flat-faced strike alone. Work in a steady rhythm rather than swinging as hard as you can. Controlled, consistent hits move metal better than wild, heavy ones. Move along the section you’re drawing, spacing your blows evenly. You’ll see the steel start to lengthen, and the peen will leave ridges across the surface. That’s exactly what you want at this stage.
Step 5: Flatten the Peen Marks
After you’ve stretched the steel with the peen, flip your hammer to the flat face. Now hammer over those ridges to smooth them out. This flattens the bumps the peen created and pushes the metal even longer. Keep your blows even and rotate the steel as needed so both sides stay uniform. This alternating process, peen then flatten, is the core rhythm of drawing out. Each cycle makes the piece longer and thinner while keeping its shape clean.
Step 6: Rotate the Steel for Even Drawing
To keep your piece square and even, rotate it 90 degrees regularly as you work. If you only hammer one face, the steel spreads sideways and loses its shape. By turning it and working all four sides, you draw out the length while controlling the width. Check your progress often. Look down the length of the bar to spot any twists or bulges. Rotating consistently is the secret to a clean, even taper or a uniform thinner section.
Step 7: Maintain Working Temperature
Steel cools fast once it leaves the forge, usually within 30 to 60 seconds of hammering. The moment your steel fades to a dull red, stop and reheat it. Working cold steel wastes effort and risks cracking your piece. Don’t try to squeeze in extra blows on cooling metal. Slide it back into the forge, let it come up to temperature again, and resume. You’ll often go through several heats to finish a single draw, and that’s completely normal.
Step 8: Use the Anvil Edge or Horn When Needed
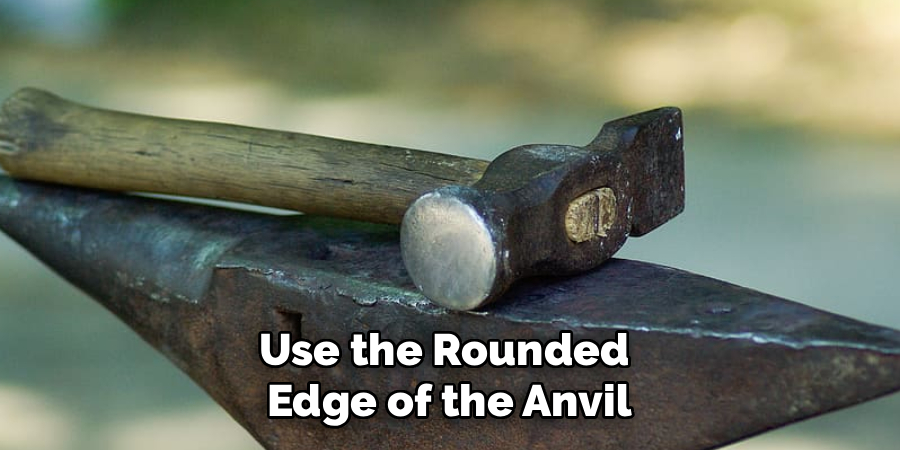
For faster drawing or sharper tapers, use the rounded edge of the anvil or the horn. Laying the steel over the edge concentrates your hammer force into a smaller area, moving metal quickly. This trick speeds up the process but leaves marks you’ll need to smooth later. The horn is perfect for drawing out while adding a curve, like when shaping a hook. Experiment with both, then return to the flat face to clean up your work.
Step 9: Check Dimensions and Refine
As your piece nears the length and thickness you want, slow down and check your measurements. Use calipers or a simple ruler to confirm you’re on target. Look for uneven spots, twists, or sections that are too thin. Make light, precise hammer blows to even things out. This refining stage is where careful, controlled work pays off. Resist the urge to rush, since small adjustments now save heavy grinding later.
Step 10: Final Smoothing and Inspection
For your last heat, focus on smoothing the surface with light, even flat-face blows. Knock off any scale with your wire brush so you can see the true surface. Inspect the whole piece for cracks, cold shuts, or rough spots. Run your eye down the length to make sure your taper or thinning is consistent. Once you’re happy, let the steel cool slowly in still air. Congratulations, you’ve just drawn out steel on an anvil.
5 Things You Should Avoid
1. Working steel that’s too cold. Hammering dull red or black steel forces the metal and can cause cracks. Always reheat before the color drops too low.
2. Swinging too hard. Heavy, uncontrolled blows lead to uneven results and tire you out fast. Steady, controlled strikes move metal far more effectively.
3. Skipping the rotation. Hammering only one face makes the steel spread sideways and lose its shape. Turn the piece regularly to keep it even.
4. Overheating the steel. Pushing past forging temperature toward white-hot can burn the metal, ruining its structure. Watch your colors closely.
5. Ignoring safety gear. Hot scale flies off during hammering. Skipping eye protection or proper footwear invites painful, avoidable injuries.
Conclusion
How to draw out steel on anvil is a skill that rewards patience and practice. Once you understand the rhythm- peen to stretch, flat face to smooth, rotate to keep it even- the whole process starts to feel natural. You’ll move metal with purpose and watch a plain bar transform into exactly the shape you imagined.
Remember the key points. Keep your steel at proper forging temperature, use controlled blows instead of brute force, and rotate your work to stay even. Avoid the common mistakes we covered, gear up safely every time, and don’t be discouraged by early imperfect results. Every smith started exactly where you are now.
With steady practice, this foundational skill will become second nature and open the door to countless projects ahead.

About
Stuart Rich is a distinguished figure in the world of metalworking and fabrication, with a decade of expertise creating innovative and sustainable metal projects. His professional focus lies in merging traditional blacksmithing and machining with modern manufacturing techniques, fostering designs that are both practical and durable. As the author of Metalenify, Stuart Rich delves into the art and science of metallurgy and DIY metal creation, inspiring artisans, hobbyists, and industry professionals alike.
Education
RMIT University
(Melbourne, Australia)
Associate Degree in Engineering Technology (Mechanical / Manufacturing)
Focus on metallurgical properties, industry-driven projects, and practical metal craftsmanship. Gained hands-on experience with traditional machining and digital manufacturing tools, such as CAD, CNC software, and precision welding equipment.
Nottingham Trent University
(United Kingdom)
Bachelor’s in Product Design and Materials Engineering (Honors)
Specialized in product design with a heavy focus on blending creativity with metal production and fabrication techniques. Participated in real-world industry projects, collaborating with architectural and hardware manufacturing companies to optimize material efficiency.
Publications and Impact
In Metalenify, Stuart Rich shares his insights on structural metal design processes, material grades, and strategies for efficient shop production. His writing bridges the gap between raw artisan knowledge and modern industrial needs, making it a must-read for both budding DIY metalworkers and seasoned fabrication professionals.