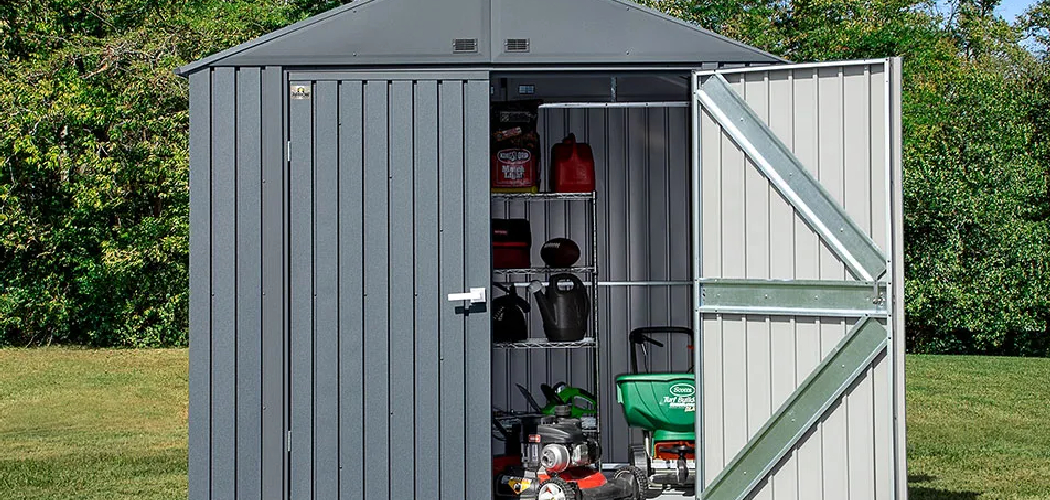
The box arrives flat in the driveway, heavier than it looks, taped shut over a stack of metal panels. You stand there with a coffee and a vague sense of dread.
That pile becomes a real building. I promise.
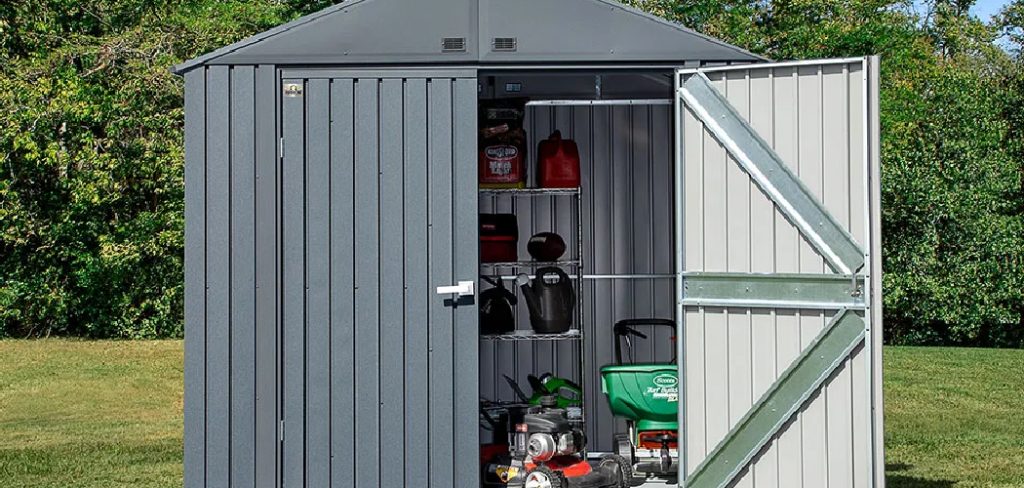
Learning how to put a metal shed together looks far more intimidating than it actually is, mostly because the instruction booklet reads like an engineering exam. Once you slow down and work in order, though, the logic clicks into place.
You don’t need to hire anyone. You need patience, a free weekend, and ideally a friend who owes you a favor.
This guide walks through the whole thing. Planning the site, sorting the kit, laying a solid base, the full step-by-step assembly, and the finishing touches that keep rain out.
Follow each stage carefully, and you’ll end up with a sturdy, level shed you built yourself. That last part feels surprisingly good.
Why Build a Metal Shed Yourself?
Before you crack open the box, it’s worth knowing why this project tends to reward the effort. The payoff goes beyond saving a few dollars, though the savings are real.
Saving Money and Gaining Skills
Hiring an installer can add a few hundred dollars to a shed that wasn’t cheap to begin with. Doing it yourself keeps that money in your pocket.
There’s a quieter return, too. You pick up skills along the way, things like squaring a frame and driving fasteners cleanly.
Those habits carry over. The next home project feels a little less daunting once you’ve wrestled a shed into shape.
Durable, Low-Maintenance Storage
A metal shed earns its keep over time. It shrugs off the rot that eats away at wood, and pests have nothing to chew on.
Fire resistance is a nice bonus, especially if you’re storing fuel or a mower. The material simply doesn’t feed a flame the way timber does.
So once it’s up, it mostly looks after itself. A rinse now and then, a quick check of the fasteners, and it keeps doing its job for years.
Understanding Your Metal Shed Kit
That intimidating pile of parts makes a lot more sense once you take a few minutes to learn what you’re looking at. Skip this, and you’ll be flipping pages mid-build, hands full of mismatched screws.
Common Panel Types and Hardware
Most kits break down into a handful of groups. Wall panels form the sides, roof panels cap the top, and door tracks let the entry slide or swing.
Then there’s the trim, the thin pieces that cover sharp edges and tidy up the seams. And the hardware: screws, bolts, and the anchors that eventually pin the whole thing down.
Each group plays a specific role in the structure. Knowing which is which means you won’t grab a roof panel when you need a wall.
Reading the Manual and Sorting Parts
I know. Nobody wants to read the manual. Read it anyway, cover to cover, before you touch a single panel.
Then check the parts list against what actually arrived. Kits occasionally ship a screw count short, and you’d much rather discover that now than at step five.
Sort the hardware into labeled cups or a partitioned tray. This small bit of fussiness saves you from hunting for one specific bolt while a wall leans against your shoulder.
Choosing and Preparing the Site
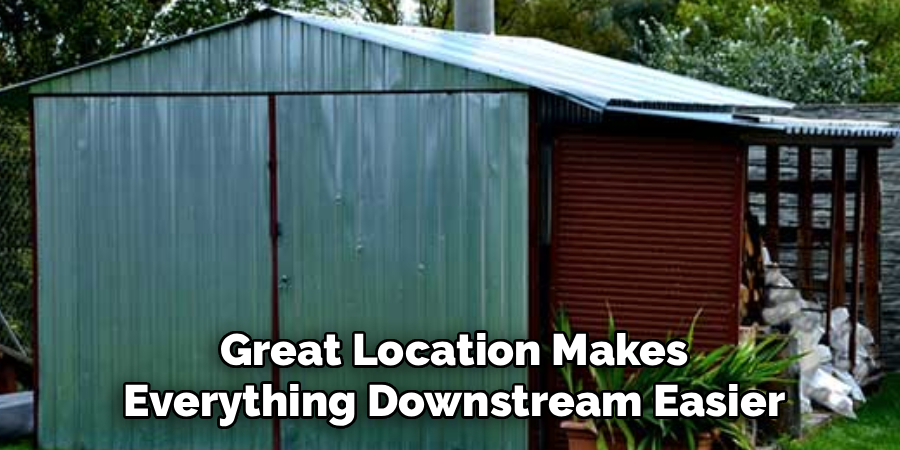
Where the shed sits matters as much as how you build it. A great location makes everything downstream easier, while a poor one fights you for years.
Picking the Right Spot
Look for a level, well-drained patch of yard. Low spots that collect puddles are exactly where you don’t want a metal floor to sit.
Give yourself room to work, too. The doors need clearance to open fully, and you’ll want easy access for wheeling a mower or hauling boxes in and out.
Mind the surroundings as well. A little gap between the shed and the fence keeps airflow moving and makes future maintenance far less awkward.
Checking Codes and Drainage
This is the dull part people love to skip. Call your local building office and confirm whether you need a permit, and check the setback rules for how close you can build to a property line.
It feels like bureaucracy, and it sort of is. But an unpermitted shed can become a real headache when you sell the house.
While you’re planning, think about water. Position and grade the site so runoff flows away from the shed rather than pooling beneath it, because standing water undermines even the best foundation.
Building a Solid Foundation
If any single stage decides how long your shed lasts, it’s this one. A shed is only ever as good as the base it stands on.
Foundation Options
You’ve got a few sensible choices. A poured concrete slab is the gold standard, flat and permanent, ideal if you’re storing anything heavy.
A paver base offers a middle path, cheaper than concrete and reasonably stable for lighter loads. A pressure-treated wood frame, filled with gravel, suits smaller sheds and budgets nicely.
Match the foundation to your needs. A garden tool shed doesn’t demand the same base as one meant to shelter a riding mower.
Leveling and Squaring the Base
Once your base is down, get obsessive about level. Lay a long level across it in several directions and shim or rake until it reads true everywhere.
Then check that it’s square. Measure diagonally from corner to corner, and when both diagonals match, you’ve got a true rectangle.
Don’t rush past this. Every panel you raise later assumes the base beneath is flat and square, and a base that’s off by even a little throws the whole build out of alignment.
Tools and Materials You’ll Need
Gathering your gear first keeps the build flowing instead of stalling. There’s nothing worse than holding a wall steady while realizing the right driver bit is in the house.
Essential Tools
A cordless drill does most of the heavy lifting, paired with the nut driver bits that match your kit’s fasteners. A rubber mallet helps coax stubborn panels into place without denting them.
You’ll also want a tape measure and a level, both used constantly. Add work gloves and a sturdy ladder for the roof work.
Keep it simple. These few tools handle nearly the entire assembly.
Helpful Extras and Safety Gear
Metal edges are sharp, sharper than they look. Cut-resistant gloves and safety glasses are genuinely worth wearing here, not optional niceties.
A magnetic tray keeps screws from scattering across the yard, and a roll of masking tape helps hold pieces temporarily while you align them.
Don’t forget an anchor kit. You’ll need it near the end to fasten the finished shed down, and it’s frustrating to discover it missing at that stage.
How to Put a Metal Shed Together: Step-by-Step Guide
Here’s the heart of the project. Each step builds naturally on the last, so a steady pace beats rushing every time, and a second pair of hands makes the whole thing easier and a good deal safer.
Step 1: Lay Out and Organize the Parts
Spread the panels and hardware out near your prepared base. Group them by assembly stage so the right pieces sit within easy reach when you need them.
Follow the order the manual lays out. Working in sequence means you’re never digging through the pile for a part you should have set aside earlier.
Step 2: Assemble the Floor Frame and Base Rails
Start at the bottom. Connect the base rails or floor frame according to the instructions, then set the assembly onto your foundation.
Before going any further, confirm it’s square and level. Measure those diagonals again and check with your level, because every wall depends on this frame being true.
Step 3: Build and Raise the Wall Panels
Now the shed starts to take shape. Join the wall panels as directed, then stand them up along the base rails.
Fasten the corners loosely at first, just enough to hold the walls upright and in position. Leaving them slightly loose lets you keep nudging things into alignment as you go, which beats locking in a mistake early.
Step 4: Connect the Corners and Square the Structure
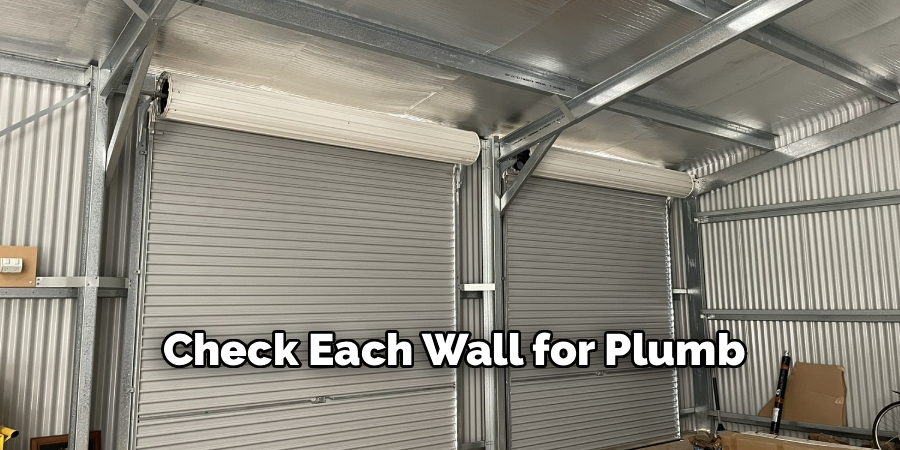
With all four walls standing, bolt the corners together properly. Check each wall for plumb, making sure it rises straight rather than leaning.
Then measure the diagonals one more time. I know it’s the third time I’ve mentioned diagonals, but a square structure now prevents misaligned doors and gaps later, so confirm it before you tighten everything down.
Step 5: Install the Roof Beams and Panels
Set the roof beams or trusses across the top of the walls, following the spacing the manual specifies. These tie the structure together and carry the roof.
Then lay the roof panels, working from one end to the other. Overlap each panel over the one below it so water always sheds downhill and away, never catching against a seam.
A ladder and a helper really earn their place here. Roof panels are awkward to manage alone, and the wind likes to catch them.
Step 6: Fit the Doors and Trim
Assemble the door track and hang the doors according to your kit. Test that they slide or swing smoothly before you call them done.
If a door binds or drags, it usually traces back to a frame that’s slightly out of square. Adjust now rather than living with it.
Then add the trim pieces. They cover the sharp edges and exposed seams, which makes the shed both safer to handle and noticeably more finished-looking.
Step 7: Tighten, Anchor, and Final Check
Go around the entire shed and tighten every fastener you left loose. Work methodically so none get missed.
Then anchor the shed to its foundation using your anchor kit. This is what keeps it grounded against the wind, and it’s not a step to skip.
Finally, walk the whole structure. Push gently on the walls, slide the doors a few times, and confirm everything feels solid and works cleanly.
Securing and Weatherproofing Your Shed
The shed stands, but it isn’t truly finished until it can handle weather and wind. A few closing steps protect everything you just built.
Anchoring Against Wind
A metal shed is lighter than it looks, and a strong gust can lift or shift one that isn’t anchored. That’s not a risk worth taking.
Fasten it firmly to a concrete slab with appropriate bolts, or drive ground anchors if you built on pavers or earth. Either way, the shed needs to be tied to something that won’t budge.
Sealing Seams and Gaps
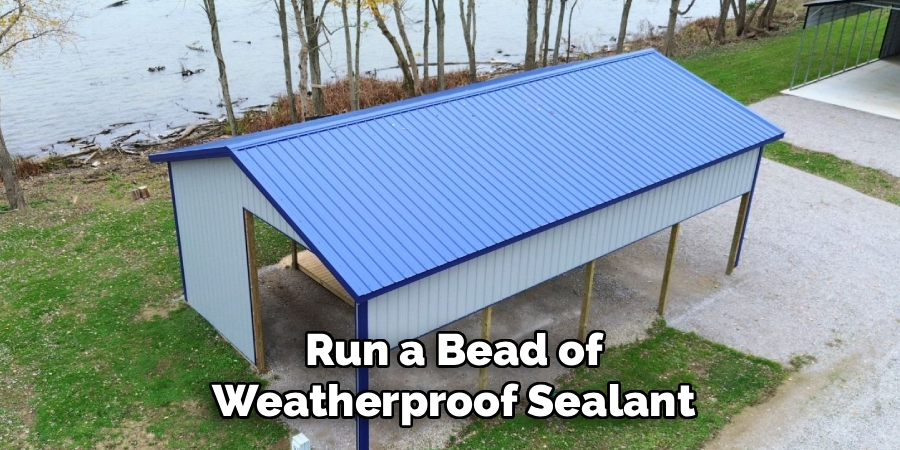
Run a bead of weatherproof sealant along the seams and around the base where the walls meet the foundation. This closes the small gaps that rain otherwise finds.
A dry interior protects whatever you store inside. Take a slow pass around the whole shed, sealing as you go, and your tools and boxes stay safe through the seasons.
Common Mistakes to Avoid
A couple of predictable errors trip people up, and both lead to wobbly sheds or leaks. Knowing them ahead of time costs you nothing.
Skipping a Level Foundation
This is the big one. An uneven base throws off every panel that follows, and the trouble compounds as you build upward.
Walls won’t line up. Doors won’t sit right in their tracks. The whole structure ends up weaker, all because the ground beneath it wasn’t true. Get the foundation flat and square, and most other problems simply never appear.
Overtightening or Forcing Panels
The other common slip is muscling parts that don’t quite line up. Forcing a misaligned panel or cranking a screw too hard does real harm.
Thin metal warps. Threads strip. And overtightened seams can pull open just enough to let water in. If a panel resists, back off and check your alignment rather than leaning into it.
When to Call a Professional
Most metal sheds sit comfortably in the DIY range. Still, a few situations call for an expert, and recognizing that is smart judgment rather than giving up.
Pouring a large concrete slab, for one, is heavy and unforgiving work that a pro often handles faster and flatter. Oversized or commercial-grade sheds also raise the difficulty considerably.
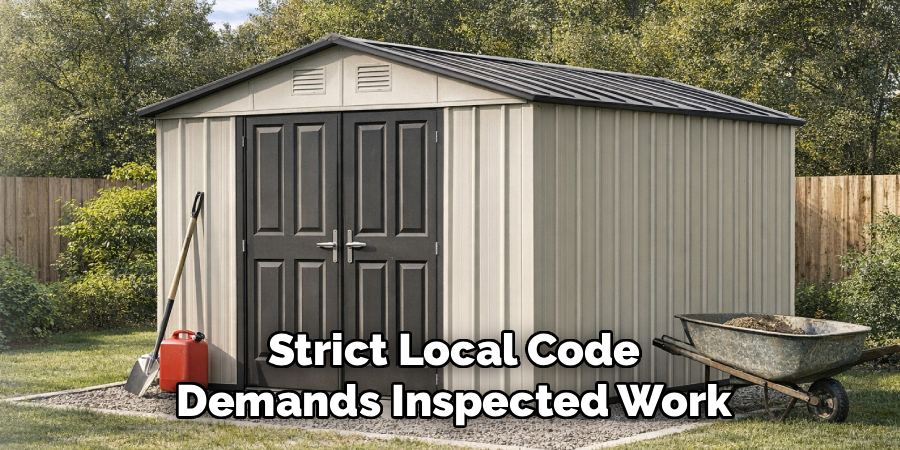
A sloped or unstable site is another good reason to bring in help, as is a strict local code that demands inspected work. Hiring out the foundation or a tricky build can prevent costly mistakes and leave you with a shed that stands solid and safe for many years.
Conclusion
So that’s the full picture of how to put a metal shed together, from a flat-packed box in the driveway to a sturdy building with the doors sliding shut. What looks like an overwhelming pile of panels turns out to be a very manageable weekend project once you take it stage by stage.
Look back at the path. You prepare a level site, build a solid foundation, raise the walls, fit the roof, hang the doors, and anchor everything against the wind.
Work patiently and keep checking that each stage is square and level. Lean on a helper for the bigger panels, since some of them genuinely want four hands.
Remember the small things, too. Sealing the seams and tightening every last fastener are what make the difference between a shed that lasts and one that leaks.
Now, clear the site, lay out the parts, and start with that first base rail. There’s a real, quiet satisfaction waiting when you finally slide those doors shut on a shed you built with your own hands.

About
Stuart Rich is a distinguished figure in the world of metalworking and fabrication, with a decade of expertise creating innovative and sustainable metal projects. His professional focus lies in merging traditional blacksmithing and machining with modern manufacturing techniques, fostering designs that are both practical and durable. As the author of Metalenify, Stuart Rich delves into the art and science of metallurgy and DIY metal creation, inspiring artisans, hobbyists, and industry professionals alike.
Education
RMIT University
(Melbourne, Australia)
Associate Degree in Engineering Technology (Mechanical / Manufacturing)
Focus on metallurgical properties, industry-driven projects, and practical metal craftsmanship. Gained hands-on experience with traditional machining and digital manufacturing tools, such as CAD, CNC software, and precision welding equipment.
Nottingham Trent University
(United Kingdom)
Bachelor’s in Product Design and Materials Engineering (Honors)
Specialized in product design with a heavy focus on blending creativity with metal production and fabrication techniques. Participated in real-world industry projects, collaborating with architectural and hardware manufacturing companies to optimize material efficiency.
Publications and Impact
In Metalenify, Stuart Rich shares his insights on structural metal design processes, material grades, and strategies for efficient shop production. His writing bridges the gap between raw artisan knowledge and modern industrial needs, making it a must-read for both budding DIY metalworkers and seasoned fabrication professionals.