There’s a low rattle under the car that wasn’t there last week. Or maybe a faint hiss when you start the engine, and a smell that drifts into the cabin at a red light. Somewhere down there, an exhaust joint has given up.
You don’t own a welder. You’re not about to buy one for a single repair, either.
Good news. Learning how to join exhaust pipes without welding is far more achievable than it sounds. Clamps, band clamps, couplers, and a bit of high-heat sealant can form connections that genuinely hold.
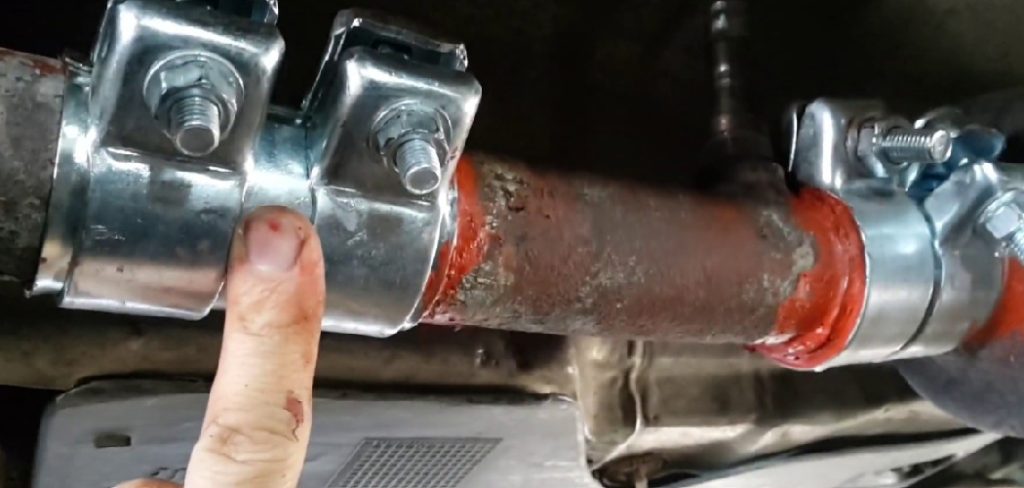
These aren’t desperate roadside hacks. Chosen well and installed with care, they last.
This guide walks through the whole thing. Pipe types, the tools, safety prep, the main connection methods, a full step-by-step process, sealing tips, and the mistakes that bring the rattle right back.
Bring a little patience and the right approach, and a tight, quiet exhaust joint sits well within reach.
Why Joining Exhaust Pipes Without Welding Matters
Before you slide under the car, it’s worth knowing why these methods earn their place. The appeal goes beyond simply dodging a torch.
Saving Money and Skipping Special Equipment
A welder is a real investment. Add the gas, the consumables, and the time spent learning not to burn through thin exhaust tubing, and a quick repair turns into a serious outlay.
No-weld methods sidestep all of that. A clamp and a wrench cost a fraction of welding gear, and most people already own half the tools needed.
So the barrier to fixing your own exhaust drops to almost nothing. That’s a meaningful difference for a budget-minded repair.
Quick Repairs and Easy Adjustments
There’s another advantage people overlook. A clamped or coupled joint can come apart again.
Welds are permanent. Clamps loosen, slide, and reposition, which makes them ideal for temporary fixes, part swaps, and exhaust modifications you might tweak later.
If you’re the type who likes to experiment with your setup, that flexibility matters. You’re not committing to anything you can’t undo with a socket wrench.
Understanding Exhaust Pipe Types and Sizes
A little assessment up front saves you from buying the wrong connector. Not all pipes are the same, and the differences shape which method actually works.
Pipe Materials: Aluminized, Stainless, and Mild Steel
Most exhaust tubing falls into one of three camps. Aluminized steel is common and affordable, with a coating that fights corrosion reasonably well.
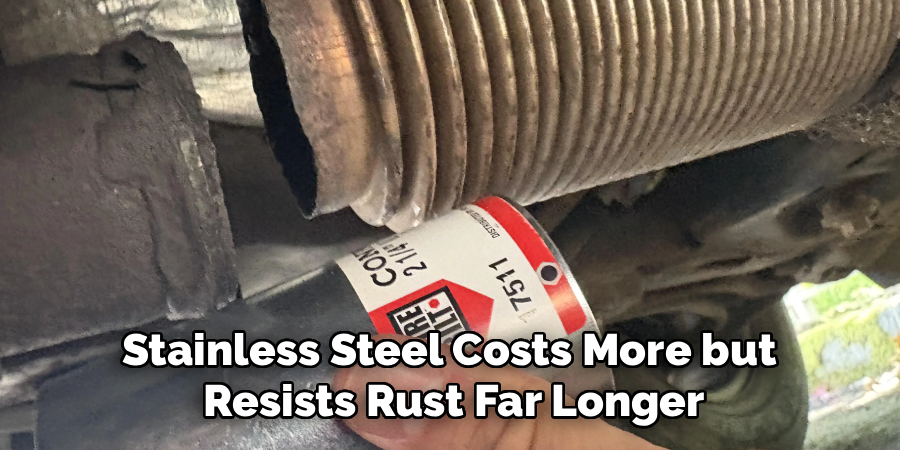
Stainless steel costs more but resists rust far longer, which is why it shows up on performance and longer-lived systems. Mild steel sits at the budget end and tends to corrode the fastest.
The material affects your repair too. A heavily rusted mild steel pipe may not grip a clamp the way clean stainless does, and some sealants hold better on certain surfaces than others.
Matching Diameters and Slip-Fit vs. Butt Joints
Before anything else, measure the pipe diameter accurately. A clamp that’s even slightly off-size won’t seal, no matter how hard you crank it.
Then look at how the pipes meet. Some are sized so one slides snugly inside the other, which is a slip-fit or lap joint. Others meet end to end, edge against edge, in a butt joint.
This distinction guides your method. A lap joint takes a U-bolt or band clamp directly, while two butted ends usually need a coupler sleeve to bridge them.
Methods to Join Exhaust Pipes Without Welding
Three core options cover nearly every repair. Matching the right one to your situation, before you start buying parts, keeps the job clean and simple.
U-Bolt Clamps and Lap Joints
The U-bolt clamp is the simplest, cheapest fix going. You slip one pipe inside another, then tighten the U-shaped bolt down over the overlap to squeeze the joint tight.
It works, and it’s been working for decades. The trade-off is that the U-bolt can dent the pipe as it bites down, and an overtightened one may leave small gaps that hiss.
Band Clamps for a Tighter Seal
A band clamp does the same job more gracefully. Instead of pinching at one point, it wraps a wide band evenly around the entire joint.
That spread-out pressure gives a cleaner, more leak-resistant seal without crushing the pipe. It also comes apart later without leaving a mangled mess, which makes it the better choice when you value a tidy, reversible connection.
Exhaust Couplers and High-Heat Tape
Then there are couplers and tape for the in-between cases. A sleeve coupler slides over two pipe ends that meet edge to edge, bridging them so a clamp has something to grip on both sides.
High-heat exhaust tape and putty play a supporting role. They seal small gaps and minor leaks, but lean on them as a backup rather than the main fix.
Tools and Materials You’ll Need
Gathering everything first keeps you from scooting out from under the car mid-repair. You won’t need all of it, but knowing your options helps.
Essential Tools
A socket and wrench set sits at the center of the job, since nearly every clamp tightens with a nut or bolt. A tape measure handles your sizing.
For cutting, a proper pipe cutter gives the cleanest result, though a hacksaw works in a pinch. Add a wire brush for cleanup, jack stands to hold the car, and a creeper to spare your back.
Keep it simple. These few items carry most exhaust repairs from start to finish.
Connectors, Sealants, and Hardware
On the materials side, pick up your U-bolt or band clamps, plus an exhaust coupler if you’re joining two butted ends. Size them to your pipe diameter, not a guess.
A tube of high-heat exhaust sealant or paste fills the small gaps a clamp alone can’t. Keep exhaust tape on hand for minor leaks, and choose rust-resistant hardware so the repair doesn’t seize or crumble down the road.
Safety Preparation Before You Begin
Working under a vehicle, around hot and sharp metal, is no place to rush. A few minutes of preparation prevents the kind of accident you don’t walk away from.
Letting the Exhaust Cool and Securing the Vehicle
First, wait. An exhaust system holds heat long after the engine shuts off, and a fresh burn from a muffler is a genuinely nasty injury. Give it real time to cool.
Then secure the car properly. Park on level ground, chock the wheels, and raise the vehicle onto sturdy jack stands.
Never trust a jack alone to hold a car you’re lying beneath. Jacks fail, and stands are what keep the vehicle from coming down on you while your hands are full.
Protective Gear and a Clear Workspace
Dress for the grime. Gloves protect your hands from rust flakes and the sharp edges of cut pipe, and eye protection keeps falling debris out of your eyes when you’re working overhead.
Light the space well, since you can’t seal a joint you can’t see clearly. Keep ventilation in mind too, and clear enough room that your tools and parts stay within easy reach rather than scattered out of grasp.
How to Join Exhaust Pipes Without Welding: Step-by-Step Guide
Here’s the heart of it. Each step builds naturally on the last, no matter which connector you’ve chosen, so take them in order and the repair stays manageable.
Step 1: Inspect and Measure the Pipes
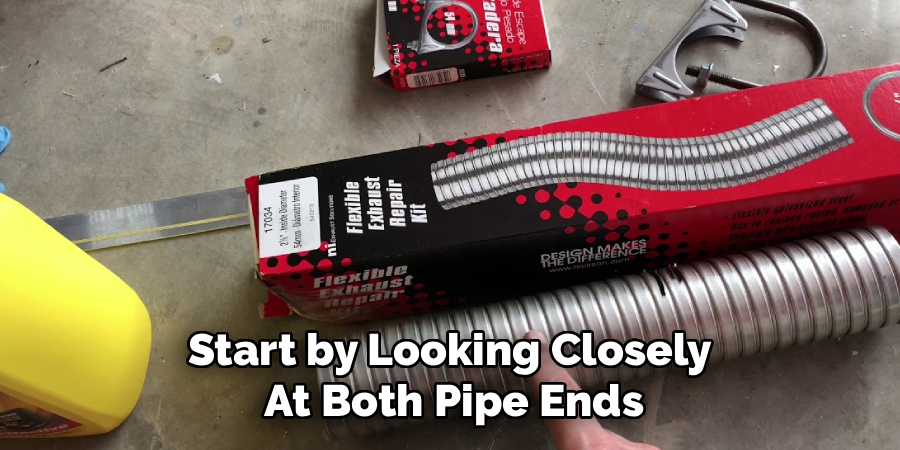
Start by looking closely at both pipe ends. Check for rust, cracks, and thinning metal, since a crumbling pipe won’t hold any clamp for long.
Measure the diameter carefully. With that number in hand, decide whether a U-bolt clamp, a band clamp, or a coupler best fits the joint you’re about to create.
Step 2: Cut and Prepare the Pipe Ends
If you need to trim a pipe, do it cleanly. A pipe cutter gives a straight, even edge, while a hacksaw works as long as you keep the line true.
Then smooth those edges. File or sand away the burrs left behind, because a ragged end fights a tight fit and leaves gaps for exhaust to escape.
Step 3: Clean the Joint Surfaces
Now scrub the connection points. Run a wire brush over both surfaces to strip away rust, road grime, and old residue.
Wipe everything down afterward. A clean surface lets the clamp grip firmly and gives the sealant something solid to bond to, which is what makes the whole joint hold.
Step 4: Fit and Align the Pipes
Bring the pipes together. For a lap joint, slide one inside the other to the right depth. For butted ends, line them up inside the coupler sleeve.
Check that everything sits straight. A misaligned joint puts the exhaust under strain, which stresses the hangers and may work the connection loose over time, so get it hanging naturally before you fasten anything.
Step 5: Apply Sealant to the Joint
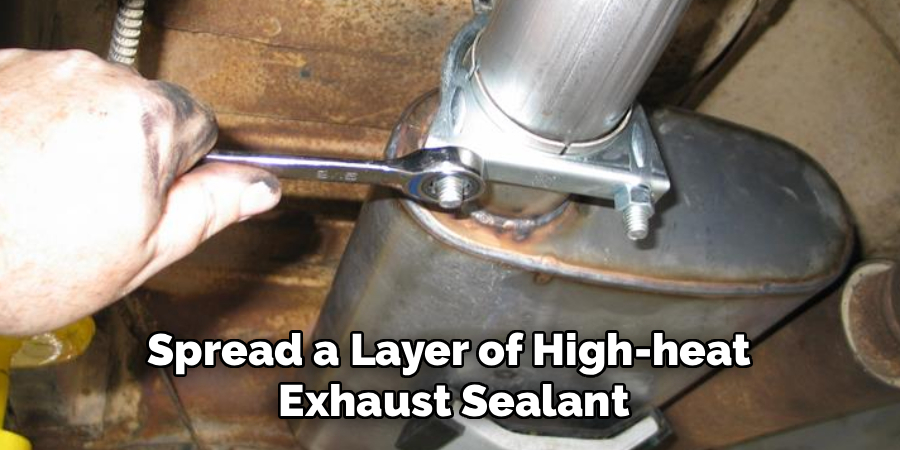
Before tightening, spread a layer of high-heat exhaust sealant or paste around the overlap. Keep it even, not gobbed on in one spot.
This sealant fills the tiny imperfections a clamp can’t close on its own. Once the system heats up and the paste cures, it helps the joint resist the leaks that lead to that telltale hiss.
Step 6: Position and Tighten the Clamp
Slide your U-bolt or band clamp over the joint and center it on the overlap. Position matters, since a clamp sitting half off the seam won’t seal evenly.
Tighten the bolts in stages, alternating between them rather than cranking one all the way down first. Even, gradual pressure keeps the clamp balanced and stops the pipe from crushing or shifting out of place.
Step 7: Check Alignment and Test for Leaks
Confirm the joint still sits straight after tightening. Then lower the vehicle, start the engine, and carefully feel around the connection for escaping exhaust.
A small puff or a hiss tells you where to retighten or add sealant. Catch it now, before you drive, rather than chasing the same rattle a week later.
Sealing and Finishing Tips for a Leak-Free Joint
Tightening the clamp is most of the work, but the sealing details are what keep the repair quiet and lasting. Don’t skip past them.
Using High-Heat Sealant and Exhaust Tape Correctly
Apply sealant in a thin, even layer rather than a thick smear. Too much just oozes out and bakes into a brittle mess that flakes away.
For small gaps, wrap high-heat exhaust tape snugly around the joint. Then let everything cure as the product directs, giving the seal time to set before the exhaust reaches full operating temperature. Rushing this undoes the careful work.
Protecting the Joint From Rust
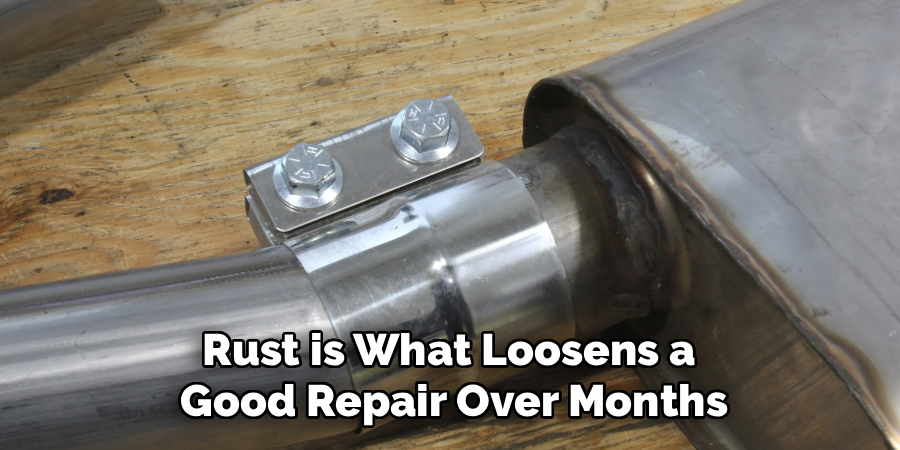
Rust is what loosens a good repair over months. Brush away any loose corrosion before you assemble the joint, so the clamp grips clean metal.
Once the connection is finished, add a rust-resistant coating around it. This shields the joint from the moisture and road salt that would otherwise creep in and slowly eat the connection apart.
Common Mistakes to Avoid
A couple of predictable errors lead to leaks and rattles. Knowing them ahead of time saves you a frustrating redo.
Overtightening or Crushing the Pipe
The most common slip is treating “tighter” as “better.” Crank a clamp too hard and you dent or deform the pipe beneath it.
That deformation works against you. A crushed, out-of-round pipe creates the very gaps you were trying to close, so the joint leaks despite all that effort. Snug and even beats white-knuckle tight, every time.
Skipping Cleaning, Sealant, or Proper Sizing
The other big mistake is cutting corners on the basics. A dirty surface keeps the clamp from gripping, and skipped sealant leaves small gaps wide open.
A mismatched clamp size is just as bad. Any of these leaves the joint loose, noisy, and prone to leaking exhaust gases, which should never find their way into the cabin where you’re breathing.
When to Call a Professional
A no-weld fix handles a lot, but it has limits, and recognizing them is good judgment rather than giving up. Badly rusted or crumbling pipes, for instance, won’t hold any clamp reliably.
Leaks near the catalytic converter or the manifold raise the stakes too, since those joints run extremely hot and sit close to critical components. And if exhaust fumes are reaching the cabin, that’s a safety issue, not a convenience repair.
For anything that touches emissions or safety, a professional shop can properly weld, replace, or inspect the system. That’s money well spent when a clamp simply isn’t enough.
Conclusion
So that’s the full picture of how to join exhaust pipes without welding, from sizing up the pipes to feeling for that last sneaky leak. What feels like an intimidating repair turns into a manageable afternoon once you take it one step at a time, no torch required.
Look back at the path. You inspect and measure the pipes, choose between clamps, band clamps, and couplers, then clean the joint, apply sealant, tighten evenly, and check your work before driving off.
Work patiently and prep each surface with care. Resist the urge to overtighten chasing a quick seal, because that shortcut usually backfires.
Clean fits and proper sealant are what separate a rattling, leaking joint from one that holds strong for the long haul. So gather a few simple tools, start with a single connection, and enjoy the quiet of an exhaust you fixed with your own hands.

About
Stuart Rich is a distinguished figure in the world of metalworking and fabrication, with a decade of expertise creating innovative and sustainable metal projects. His professional focus lies in merging traditional blacksmithing and machining with modern manufacturing techniques, fostering designs that are both practical and durable. As the author of Metalenify, Stuart Rich delves into the art and science of metallurgy and DIY metal creation, inspiring artisans, hobbyists, and industry professionals alike.
Education
RMIT University
(Melbourne, Australia)
Associate Degree in Engineering Technology (Mechanical / Manufacturing)
Focus on metallurgical properties, industry-driven projects, and practical metal craftsmanship. Gained hands-on experience with traditional machining and digital manufacturing tools, such as CAD, CNC software, and precision welding equipment.
Nottingham Trent University
(United Kingdom)
Bachelor’s in Product Design and Materials Engineering (Honors)
Specialized in product design with a heavy focus on blending creativity with metal production and fabrication techniques. Participated in real-world industry projects, collaborating with architectural and hardware manufacturing companies to optimize material efficiency.
Publications and Impact
In Metalenify, Stuart Rich shares his insights on structural metal design processes, material grades, and strategies for efficient shop production. His writing bridges the gap between raw artisan knowledge and modern industrial needs, making it a must-read for both budding DIY metalworkers and seasoned fabrication professionals.