You’ve got a chair you love. Maybe it’s a vintage patio piece, maybe it’s the metal stool that’s followed you through three apartments. And now it wobbles, creaks, or has a joint that’s clearly given up.
So it sits in the garage, waiting for a welder you don’t own and don’t really want to buy.
Here’s the thing. Learning how to fix a metal chair without welding is far easier than most people assume. Strong adhesives, two-part epoxies, brackets, rivets, and a few screws can do work that genuinely holds.
These aren’t flimsy stopgaps either. Done with care, they can leave you with a repair that lasts years, not weeks.
This guide covers the whole job. We’ll look at the tools, the safety steps, the full step-by-step process, and the finishing touches that make the chair look intentional rather than patched.
Bring a little patience and the right approach, and that broken seat becomes reliable again. No torch required.
Why Repair a Metal Chair Without Welding?
Before you reach for any glue or drill, it’s worth knowing why these methods make sense in the first place. The appeal goes beyond simply avoiding a welder.
No Special Equipment or Skills Needed
Welding asks a lot of you. There’s the machine itself, the protective gear, the gas, and a learning curve that punishes mistakes with sparks and burns.
That’s a steep ask for a single wobbly chair. The alternatives, by contrast, lean on tools you probably already keep in a drawer.
A drill, a screwdriver, maybe a tube of epoxy from the hardware store. Most people can manage that on a quiet afternoon without any training at all.
Saving Money and Keeping a Favorite Piece
Then there’s the chair itself. Replacing it might mean losing something with real character, or a piece that simply fits a space no new chair would.
A small repair preserves all of that. You spend a few dollars on materials instead of a few hundred on a replacement.
And there’s a quieter reward, too. Keeping a piece you care about, rather than tossing it, tends to feel better than any showroom purchase.
Understanding the Damage and the Metal You’re Working With
A good repair starts with an honest look at what actually failed. Skip this, and you may pick a method that won’t hold.
Identifying the Type of Break or Weakness
Chairs fail in predictable ways. A joint works loose, a thin support snaps, a leg bends, or an old weld cracks clean through.
Each of these calls for a slightly different fix. A loose joint may want epoxy and a clamp, while a snapped support might need a bracket spanning the break.
Look closely before deciding. A stripped screw hole, for instance, is a different problem than a fractured frame, even if both leave the chair feeling shaky.
Knowing Your Metal: Steel, Aluminum, and Wrought Iron
The metal matters more than people expect. Steel takes adhesives and fasteners readily and shrugs off drilling.
Aluminum is softer and lighter, which can affect how well screws bite and which epoxy bonds best. Wrought iron tends to be brittle, so it may crack rather than bend under stress.
Surface prep also shifts with the material. A smooth, painted aluminum frame needs more roughing up than rusty steel before any adhesive will truly grab.
Welding Alternatives That Actually Work
So what are your real options here? A handful of methods cover nearly every chair repair, and choosing between them comes down to where the damage sits and how much weight it carries.
Adhesive Bonding and Metal Epoxy
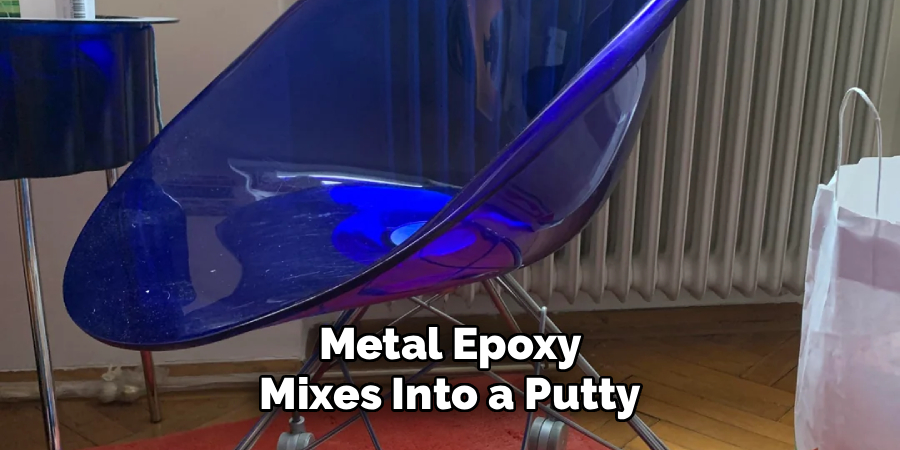
Adhesives have come a long way. A quality two-part metal epoxy mixes into a putty or liquid that fills gaps, grips bare metal, and cures into something genuinely tough.
It shines on cracks and loose joints, especially where you can clamp the parts together while it sets. Construction adhesives work similarly for larger bonding surfaces.
The catch? Adhesive alone handles moderate stress well, but it appears to struggle on joints that take a hard, repeated load. That’s where mechanical fasteners earn their keep.
Brackets, Rivets, and Screws
Sometimes you need a physical lock, not just a chemical one. A reinforcing bracket bridges a weak or broken joint, spreading the load across a wider area.
Rivets and self-tapping screws go further. They clamp parts together mechanically, which holds up under the kind of weight and movement a chair sees every time someone sits down.
Often, the strongest repair pairs the two. Epoxy seals and stiffens the joint, while a bracket or rivets carry the real structural strain.
Tools and Materials You’ll Need
Gathering everything first saves you the half-finished scramble to the store. You won’t need all of it, but knowing your options helps.
Essential Tools
A cordless drill sits at the center of most repairs, handy for pilot holes and driving screws. Add a rivet gun if you’re going that route, plus a screwdriver for hand work.
Clamps are worth their weight, since they hold parts steady while the epoxy cures. Round things out with a wire brush, some sandpaper, and safety glasses.
None of this is exotic. Most of it lives in a basic home toolbox already.
Adhesives, Fasteners, and Reinforcements
On the materials side, a two-part metal epoxy is your workhorse for bonding and gap-filling. A tube of construction adhesive covers wider surfaces.
For mechanical strength, keep metal brackets, rivets, and machine screws with matching nuts on hand. Choose rust-resistant hardware where you can.
That last detail matters more on outdoor chairs. Cheap fasteners rust, and rust quietly undoes a repair you worked hard on.
Safety and Surface Preparation Before You Begin
A strong fix depends on two things that happen before any glue flows: a safe setup and a clean surface. Neither is glamorous, yet both decide whether your repair lasts.
Protective Gear and a Stable Work Area
Start with the basics. Gloves protect your hands from sharp edges and epoxy, and eye protection guards against metal dust when you drill or brush.
Work somewhere ventilated, since adhesives and degreasers can give off strong fumes. A garage with the door open beats a closed spare room.
Steady the chair, too. Clamp it or brace it against a bench so it can’t shift mid-drill, because a wandering frame ruins a clean hole fast.
Cleaning, Sanding, and Degreasing the Metal
Here’s the part people rush, and it’s the part that matters most. Adhesives and fasteners need clean metal to hold properly.
Brush away rust, sand off old paint and grime, and rough up smooth surfaces so the epoxy has something to grip. Then wipe everything down with a degreaser or rubbing alcohol.
A clean, slightly textured surface is the quiet secret behind a bond that doesn’t let go. Grease and dust are the enemies of every adhesive on the shelf.
How to Fix a Metal Chair Without Welding: Step-by-Step Guide
Now we get to the heart of it. Each step builds on the one before, no matter which repair method your chair calls for, so take them in order, and the job stays manageable.
Step 1: Inspect and Diagnose the Problem
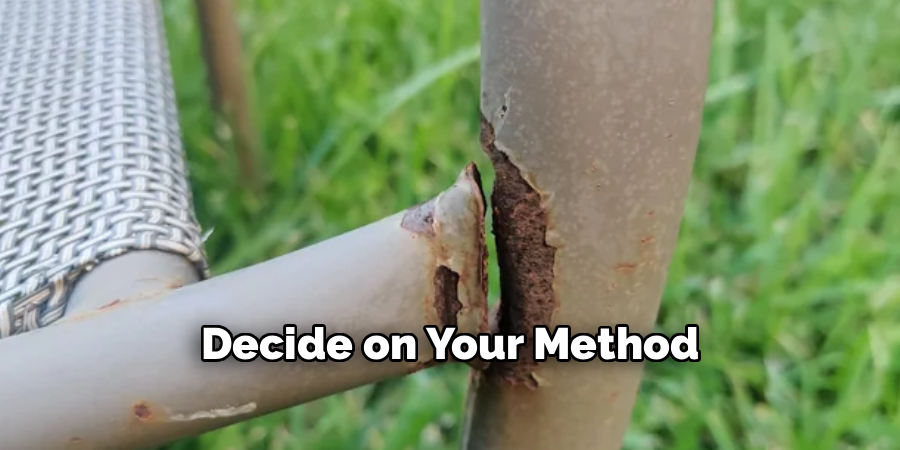
Begin by studying the chair carefully. Wiggle each joint, eye the supports, and find every loose, cracked, or missing piece.
Once you know what failed, decide on your method. A hairline crack may call for epoxy, while a fully snapped leg likely needs a bracket or rivets to carry the load.
Step 2: Disassemble or Separate the Damaged Area
Where you can, take things apart. Loosening the bolts or hardware around the break gives you room to reach, clean, and align the damaged section.
This isn’t always possible, and that’s fine. But an accessible joint is far easier to repair well than one you’re fighting to reach.
Step 3: Clean and Prep the Surfaces
Now apply everything from the prep section directly to the break. Sand the bonding points, brush away rust, and degrease the metal until it’s truly clean.
Don’t shortcut this. The repair you’re about to make is only as strong as the surface underneath it.
Step 4: Apply Metal Epoxy or Adhesive
Mix your two-part epoxy exactly as the package directs, since the ratio affects how well it cures. Work fairly quickly, because most epoxies start setting within minutes.
Spread it onto the clean surfaces, press the parts firmly together, and wipe away any squeeze-out. Then clamp the joint and leave it alone while it cures fully.
Resist the urge to test it early. Epoxy reaches its real strength only after the full cure time, which can run several hours or overnight.
Step 5: Reinforce With Brackets
For joints that carry weight, epoxy alone may not be enough. Position a metal bracket across the weak point so it spans both sides of the break.
Mark your hole locations through the bracket onto the frame. This sets you up for the next step, where the bracket gets locked down for good.
Step 6: Secure With Rivets or Screws
Drill pilot holes at your marks, keeping the bit straight and steady. Pilot holes prevent cracking and help fasteners seat cleanly.
Then lock it together. Set rivets with a rivet gun for a permanent hold, or drive self-tapping screws if you might want to disassemble later.
Tighten until the parts sit snug against each other. The joint should feel solid, with no play when you press on it.
Step 7: Test, Adjust, and Cure
With everything fastened and your epoxy cured, it’s time to check your work. Apply gentle, steady pressure to the repaired area and watch for movement.
Nothing should shift or creak. If a screw feels loose or a joint flexes, tighten it now rather than discovering the problem under your full weight.
Give any final adhesive the time it needs before real use. Patience at this stage is what separates a lasting fix from a quick one that fails again.
Finishing Touches for a Clean, Durable Result
The chair works again. Now let’s make it look like you meant to fix it, and protect that repair from the elements.
Smoothing and Painting the Repair
Cured epoxy can leave rough edges or visible lumps. A little sanding knocks those down and blends the patch into the frame.
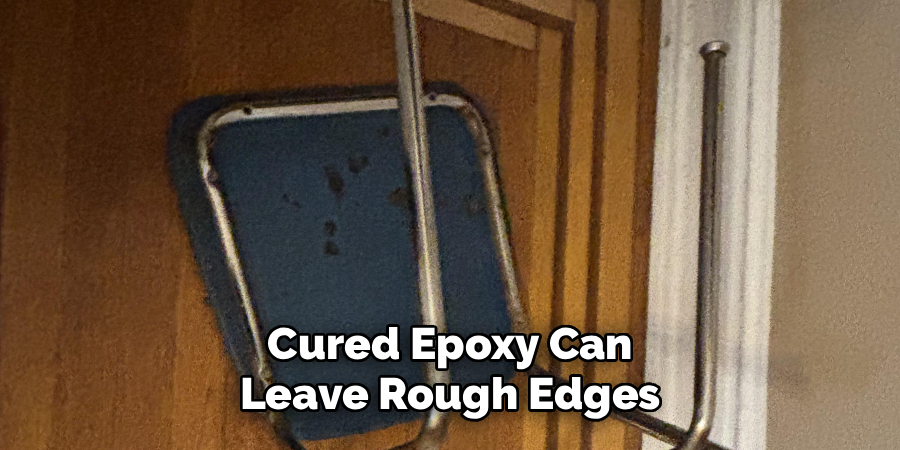
Then, prime and paint the area to match. A coat of matching spray paint hides the repair and adds a protective layer at the same time.
Rust Protection and Sealing
Bare or freshly worked metal invites rust, especially outdoors. A rust-resistant coating or sealant shields the repair from moisture.
This step is easy to skip and easy to regret. On a patio chair facing rain and humidity, sealing the metal is what keeps your hard work from quietly corroding away.
Common Mistakes to Avoid
A couple of predictable errors cause most failed repairs. Knowing them ahead of time costs nothing and saves real frustration.
Skipping Surface Prep
I’ll say it once more, because it’s that important. Bonding to dirty, rusty, or greasy metal is the number one reason adhesive repairs let go.
The fix looks fine for a week, then peels apart. A few extra minutes of cleaning prevent the whole disappointment.
Choosing the Wrong Method for the Load
The other slip is asking too much of one technique. Relying on epoxy alone for a high-stress joint, like the spot where a leg meets the seat, often ends in failure.
Match the method to the strain. Brackets, rivets, or screws belong anywhere the chair carries real weight, and adhesive plays a supporting role there rather than the lead.
When to Call a Professional
Most chair repairs sit comfortably within DIY range. Still, a few situations call for an expert, and recognizing them is good judgment, not defeat.
An antique or high-value piece deserves careful handling, since a clumsy repair could lower its worth. Severe structural breaks or heavy load-bearing failures raise the stakes, too.
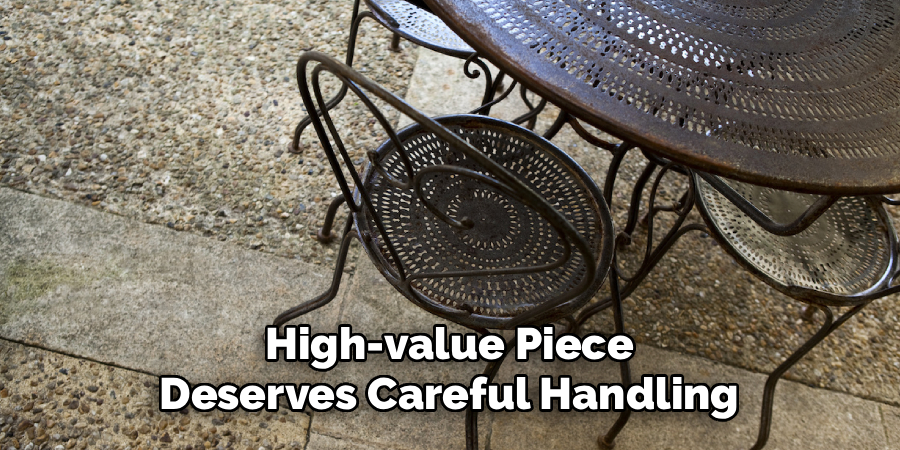
And sometimes a proper weld is genuinely the only safe answer. For anything that must reliably support significant weight, paying a professional may be money well spent.
Conclusion
So that’s the full arc of how to fix a metal chair without welding, from diagnosing the damage to sealing the finished repair. What looked like a hopeless trip to the curb turns into a satisfying afternoon project instead.
Think back through the path. You inspect the break, choose between epoxy, brackets, rivets, and screws, prep the metal carefully, make the repair, and then protect it with paint or sealant.
Work patiently and match each method to the load it needs to carry. That’s really the whole secret.
Now grab a few simple tools and start with one repair. There’s a quiet pride waiting in that first moment you sit down in a chair you brought back to life with your own hands.

About
Stuart Rich is a distinguished figure in the world of metalworking and fabrication, with a decade of expertise creating innovative and sustainable metal projects. His professional focus lies in merging traditional blacksmithing and machining with modern manufacturing techniques, fostering designs that are both practical and durable. As the author of Metalenify, Stuart Rich delves into the art and science of metallurgy and DIY metal creation, inspiring artisans, hobbyists, and industry professionals alike.
Education
RMIT University
(Melbourne, Australia)
Associate Degree in Engineering Technology (Mechanical / Manufacturing)
Focus on metallurgical properties, industry-driven projects, and practical metal craftsmanship. Gained hands-on experience with traditional machining and digital manufacturing tools, such as CAD, CNC software, and precision welding equipment.
Nottingham Trent University
(United Kingdom)
Bachelor’s in Product Design and Materials Engineering (Honors)
Specialized in product design with a heavy focus on blending creativity with metal production and fabrication techniques. Participated in real-world industry projects, collaborating with architectural and hardware manufacturing companies to optimize material efficiency.
Publications and Impact
In Metalenify, Stuart Rich shares his insights on structural metal design processes, material grades, and strategies for efficient shop production. His writing bridges the gap between raw artisan knowledge and modern industrial needs, making it a must-read for both budding DIY metalworkers and seasoned fabrication professionals.