
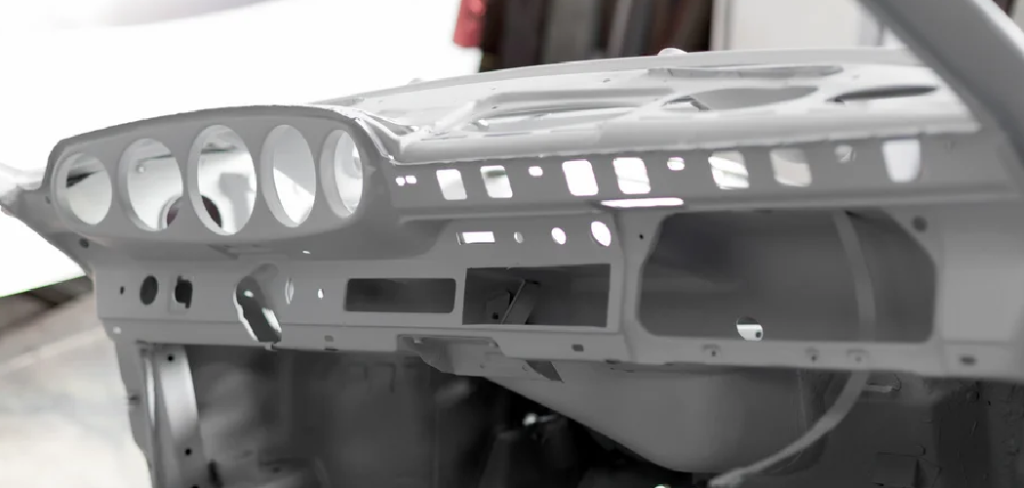
A cracked aluminum frame can throw a wrench into your day, whether it’s part of your bicycle, a window, a piece of patio furniture, or your favorite lawn chair. Aluminum is light, strong, and resistant to rust, which makes it a popular choice for all sorts of products.
The good news? You don’t always need to throw the whole thing away or hand it off to a costly professional. With the right tools, a little patience, and a careful approach, you can repair many cracked aluminum frames yourself at home. This guide on how to repair a cracked aluminum frame walks you through everything you need to know, from gathering your supplies to inspecting your finished repair.
Let’s get started.
What Are the Benefits?
Repairing a cracked aluminum frame yourself comes with several real advantages. Here’s why it’s worth the effort:
- Save money. Professional welding or replacement can be expensive. A DIY repair often costs a fraction of the price, especially if you already own some basic tools.
- Extend the life of your gear. Instead of tossing a frame that still has plenty of use left, you keep it working for years to come.
- Reduce waste. Fixing rather than replacing keeps usable metal out of landfills. It’s a small win for the environment.
- Learn a valuable skill. Once you understand how to repair aluminum, you can apply that knowledge to future projects around your home or workshop.
- Restore safety and function. A solid repair brings back the strength and stability you depend on, whether you’re riding a bike or sitting in a chair.
- Convenience. You fix it on your own schedule, without waiting days for a shop appointment.
The satisfaction of solving the problem with your own hands is a nice bonus too.
What Will You Need?
Before you begin, gather everything in one place. Having your materials ready makes the job smoother and safer. Here’s your checklist:
Safety Gear:
- Safety glasses or goggles
- Heat-resistant gloves
- A dust mask or respirator
- A welding helmet (if you plan to weld)
Cleaning Supplies:
- Acetone or a degreaser
- Clean rags or shop towels
- A wire brush
- Stainless steel brush (for aluminum specifically)
Repair Tools and Materials:
- An angle grinder or rotary tool
- Sandpaper (various grits, from coarse to fine)
- A drill with small bits
- A vise or clamps to hold the frame steady
Your Repair Method (Choose One):
- TIG welder with aluminum filler rod, OR
- An aluminum brazing rod and a propane torch, OR
- A two-part epoxy designed for metal (for lighter, non-structural repairs)
Finishing Supplies:
- A file
- Metal primer and paint (optional, for appearance)
Make sure you work in a well-ventilated area with a sturdy, fireproof surface.
10 Easy Steps on How to Repair a Cracked Aluminum Frame
Step 1: Assess the Damage
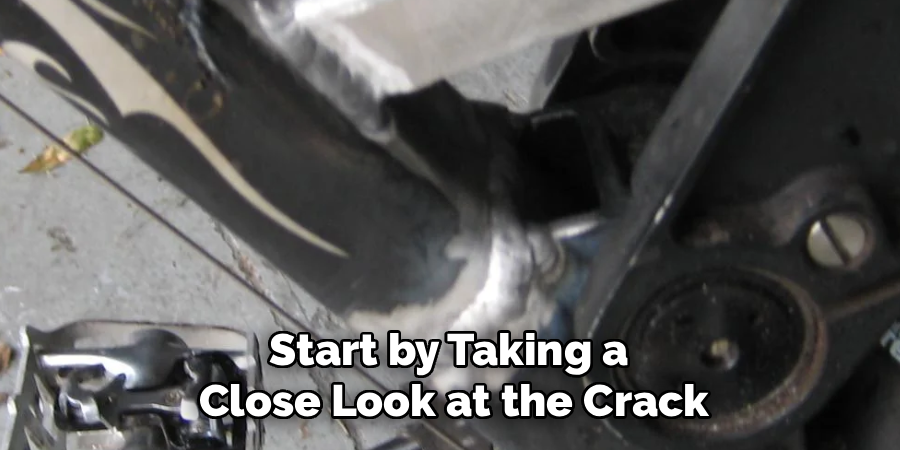
Start by taking a close look at the crack. Is it a small hairline fracture, or a deep break that goes all the way through? Check whether the frame still holds its shape and whether the crack sits in a high-stress area. Run your finger gently along the surface to feel for rough edges. Understanding the size and location of the damage helps you pick the right repair method. For tiny surface cracks, epoxy may work. For deeper structural cracks, welding or brazing is the safer choice.
Step 2: Clean the Area
A clean surface is the foundation of a strong repair. Use acetone or a degreaser to wipe away dirt, oil, and grime around the crack. Aluminum forms a thin oxide layer that can weaken your bond, so scrub the area with a stainless steel brush dedicated to aluminum only. Don’t use a brush you’ve used on steel, since it can leave contaminating particles. Wipe again with a clean rag and let it dry fully before moving on.
Step 3: Stop the Crack from Spreading
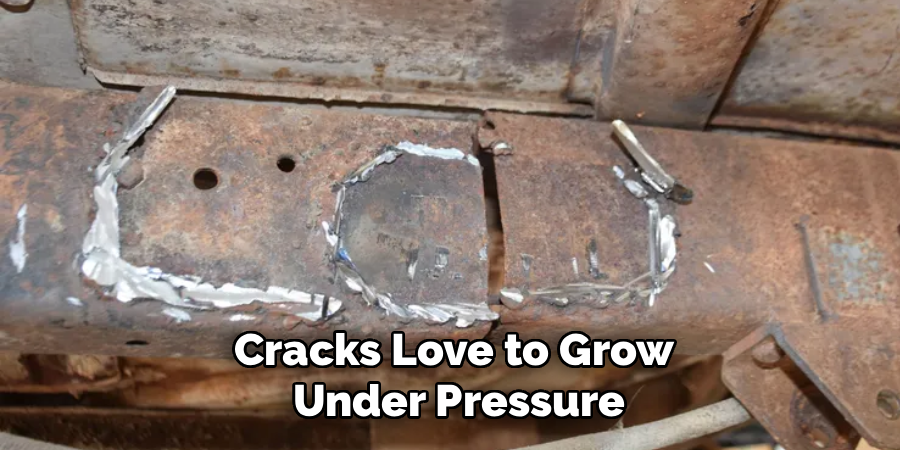
Cracks love to grow under pressure. To stop a crack from creeping further, drill a small hole at each end of the crack. This is called “stop-drilling.” The hole spreads out the stress that would otherwise push the crack longer. Use a small drill bit and go slowly. Wear your safety glasses, and clear away any metal shavings when you finish.
Step 4: Prepare the Crack for Bonding
Now open up the crack slightly so your filler material can flow deep inside. Use an angle grinder or rotary tool to create a small V-shaped groove along the length of the crack. This is known as beveling. The groove gives the weld, braze, or epoxy more surface to grip, which makes the bond much stronger. Keep the groove even and avoid grinding away more metal than needed.
Step 5: Secure the Frame
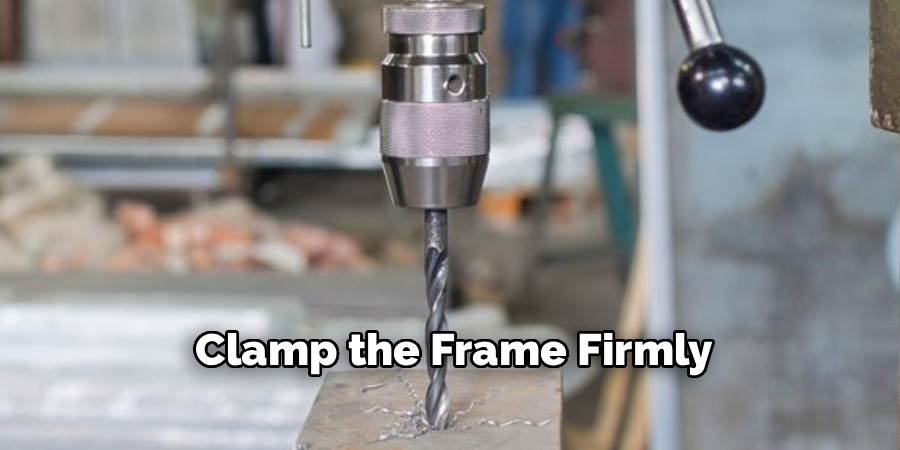
A wobbly frame makes for a messy repair. Clamp the frame firmly in a vise or use clamps to hold it steady on your work surface. Make sure the cracked section sits in a comfortable position so you can reach it easily. Stability matters most when you’re welding or brazing, because shaky hands lead to weak joints and uneven results.
Step 6: Apply Your Repair Method
This is the heart of the job. If you’re welding, strike your arc and slowly fill the groove with aluminum filler rod, moving in a steady line. If brazing, heat the area with your propane torch until the brazing rod melts and flows into the groove. If you’re using epoxy, mix the two parts thoroughly and press it firmly into the prepared crack. Whatever method you choose, work patiently and keep the heat or material even across the whole crack.
Step 7: Let It Cure or Cool
Patience pays off here. If you welded or brazed, let the metal cool naturally. Don’t cool it with water, as rapid cooling can create new cracks. If you used epoxy, follow the curing time on the package, which can range from a few hours to a full day. Rushing this step is one of the easiest ways to ruin an otherwise good repair, so give it the time it needs.
Step 8: Smooth the Repair
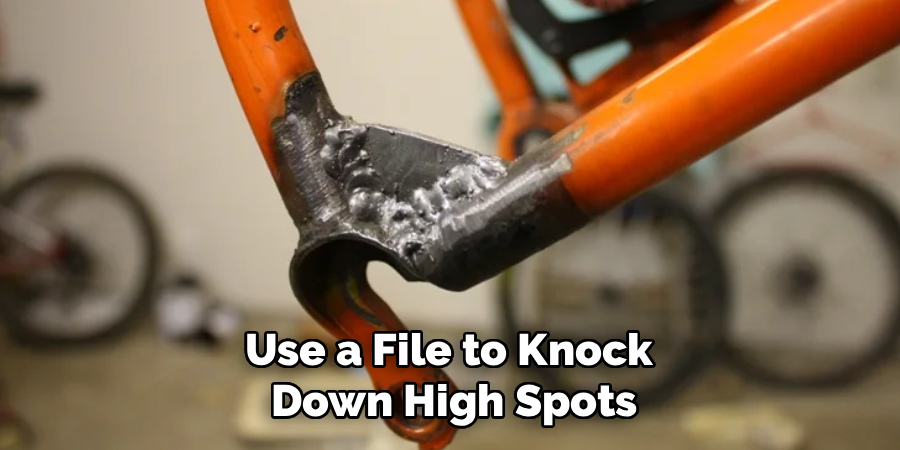
Once everything has cooled or cured, it’s time to clean up the surface. Use a file to knock down high spots, then switch to sandpaper, starting with a coarse grit and working toward a finer one. Smooth the repaired area until it blends in with the surrounding frame. Take your time and check your progress often so you don’t sand away too much material.
Step 9: Inspect for Strength
Before you trust the frame again, test your work. Look closely for gaps, air pockets, or thin spots in the repair. Apply gentle pressure to see if the joint flexes or holds firm. Tap it lightly and listen for a solid sound rather than a hollow one. If anything seems weak, it’s better to redo the repair now than to discover a failure later when the frame is under load.
Step 10: Finish and Protect
To wrap up, protect your repair and restore the frame’s look. Wipe the area clean, then apply a metal primer followed by paint that matches the frame. This step guards against corrosion and helps the repair blend in. Let the paint dry fully before putting the frame back into use. Now you’ve got a finished, protected, and reliable repair.
By following these steps, you can confidently repair a metal frame and ensure its strength and durability for years to come. Remember to always take your time, use proper tools and materials, and consult a professional if needed.
5 Things You Should Avoid
Even a careful repair can go wrong if you fall into common traps. Steer clear of these mistakes:
- Skipping the cleaning step. Oil, dirt, and oxide will weaken any bond. Never rush past a thorough cleaning.
- Using the wrong filler or epoxy. Not every product works on aluminum. Always check that your welding rod, brazing rod, or epoxy is rated for aluminum.
- Cooling the metal too fast. Dunking hot aluminum in water might feel efficient, but it invites new cracks. Let it cool on its own.
- Ignoring safety gear. Sparks, fumes, and hot metal are no joke. Always wear glasses, gloves, and a mask, and work in a ventilated space.
- Trusting a weak repair too soon. Putting the frame back into heavy use before it has fully cured or before you’ve inspected it can lead to a sudden failure.
Conclusion
How to repair a cracked aluminum frame is a project well within reach for most DIYers, as long as you take it step by step. You start by understanding the damage, then move through cleaning, preparing, repairing, curing, and finally inspecting your work. Each step builds on the last, and skipping any one of them can put your whole repair at risk.
The biggest keys to success are preparation and patience. Clean the area thoroughly, choose a repair method that matches the crack, and never rush the curing or cooling stage. Wear your safety gear every step of the way, and test the frame carefully before putting it back into use.
With a little practice, you’ll save money, reduce waste, and gain a skill you can use again and again.

About
Stuart Rich is a distinguished figure in the world of metalworking and fabrication, with a decade of expertise creating innovative and sustainable metal projects. His professional focus lies in merging traditional blacksmithing and machining with modern manufacturing techniques, fostering designs that are both practical and durable. As the author of Metalenify, Stuart Rich delves into the art and science of metallurgy and DIY metal creation, inspiring artisans, hobbyists, and industry professionals alike.
Education
RMIT University
(Melbourne, Australia)
Associate Degree in Engineering Technology (Mechanical / Manufacturing)
Focus on metallurgical properties, industry-driven projects, and practical metal craftsmanship. Gained hands-on experience with traditional machining and digital manufacturing tools, such as CAD, CNC software, and precision welding equipment.
Nottingham Trent University
(United Kingdom)
Bachelor’s in Product Design and Materials Engineering (Honors)
Specialized in product design with a heavy focus on blending creativity with metal production and fabrication techniques. Participated in real-world industry projects, collaborating with architectural and hardware manufacturing companies to optimize material efficiency.
Publications and Impact
In Metalenify, Stuart Rich shares his insights on structural metal design processes, material grades, and strategies for efficient shop production. His writing bridges the gap between raw artisan knowledge and modern industrial needs, making it a must-read for both budding DIY metalworkers and seasoned fabrication professionals.





