When you melt aluminum, you quickly notice a grayish, crusty layer forming on the surface. That layer is called dross, and it’s an unavoidable part of working with molten metal. Dross is a mix of aluminum oxides, trapped metal, and impurities that float to the top as the aluminum heats up and reacts with oxygen in the air.
While dross might look like simple waste, it actually holds valuable aluminum inside it. If you leave it alone or remove it carelessly, you lose good metal and reduce the quality of your final casting.
In this guide on how to clean dross from molten aluminum, you’ll learn exactly why dross removal matters, what tools you need, and how to do it step by step. We’ll also cover common mistakes to avoid and answer the questions people ask most. Let’s dig in.
Benefits of Cleaning Dross from Molten Aluminum
Removing dross isn’t just busywork. It delivers real, measurable advantages for anyone melting aluminum. Here are the biggest reasons to make dross cleaning a regular habit.
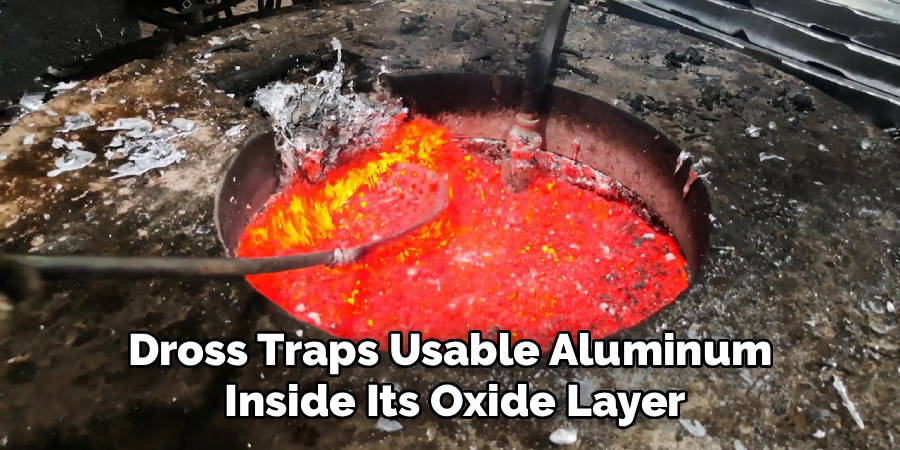
- Higher metal recovery. Dross traps usable aluminum inside its oxide layer. When you skim and process it correctly, you recover that hidden metal instead of throwing it away. Over time, this saves you a surprising amount of material and money.
- Cleaner, stronger castings. Dross that mixes into your pour creates inclusions, porosity, and weak spots. Clean molten metal flows better and produces parts with smoother surfaces and better structural integrity. If you care about quality, dross removal is non-negotiable.
- Longer equipment life. Dross can build up on crucibles, ladles, and furnace walls. Left unchecked, it hardens and becomes difficult to remove, shortening the lifespan of your gear. Regular cleaning keeps your tools in good shape.
- Better energy efficiency. A clean melt heats more evenly and holds temperature better. When dross insulates the surface or clogs your system, your furnace works harder and burns more fuel to reach the same results.
- Safer working conditions. Excess dross can cause spitting, splashing, and unexpected reactions. Keeping the melt clean reduces these risks and creates a safer environment for everyone in the shop.
- Less environmental waste. When you recover metal from dross and dispose of the rest properly, you reduce landfill waste and make your operation more sustainable. Many facilities even sell recovered dross to recyclers.
What Will You Need?
Before you start, gather the right tools and safety gear. Working with molten aluminum is dangerous, and being prepared makes the job faster and safer. Here’s your checklist.
- Heat-resistant gloves rated for high temperatures
- Face shield and safety glasses to protect against splashes
- Heat-resistant apron or jacket made from leather or treated material
- Steel-toe boots with no exposed skin around the ankles
- Skimming spoon or slotted ladle for lifting dross off the surface
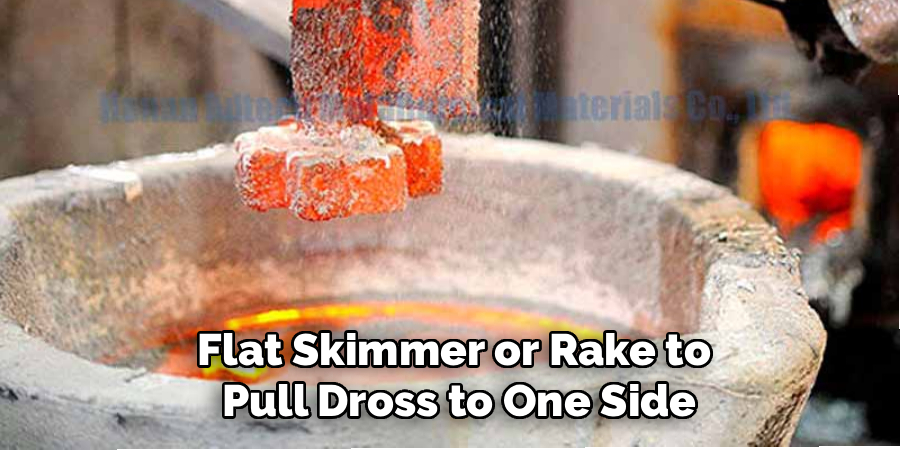
- Flat skimmer or rake to pull dross to one side
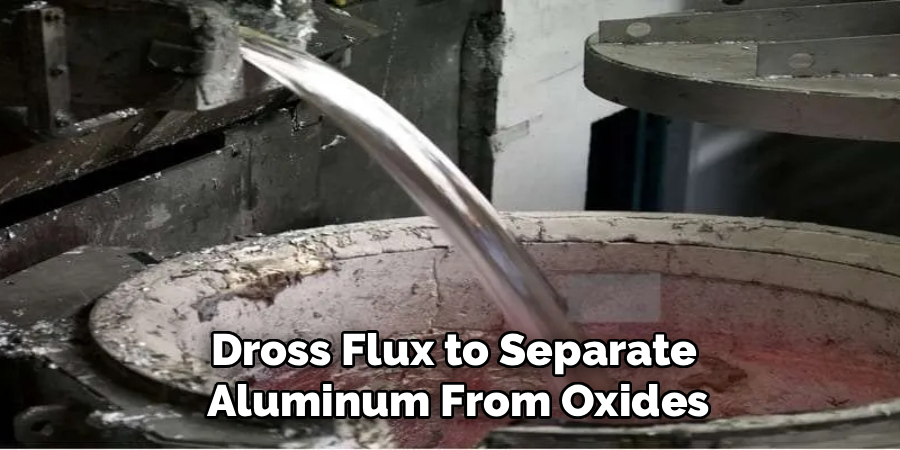
- Dross flux to separate aluminum from oxides
- Metal collection pan to hold removed dross
- Long-handled stirring rod for mixing in flux
- Thermometer or pyrometer to monitor melt temperature
- Crucible or furnace in good working condition
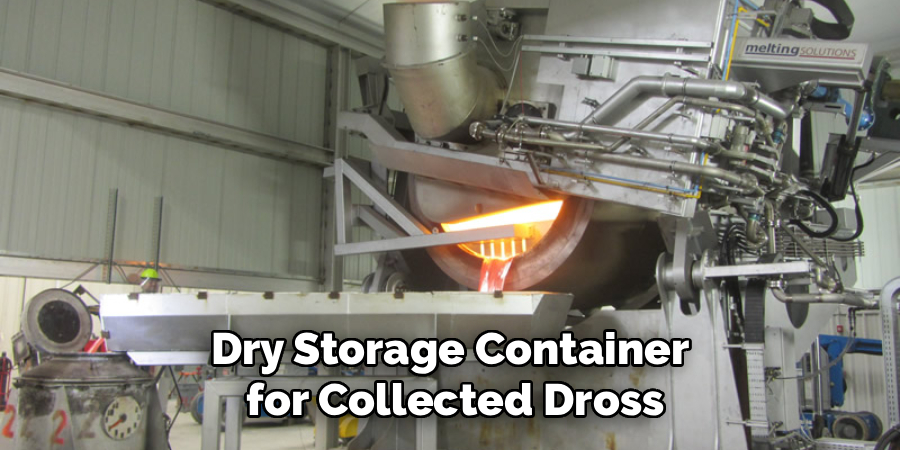
- Dry storage container for collected dross
- Fire extinguisher rated for metal fires (Class D)
- Proper ventilation or a fume hood to clear toxic vapors
Make sure every tool is completely dry. Even a tiny amount of moisture can cause molten aluminum to explode violently. Preheat your metal tools if possible to remove any hidden moisture before they touch the melt.
10 Easy Steps on How to Clean Dross from Molten Aluminum
Step 1: Prepare Your Workspace
Start by setting up a clean, organized area. Clear away anything flammable and make sure your floor is dry. Position your tools within easy reach so you don’t have to scramble during the process. Confirm that your ventilation is working and your fire extinguisher is nearby. A tidy workspace lowers your risk of accidents and helps the job go smoothly. Take a moment to mentally walk through each step before you begin.
Step 2: Put On Your Safety Gear
Never approach molten aluminum without full protection. Slip on your heat-resistant gloves, apron, and steel-toe boots. Lower your face shield and put on safety glasses underneath. Cover any exposed skin, since molten metal can splash up to a surprising distance. Double-check that nothing is loose or dangling. Your safety gear is your first line of defense, so wear it correctly every single time, no exceptions.
Step 3: Heat the Aluminum to the Right Temperature
Bring your aluminum to a molten state, ideally between 1,220°F and 1,300°F (660°C to 705°C). Use your thermometer or pyrometer to track the temperature closely. If the metal is too cool, the dross will be thick and hard to remove. If it’s too hot, you’ll generate even more dross and risk burning off valuable metal. Aim for a steady, controlled heat and hold it there before you begin skimming.
Step 4: Allow the Dross to Rise and Settle
Once the aluminum is fully molten, give it a few minutes to settle. The lighter oxides and impurities naturally float to the surface, forming a visible crust. Resist the urge to rush. Letting the dross gather in one stable layer makes it far easier to remove cleanly. You’ll see the surface change color and texture as the dross separates from the liquid metal below.
Step 5: Add Dross Flux
Sprinkle a measured amount of dross flux across the surface of the melt. Flux helps separate trapped aluminum from the oxides, which means you recover more usable metal. It also makes the dross drier and easier to skim. Follow the manufacturer’s recommended ratio for your batch size. Don’t overdo it, since too much flux wastes product and can affect your melt. Spread it evenly for the best results.
Step 6: Stir the Flux Gently
Use your long-handled stirring rod to mix the flux into the surface layer. Stir slowly and steadily to avoid splashing molten metal. The goal is to work the flux through the dross so it can do its job. You’ll notice the dross becoming more granular and less sticky. Keep your face and body back from the surface while you stir, and never lean directly over the crucible.
Step 7: Skim the Dross from the Surface
Now comes the main event. Using your skimming spoon or slotted ladle, gently pull the dross toward one edge of the crucible. Lift it off the surface in slow, controlled motions. The slots in your ladle let liquid aluminum drain back into the melt while holding the solid dross. Work methodically across the entire surface until you’ve removed the visible crust. Take your time and avoid splashing.
Step 8: Deposit the Dross in a Collection Pan
Carefully transfer each scoop of dross into your dry metal collection pan. Move slowly to prevent spills and splashes. Keep the pan close to your work area so you don’t carry molten material across the room. As the dross cools in the pan, it hardens into chunks you can store or recycle later. Never set hot dross on a wet or flammable surface, as this can cause dangerous reactions.
Step 9: Inspect and Repeat If Needed
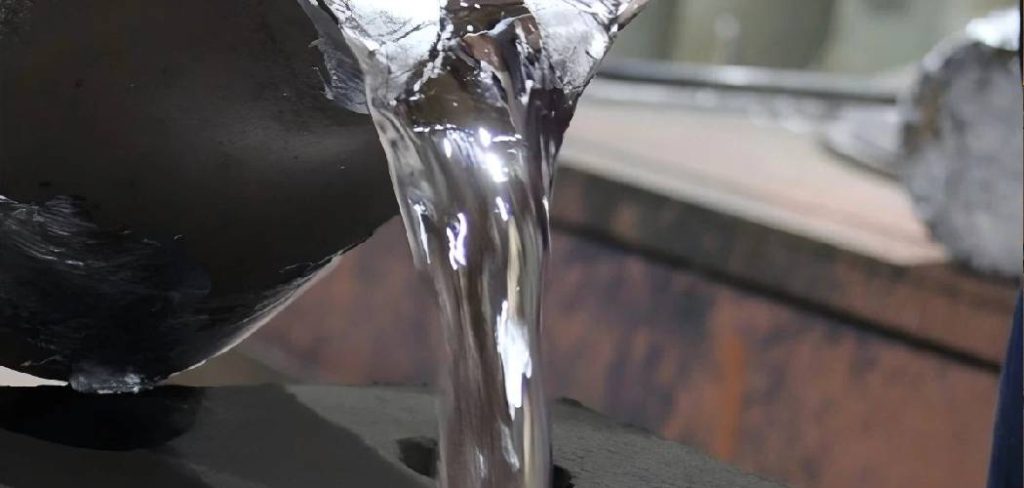
After your first pass, look closely at the surface of the melt. You’ll often find a thin layer of dross still forming. Give it a moment to settle, then repeat the skimming process. Larger batches or dirtier scrap may need several rounds. Keep cleaning until the surface looks shiny and clean. A truly clean melt has a bright, mirror-like surface with no gray crust floating on top.
Step 10: Store or Dispose of the Dross Properly
Once your melt is clean and your dross has cooled, deal with the collected material responsibly. Store dross in a dry, labeled container away from moisture. Many recyclers buy aluminum dross because it still contains recoverable metal. If you can’t recycle it, dispose of it according to your local regulations. Never dump dross in regular trash or pour water on it, since it can react and release harmful gases.
5 Things You Should Avoid
Even experienced melters make mistakes. Avoid these common errors to keep your work safe and your results clean.
1. Skipping safety gear. Molten aluminum reaches temperatures that cause severe burns instantly. Never take shortcuts with your protective equipment, even for a quick skim.
2. Using wet or cold tools. Moisture trapped on your tools can cause molten metal to explode on contact. Always dry and preheat your equipment before it touches the melt.
3. Overheating the aluminum. Pushing the temperature too high creates more dross and wastes good metal. Stick to the recommended range and monitor it closely.
4. Stirring too aggressively. Vigorous stirring causes splashing and pulls air into the melt, creating even more oxides. Keep your movements slow and controlled.
5. Improper dross disposal. Throwing dross in regular trash or exposing it to water is dangerous and often illegal. Always store and dispose of it the right way.
Conclusion
How to clean dross from molten aluminum is one of those tasks that separates careful, professional work from sloppy results. While dross forms naturally every time you melt metal, how you handle it makes all the difference. By removing it properly, you recover valuable aluminum, produce cleaner and stronger castings, protect your equipment, and keep your workspace safe.
The process really comes down to preparation, patience, and good technique. Set up your space, gear up correctly, heat your metal to the right temperature, and skim methodically with the help of flux.
Take your time, repeat the process as needed, and always dispose of your dross responsibly.

About
Stuart Rich is a distinguished figure in the world of metalworking and fabrication, with a decade of expertise creating innovative and sustainable metal projects. His professional focus lies in merging traditional blacksmithing and machining with modern manufacturing techniques, fostering designs that are both practical and durable. As the author of Metalenify, Stuart Rich delves into the art and science of metallurgy and DIY metal creation, inspiring artisans, hobbyists, and industry professionals alike.
Education
RMIT University
(Melbourne, Australia)
Associate Degree in Engineering Technology (Mechanical / Manufacturing)
Focus on metallurgical properties, industry-driven projects, and practical metal craftsmanship. Gained hands-on experience with traditional machining and digital manufacturing tools, such as CAD, CNC software, and precision welding equipment.
Nottingham Trent University
(United Kingdom)
Bachelor’s in Product Design and Materials Engineering (Honors)
Specialized in product design with a heavy focus on blending creativity with metal production and fabrication techniques. Participated in real-world industry projects, collaborating with architectural and hardware manufacturing companies to optimize material efficiency.
Publications and Impact
In Metalenify, Stuart Rich shares his insights on structural metal design processes, material grades, and strategies for efficient shop production. His writing bridges the gap between raw artisan knowledge and modern industrial needs, making it a must-read for both budding DIY metalworkers and seasoned fabrication professionals.