Start by knocking off loose rust with a wire brush or sandpaper. Apply white vinegar, a baking soda paste, or a commercial rust remover, let it sit long enough to dissolve the oxidation, then scrub the surface clean. Rinse thoroughly, dry completely, and seal the surface to stop corrosion from coming back.
Rusted hinges, pitted garden tools, corroded bolts—oxidation has a way of quietly destroying things you rely on every day. For homeowners, it’s a slow and annoying drain on money. For anyone working with structural materials or equipment, it’s potentially a safety issue. Either way, it tends to get worse the longer you leave it.
The good news is that most rust problems are fixable with supplies you probably already have. This guide on how to clean metal corrosion walks you through the entire process, from initial inspection to final protective coating, so you can approach any corroded surface with a clear plan rather than a wire brush and a hope.
Tools and Materials You’ll Need
Before you start cleaning rust, gather all the necessary tools and materials. These include:
- Cleaning solution (vinegar or lemon juice)
- Baking soda
- Wire brush or sandpaper
- Soft-bristled brush
- Gloves and safety goggles
- Protective coating (such as oil, wax or paint)
- Clean clothes or rags
7 Simple Step-By-Step Guidelines on How to Clean Metal Corrosion
Step 1: Assess the Extent of the Corrosion
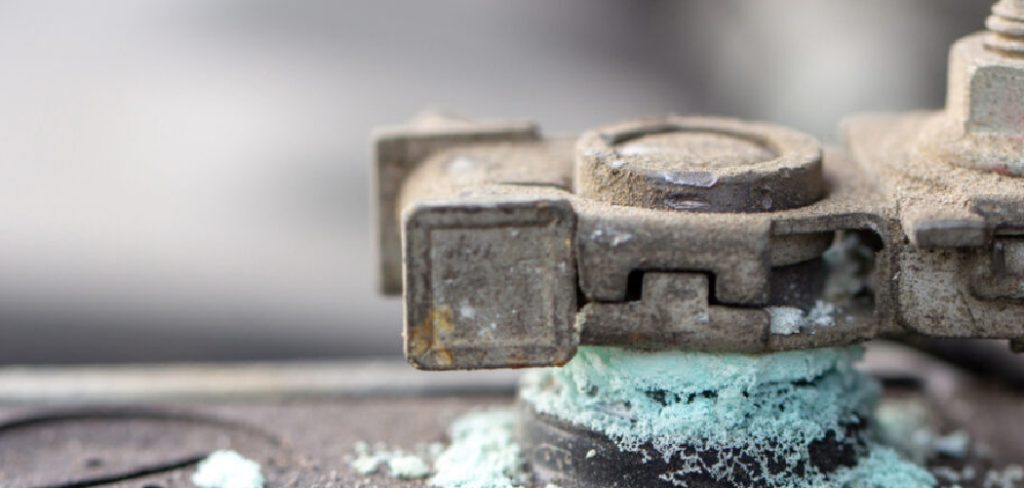
Before you reach for any tools, take a few minutes to actually look at what you’re dealing with. Light surface rust shows up as a thin, flaky orange layer—it brushes off without much effort and rarely signals anything alarming underneath. Deep pitting is a different story. When oxidation has worked its way into the metal’s structure, you’re looking at more than a cosmetic issue.

This distinction matters because it determines everything that follows: what cleaning approach you use, how long the process will take, and whether cleaning is even the right call at all. If the material is crumbling, heavily perforated, or—critically—load-bearing (think automotive frames or structural beams), cleaning may restore its appearance while doing nothing to restore its safety. In those cases, replacement is almost certainly the better decision.
For everything else, a thorough look now saves you from choosing a method that’s either overkill or completely insufficient.
Step 2: Prepare Your Workspace and Put on Safety Gear
Ventilation is genuinely important here, not just a precaution you can skip. Working with acidic cleaners and abrading corroded metal releases particles and fumes that you don’t want to breathe in. If you can move the project outside, do that. If you’re working in a garage or enclosed space, open the windows and run an exhaust fan.
Lay down plastic sheeting or heavy cardboard to catch rust flakes and chemical drips—these can stain concrete and porous surfaces permanently if you’re not careful.
Then gear up properly before touching anything. Heavy rubber gloves protect your hands from both sharp edges and acidic solutions. Safety goggles block debris that tends to fly unpredictably when you’re scrubbing. The dust mask is for iron oxide particles, which are not something you want floating into your lungs. None of this is particularly glamorous, but it takes about ninety seconds and prevents problems that are genuinely unpleasant to deal with after the fact.
Step 3: Remove the Loose Surface Rust Manually
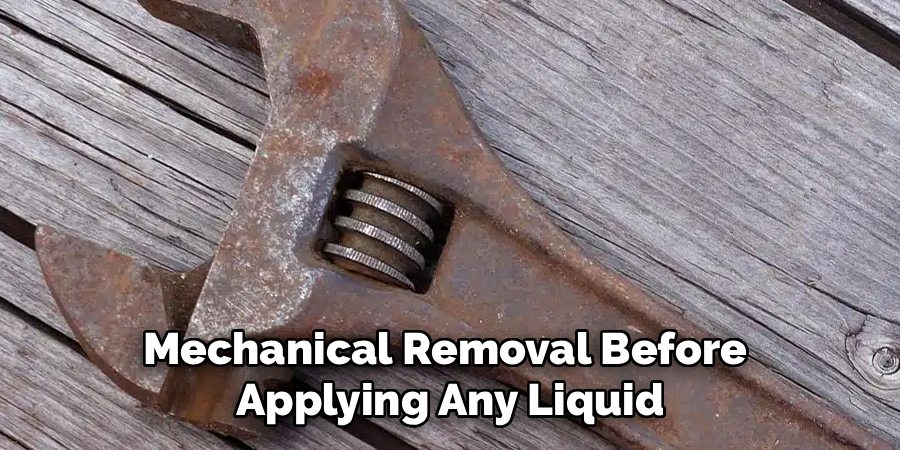
Mechanical removal before applying any liquid treatment is a step people sometimes skip in their eagerness to get to the chemical part. Don’t. Scraping away the top layer of loose, flaking rust first does two useful things: it gives the cleaning solution direct contact with the bonded oxidation underneath, and it significantly reduces how much chemical product you’ll need.
Use a stiff wire brush and scrub with firm, even strokes. For items with contours, joints, or recessed areas—or for antiques where you’re trying not to damage the underlying surface—drop down to a finer steel wool or medium-grit sandpaper. Corners and seams tend to be where moisture sits longest, so spend extra time there.
Wipe the dust away periodically with a dry cloth so you can actually see what you’re working with. Keep going until the loose material is gone and only the stubborn, adhered rust remains.
Step 4: Apply Your Chosen Cleaning Solution
This is where the chemistry does most of the work. The acidic content in white vinegar, lemon juice, or commercial rust removers reacts with iron oxide and breaks down its bond with the metal surface. For small hardware—bolts, hinges, brackets—the most effective approach is often full submersion in a plastic container of white vinegar. For larger or vertical surfaces, vinegar-soaked rags laid directly on the metal, or a thick paste of baking soda and water, may work better since they maintain contact without dripping everywhere.
Allow adequate dwell time. Light rust may respond in thirty minutes; heavier corrosion may need twelve to twenty-four hours. You’ll likely see some bubbling or a color shift as the reaction progresses—that’s the process working as it should.
The most common mistake at this stage is impatience. Pulling the item out too early and then scrubbing harder to compensate doesn’t produce the same result. The acid needs time to penetrate and loosen the oxidation at a molecular level.
Step 5: Scrub the Dissolved Oxidation Away
Once the solution has had enough time to do its job, you’ll need to physically remove what’s left. Grab a scouring pad, old toothbrush, or fresh piece of steel wool and scrub in circular motions. If the soaking step went well, you should see a dark, muddy residue lifting fairly easily to reveal cleaner metal underneath.
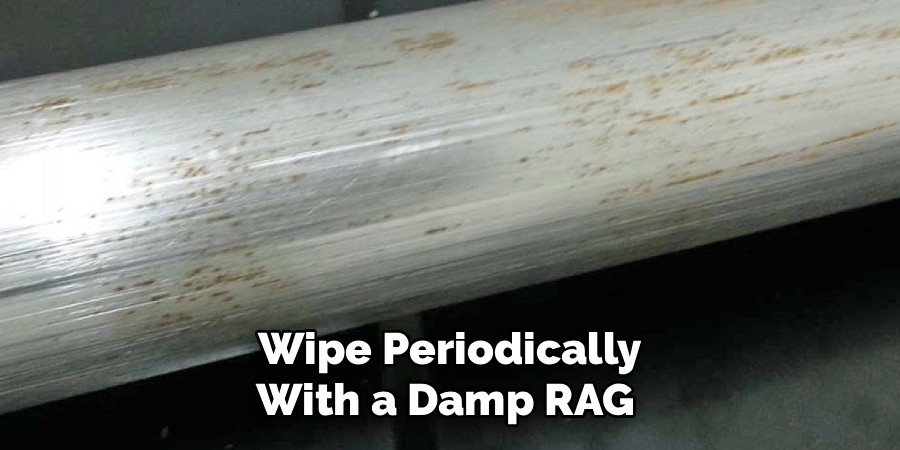
Any patches that remain stubbornly discolored or rough to the touch may need a second application. This isn’t a failure—it usually just means the oxidation was deeper in those spots than it appeared. Wipe periodically with a damp rag to check your progress and identify where you need to focus. Keep cycling through scrubbing and wiping until the surface is uniformly clean with no visible red or brown oxidation remaining.
Step 6: Neutralize the Acid and Dry the Surface
This step is where a lot of DIYers make an expensive mistake: they consider the rust gone and the job finished, without accounting for what the acid itself is now doing to the bare metal. Residual acidity—from vinegar, lemon juice, or commercial products—will cause what’s called flash rusting, which is essentially new oxidation forming within minutes on the freshly exposed surface.
Wash the entire item with warm water and a few drops of mild dish soap. Be thorough about this, particularly around hinges, threaded sections, and any tight crevices where liquid tends to pool. Then rinse completely.
Drying needs to happen fast and needs to be complete. Use absorbent microfiber towels to wipe down every surface, and consider a hairdryer or heat gun on a low setting for joints or cavities where water likes to hide. Any trapped moisture on bare metal will undo your work from the inside, sometimes within hours. The surface should be genuinely bone dry before you move on.
Step 7: Apply a Protective Sealant to Prevent Future Decay
Freshly cleaned bare metal is, ironically, more vulnerable than it was with rust on it—at least rust provides some barrier. You need to seal the surface immediately to prevent re-oxidation.
The right product depends on how the item will be used. For tools, a coat of mineral oil or machine oil applied with a rag is often sufficient and easy to reapply. For outdoor fixtures or items exposed to the elements, a rust-inhibiting primer followed by a topcoat paint offers more durable long-term protection. Clear polyurethane spray can work well for items where appearance matters and heavy use isn’t a factor.
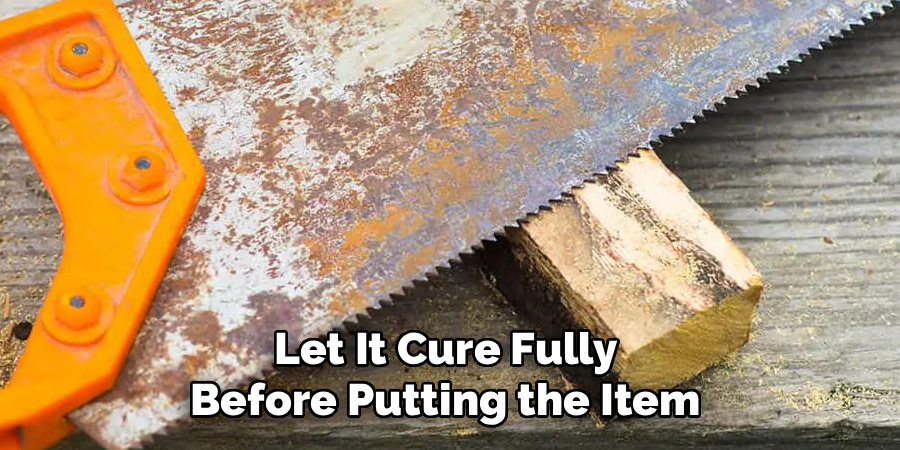
Apply whatever you choose in smooth, even layers and let it cure fully before putting the item back into service or leaving it outside. From there, periodic maintenance—wiping down surfaces, reapplying oil or wax as needed—does a lot to slow oxidation from returning. Following these steps on how to clean metal corrosion can help keep your metal objects looking new for years to come.
Common Mistakes to Avoid
Skipping the neutralization step is probably the single most common error, and it tends to result in disappointment: a surface that looks clean for about a day before flash rust appears. Using highly abrasive tools like angle grinders on antiques or decorative items is another frequent misstep—it removes material permanently and can destroy any patina or finish that gave the piece its value.
Forgetting the dust mask when dry-scrubbing may seem like a minor thing, but iron oxide particles are genuinely harmful over repeated exposure. And failing to apply a final sealant is essentially leaving the job half done—the surface will begin corroding again after its first encounter with moisture.
Do You Need To Use Professionals?
Most household rust situations fall well within DIY territory, assuming you have a bit of patience and the right materials. That said, there are situations where professional help is worth the cost.
If you’re dealing with structural components—vehicle chassis, load-bearing beams, or anything where structural integrity is a genuine concern—a professional service has access to media blasting equipment and industrial-grade chemistry that goes well beyond what’s practical at home. The same applies to antiques or heirlooms with significant monetary or sentimental value, where the margin for error is essentially zero. Professionals can also evaluate deep pitting more accurately and determine whether a piece is safe to use after restoration, not just aesthetically improved.
How Much Will It Cost?
The DIY route is inexpensive. Basic supplies—wire brush, white vinegar, baking soda, a can of sealant—typically run somewhere between $15 and $40. If you step up to commercial rust removers and specialized primers, costs may land between $50 and $100, depending on the size of the project.
Professional sandblasting and industrial powder coating are a different category of expense. Small components might start around $100, while large automotive frames or extensive architectural features can exceed $1,000. Whether that’s worth it comes down to the item’s value and what’s at stake structurally.
Frequently Asked Questions
Q1: What Is The Best Homemade Metal Corrosion Cleaner?
White vinegar is widely considered the most practical and accessible option. The acetic acid dissolves iron oxide bonds without releasing toxic fumes, and it’s cheap enough that you don’t have to ration it. For best results, fully submerge the item and let it soak for at least twenty-four hours before scrubbing.
Q2: Does Coca-Cola Actually Remove Rust?
It can, on a light surface, rust. The phosphoric acid in Coca-Cola is the same active compound found in some commercial rust converters, so the chemistry isn’t unfounded. The problem is the sugar content, which leaves a sticky residue that requires significant cleanup afterward. White vinegar does the same job more cleanly and is almost always the better choice.
Q3: How Can I Prevent Metal Corrosion From Returning?
The core principle is simple: keep moisture and oxygen away from bare metal. In practice, that means applying a suitable barrier—clear polyurethane sealant, rust-inhibiting primer and paint, or machine oil for tools—and maintaining it over time. Storing items in a dry, climate-controlled space also helps considerably. No coating lasts forever, but regular upkeep extends the intervals between treatments significantly.
Final Thoughts on Metal Restoration
Oxidized metal is one of those problems that looks worse than it usually is. With the right process, a lot of what appears to be irreparably damaged can be brought back to functional condition—sometimes to something close to its original appearance.
The steps that tend to get skipped are the ones that matter most: proper assessment before you start, full neutralization after cleaning, and a protective finish at the end. Follow through on all of them, work methodically rather than rushing the chemical phases, and the results are usually better than expected.
Most rust is fixable. Now you know exactly how to fix it. Thanks for reading this guide on how to clean metal corrosion.
About
Stuart Rich is a distinguished figure in the world of metalworking and fabrication, with a decade of expertise creating innovative and sustainable metal projects. His professional focus lies in merging traditional blacksmithing and machining with modern manufacturing techniques, fostering designs that are both practical and durable. As the author of Metalenify, Stuart Rich delves into the art and science of metallurgy and DIY metal creation, inspiring artisans, hobbyists, and industry professionals alike.
Education
RMIT University
(Melbourne, Australia)
Associate Degree in Engineering Technology (Mechanical / Manufacturing)
Focus on metallurgical properties, industry-driven projects, and practical metal craftsmanship. Gained hands-on experience with traditional machining and digital manufacturing tools, such as CAD, CNC software, and precision welding equipment.
Nottingham Trent University
(United Kingdom)
Bachelor’s in Product Design and Materials Engineering (Honors)
Specialized in product design with a heavy focus on blending creativity with metal production and fabrication techniques. Participated in real-world industry projects, collaborating with architectural and hardware manufacturing companies to optimize material efficiency.
Publications and Impact
In Metalenify, Stuart Rich shares his insights on structural metal design processes, material grades, and strategies for efficient shop production. His writing bridges the gap between raw artisan knowledge and modern industrial needs, making it a must-read for both budding DIY metalworkers and seasoned fabrication professionals.


