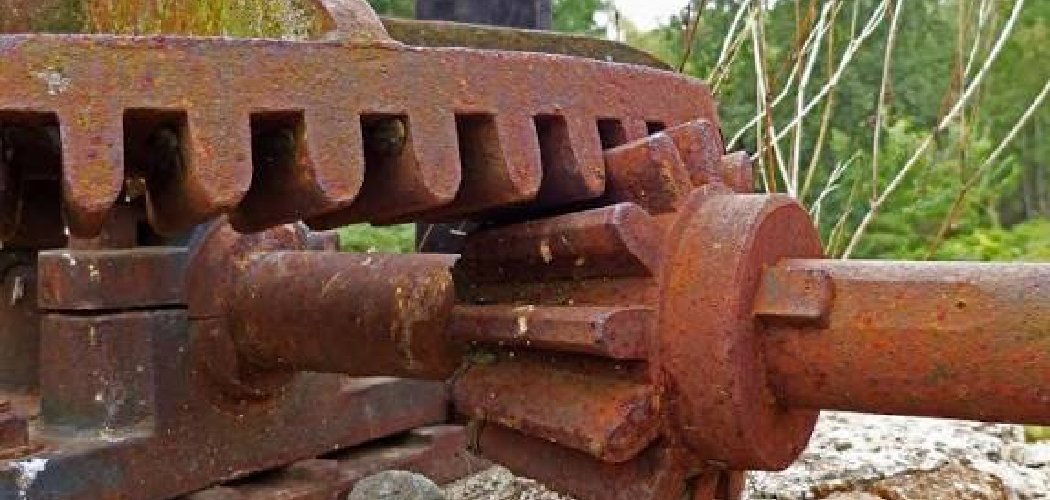
Cast iron gears are workhorses. You’ll find them in old machinery, antique clocks, vintage tractors, industrial equipment, and countless mechanical systems built to last. They’re tough, durable, and capable of handling serious loads. But even the strongest cast iron has one enemy it can’t fight on its own: rust.
When moisture meets bare iron, oxidation begins. Over time, that orange-brown coating spreads, eating into the surface and locking teeth together. A gear that once turned smoothly becomes stiff, gritty, or completely frozen. Left unchecked, rust can ruin a part that’s expensive or impossible to replace.
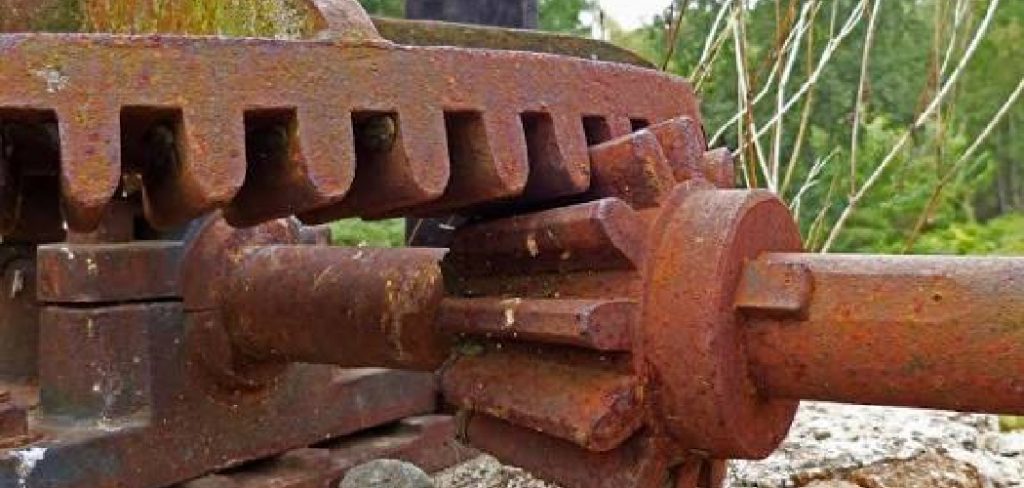
Let’s dive into how to restore rusted cast iron gears.
Benefits of Restoring Rusted Cast Iron Gears
Before you grab your tools, it helps to know why restoration is worth your time. Here’s what you gain:
- Save money. Replacement gears, especially for vintage or specialty machines, can be pricey or hard to find. Restoring what you already have keeps cash in your pocket.
- Preserve history. Antique gears often carry craftsmanship you simply can’t buy today. Restoring them protects that legacy.
- Extend equipment life. A clean, well-protected gear runs smoother and lasts longer, which means fewer breakdowns down the road.
- Improve performance. Rust adds friction and throws off precise movement. Removing it restores smooth, efficient operation.
- Reduce waste. Reviving old parts is better for the environment than scrapping them and buying new.
- Build valuable skills. Restoration teaches you about metalwork, mechanics, and maintenance you can use again and again.
Restoration isn’t just practical. It’s satisfying. There’s real pride in taking a crusty, frozen gear and making it look and work like new.
What Will You Need?
Gather everything before you start. Having your supplies ready makes the job faster and safer. Here’s your checklist:
Safety Gear
- Heavy-duty work gloves
- Safety glasses or goggles
- Dust mask or respirator
- Apron or old clothes
Cleaning and Rust-removal Supplies
- Wire brush (steel bristles)
- Wire brush attachment for a drill
- Steel wool (coarse and fine grades)
- Sandpaper (various grits, from 80 to 400)
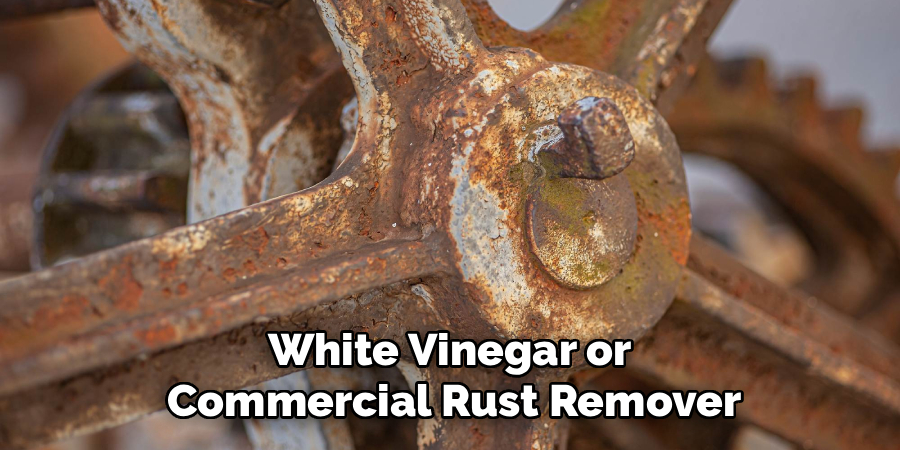
- White vinegar or commercial rust remover
- Baking soda
- A plastic or glass container large enough to soak the gear
Tools
- Bench grinder or rotary tool (optional, for heavy rust)
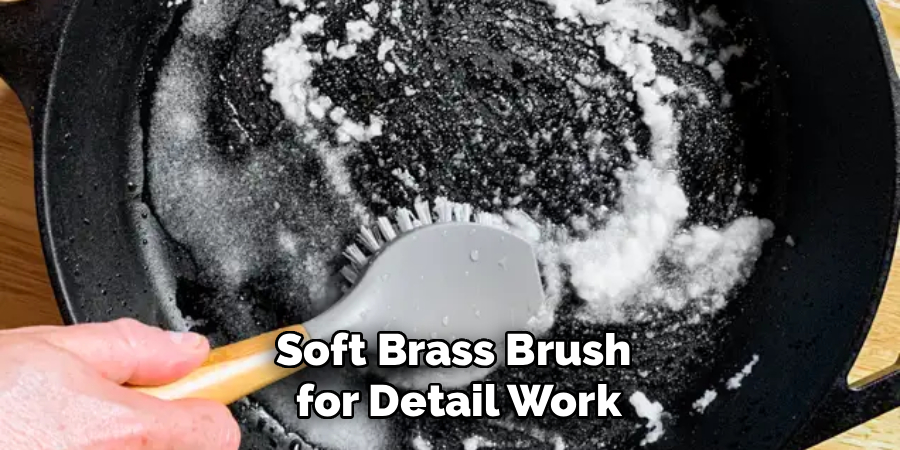
- Soft brass brush for detail work
- Clean rags or shop towels
- A bucket of clean water
Protection and Finishing
- Machine oil or mineral oil
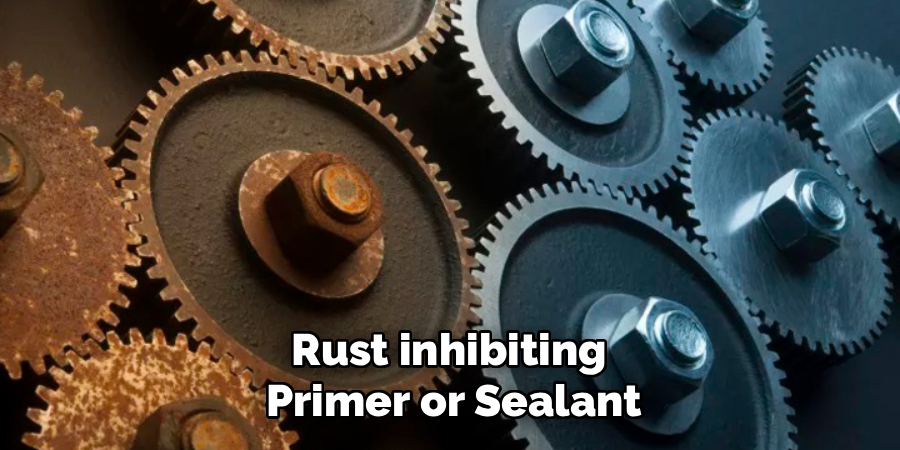
- Rust-inhibiting primer or sealant
- Paste wax or grease (for long-term protection)
Extras
- A toothbrush for tight spaces
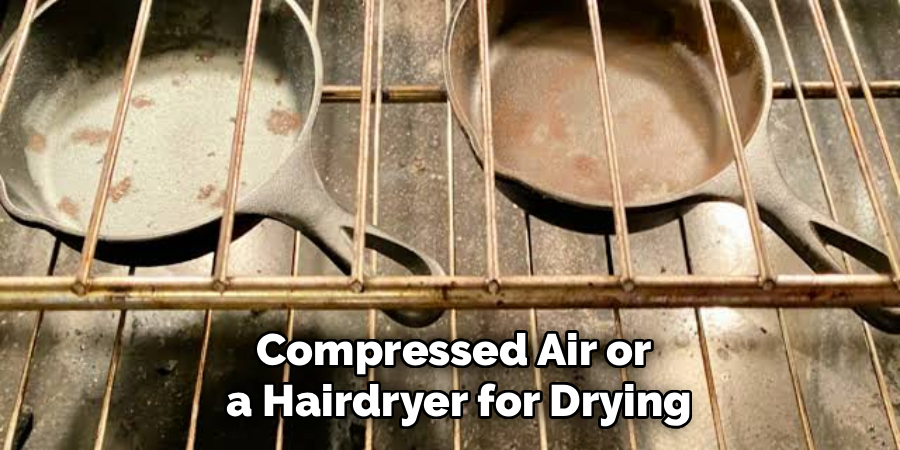
- Compressed air or a hairdryer for drying
- A well-ventilated workspace
With your station set up, you’re ready to begin.
10 Easy Steps on How to Restore Rusted Cast Iron Gears
Step 1: Inspect and Assess the Damage
Start by taking a close look at the gear. Examine it under good lighting and turn it over in your hands. You’re checking how deep the rust goes and whether the teeth are still intact. Surface rust is easy to handle, but deep pitting or cracked teeth may need more attention or even professional help.
Run your finger along the teeth and feel for chips, flat spots, or broken edges. Make notes or take photos of trouble areas so you can track your progress. If the gear is part of a larger machine, mark its orientation so you can reinstall it correctly later. A careful assessment now saves headaches down the line and helps you choose the right cleaning method.
Step 2: Clean Off Loose Debris
Before tackling the rust itself, clear away the loose dirt, grease, and grime. Wipe the gear with a dry rag to remove dust. Then use a degreaser or warm soapy water to break down any oily buildup, especially if the gear came out of machinery.
Scrub gently with a stiff brush and rinse well. Don’t worry about the rust yet. Your goal here is simply to expose the corroded metal so your rust-removal efforts work better. Once the gear is free of surface gunk, dry it thoroughly. Working on a clean part lets you see exactly what you’re dealing with and prevents debris from interfering later.
Step 3: Tackle Heavy Rust Mechanically
For thick, flaky rust, mechanical removal works fastest. Grab your wire brush and scrub firmly along the surface and between the teeth. For stubborn spots, attach a wire brush to a drill or use a bench grinder, but go easy. You want to remove rust, not grind away healthy metal.
Work in sections and check your progress often. Use a brass brush or rotary tool for tight gaps where steel bristles can’t reach. Take your time and keep the gear steady, clamping it in a vise if needed. This step knocks off the worst of the corrosion and prepares the surface for a deeper chemical clean.
Step 4: Soak in a Rust-Removal Solution
Now it’s time to dissolve the rust that brushing left behind. Place the gear in a plastic or glass container and cover it completely with white vinegar. Vinegar’s mild acid breaks down rust without harsh chemicals. If you prefer, use a commercial rust remover and follow the label instructions.
Let the gear soak for several hours, or overnight for heavy rust. Check it periodically. You’ll see the rust loosen and the solution turn cloudy or orange. For very rusty pieces, you may need to soak more than once. This hands-off step does much of the hard work for you while you focus on other tasks.
Step 5: Scrub Away Loosened Rust
After soaking, pull the gear out and scrub it again. The vinegar will have softened the remaining rust, making it easier to remove. Use steel wool, a wire brush, or a toothbrush to work the corrosion off the surface and out of the teeth.
You’ll notice the metal beginning to shine through. Keep scrubbing until most of the rust is gone. For tight or detailed areas, a smaller brush helps you reach every nook. Rinse the gear with clean water as you go to see your progress. This is where your gear really starts to look revived.
Step 6: Neutralize and Rinse
Vinegar and acidic rust removers leave residue that can cause new corrosion if you skip this step. Mix baking soda with water to create a neutralizing solution and wipe down the entire gear. The baking soda balances out the acid and stops it from working further.
Then rinse the gear thoroughly under clean running water. Make sure no solution remains trapped between the teeth. Neutralizing protects your hard work and prevents rust from returning the moment you set the gear aside. Don’t rush this. A clean, neutral surface is essential before you move on to drying.
Step 7: Dry the Gear Completely
Water is rust’s best friend, so drying matters more than you might think. Wipe the gear with a clean, dry rag right away. Then use compressed air, a hairdryer, or place the gear in a warm, dry spot to remove every trace of moisture.
Pay special attention to crevices and the spaces between teeth, where water loves to hide. Even a little dampness can spark fresh rust within hours. Make sure the gear is bone dry before applying any oil or finish. Skipping this step undoes everything you’ve done so far, so be patient and thorough.
Step 8: Smooth the Surface
With the rust gone and the gear dry, refine the surface. Use fine-grit sandpaper or fine steel wool to smooth out rough patches and any remaining rust spots. Work gently and follow the natural shape of the metal.
Smoothing removes microscopic pits where rust could take hold again and gives the gear a clean, polished feel. Don’t overdo it, especially on the teeth, since precise dimensions matter for proper meshing. Wipe away the dust when you’re done. A smooth surface not only looks better but also helps the protective coating bond evenly in the next step.
Step 9: Apply a Protective Coating
Bare cast iron rusts quickly, so seal it right away. Apply a thin, even layer of machine oil or mineral oil across the entire gear, covering every surface and tooth. The oil creates a barrier that keeps moisture out.
For long-term storage or harsh environments, add a rust-inhibiting primer or a coat of paste wax. If the gear stays in a working machine, grease may be the better choice since it withstands movement and heat. Wipe off any excess so it doesn’t attract dirt. This protective layer is what keeps your restored gear in great shape for years.
Step 10: Reinstall or Store Properly
Your gear is restored, so it’s time to put it to work or keep it safe. If you’re reinstalling it, line it up using the marks you made earlier and make sure it meshes smoothly with neighboring parts. Test the movement by hand before powering anything up.
If you’re storing the gear, wrap it in an oil-treated cloth and keep it in a dry, climate-controlled space. Avoid damp basements or garages where humidity swings. Check on stored gears now and then to catch any early signs of rust. Done right, your restoration will last and your gear will be ready whenever you need it.
Conclusion
How to restore rusted cast iron gears might look intimidating at first, but it’s a manageable project once you break it down. From your first careful inspection to the final protective coating, each step builds on the last to bring tired, corroded metal back to life.
Along the way, you save money, preserve valuable parts, and gain skills that serve you on future projects. Remember the essentials: remove rust gently, neutralize any chemicals, dry the gear completely, and always seal the metal afterward. Avoid the common mistakes, and your gear will reward you with smooth, reliable performance.
So roll up your sleeves and give that rusty gear a second chance. With this guide in hand, you’ve got everything you need to restore it like a pro and keep it running strong for years to come.

About
Stuart Rich is a distinguished figure in the world of metalworking and fabrication, with a decade of expertise creating innovative and sustainable metal projects. His professional focus lies in merging traditional blacksmithing and machining with modern manufacturing techniques, fostering designs that are both practical and durable. As the author of Metalenify, Stuart Rich delves into the art and science of metallurgy and DIY metal creation, inspiring artisans, hobbyists, and industry professionals alike.
Education
RMIT University
(Melbourne, Australia)
Associate Degree in Engineering Technology (Mechanical / Manufacturing)
Focus on metallurgical properties, industry-driven projects, and practical metal craftsmanship. Gained hands-on experience with traditional machining and digital manufacturing tools, such as CAD, CNC software, and precision welding equipment.
Nottingham Trent University
(United Kingdom)
Bachelor’s in Product Design and Materials Engineering (Honors)
Specialized in product design with a heavy focus on blending creativity with metal production and fabrication techniques. Participated in real-world industry projects, collaborating with architectural and hardware manufacturing companies to optimize material efficiency.
Publications and Impact
In Metalenify, Stuart Rich shares his insights on structural metal design processes, material grades, and strategies for efficient shop production. His writing bridges the gap between raw artisan knowledge and modern industrial needs, making it a must-read for both budding DIY metalworkers and seasoned fabrication professionals.