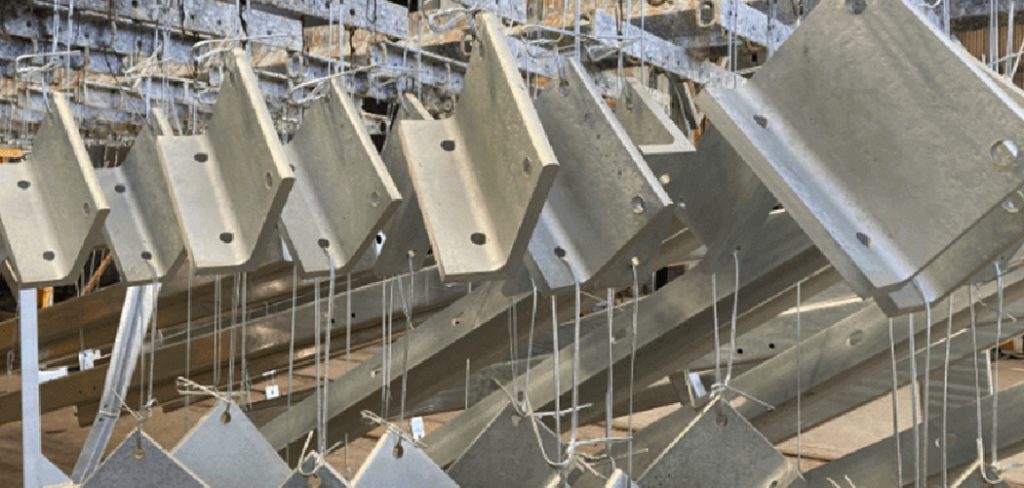
Rust is the slow enemy of every steel object you own. Whether it’s a garden gate, a set of workshop tools, or the frame of your favorite bike, oxidation can turn solid metal into flaking, weakened material over time. The good news? Rust is almost always preventable with the right habits and a little upkeep.
In this guide on how to protect steel from rust, you’ll learn why protecting steel matters, what supplies you’ll need, and ten simple steps you can follow today. We’ll also cover common mistakes that quietly accelerate corrosion and answer the questions people ask most.
By the end, you’ll have a clear, repeatable plan for keeping steel clean, coated, and corrosion-free—indoors, in the workshop, and outside.
What Are the Benefits?
Stopping rust before it starts saves you money, time, and frustration. Replacing rusted tools, railings, or equipment adds up fast, while a small amount of prevention costs very little.
Here’s what good rust protection gives you:
- Longer lifespan for tools, fixtures, and outdoor structures.
- Lower repair costs since you avoid replacing corroded parts.
- Better performance, because clean steel moves, cuts, and connects properly.
- Improved safety, as rust weakens load-bearing items like railings and brackets.
- Better appearance, keeping gates, furniture, and equipment looking sharp.
In short, a few minutes of care protects both your wallet and your peace of mind.
What Will You Need?
You don’t need a professional workshop to fight rust. Most of these items are affordable and easy to find at any hardware store.
- Clean rags or microfiber cloths
- Mild soap and warm water
- Wire brush or sandpaper (medium and fine grit)
- Rust remover or white vinegar
- A quality primer made for metal
- Rust-resistant paint or enamel
- Protective oil (mineral oil, WD-40, or machine oil)
- Paste wax or a clear protective coating
- Gloves and safety glasses
- Dehumidifier or silica gel packs for storage areas
Gather these before you begin so you can move through each step without stopping.
10 Easy Steps on How to Protect Steel from Rust
Follow these steps in order. They work for household items, workshop tools, and outdoor steel alike. Adjust the materials slightly depending on whether the item lives indoors or faces the weather.
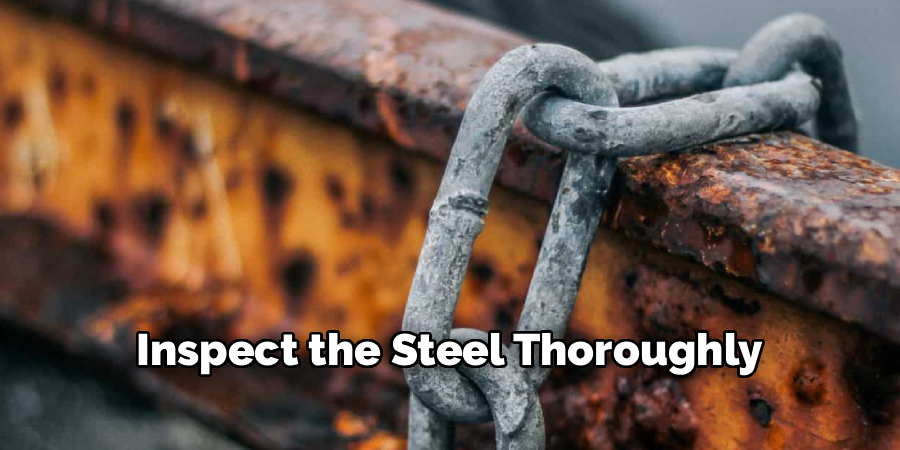
Step 1: Inspect the Steel Thoroughly
Start by examining the surface in good light. Look for early signs of rust such as orange spots, rough patches, or discoloration. Run your fingers along edges, joints, and welds, since these areas trap moisture first. For outdoor items like fences and railings, check the base where they meet soil or concrete. For workshop tools, inspect hinges, blades, and contact points. A careful inspection tells you whether you need light maintenance or a deeper cleaning. Catching small spots early makes every later step easier.
Step 2: Clean the Surface Completely
Dirt, grease, and grime trap moisture against steel and speed up corrosion. Wash the item with mild soap and warm water, then scrub away any stuck-on residue. For greasy workshop tools, use a degreaser to cut through oily buildup. Rinse outdoor items with a hose to remove dust and pollen. Make sure you reach into grooves and corners where debris hides. A truly clean surface lets primers and oils bond properly later. Take your time here, because shortcuts now lead to rust returning faster.
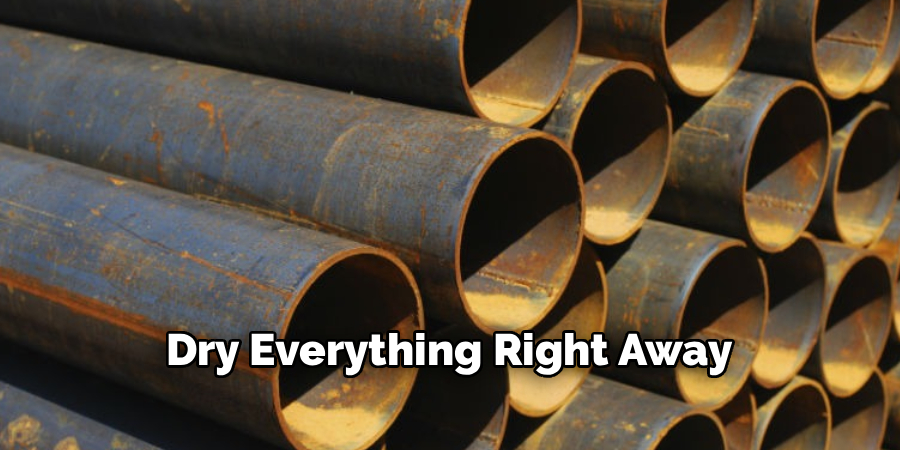
Step 3: Dry Everything Right Away
Water is rust’s best friend, so never let steel air-dry slowly. After cleaning, wipe every surface with a dry cloth until no moisture remains. Pay special attention to crevices, bolt heads, and overlapping panels. For tools, open and close moving parts to release trapped water. If you can, place small items in the sun or use a fan to speed drying. Outdoor pieces should dry fully before you apply any coating. A bone-dry surface is the foundation of lasting protection.
Step 4: Remove Existing Rust
If you found rust during inspection, deal with it now. For light surface rust, scrub with fine sandpaper or a wire brush until the metal looks clean. For tougher spots, soak small parts in white vinegar for a few hours, then scrub and rinse. Commercial rust removers work well on larger outdoor pieces. Always wear gloves and eye protection during this step. Once you’ve cleared the rust, wipe the area dry again. Treating existing rust prevents it from spreading beneath your new coating.
Step 5: Smooth and Prepare the Metal
After removing rust, the surface may feel rough or uneven. Lightly sand it with fine-grit sandpaper to create a smooth, even base. This also gives primer and paint a slightly textured surface to grip. Wipe away all dust with a clean, dry cloth or a tack cloth. For workshop blades and precision tools, sand gently to avoid changing the cutting edge. A smooth, dust-free surface helps every protective layer stick and last longer.

Step 6: Apply a Metal Primer
Primer is the unsung hero of rust prevention. It seals the steel and creates a strong bond for the topcoat. Choose a primer labeled for metal or rust prevention, and apply a thin, even layer with a brush or spray. Cover edges, corners, and welds carefully, since these spots corrode first. Let the primer dry fully according to the label instructions. This step matters most for outdoor items and anything exposed to rain or humidity.
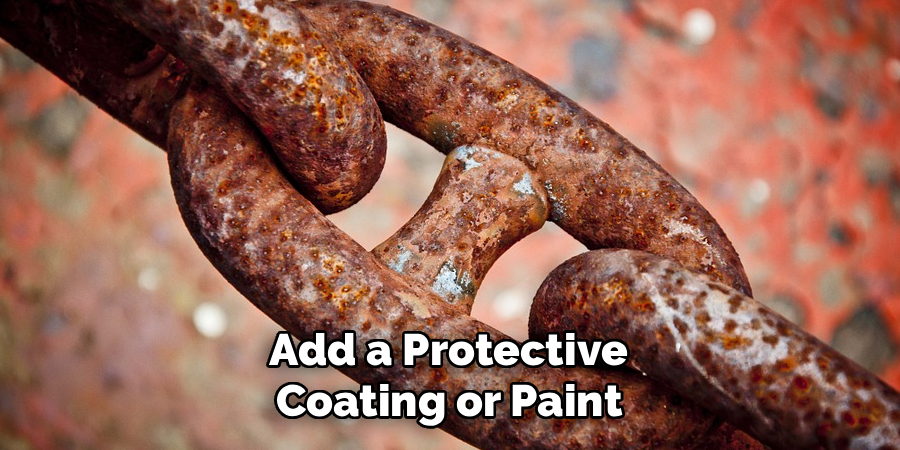
Step 7: Add a Protective Coating or Paint
Once the primer cures, apply a rust-resistant paint or enamel. Use two thin coats rather than one thick one, allowing each layer to dry between applications. For outdoor furniture and railings, choose a weatherproof exterior paint. For indoor decorative pieces, a clear protective coat keeps the metal’s look while sealing it. This layer is your main shield against moisture and air, so apply it evenly and avoid drips.
Step 8: Oil Tools and Moving Parts
Painting isn’t practical for cutting tools or sliding mechanisms. Instead, protect these with a light film of oil. Wipe machine oil, mineral oil, or a spray lubricant onto blades, hinges, and metal surfaces. The oil blocks moisture and keeps parts moving smoothly. For kitchen items like carbon steel knives, use food-safe mineral oil. Reapply oil regularly, especially after cleaning or heavy use. A thin, consistent coat does more than a heavy one.
Step 9: Control Storage Conditions
Where you keep steel matters as much as how you treat it. Store tools and small items in a dry, well-ventilated space. Add silica gel packs to toolboxes and drawers to absorb moisture. A dehumidifier in a damp garage or basement makes a big difference. Keep steel off concrete floors, which hold moisture, by using shelves or pallets. For outdoor items you can’t move, use covers that still allow airflow. Smart storage slows rust dramatically.
Step 10: Maintain a Regular Routine
Rust protection isn’t a one-time job—it’s a habit. Set a simple schedule to inspect, clean, and re-oil or re-coat your steel items. Check outdoor pieces each season and after heavy storms. Wipe down tools after every use, and reapply oil monthly. Touch up chipped paint on railings before bare metal appears. A few minutes of routine care prevents the slow damage that ruins steel over years.
5 Things You Should Avoid
Even with good intentions, some habits quietly invite rust. Steer clear of these common mistakes:
- Leaving Steel Wet: Never store damp tools or skip drying after cleaning. Trapped moisture starts corrosion within hours.
- Skipping Primer: Painting bare steel without primer leads to peeling and hidden rust underneath the coat.
- Storing on Bare Concrete: Concrete absorbs and releases moisture, feeding rust on anything resting directly on it.
- Ignoring Small Spots: A tiny rust patch spreads fast. Address it early instead of waiting until it weakens the metal.
- Using the Wrong Products: Generic paint or non-metal coatings won’t bond well. Always choose products made for steel and corrosion resistance.
Avoiding these mistakes is just as important as following the steps above.
Frequently Asked Questions
1. How Often Should I Oil My Steel Tools?
A light coat of oil once a month works for tools in regular use. If you live in a humid climate or store tools in a damp space, oil them more often. Always wipe tools dry and apply oil after cleaning. Carbon steel knives benefit from oiling after every wash. Consistent, thin coats protect better than occasional heavy ones.
2. Can I Stop Rust That Has Already Started?
Yes, early rust is very treatable. Scrub light surface rust with sandpaper or a wire brush, or soak small parts in vinegar to dissolve it. After removing the rust, dry the metal and apply primer, paint, or oil. The key is acting quickly before rust eats deep into the steel. Once corrosion weakens the structure, replacement may be the only safe option.
3. What’s the Best Protection for Outdoor Steel?
Outdoor steel needs layered defense against rain, humidity, and temperature swings. Start with a rust-inhibiting primer, then add two coats of weatherproof exterior paint or enamel. Keep items off the ground and use breathable covers when possible. Inspect coatings each season and touch up chips right away. For coastal areas with salt air, increase your maintenance frequency.
Conclusion
How to protect steel from rust comes down to three simple ideas: keep it clean, keep it dry, and keep it coated. When you inspect regularly, remove early rust, and seal surfaces with primer, paint, or oil, you stop corrosion before it can take hold. Smart storage and a consistent maintenance routine do the rest.
Start today by choosing one item—a tool, a railing, or a piece of furniture—and walk it through the ten steps above. Then build a simple seasonal schedule so nothing gets overlooked.
With a little ongoing care, your steel will stay strong, functional, and good-looking for years to come.
About
Stuart Rich is a distinguished figure in the world of metalworking and fabrication, with a decade of expertise creating innovative and sustainable metal projects. His professional focus lies in merging traditional blacksmithing and machining with modern manufacturing techniques, fostering designs that are both practical and durable. As the author of Metalenify, Stuart Rich delves into the art and science of metallurgy and DIY metal creation, inspiring artisans, hobbyists, and industry professionals alike.
Education
RMIT University
(Melbourne, Australia)
Associate Degree in Engineering Technology (Mechanical / Manufacturing)
Focus on metallurgical properties, industry-driven projects, and practical metal craftsmanship. Gained hands-on experience with traditional machining and digital manufacturing tools, such as CAD, CNC software, and precision welding equipment.
Nottingham Trent University
(United Kingdom)
Bachelor’s in Product Design and Materials Engineering (Honors)
Specialized in product design with a heavy focus on blending creativity with metal production and fabrication techniques. Participated in real-world industry projects, collaborating with architectural and hardware manufacturing companies to optimize material efficiency.
Publications and Impact
In Metalenify, Stuart Rich shares his insights on structural metal design processes, material grades, and strategies for efficient shop production. His writing bridges the gap between raw artisan knowledge and modern industrial needs, making it a must-read for both budding DIY metalworkers and seasoned fabrication professionals.


