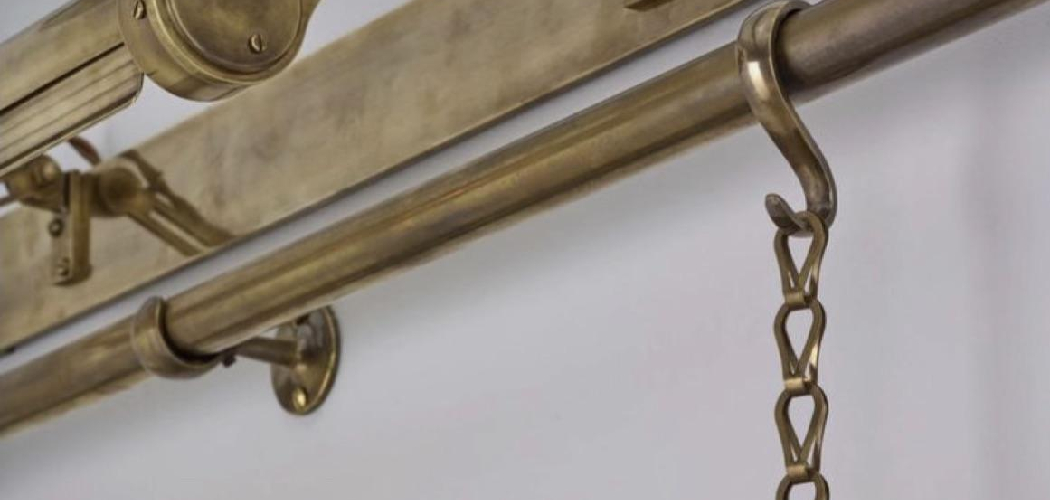
Brass has a warm, golden glow that many people love. But sometimes you want something different—a darker, moodier look that feels modern and sleek. That’s where a gunmetal finish comes in. This deep gray-black color transforms ordinary brass into something striking and elegant.
Maybe you have an old brass lamp, a set of cabinet handles, or a piece of jewelry you’d like to update. Instead of buying new items, you can darken the brass yourself at home. The process is simpler than you might think, and you don’t need fancy equipment to get great results.
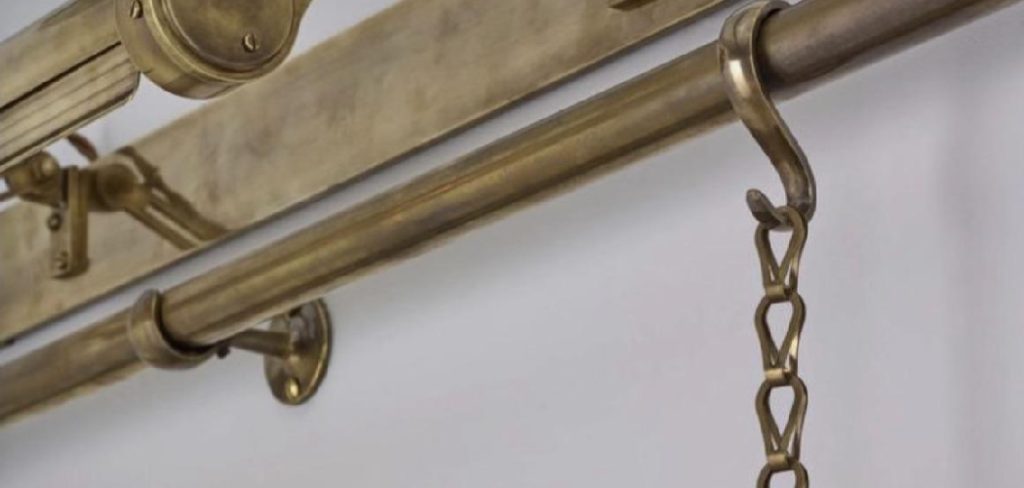
In this guide on how to give brass a gunmetal finish, we’ll walk you through everything you need to know. Let’s get started.
Benefits
Giving brass a gunmetal finish offers more than just a new look. Here are the key reasons why people love this technique:
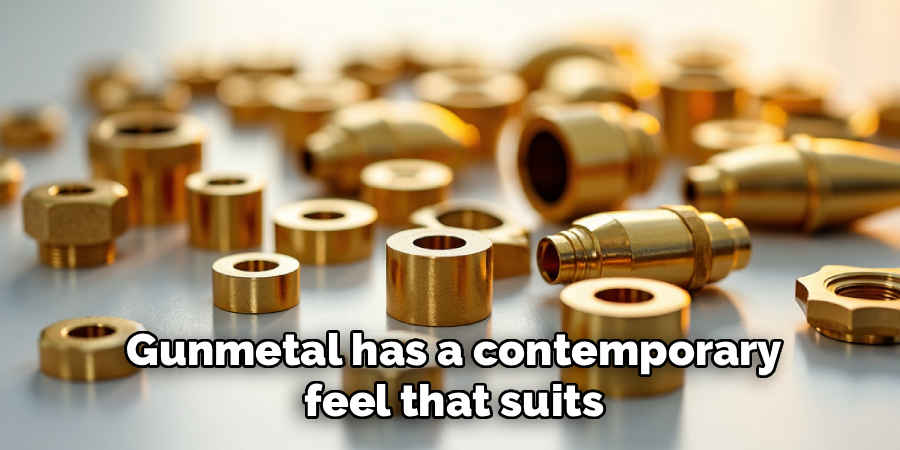
- A modern, stylish appearance. Gunmetal has a contemporary feel that suits today’s design trends. It pairs well with both minimalist and industrial styles.
- Saves money. Instead of replacing brass fixtures or décor, you can refresh them for a fraction of the cost.
- Hides wear and tarnish. Older brass items often show scratches and uneven aging. A dark finish covers these flaws nicely.
- Adds character. The darker tone gives pieces a vintage, antique charm that feels timeless.
- Easy to customize. You control how dark or light the finish turns out, so you can match your personal taste.
- Protects the metal. Many finishing methods add a layer that helps shield brass from future tarnish.
- Great for upcycling. Breathing new life into thrift-store finds is both fun and eco-friendly.
With these perks in mind, you can see why so many DIY fans enjoy this project. Now let’s gather what you’ll need.
What Will You Need?
Before you begin, set up your workspace and collect these supplies. Having everything ready makes the process smooth and stress-free.
Materials:
- Brass item you want to darken
- Gun bluing solution (or a brass darkening/patina solution)
- White vinegar or acetone (for cleaning)
- Mild dish soap
- Clean water
- Clear lacquer or wax sealant
- Fine steel wool (0000 grade)
Tools:

- Rubber gloves
- Safety glasses
- Soft cloths or rags
- Small brush or sponge applicator
- A plastic or glass container (not metal)
- Painter’s tape (optional, for masking)
- A well-ventilated area or fan
Safety Gear Matters. The chemicals used can irritate your skin and eyes, so gloves and glasses are a must. Work in a space with good airflow, ideally near an open window or outdoors. Once you have everything in place, you’re ready to follow the steps below.
10 Easy Steps on How to Give Brass a Gunmetal Finish
Step 1: Confirm Your Item Is Real Brass
First, make sure your piece is actually brass and not just brass-plated. Hold a magnet to the surface. Real brass won’t attract the magnet because it isn’t magnetic. If the magnet sticks, your item is likely steel with a thin brass coating, and the darkening solution may not work well. This quick test saves you time and frustration later. If you’re unsure, check an unseen area by scratching lightly—solid brass shows the same color underneath.
Step 2: Remove Any Existing Coating
Many brass items come with a protective lacquer that keeps them shiny. This coating blocks the darkening solution from reaching the metal. To strip it off, wipe the surface with acetone using a cloth. You can also use fine steel wool to gently rub away the finish. Work evenly across the whole piece. Once the lacquer is gone, the brass will look slightly duller, which is exactly what you want. The bare metal is now ready to accept the new finish.
Step 3: Clean the Brass Thoroughly
A clean surface is the secret to an even finish. Wash the brass with warm water and a few drops of dish soap. Use a soft cloth to scrub away dirt, oils, and grime. Pay attention to crevices and detailed areas. After washing, rinse the piece well to remove all soap residue. Any leftover oil or dust can cause patchy results, so don’t rush this step. Take your time and make sure every inch is spotless before moving on.
Step 4: Degrease the Surface
Even after washing, your hands can leave oils on the metal. To get rid of these, wipe the brass with white vinegar or acetone one more time. This degreasing step removes invisible residue that soap might miss. From this point on, try to handle the item by its edges or wear gloves. The cleaner the surface, the more evenly the gunmetal finish will develop. A truly grease-free surface helps the chemical react smoothly.
Step 5: Set Up Your Workspace
Now prepare your area for the chemical part of the project. Lay down newspaper or a plastic sheet to protect your table. Pour a small amount of gun bluing or brass darkening solution into a plastic or glass container. Never use a metal bowl, as the chemicals can react with it. Put on your gloves and safety glasses. Make sure your fan is running, or your window is open. Good ventilation keeps you safe from fumes.
Step 6: Apply the Darkening Solution
Dip your brush or sponge into the solution and apply a thin, even coat over the brass. Work in small sections so the chemical stays wet. You’ll notice the color starts to shift almost right away. For large pieces, you can submerge them fully in the container if it fits. Keep your strokes smooth to avoid streaks. The brass will move from gold to a darker tone within seconds to minutes, depending on the product strength.
Step 7: Watch the Color Develop
This is where patience pays off. As the solution reacts with the brass, the surface darkens to gray and then to deep gunmetal black. Watch closely and decide when the shade looks right to you. If you want it darker, apply a second coat. The longer the solution sits, the deeper the color becomes. Don’t walk away during this step, since the change can happen quickly. Stop the process once you reach your desired tone.
Step 8: Rinse and Neutralize
Once you’re happy with the color, rinse the brass under clean, cool water. This stops the chemical reaction and washes away leftover solution. Be gentle so you don’t rub off the new finish. Rinse thoroughly to make sure no residue remains. If the product instructions suggest a neutralizing wash, follow them now. After rinsing, pat the item dry with a soft cloth and let it air-dry completely before the next step.
Step 9: Buff for the Right Look
After drying, the finish might look a bit dull or uneven in spots. Use a soft cloth or very fine steel wool to gently buff the surface. This brings out a subtle sheen and smooths the tone. If you want a worn, antique effect, focus on raised areas where natural wear would happen. Buffing also removes any loose particles. Work lightly here—too much pressure can strip the new color. A gentle touch gives the best result.
Step 10: Seal and Protect the Finish
To keep your gunmetal finish looking great, add a protective layer. Apply clear lacquer with a brush, or rub on a thin coat of wax with a cloth. This seals the color and guards against future tarnish and fingerprints. Let the sealant dry fully according to the product directions. Once it cures, your brass piece is finished and ready to display or use. The seal helps your hard work last for years to come.
5 Things You Should Avoid
Steer clear of these common slip-ups to get the best results:
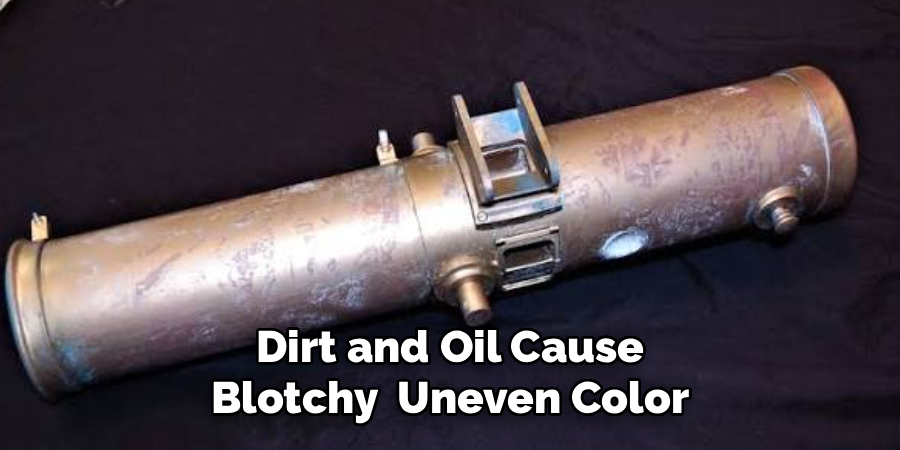
- Skipping the cleaning step. Dirt and oil cause blotchy, uneven color. Always clean and degrease first.
- Using metal containers. Metal bowls react with darkening chemicals. Stick to plastic or glass.
- Working without ventilation. Fumes can be harmful. Never apply chemicals in a closed, stuffy room.
- Rushing the process. Removing the item too soon or too late leads to the wrong shade. Watch closely and take your time.
- Forgetting to seal. Without a protective coat, your finish will fade and tarnish faster. Always seal at the end.
Avoiding these mistakes will help you achieve a smooth, professional-looking finish every time.
Conclusion
Transforming brass into a sleek gunmetal finish is a rewarding project that anyone can tackle. You don’t need professional skills or expensive gear—just a few supplies, a bit of patience, and the steps we’ve covered here. From cleaning and applying the solution to buffing and sealing, each stage brings you closer to a stunning result.
The best part is how much you can save while giving old or plain brass items new life. Whether you’re updating cabinet hardware, refreshing a lamp, or customizing jewelry, this technique opens up endless creative possibilities. Remember to clean thoroughly, work safely, and protect your finish with a good sealant.
Hopefully, this guide on how to give brass a gunmetal finish has inspired you to tackle your own brass restoration project.

About
Stuart Rich is a distinguished figure in the world of metalworking and fabrication, with a decade of expertise creating innovative and sustainable metal projects. His professional focus lies in merging traditional blacksmithing and machining with modern manufacturing techniques, fostering designs that are both practical and durable. As the author of Metalenify, Stuart Rich delves into the art and science of metallurgy and DIY metal creation, inspiring artisans, hobbyists, and industry professionals alike.
Education
RMIT University
(Melbourne, Australia)
Associate Degree in Engineering Technology (Mechanical / Manufacturing)
Focus on metallurgical properties, industry-driven projects, and practical metal craftsmanship. Gained hands-on experience with traditional machining and digital manufacturing tools, such as CAD, CNC software, and precision welding equipment.
Nottingham Trent University
(United Kingdom)
Bachelor’s in Product Design and Materials Engineering (Honors)
Specialized in product design with a heavy focus on blending creativity with metal production and fabrication techniques. Participated in real-world industry projects, collaborating with architectural and hardware manufacturing companies to optimize material efficiency.
Publications and Impact
In Metalenify, Stuart Rich shares his insights on structural metal design processes, material grades, and strategies for efficient shop production. His writing bridges the gap between raw artisan knowledge and modern industrial needs, making it a must-read for both budding DIY metalworkers and seasoned fabrication professionals.