Lost wax casting is one of the oldest and most rewarding ways to turn a simple design into a solid metal piece. Whether you craft jewelry, sculptures, or small mechanical parts, the moment you pour molten metal into your mold is where the magic truly happens. Learning how to pour metal in lost wax casting can feel intimidating at first, yet it becomes second nature once you understand the steps and safety basics. This guide walks you through the entire process in a friendly, beginner-ready way, so you can build confidence with each attempt.
The pour itself matters because it decides the final quality of your piece. A clean, well-timed pour produces sharp detail and a strong finish, while a rushed or poorly prepared one leads to flaws and wasted material. By the end of this article, you will know what tools you need, how to prepare your mold, and how to handle hot metal safely. Let’s empower your skills and get your first successful pour underway.
Why Pouring Metal Correctly Matters in Lost Wax Casting
Getting the pour right is the difference between a flawless casting and a frustrating do-over. When metal flows smoothly into a properly heated mold, it captures every fine detail of your original wax model, giving you crisp edges and a professional finish. A correct pour also reduces common errors like air bubbles, incomplete fills, and cracks, which means less wasted metal and fewer repeat attempts. Bronze, brass, silver, and pewter are great starting points because they melt at manageable temperatures and behave predictably
Beyond appearance, a careful pour protects you. Molten metal reaches extreme temperatures, so good technique keeps the process controlled and safe. Mastering this skill builds your confidence, saves money, and lets you tackle more ambitious projects over time. Think of it as the foundation that supports everything else in your casting journey, and the payoff shows in every piece you create.
Step-by-Step Guide to How to Pour Metal in Lost Wax Casting
Step 1: Gather Your Tools And Safety Gear
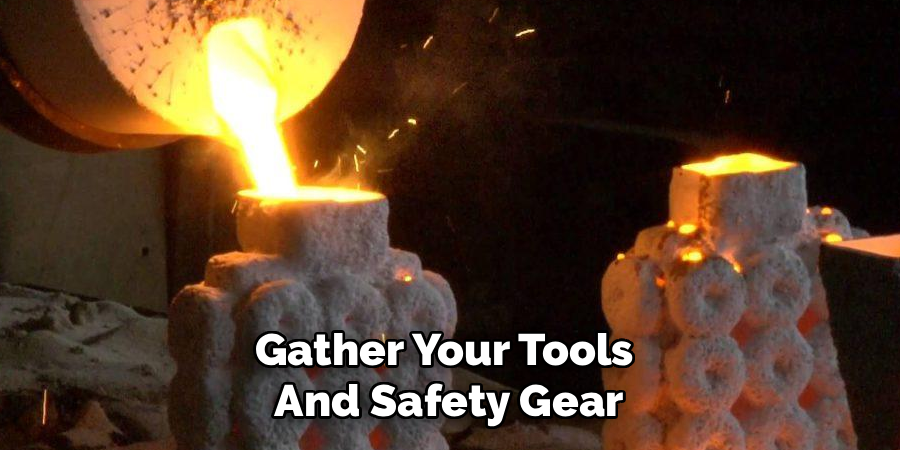
Before anything else, set up a clean, organized workspace with everything within reach. You’ll need a crucible, tongs, a furnace or torch, your chosen metal, and a prepared investment flask. Just as important is your safety gear, including heat-resistant gloves, a face shield, an apron, and closed-toe shoes. Make sure your area is free of clutter and flammable materials. Keep a fire extinguisher nearby just in case. Preparing fully now means you won’t scramble for a tool while holding hot metal later, which keeps the whole process calm, controlled, and far safer for everyone involved.
Step 2: Burn Out The Wax Completely
Place your investment flask into a kiln and slowly raise the temperature to melt and burn away the wax inside. This burnout stage usually takes several hours and follows a gradual heating schedule to avoid cracking the mold. Rushing this step traps wax residue, which ruins detail and causes defects. By the end, the cavity left behind perfectly mirrors your original model. Let the kiln reach its peak temperature and hold it there long enough to clear every trace of wax and moisture. A clean, fully cured mold is the secret to a smooth, detailed final piece.
Step 3: Heat The Mold To The Right Temperature
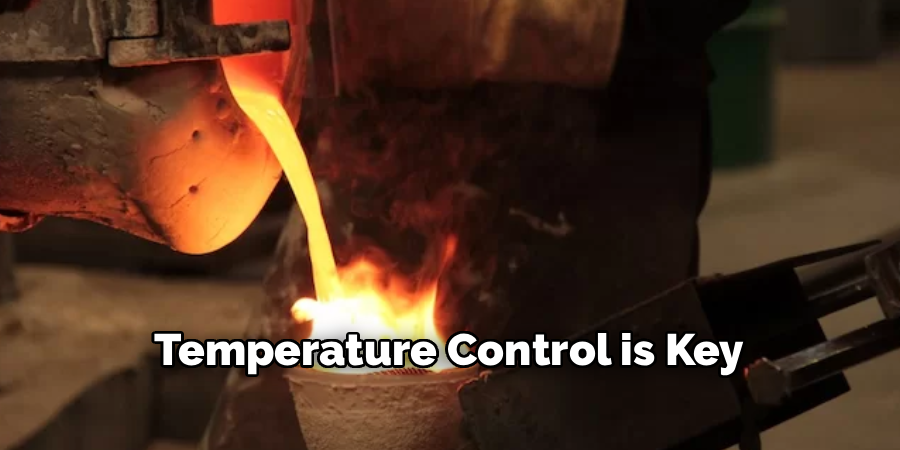
A cold mold is one of the most common causes of failed castings, so temperature control is key. Once burnout finishes, bring the flask down to the ideal pouring temperature, which varies depending on the metal you use. A warm mold helps the molten metal flow freely into every corner before it begins to solidify. If the mold is too cool, the metal hardens too fast and leaves gaps. Use a reliable kiln gauge to confirm the temperature, and keep the flask hot right up until the moment you’re ready. This small detail makes a big difference in your results.
Step 4: Melt Your Metal Safely
Now it’s time to melt your chosen metal in the crucible using a furnace or torch. Heat it steadily until it reaches a fully liquid, even consistency with no solid chunks remaining. Watch the color and surface closely, since this tells you when the metal is ready. Knowing how to pour metal in lost wax casting starts with proper melting, because metal that isn’t hot enough will not flow correctly. Add a flux if your process calls for it to remove impurities. Keep your face shield down and your movements slow and deliberate throughout this stage to stay protected.
Step 5: Position Everything For The Pour
With both your metal and mold hot, arrange your setup so the transfer is quick and smooth. Place the flask securely on a heat-safe surface, with the opening facing up and ready to receive the metal. Position yourself comfortably with a firm, balanced stance, and double-check that your tongs grip the crucible well. Timing matters here because molten metal cools fast once it leaves the heat. The goal is a steady, uninterrupted path from crucible to mold. Take a breath, confirm everything is in place, and make sure no one stands nearby. Good positioning turns a risky moment into a controlled one.
Step 6: Pour The Molten Metal Steadily
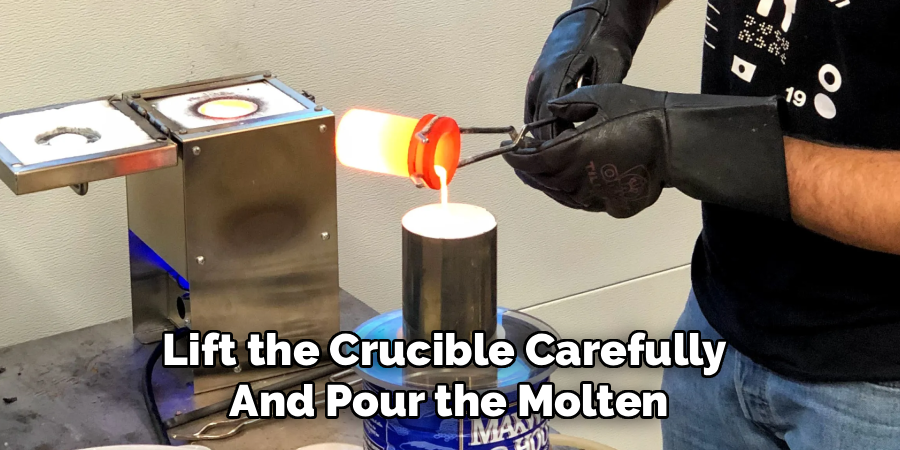
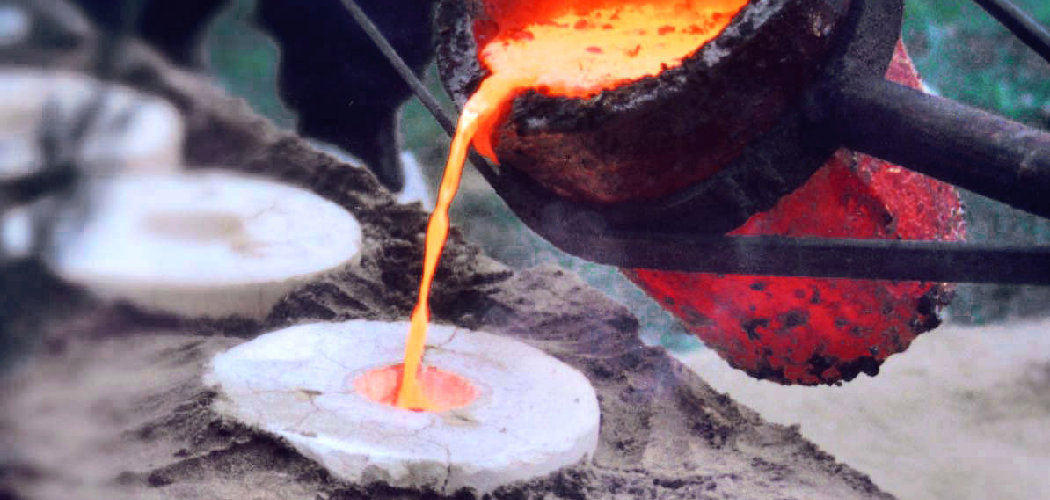
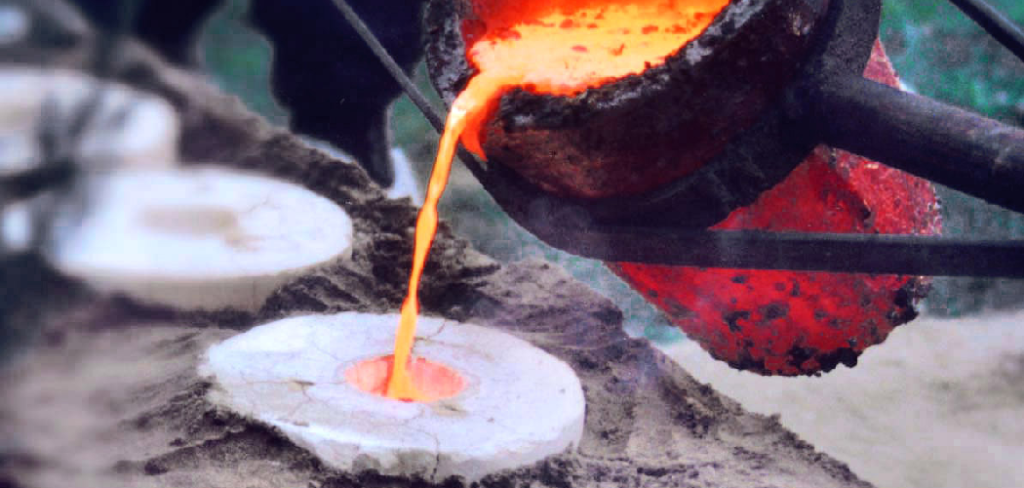
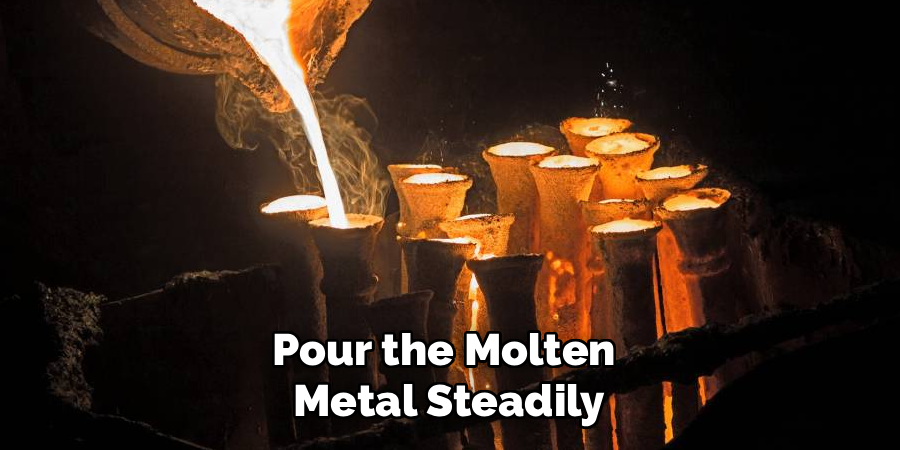
This is the heart of the process. Lift the crucible carefully and pour the molten metal into the mold opening in one smooth, continuous stream. Avoid splashing or stopping midway, since interruptions create gaps and weak spots. Mastering how to pour metal in lost wax casting comes down to a calm, confident motion that fills the cavity completely. Pour slightly faster than you think you need to, because the metal begins cooling instantly. Keep your hands steady and your eyes on the opening. Once the mold is full, set the crucible down safely and let the piece begin to settle undisturbed.
Step 7: Cool, Quench, And Reveal Your Casting
After pouring, give the metal time to solidify inside the mold before you touch it. Depending on your metal and flask size, this can take several minutes. Once it has set, you can quench the hot flask in water, which dissolves much of the investment material and reveals your casting. Be cautious, as steam and hot debris can escape during quenching. Use tongs and keep your protective gear on. Gently remove any remaining investment, then rinse your piece clean. At this point you’ll see the result of your work, ready for cutting, filing, and polishing into a finished item.
Frequently Asked Questions
What Metals Work Best For Beginners?
Bronze, brass, silver, and pewter are great starting points because they melt at manageable temperatures and behave predictably. Pewter is especially forgiving for first-timers thanks to its low melting point. As you gain experience, you can move on to gold or more challenging alloys. Choosing a beginner-friendly metal lets you focus on technique and safety without battling extreme heat, which builds confidence with every successful pour.
How Hot Should The Mold Be Before Pouring?
The ideal mold temperature depends on your specific metal, but it generally ranges between 900 and 1,300 degrees Fahrenheit. A properly heated mold lets the metal flow into fine details before it hardens. Always check your metal’s recommended guidelines and use a reliable kiln gauge to confirm. Keeping the flask hot until the moment you pour prevents premature cooling, which is one of the most common causes of incomplete castings.
Why Did My Casting Come Out Incomplete?
Incomplete castings usually happen when the metal cools too quickly or the mold was too cold. Other culprits include not melting the metal fully, pouring too slowly, or leftover wax blocking the cavity. To fix this, raise your mold temperature, ensure your metal is fully liquid, and pour in one steady stream. Reviewing each step carefully and adjusting your timing will dramatically improve your success rate.
Is This Process Safe To Do At Home?
You can do it at home with the right setup, ventilation, and protective gear, though safety must come first. Work in a fire-safe area, wear heat-resistant gloves and a face shield, and keep an extinguisher close. Never rush while handling molten metal. If you’re new, consider starting with low-melt metals and practicing your routine. Many hobbyists cast safely at home by respecting the heat and following careful, consistent procedures.
How Long Until I Can Handle The Finished Piece?
You should wait until the metal has fully solidified inside the mold, which typically takes several minutes depending on size and metal type. After quenching, the piece and flask remain hot, so always use tongs and gloves. Give everything a few extra minutes to cool to a safe temperature before handling directly. Patience here prevents burns and protects the delicate detail of your freshly cast piece.
Conclusion
Pouring metal is the most exciting moment in any casting project, and with the right preparation it’s also one of the most reliable. By gathering your tools, burning out the wax fully, heating your mold, and pouring in a smooth, steady stream, you set yourself up for clean, detailed results every time. Each step builds on the last, so taking your time and respecting the heat will reward you with stronger, sharper pieces and far fewer do-overs.
Now that you understand how to pour metal in lost wax casting, the best thing you can do is practice. Start with a simple design and a beginner-friendly metal, follow these steps closely, and learn a little more with each attempt. Your skills will grow quickly, and soon you’ll be casting pieces you’re genuinely proud of. Grab your gear, set up your workspace, and pour your first project with confidence.

About
Stuart Rich is a distinguished figure in the world of metalworking and fabrication, with a decade of expertise creating innovative and sustainable metal projects. His professional focus lies in merging traditional blacksmithing and machining with modern manufacturing techniques, fostering designs that are both practical and durable. As the author of Metalenify, Stuart Rich delves into the art and science of metallurgy and DIY metal creation, inspiring artisans, hobbyists, and industry professionals alike.
Education
RMIT University
(Melbourne, Australia)
Associate Degree in Engineering Technology (Mechanical / Manufacturing)
Focus on metallurgical properties, industry-driven projects, and practical metal craftsmanship. Gained hands-on experience with traditional machining and digital manufacturing tools, such as CAD, CNC software, and precision welding equipment.
Nottingham Trent University
(United Kingdom)
Bachelor’s in Product Design and Materials Engineering (Honors)
Specialized in product design with a heavy focus on blending creativity with metal production and fabrication techniques. Participated in real-world industry projects, collaborating with architectural and hardware manufacturing companies to optimize material efficiency.
Publications and Impact
In Metalenify, Stuart Rich shares his insights on structural metal design processes, material grades, and strategies for efficient shop production. His writing bridges the gap between raw artisan knowledge and modern industrial needs, making it a must-read for both budding DIY metalworkers and seasoned fabrication professionals.