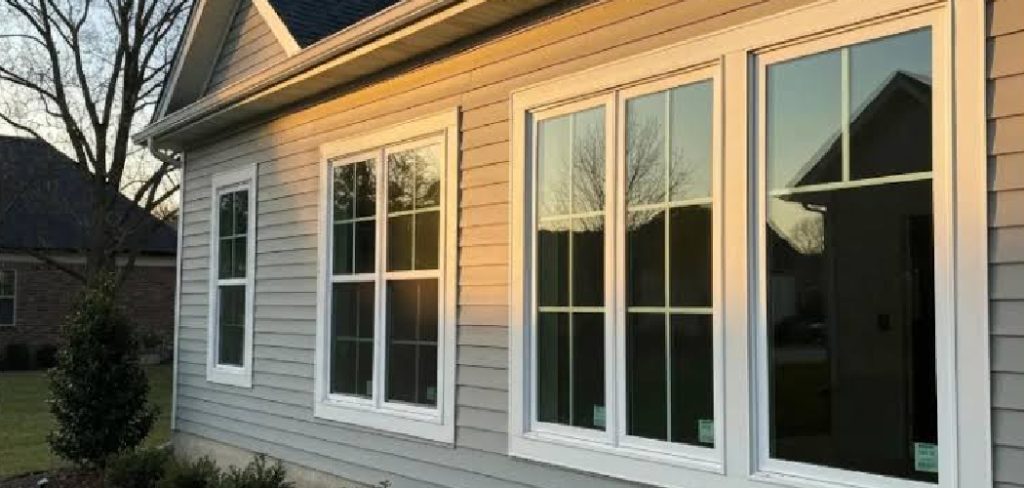
Aluminum window frames hold up well. They don’t stay good-looking forever, though. Sun, rain, and the slow accumulation of grime tend to leave them faded or chalky after a few years, and what once looked sharp starts to look dated. Here’s the part most people miss: you don’t have to replace them to fix that.
A coat of paint can bring tired frames back to life and turn them into something that actually adds to your home rather than dragging it down. You’ll need the right tools and a bit of patience. But for most homeowners, this is a weekend job, not a contractor-level ordeal. What follows is a full walkthrough of how to repaint aluminum window frames properly, from the unglamorous prep work to the final cure.
Tools and Materials You’ll Need
Before you get started, gather all the necessary tools and materials. Here’s a list of what you’ll need:
- Paintbrushes (1 small, 1 medium, and 1 large)
- Rollers for painting larger surfaces
- Paint tray to hold paint
- Sandpaper or sanding block
- Tack cloth for removing dust and debris
- Painter’s tape for masking off areas
- Drop cloths to protect floors and furniture
- Primer designed for use on aluminum surfaces
- High-quality acrylic or latex paint in your desired color
7 Simple Step-by-step Guidelines on How to Repaint Aluminum Window Frames
Work through these in order. Each step leans on the one before it, so skipping ahead tends to backfire. And if there’s a single reason paint jobs fail, it’s rushing the prep.
Step 1: Clean the Frames Thoroughly
Start with a deep clean. Grime builds up gradually, so the frames are probably dirtier than they look. Mix mild detergent into warm water and scrub every surface with your sponge.
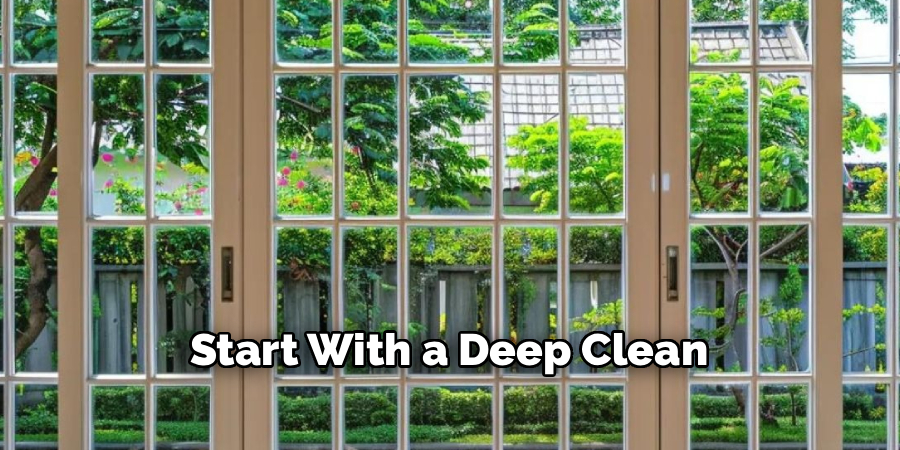
Corners and edges collect the most dirt, so give them extra attention. Spot any mold or mildew? Treat it with a diluted bleach solution before you go further. Rinse with clean water once you’re done.
Then let the frames dry completely. Painting over a damp or dirty surface almost guarantees peeling later on. This first step carries more weight than people usually give it credit for.
Step 2: Remove Old Paint and Corrosion
Flaking paint has to go. Lift away the loose pieces with a wire brush or a scraper. For corrosion or those chalky white patches, scrub firmly until the surface feels smooth under your fingers.
The point here is simple: new paint can’t hold onto an unstable base. Every bump or flake you leave behind will telegraph through your finish. Slow down for this one.
Wipe the frames down again after scraping. You want them free of debris before any sanding starts. A clean base really does set up everything that follows.
Step 3: Sand the Surface
Sanding gives the paint something to grab onto. Without it, even a good primer may struggle to stick. Begin with the medium-grit paper to rough up the surface.
Use smooth, even strokes across the whole frame, then switch to fine-grit for a final pass. What you’re after is a slightly textured, matte feel rather than a shine.
When you finish, wipe away every bit of dust with a damp cloth. Leftover grit can quietly ruin your finish. Let the frames dry fully before moving on.
Step 4: Tape and Protect Surrounding Areas
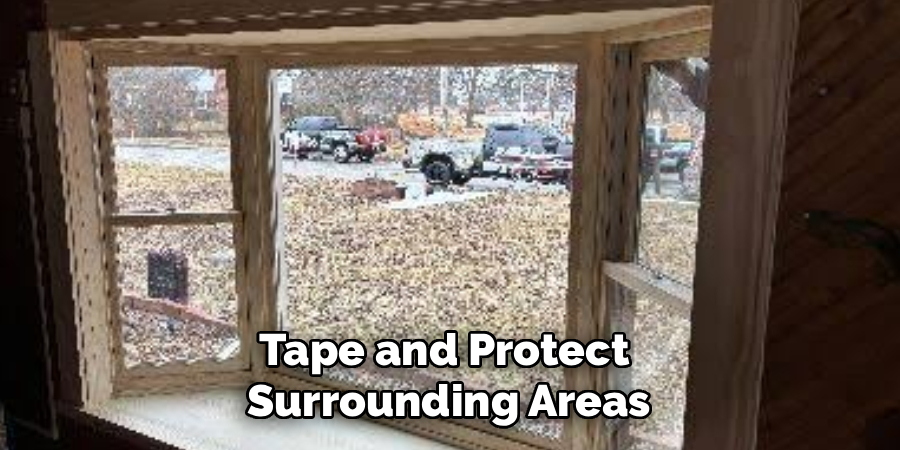
Now protect everything you’d rather not paint. Run painter’s tape along the glass, the walls, and any hardware. Press the edges down hard so paint can’t creep underneath.
Lay drop cloths or newspapers below the windows to catch the inevitable drips. This spares you from scraping dried paint off sills and floors later. A few minutes of prep prevent a real headache.
Check your tape lines one more time before you start. Crisp edges are what separate a clean job from a sloppy one, and this small step pays for itself.
Step 5: Apply the Primer
Primer is what makes a finish last on metal. Use a self-etching primer designed for aluminum, since it bonds tightly and helps keep the paint from peeling down the line.
Lay down a thin, even coat with a brush, roller, or spray. Going heavy may feel efficient, but thick layers drip and bubble. Cover the whole frame, corners and edges included.
Let it dry according to the label. Most primers need a few hours before recoating. Don’t shortcut the drying time here, because proper adhesion depends on it.
Step 6: Paint the Frames
This is the satisfying part. Stir the paint well, then brush on the first coat in thin, even strokes. An angled brush handles corners nicely, while the foam roller smooths out the flat sections.
Work in one direction to keep streaks and lap marks at bay. With spray paint, hold the can roughly 10 inches away and move in steady passes. Two thin coats beat one thick coat every single time.
Let the first coat dry fully before the second goes on. A little patience here gives you a deeper, more even color. And resist poking at the surface while it dries.
Step 7: Remove Tape and Let It Cure
Once the final coat is touch-dry, peel the tape away gently. Pull it back at an angle to keep your edges sharp. Removing it too soon or too late can wreck those clean lines you worked for.
Then let the paint cure. It may feel dry within hours, but most paints need several days to harden all the way through. Try not to open and close the windows much during this stretch.
After it cures, look over your work for any spots you missed. A small brush handles touch-ups easily. Then step back and take it in. Following these steps on how to repaint aluminum window frames can give your home a fresh, updated look.
Common Mistakes to Avoid
A straightforward project can still go sideways. The most common slip is skipping the cleaning and sanding, because paint won’t hold on a dirty or slick surface. Choosing the wrong primer ranks a close second, so make sure yours is formulated for metal. Thick coats might seem like a time-saver, yet they tend to drip and dry unevenly. And impatience with drying or curing has spoiled plenty of jobs that were going perfectly well until that point.
How Much Will It Cost?
Repainting comes in far cheaper than replacing. Going the DIY route, you’re likely looking at somewhere between $50 and $150 for supplies. That figure covers primer, paint, sandpaper, tape, and whatever basic tools you don’t already have lying around.
Spray paint kits tend to land at the lower end, while premium exterior paints push the total up. The number and size of your windows matter too, so a larger home with many frames will eat through more material.
Hiring out the work changes the math considerably. Expect roughly $200 to $600 per window, depending on local labor rates and how rough the frames are to begin with. For most homeowners, DIY delivers a comparable result for a fraction of that.
Frequently Asked Questions
Q1: Can You Paint Aluminum Window Frames Without Sanding?
Sanding is strongly recommended, even when skipping it feels tempting. Aluminum is smooth enough that paint struggles to grip on its own. Skip the sanding and your new coat may peel or chip within a few months. If sanding really isn’t an option, a strong self-etching primer matters even more. Even so, a light sand gives you the best shot at a finish that holds up.
Q2: How Long Does the Paint Last on Aluminum Frames?
Done right, a fresh paint job can last five to ten years. The actual lifespan hinges on your paint quality, your climate, and how thoroughly you prepped. Frames baking in harsh sun or sitting near the coast may fade sooner, thanks to UV exposure and salt air. A proper primer paired with exterior-grade paint makes a real difference. Regular cleaning helps too, keeping the finish looking fresh longer.
Q3: Is It Better to Brush or Spray Aluminum Window Frames?
Both methods have their place. Spraying gives a smoother, more even finish and moves faster across large areas, though it demands careful masking to keep overspray off your glass and walls. Brushing trades some speed for control, which suits beginners and small touch-ups well. Plenty of people split the difference, spraying the main surfaces and brushing the tight corners.
Q4: Which Type of Paint is Best for Aluminum Window Frames?
When it comes to choosing the best type of paint for aluminum window frames, there are a few options to consider: acrylic, oil-based, and specialty paints designed specifically for metal surfaces. Acrylic paint is a popular choice due to its fast drying time and easy clean-up with water. Oil-based paint offers better durability and a smoother finish but requires mineral spirits or turpentine for cleanup.
Refresh Your Windows the Smart Way
Repainting aluminum window frames may be one of the cheapest ways to lift your home’s curb appeal. The whole thing rests on the prep, though. Clean, sand, and prime before the brush ever touches the frame, and you set yourself up to win.
Take each step at its own pace, and the payoff is a finish that looks professional and holds for years. So grab your supplies, watch for a dry weekend on the forecast, and give those frames the attention they’ve been needing. Thanks for reading this guide on how to repaint aluminum window frames.

About
Stuart Rich is a distinguished figure in the world of metalworking and fabrication, with a decade of expertise creating innovative and sustainable metal projects. His professional focus lies in merging traditional blacksmithing and machining with modern manufacturing techniques, fostering designs that are both practical and durable. As the author of Metalenify, Stuart Rich delves into the art and science of metallurgy and DIY metal creation, inspiring artisans, hobbyists, and industry professionals alike.
Education
RMIT University
(Melbourne, Australia)
Associate Degree in Engineering Technology (Mechanical / Manufacturing)
Focus on metallurgical properties, industry-driven projects, and practical metal craftsmanship. Gained hands-on experience with traditional machining and digital manufacturing tools, such as CAD, CNC software, and precision welding equipment.
Nottingham Trent University
(United Kingdom)
Bachelor’s in Product Design and Materials Engineering (Honors)
Specialized in product design with a heavy focus on blending creativity with metal production and fabrication techniques. Participated in real-world industry projects, collaborating with architectural and hardware manufacturing companies to optimize material efficiency.
Publications and Impact
In Metalenify, Stuart Rich shares his insights on structural metal design processes, material grades, and strategies for efficient shop production. His writing bridges the gap between raw artisan knowledge and modern industrial needs, making it a must-read for both budding DIY metalworkers and seasoned fabrication professionals.