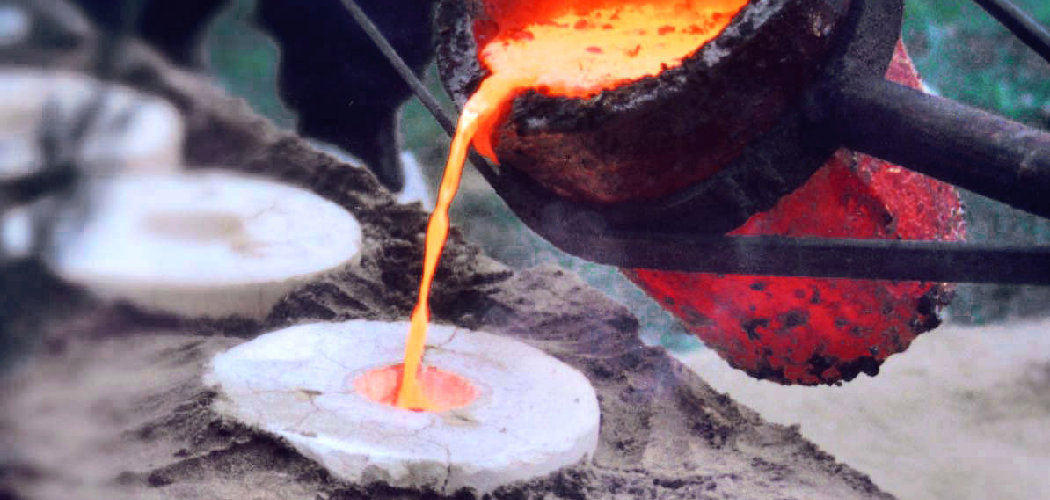
Sand casting is one of the oldest and most reliable ways to turn molten metal into useful shapes, and at the heart of it sits the humble sand mold. A sand casting mold is simply a packed sand form that holds the shape of the part you want to create, giving the liquid metal somewhere to settle and harden. It sounds complicated, yet the process is wonderfully hands-on and forgiving, which makes it perfect for hobbyists, makers, and curious beginners alike. Learning how to make sand casting molds opens the door to creating everything from small brass figurines to handy aluminum brackets right in your own workshop.
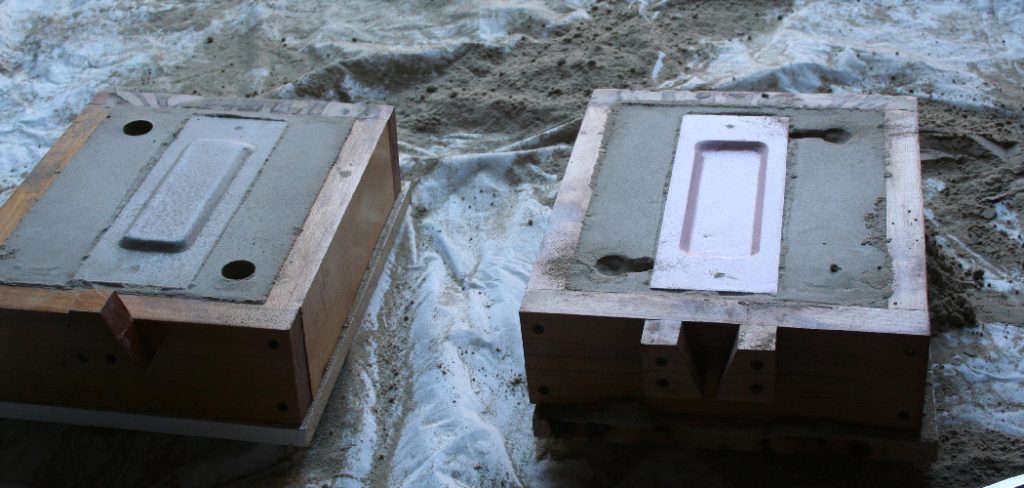
The best part is that you do not need expensive factory equipment to get started. With a little patience, some special sand, and a basic pattern, you can build molds that produce surprisingly clean results. This friendly guide walks you through each step in plain language, so nothing feels overwhelming. By the end, you will understand the materials, the technique, and the small tricks that help your first castings come out strong and detailed.
Why Making Sand Casting Molds Matters
Knowing how to build your own molds gives you real creative freedom and saves serious money over time. Instead of paying a shop for custom parts, you can produce them at home whenever inspiration strikes, which feels both empowering and practical. Sand molds are reusable in the sense that the sand can be reclaimed and repacked again and again, so your material costs stay impressively low.
There is a quality advantage too. When you control the mold yourself, you control the detail, the surface finish, and the fit of the final piece. That means fewer wasted castings and better results with each attempt. Whether you are repairing equipment, prototyping a design, or simply enjoying a rewarding craft, mastering this skill turns metal casting from a mystery into a dependable, repeatable process you can trust.
Step-by-Step Guide to How to Make Sand Casting Molds
Step 1: Gather Your Materials and Tools
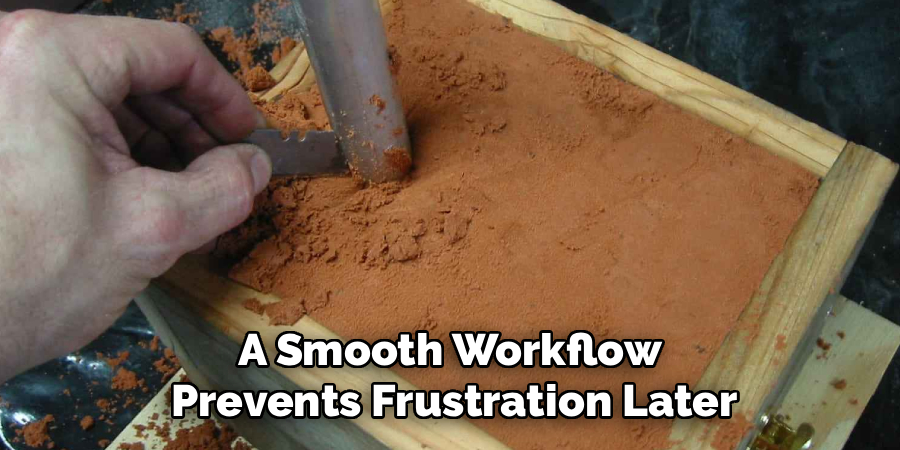
start by collecting everything you need before any packing begins, because a smooth workflow prevents frustration later. you will want casting sand, which is usually a fine mix of sand and clay binder known as greensand, along with a two-part wooden or metal frame called a flask. grab a sturdy pattern of the object you wish to cast, a parting powder, a ramming tool, a flat board, and a vent wire. having water nearby helps you adjust sand moisture. organize your workspace on a level, solid surface so nothing shifts while you work. good preparation here sets the tone for clean, confident results throughout the entire casting session.
Step 2: Prepare the Drag and Pattern
place the bottom half of your flask, called the drag, upside down on your flat board. set your pattern in the center with its flattest face resting against the board, since this surface becomes the parting line. dust the pattern lightly with parting powder so the sand will release cleanly later. learning how to make sand casting molds really begins at this stage, where careful pattern placement decides how crisp your final shape turns out. take a moment to check that the pattern sits steady and centered, leaving enough room around the edges for the sand to pack firmly and support the cavity.
Step 3: Pack the Drag With Sand
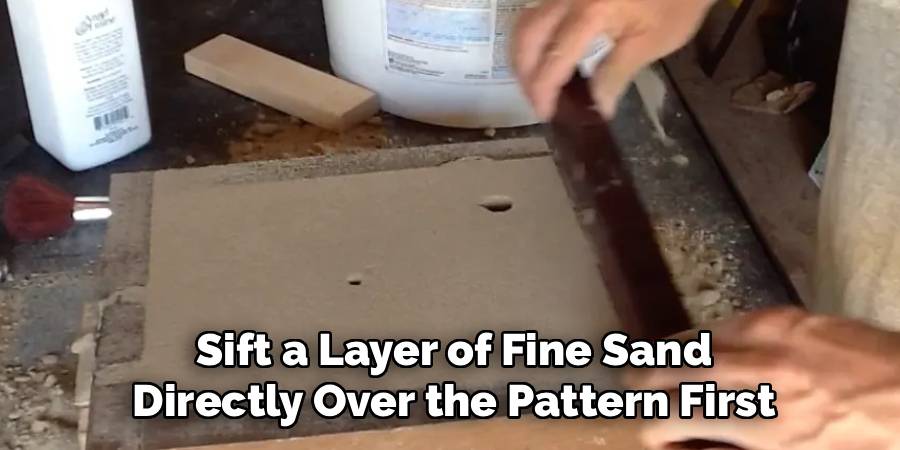
sift a layer of fine sand directly over the pattern first, gently pressing it around every detail with your fingers to capture the shape. then fill the rest of the drag with coarser backing sand, adding it in batches. use your ramming tool to firmly compact each layer, working from the edges toward the center for even density. pack it tight enough to hold form, but not so hard that gases cannot escape during pouring. once full, scrape the excess sand level with a straight edge across the top. a well-rammed drag gives your mold the strength to survive handling and the hot metal to come.
Step 4: Flip and Build the Cope
carefully turn the drag right side up and smooth the exposed parting surface. sprinkle parting powder across this face so the two halves will separate cleanly. now place the top half of the flask, the cope, onto the drag. position your sprue pin and riser pin where the metal will enter and where gases will rise. fill the cope with sand the same way you packed the drag, ramming firmly and leveling the top. these channels matter enormously, because mastering how to make sand casting molds depends on giving molten metal a clear path in and trapped air a clean route out.
Step 5: Separate the Halves and Remove the Pattern
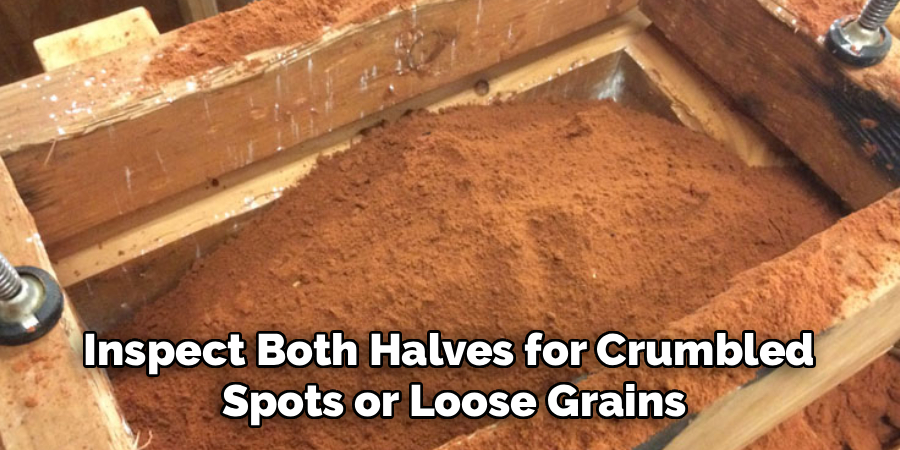
gently lift the cope straight up and set it aside without twisting, so the sand stays intact. remove the sprue and riser pins, leaving smooth openings behind. now carefully tap the pattern to loosen it, then lift it straight out of the drag without dragging the edges. this leaves a hollow cavity shaped exactly like your part. inspect both halves for crumbled spots or loose grains, and repair any damage by patting fresh sand back into place. patience matters here, since rushing this step is the most common reason beginners end up with blurry or broken castings.
Step 6: Cut the Gates and Vents
with the pattern removed, carve a small channel called a gate that connects the sprue opening to the mold cavity, allowing metal to flow in smoothly. cut a matching runner toward the riser so excess metal and gas can escape. use a vent wire to poke several thin holes through the cope sand, stopping just above the cavity, which lets trapped air and steam vent during pouring. keep these passages clean and free of loose grains. thoughtful gating prevents air pockets and incomplete fills, giving your finished casting a solid, professional surface rather than a rough, pitted one.
Step 7: Close the Mold and Prepare for Pouring
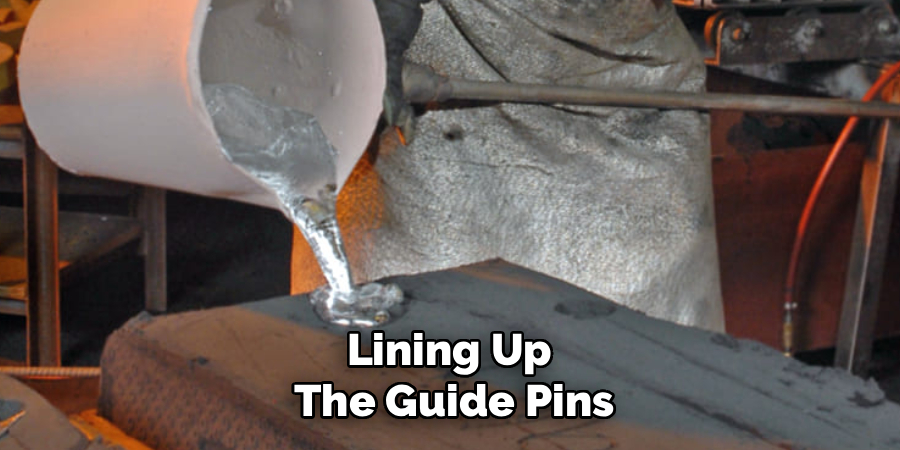
carefully lower the cope back onto the drag, lining up the guide pins so the two halves match perfectly. press them together firmly and place a weight on top, since the pressure of incoming metal can lift the cope and cause spills. double-check that your sprue and vents remain open and clear. set the closed mold on a safe, fireproof surface away from anything flammable. now your mold stands ready for molten metal. take a final look around your workspace, confirm your safety gear is on, and you are prepared to pour with confidence.
Frequently Asked Questions
What Kind of Sand Should I Use?
The most popular choice for beginners is greensand, a forgiving blend of fine sand, clay, and a little water. The clay acts as a binder that holds the shape, while the moisture keeps the grains packed together. It is affordable, reusable, and captures fine detail well. For higher-temperature metals or sharper finishes, some makers move on to resin-bonded sands, but greensand remains the friendliest starting point.
How Long Does a Sand Mold Last?
A finished sand mold is meant for a single pour, since the heat and force of molten metal damage the cavity as the part forms. The wonderful trade-off is that the sand itself is highly reusable. After the casting cools and you break the mold apart, you can crush the used sand, screen out debris, refresh the moisture, and pack it again. With care, the same batch serves you through many projects.
Can I Make Molds Without a Metal Flask?
Yes, you absolutely can. Many hobbyists build simple flasks from wood, and they work perfectly well for small to medium projects. The flask just needs to hold the sand firmly and let the two halves line up and separate cleanly. As long as your frame is sturdy, square, and the right size for your pattern, homemade wooden flasks deliver excellent results without the expense of metal equipment.
Why Did My Casting Come Out Rough or Incomplete?
Rough or partial castings usually trace back to a few fixable issues. Poorly packed sand can crumble, weak venting can trap air, and cramped gates can choke the metal flow. Pouring metal that is too cool also leaves surfaces unfinished. Review your ramming, widen your channels slightly, add a few more vents, and make sure your metal is hot enough. Small adjustments tend to produce big improvements quickly.
Is Sand Casting Safe to Do at Home?
It can be safe when you respect the heat and prepare properly. Always work in a well-ventilated area, wear heat-resistant gloves, a face shield, and closed leather shoes. Keep water far away from molten metal, since contact causes dangerous steam explosions. Set up on a fireproof surface, keep a fire extinguisher nearby, and never rush a pour. With sensible precautions, home casting is a rewarding and manageable hobby.
Conclusion
Building your own sand molds turns out to be far more approachable than it first appears. You start by gathering the right materials and setting your pattern, then pack the drag and cope with firm, even sand. From there you separate the halves, remove the pattern, carve clean gates and vents, and finally close everything up tight for the pour. Each stage builds on the last, and the real secret to how to make sand casting molds is simply patience and steady, careful packing rather than any expensive gear.
The rewards are well worth the effort. Once you have run through the process a couple of times, the steps start feeling natural, and your castings grow cleaner and more detailed with every attempt. So gather your sand, grab a simple pattern, and give your first mold a try this weekend. Start small, keep safety front and center, and enjoy the satisfying moment when your own poured metal cools into a finished piece you made entirely yourself.

About
Stuart Rich is a distinguished figure in the world of metalworking and fabrication, with a decade of expertise creating innovative and sustainable metal projects. His professional focus lies in merging traditional blacksmithing and machining with modern manufacturing techniques, fostering designs that are both practical and durable. As the author of Metalenify, Stuart Rich delves into the art and science of metallurgy and DIY metal creation, inspiring artisans, hobbyists, and industry professionals alike.
Education
RMIT University
(Melbourne, Australia)
Associate Degree in Engineering Technology (Mechanical / Manufacturing)
Focus on metallurgical properties, industry-driven projects, and practical metal craftsmanship. Gained hands-on experience with traditional machining and digital manufacturing tools, such as CAD, CNC software, and precision welding equipment.
Nottingham Trent University
(United Kingdom)
Bachelor’s in Product Design and Materials Engineering (Honors)
Specialized in product design with a heavy focus on blending creativity with metal production and fabrication techniques. Participated in real-world industry projects, collaborating with architectural and hardware manufacturing companies to optimize material efficiency.
Publications and Impact
In Metalenify, Stuart Rich shares his insights on structural metal design processes, material grades, and strategies for efficient shop production. His writing bridges the gap between raw artisan knowledge and modern industrial needs, making it a must-read for both budding DIY metalworkers and seasoned fabrication professionals.