To jack up a sagging metal gate, lift it back to level with a floor jack or wooden block, then hold it in place using an anti-sag turnbuckle kit, freshly tightened hinges, or a diagonal brace. Most of the time, the lean traces back to loose hinges, worn parts, or a post that has shifted—and you can usually sort it out in under an hour.
A sagging gate isn’t just ugly. It scrapes the ground, fights you every time you try to latch it, and chews through its own hinges a little more with each swing. Ignore it long enough and that minor droop becomes a gate that won’t shut at all, which leaves your yard or driveway wide open.
Here’s the part people tend to miss, though: you almost never need to buy a new gate. A handful of basic tools and a free afternoon are usually enough to lift the thing back where it belongs and keep it there. Below, I’ll walk through what actually causes the sag, the steps to correct it, and the moments when calling a pro just makes more sense. In this guide on how to jack up sagging metal gate, you’ll learn the techniques and tools you need to fix your own sagging gate.
Understand Why a Metal Gate Sags
Before you reach for the toolbox, it pays to figure out what’s dragging your gate down. Gravity gets the blame, sure. But a few specific culprits do most of the damage.
Loose or worn hinges are usually first in line. Bolts work themselves loose over the months, and the weight of the gate gradually hauls the latch side toward the dirt. A heavy metal gate puts real strain on those connections, more than most people expect.
Then there’s the post. A post that leans even a little—maybe the soil went soft, maybe frost shoved it, maybe the footing was too shallow to begin with—will tip the whole gate along with it. Rust complicates things further, weakening the frame or the welds until the metal starts bending under its own weight. Spotting the real cause early may save you the headache of fixing the same sag twice.
Assess the Severity of the Sag
Not every droop calls for the same response. Spend a few minutes sizing up the problem before you commit to a fix.
Open and close the gate slowly. Pay attention to where it drags and how far the latch drifts from its catch. A gap of an inch or less generally points to loose hinges or ordinary wear. A wider gap, or a gate that grinds hard into the ground, tends to suggest a leaning post or a bent frame instead.
Now check the post itself. Hold a level against it. If it tilts, your trouble starts below ground, not in the gate. A sagging post is a bigger job than a worn hinge, so this one quick test tells you what you’re really up against.
Tools and Materials You’ll Need
Round everything up first. Nothing kills momentum like a hardware-store run halfway through the job:
- Floor jack or hydraulic bottle jack
- Wooden blocks or scrap lumber for support
- Adjustable wrench and socket set
- Cordless drill and metal drill bits
- Spirit level
- Anti-sag gate kit (turnbuckle and steel cable)
- Replacement hinges or hinge bolts (if needed)
- Penetrating oil for rusted bolts
- Tape measure and pencil
- Work gloves and safety glasses
Safety Precautions
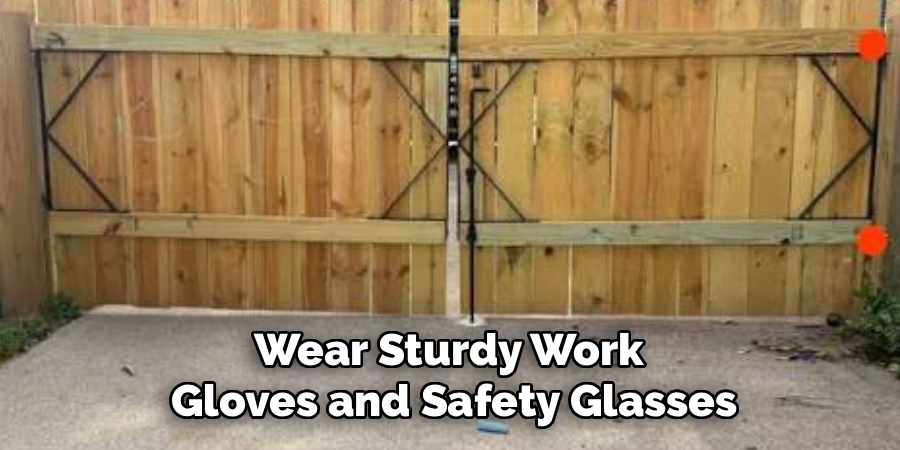
Metal gates are heavy, and they can shift without warning while your hands are in the wrong spot. Wear sturdy work gloves and safety glasses. Pinched fingers, sharp edges, and bits of metal flying off the drill are all things you’d rather avoid.
One rule matters more than the rest: never slide any part of your body under a raised gate that’s resting only on a jack. Tuck wooden blocks underneath as backup support first. Work on stable, level ground. And if you can, get a helper to steady the gate as you lift. A second set of hands turns a dicey solo job into a manageable one.
7 Simple Step-by-step Guidelines on How to Jack Up Sagging Metal Gate
Step 1: Clear the Area and Prep the Gate
Move anything that might get underfoot—plant pots, garden tools, loose rocks, whatever debris has collected under the swing path. A clear workspace keeps you safe and gives you room to move.
Swing it open and shut a few times to pin down exactly where it sags and binds. Mark the spot where the latch should meet its catch using a pencil or a strip of tape. That little reference tells you how far you need to lift, and it lets you track your progress as you work the rest of the steps.
Step 2: Position the Jack Under the Gate
Set your floor jack or bottle jack directly beneath the latch side—the corner that’s dropped the most. Place it on a flat, solid surface so it can’t tip while the gate rises.
Lay a wooden block or scrap of plywood between the jack and the gate frame. This spreads the load and keeps the metal from denting. If the ground feels soft, slip a wider board under the jack base as well s, so it doesn’t sink the moment you apply pressure. The whole job rests on a stable jack, so it’s worth a minute to get this setup right.
Step 3: Raise the Gate Back to Level
Pump the jack slowly to lift the sagging corner. Work in small increments. Pause often and lay a spirit level across the top rail to check where you’re at. Rush this part, and you may bend the frame or overload the hinges.
Keep going until the gate sits level and the latch lines up with the mark from Step 1. Have your helper hold it steady as it rises so it doesn’t swing or twist on you. Once the latch hits the right height, stop pumping and slide a wooden block underneath as a safety backup before moving on.
Step 4: Inspect and Tighten the Hinges
With the gate held level, look hard at the hinges. Loose bolts, stripped threads, worn pins, rust nibbling at the metal—any of these could be the actual reason the gate dropped in the first place.
Tighten every hinge bolt firmly with your wrench and socket set. If a bolt just spins without biting, the hole’s probably stripped; swap in a slightly larger bolt or shift to a fresh mounting point. Spray penetrating oil on rusted hardware and give it a few minutes to soak before you wrestle with it. Any hinge that’s cracked, bent, or rusted clean through needs replacing—tightening won’t rescue hardware that’s already failed.
Step 5: Install an Anti-Sag Gate Kit

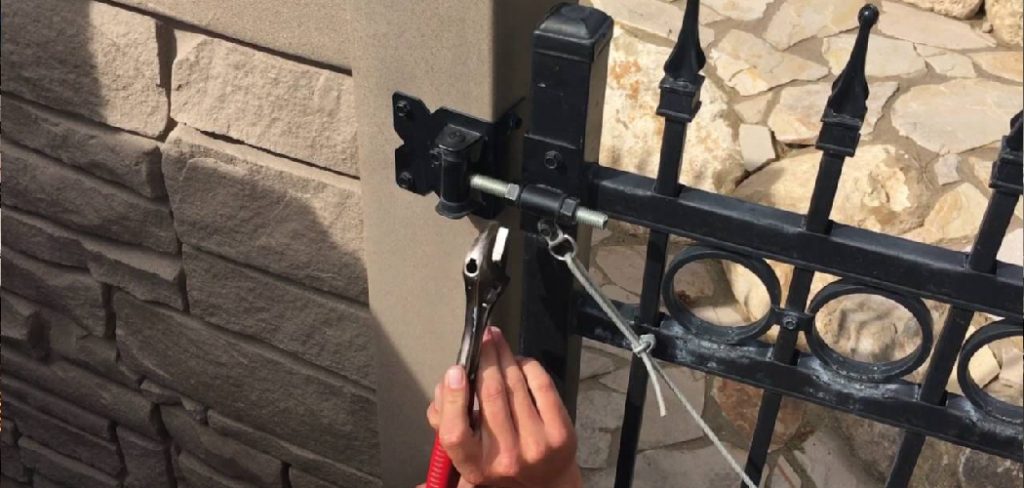
For a fix that actually holds, fit an anti-sag kit. It uses a steel cable and a turnbuckle to pull the gate back into shape. Mount one bracket at the top corner on the hinge side, the other at the bottom corner on the latch side, so the cable runs diagonally across the frame.
Thread the cable between the brackets and connect it through the turnbuckle. Tighten the turnbuckle by hand, turning slowly while you watch the gate respond. As the cable draws tight, it lifts the sagging corner and pins it in place. Keep adjusting until the gate sits level and the latch lines up cleanly. This little device handles the heavy lifting long after the jack is back in the garage.
Step 6: Address the Gate Post if Needed
If your earlier check turned up a leaning post, deal with it before expecting the gate to stay true. A wobbly post will drag the gate back down, no matter how perfectly you’ve set the hinges or cable.
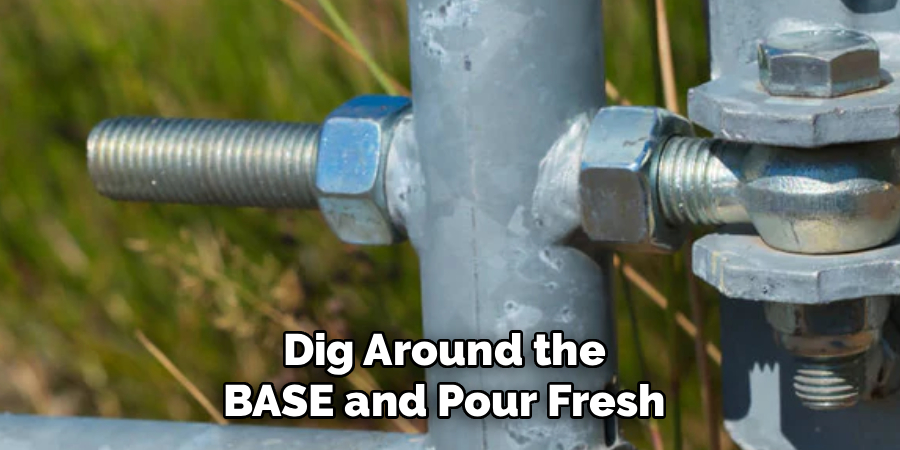
For a slight lean, dig around the base and pour fresh concrete to reset and anchor the post. For one that’s badly rotted or rusted, replacing it outright is the smarter long-term call. Keep a level on the post so it stays vertical while the concrete sets, and brace it with scrap lumber until it cures. Skip this on a leaning post, and you’ll likely be back jacking up the gate within a few months.
Step 7: Test and Make Final Adjustments
Lower the jack slowly and pull out the wooden blocks. Swing the gate open and closed several times and watch how it moves. The latch should click home without a fight, and the gate should clear the ground across its whole arc.
If something still drags or the latch sits a touch off, fine-tune the turnbuckle a quarter-turn at a time until it all lines up. Confirm the hinge bolts are snug and the post hasn’t budged. When the gate opens, closes, and latches without effort, you’re done. Wipe the hardware down and add a little oil to keep everything moving.
Following these steps on how to jack up sagging metal gate, you should be able to restore your gate to its proper functioning state.
Common Mistakes to Avoid
Plenty of DIY repairs fall apart over a handful of avoidable slip-ups. Lift the gate too fast, and you risk bending the frame or cracking a weld, so raise it in slow stages. Working underneath without that wooden safety block? Not worth the gamble, ever.
Don’t fixate on the hinges while ignoring a leaning post—the sag will come right back. And go easy on the turnbuckle; crank it too hard, and you can warp the frame or snap the cable. Small adjustments and a bit of patience tend to beat brute force.
Troubleshooting Common Problems
Even a careful repair can hit a wall. If the gate still won’t latch after you’ve leveled it, the latch hardware itself may be bent or loose—check it and reposition the catch if you need to.
A gate that sags again within a few weeks usually points back to the post, so revisit Step 6 and reset it properly. One that drags only in wet weather may be telling you the soil shifts with moisture, which could mean the footing needs more depth or better drainage. Squeaky, stiff hinges generally just want some penetrating oil and a cleaning. And a turnbuckle that keeps loosening on its own? A dab of thread-locking compound should settle it down.
When to Call a Professional?
Some gate problems sit well outside the weekend-project zone. A frame that’s badly bent, cracked at the welds, or rusted through is something a welder or fabricator can repair or rebuild far more safely than you can in the driveway.
Heavy automatic or driveway gates—the kind that weigh hundreds of pounds—also warrant professional help, because lifting them wrong can hurt you. Same story with posts set in deep concrete footings that have shifted; resetting those often takes equipment most homeowners don’t have. And if you’ve run through every step here and the gate still sags, a pro may catch a structural issue you couldn’t. A little money spent on expert help now could spare you a failed gate and a heftier bill down the road.
Frequently Asked Questions
How Much Does It Cost to Fix a Sagging Metal Gate?
A DIY repair is cheaper than most people guess. An anti-sag gate kit typically runs between $15 and $40, and replacement hinges or bolts tack on just a few dollars. If you already own a jack and some basic hand tools, you can fix most sagging gates for under $50. Bringing in a professional welder or installer pushes the cost up sharply—often $150 to $500 or more—depending on the damage, the gate’s size, and whether the post needs resetting.
How Long Does an Anti-Sag Gate Kit Last?
A solid anti-sag kit built from galvanized steel cable may last many years, sometimes the entire life of the gate. How long really depends on the gate’s weight, your climate, and how well you keep up with maintenance. Check the turnbuckle’s tension once or twice a year and adjust it if the gate starts to drift. A little thread-locking compound and some oil on the hardware help fend off rust and keep the cable taut, which stretches its working life even further.
Can I Fix a Sagging Gate Without a Jack?
Yes. You can lift a sagging gate without a floor jack, though a jack does make it easier. Slide a sturdy wooden block or a pry bar under the latch side, lever the gate up to level, and hold it there while a helper installs an anti-sag kit or tightens the hinges. Some people stack wooden shims under the gate to hold the right height. Either way, the trick is keeping the gate steady and level while you fasten the hardware that’s meant to support it long term.
Get Your Gate Swinging Smoothly Again
A sagging metal gate is the kind of problem you can almost always handle yourself. Once you’ve worked out why it drooped—loose hinges, a leaning post, a worn frame—the path forward gets a lot clearer. Jack it up to level, tighten or replace the hinges, fit an anti-sag kit, and steady the post if it’s the thing throwing everything off.
Take it slow, follow the safety steps, and test your work before you put the tools away. With a few cheap parts and a measure of patience, your gate should open, close, and latch like it did when it was new. And if the damage turns out deeper than a DIY fix can reach, there’s no shame in calling a professional—a sturdy, level gate is worth getting right. Thanks for reading this guide on how to jack up sagging metal gate.

About
Stuart Rich is a distinguished figure in the world of metalworking and fabrication, with a decade of expertise creating innovative and sustainable metal projects. His professional focus lies in merging traditional blacksmithing and machining with modern manufacturing techniques, fostering designs that are both practical and durable. As the author of Metalenify, Stuart Rich delves into the art and science of metallurgy and DIY metal creation, inspiring artisans, hobbyists, and industry professionals alike.
Education
RMIT University
(Melbourne, Australia)
Associate Degree in Engineering Technology (Mechanical / Manufacturing)
Focus on metallurgical properties, industry-driven projects, and practical metal craftsmanship. Gained hands-on experience with traditional machining and digital manufacturing tools, such as CAD, CNC software, and precision welding equipment.
Nottingham Trent University
(United Kingdom)
Bachelor’s in Product Design and Materials Engineering (Honors)
Specialized in product design with a heavy focus on blending creativity with metal production and fabrication techniques. Participated in real-world industry projects, collaborating with architectural and hardware manufacturing companies to optimize material efficiency.
Publications and Impact
In Metalenify, Stuart Rich shares his insights on structural metal design processes, material grades, and strategies for efficient shop production. His writing bridges the gap between raw artisan knowledge and modern industrial needs, making it a must-read for both budding DIY metalworkers and seasoned fabrication professionals.