
A dull drill bit is one of the most frustrating tools in any workshop. It burns through wood, screeches against metal, and forces you to push harder than you should. Worse, it can slip, overheat, and even snap. But here’s the good news: you don’t need to toss those worn-out bits in the trash. With a little practice and the right approach, you can bring them back to life.
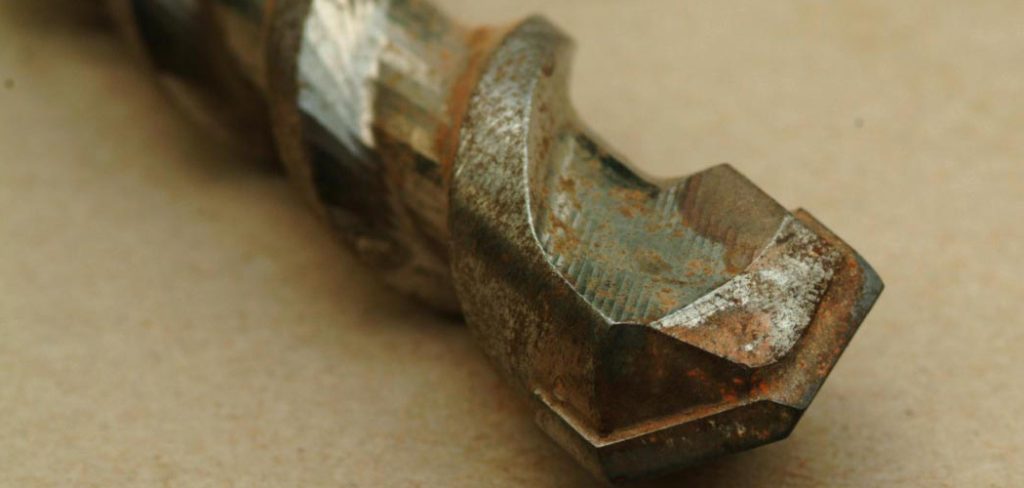
Sharpening metal drill bits at home is a skill anyone can learn. You don’t need expensive machinery or years of experience. All you need is a bench grinder, some patience, and a steady hand.
This guide on how to sharpen metal drill bits will walk you through everything, from understanding why sharpening matters to a clear 10-step process you can follow right away.
What are the Benefits?
Sharpening your own drill bits offers more than just a sharp edge. Here’s why it’s worth learning this simple skill.
- Save money. Quality drill bits aren’t cheap, especially high-speed steel or cobalt sets. Instead of replacing them every time they dull, you can sharpen them again and again. Over time, this adds up to real savings.
- Better performance. A sharp bit cuts cleanly and quickly. It produces neat holes, reduces wandering, and requires less pressure. This means faster work and better results on every project.
- Less heat and wear. Dull bits generate friction and heat, which damages both the bit and your material. A sharp edge slices through cleanly, keeping things cool and protecting your tools.
- Improved safety. Dull bits are dangerous. They can grab, bind, or break unexpectedly, sending your workpiece flying. A sharp bit gives you more control and a smoother, safer drilling experience.
- Less waste. Throwing away dull bits creates unnecessary waste. Sharpening extends their life and keeps usable steel out of the landfill.
- A useful skill. Once you learn this, you’ll always have it. It’s one of those handy abilities that pays off for years to come.
What Will You Need?
Before you begin, gather your tools and set up a clean workspace. Here’s what you’ll need:
- A bench grinder with a medium-grit wheel (around 60 grit works well for general sharpening)
- Safety glasses to protect your eyes from sparks and metal dust
- Work gloves for handling hot bits (though some prefer bare hands for better grip)
- A container of water to cool the bit as you work
- A dull drill bit that needs sharpening
- A sharp reference bit of the same size to compare angles
- A drill bit gauge or angle guide (optional but helpful for checking the 59-degree angle)
- A flat surface or vise to test your finished bit
- A dust mask if you’re sensitive to metal particles
Having everything ready before you start keeps the process smooth and safe. A tidy workspace also helps you stay focused and avoid accidents.
10 Easy Steps on How to Sharpen Metal Drill Bits
Follow these steps carefully. Take your time, especially the first few times. Sharpening is a skill that improves with practice.
Step 1: Put On Your Safety Gear
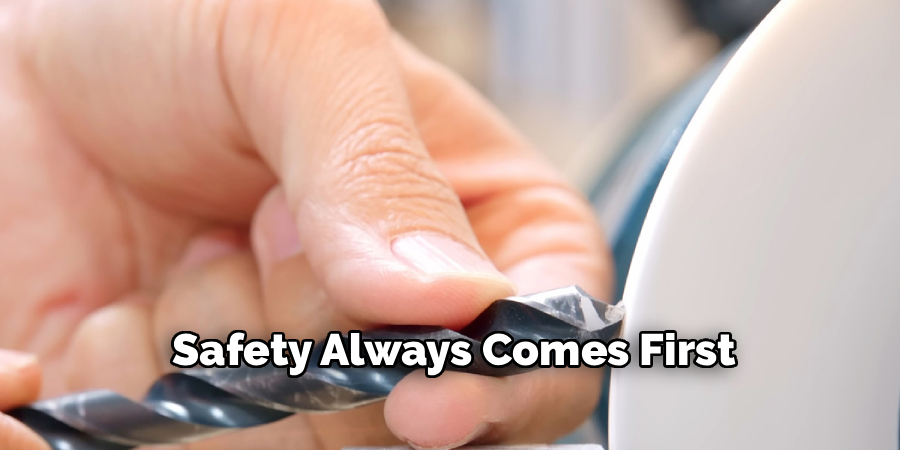
Safety always comes first. Before touching the grinder, put on your safety glasses and, if you choose, your work gloves. Grinding creates sparks and tiny metal fragments that can hurt your eyes. If you’re working in an enclosed space, wear a dust mask too. Make sure your sleeves are rolled up, and any loose clothing is tucked away. Tie back long hair. These small steps protect you from injury and let you work with confidence.
Step 2: Inspect the Drill Bit
Take a close look at the bit you want to sharpen. Examine the tip and identify the cutting edges, also called the lips. Notice how worn or rounded they are. Check for any cracks or major damage, because severely damaged bits may not be worth saving. Understanding the current shape of the tip helps you know how much material you need to remove. Compare it with a sharp bit of the same size so you have a clear picture of your goal.
Step 3: Understand the Correct Angle
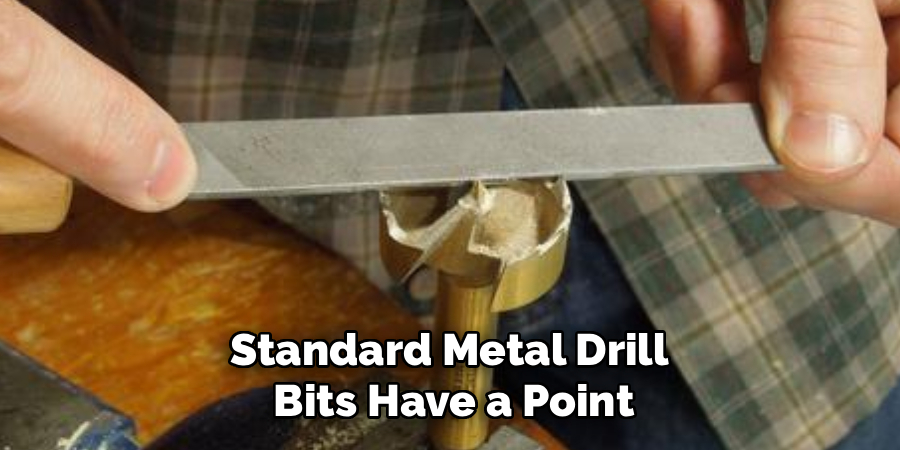
Standard metal drill bits have a point angle of about 118 degrees, which means each cutting lip sits at roughly 59 degrees from the center. This angle is what gives the bit its cutting power. Keep this number in mind as you sharpen, since matching it is key to a good result. For harder metals, some users prefer a steeper 135-degree angle. For now, focus on the standard 118-degree tip, as it works well for most general drilling tasks.
Step 4: Set Up Your Bench Grinder
Turn on your bench grinder and let it reach full speed. Make sure the grinding wheel is clean and spins evenly without wobbling. Position yourself comfortably in front of the wheel with good lighting. Keep your container of water nearby and within easy reach. Stand firmly with both feet planted. A stable stance gives you better control over the bit and produces a more even, accurate edge.
Step 5: Position the Bit Against the Wheel
Hold the drill bit firmly with both hands for maximum control. Bring it toward the grinding wheel at the correct angle, lining up one cutting lip with the wheel’s surface. The cutting edge should sit parallel to the face of the wheel. Don’t press hard yet. This first contact is about finding the right position and angle before you start removing metal. Keep your grip steady and your movements slow.
Step 6: Grind the First Cutting Edge
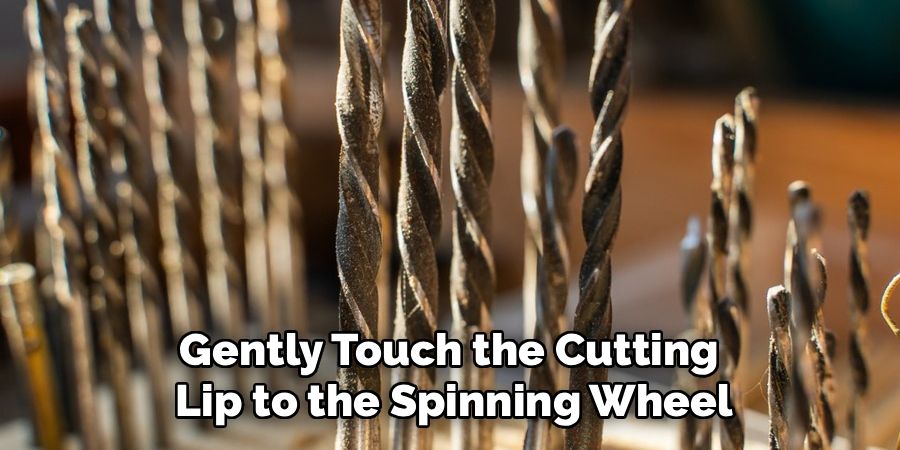
Gently touch the cutting lip to the spinning wheel. Apply light, even pressure and grind for just a few seconds at a time. As you grind, slightly rotate the bit and curve it downward to shape the back of the tip, following the natural slope of the cutting edge. Watch the metal carefully. You want to sharpen the lip while keeping that 59-degree angle. Avoid grinding too long in one spot, as this builds up heat fast.
Step 7: Cool the Bit in Water
Heat is the enemy of a good edge. Every few seconds, dip the bit into your container of water to cool it down. If the tip turns blue or dark, it has overheated and lost its hardness, which weakens the cutting edge. Cooling often keeps the steel strong and prevents this damage. This step is so important that you should make it a habit between every short burst of grinding.
Step 8: Grind the Second Cutting Edge
Once the first lip looks sharp and even, rotate the bit 180 degrees and repeat the same process on the second cutting edge. The goal is symmetry. Both lips must match in length and angle, or the bit will drill crooked holes and wear unevenly. Use the same light pressure, the same motion, and the same cooling routine. Take your time to balance both sides as closely as possible.
Step 9: Check the Symmetry and Angle
Pull the bit away and inspect your work. Look at both cutting edges side by side. They should be the same length and meet at a centered, even point. Use a drill bit gauge or compare against a sharp reference bit to confirm the angle. If one side is longer or the point sits off-center, return to the grinder and make small corrections. A balanced tip is the difference between a clean hole and a wobbly one.
Step 10: Test the Sharpened Bit
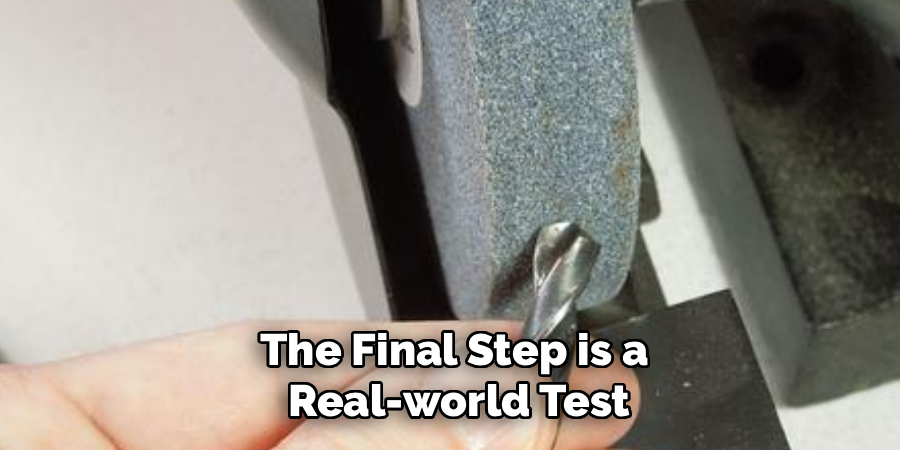
The final step is a real-world test. Place the bit in your drill and try it on a scrap piece of metal or wood. A properly sharpened bit should start cutting easily, produce two even curls of material, and create a clean hole without wandering. If it cuts smoothly, you’re done. If it struggles or drifts, go back and fine-tune the edges. With practice, you’ll get faster and more accurate each time.
5 Things You Should Avoid
Even with the right steps, a few common mistakes can ruin your results. Watch out for these.
1. Overheating the bit. This is the biggest mistake beginners make. Grinding too long without cooling turns the metal blue and softens it. Once that happens, the edge won’t hold. Dip the bit in water often.
2. Pressing too hard. Heavy pressure removes too much metal and creates uneven edges. It also generates more heat. Use a light, gentle touch and let the wheel do the work.
3. Ignoring symmetry. If the two cutting lips don’t match in length and angle, the bit will drill oversized or crooked holes. Always check both sides carefully.
4. Skipping safety gear. Never grind without eye protection. Sparks and metal fragments fly fast and can cause serious injury. Safety glasses are non-negotiable.
5. Using a worn or dirty wheel. A damaged grinding wheel produces uneven results and can be dangerous. Keep your wheel clean, balanced, and in good condition.
Frequently Asked Questions
- How Often Should I Sharpen My Drill Bits?
Sharpen your bits whenever you notice they’re struggling to cut. Signs include needing extra pressure, producing dust instead of clean curls, or making screeching sounds. There’s no fixed schedule, since it depends on how often you drill and what materials you use. Harder metals dull bits faster than soft wood. Inspect your bits before big projects and sharpen as needed. - Can I Sharpen Drill Bits Without a Bench Grinder?
Yes, you can. While a bench grinder is the easiest method, you can also use a rotary tool with a grinding attachment or a specialized drill bit sharpener. Some people even use a flat sharpening stone for small touch-ups. However, these methods take more practice and patience. A bench grinder remains the most reliable choice for consistent, accurate results. - What Angle Should I Sharpen My Drill Bits to?
Most standard metal drill bits use a 118-degree point angle, which means each lip sits at about 59 degrees from the center. This works well for general-purpose drilling in wood, plastic, and softer metals. For harder materials like stainless steel, a 135-degree angle performs better. When in doubt, stick with 118 degrees, as it handles the widest range of everyday tasks.
Conclusion
How to sharpen metal drill bits is a practical skill that saves money, improves your work, and keeps you safer in the shop. While it might feel tricky at first, the process becomes second nature with a little practice. The key points to remember are simple: protect yourself with safety gear, keep the correct 59-degree angle on each lip, cool the bit often to prevent overheating, and aim for symmetry between both cutting edges.
Start with a few old bits you don’t mind practicing on. Take your time, use a light touch, and check your progress often. Before long, you’ll be able to bring dull bits back to a razor-sharp edge in just a few minutes.
Once you master it, you’ll never look at a worn-out drill bit the same way again. Grab your safety glasses, fire up the grinder, and give it a try.

About
Stuart Rich is a distinguished figure in the world of metalworking and fabrication, with a decade of expertise creating innovative and sustainable metal projects. His professional focus lies in merging traditional blacksmithing and machining with modern manufacturing techniques, fostering designs that are both practical and durable. As the author of Metalenify, Stuart Rich delves into the art and science of metallurgy and DIY metal creation, inspiring artisans, hobbyists, and industry professionals alike.
Education
RMIT University
(Melbourne, Australia)
Associate Degree in Engineering Technology (Mechanical / Manufacturing)
Focus on metallurgical properties, industry-driven projects, and practical metal craftsmanship. Gained hands-on experience with traditional machining and digital manufacturing tools, such as CAD, CNC software, and precision welding equipment.
Nottingham Trent University
(United Kingdom)
Bachelor’s in Product Design and Materials Engineering (Honors)
Specialized in product design with a heavy focus on blending creativity with metal production and fabrication techniques. Participated in real-world industry projects, collaborating with architectural and hardware manufacturing companies to optimize material efficiency.
Publications and Impact
In Metalenify, Stuart Rich shares his insights on structural metal design processes, material grades, and strategies for efficient shop production. His writing bridges the gap between raw artisan knowledge and modern industrial needs, making it a must-read for both budding DIY metalworkers and seasoned fabrication professionals.





