Stainless steel can be darkened using chemical blackening solutions, heat treatment, or specialized patinas. The most reliable approach starts with thorough cleaning, followed by a commercial blackening acid, controlled oxidation, and a protective sealant to lock the finish in place.
Stainless steel’s bright, mirror-like surface is part of its appeal — until it isn’t. For metalworkers building tactical hardware, designers speccing out matte architectural panels, or DIYers who simply want less glare on a functional part, that reflective finish can work against the goal. Darkening the metal is entirely possible, but it’s not as straightforward as throwing on a coat of spray paint.
This guide on how to darken stainless steel walks through every stage of the process: how the metal’s surface chemistry affects your results, what safety measures you shouldn’t skip, and a seven-step method that takes the metal from polished silver to a deep, durable black.
How Do Stainless Steel Surface Properties Affect the Darkening Process?
Stainless steel owes its corrosion resistance to a thin, self-renewing layer of chromium oxide that forms naturally on the surface. That passive film is largely invisible to the naked eye, but it’s what makes the metal so resistant to rust — and, unfortunately, so resistant to conventional finishing methods like bluing or dyeing that work well on carbon steel.
To change the color, you have to either disrupt or chemically convert that oxide layer. This is where grade selection matters more than most guides acknowledge. A 304-grade alloy, which contains roughly 18% chromium and 8% nickel, will respond differently to the same blackening solution than a 316-grade alloy, which carries additional molybdenum for higher corrosion resistance. Reaction times, depth of color, and long-term adhesion can all shift depending on the alloy composition. Knowing your grade before you open a bottle of chemical blackener isn’t just good practice — it’s the difference between a uniform finish and a patchy one.
What Safety Precautions Are Necessary When Darkening Stainless Steel?
The chemicals involved here aren’t forgiving. Many commercial blackening solutions contain strong acids alongside compounds like selenium dioxide or copper salts — substances that can cause chemical burns on contact and respiratory irritation if you’re breathing the vapors without ventilation. Working outdoors is preferable. If that’s not an option, an industrial fume hood or, at minimum, a high-airflow workspace with a respirator is necessary.
Before handling any chemical container, suit up: heavy-duty nitrile gloves (not the thin disposable kind), chemical-resistant goggles, and a protective apron. If you’re using a blowtorch for heat darkening, clear the surrounding area of anything flammable and keep a fire extinguisher accessible. One point that’s easy to overlook — never combine different blackening products. Mixing acid-based solutions can trigger exothermic reactions or release toxic gases, neither of which you want to discover mid-project.
7 Simple Step-by-step Guidelines on How to Darken Stainless Steel
Step 1: Gather Your Materials and Prepare Your Workspace
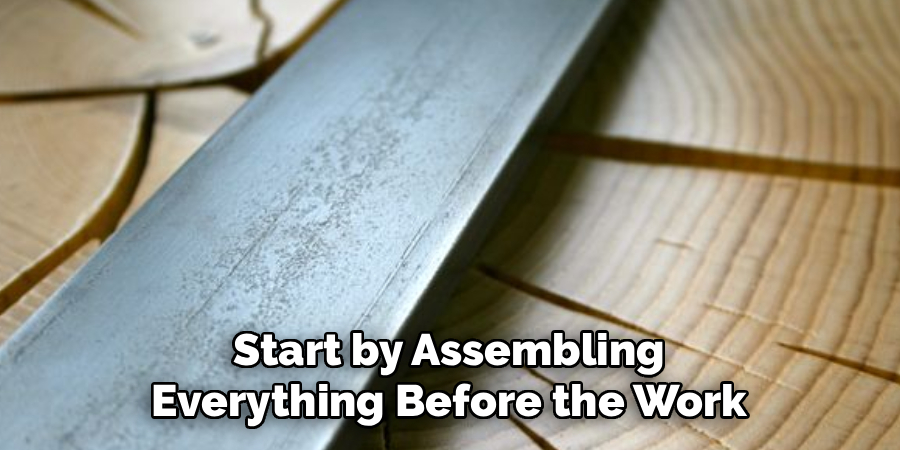
Start by assembling everything before the work begins. You’ll need a commercial stainless steel blackening solution, a degreasing agent (acetone or a dedicated metal cleaner both work), abrasive pads or fine sandpaper, distilled water, and a clear protective sealant. Having everything within arm’s reach before you open the chemical bottle matters more than it might seem.
Lay a thick plastic drop cloth or chemical-resistant mat across your workbench. Position your degreaser, rinse bath, and blackening solution in the order you’ll use them. This sequential layout reduces the risk of cross-contamination and lets you move the metal from one stage to the next quickly — which becomes important once the reaction starts.
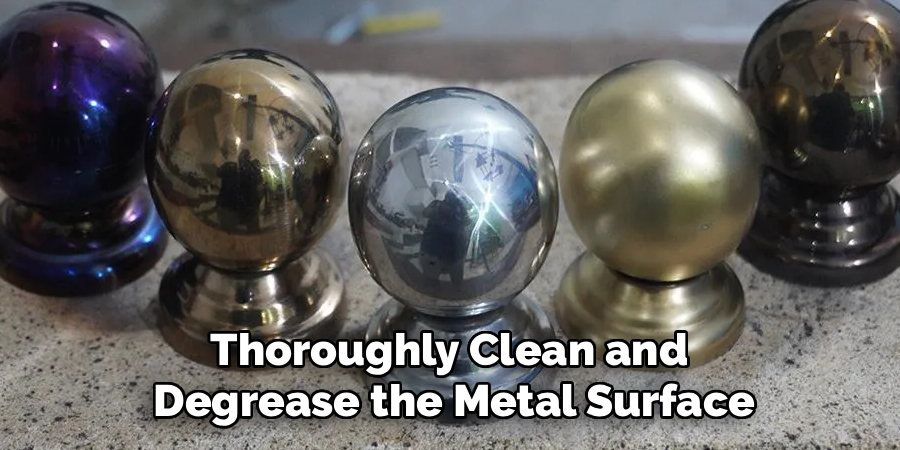
Step 2: Thoroughly Clean and Degrease the Metal Surface
Surface prep is the stage most people underestimate, and it’s where most poor results originate. A single fingerprint, a faint smear of cutting oil, or residue from a previous polish can block the chemical from reaching the steel uniformly. Scrub the entire surface with a metal degreaser or acetone, using a lint-free cloth in firm, overlapping strokes.
Once you’ve wiped it down, run a quick water-break test: drip a few drops of distilled water across the surface. If the water beads, there’s still a contaminating film present. If it sheets off in a thin, unbroken layer, the surface is ready. From this point forward, handle the metal only with clean nitrile gloves. Your skin’s natural oils are enough to compromise the result.
Step 3: Abrade the Surface for Better Chemical Adhesion
Polished stainless steel is almost too smooth for darkening chemicals to grip consistently. A light mechanical abrasion changes that. Using a Scotch-Brite pad or 320–400 grit sandpaper, scuff the surface in a single, consistent direction. What you’re doing is creating a uniform field of microscopic scratches that expand the effective contact area for the chemical reaction.
This step also breaks up the uppermost portion of the chromium oxide layer, giving the blackener a better path to the base steel. Keep the pressure even and the motion controlled — aggressive sanding leaves visible scratches that the darkening process won’t fully conceal. After abrading, wipe the surface once more with acetone to clear any metal dust before proceeding.
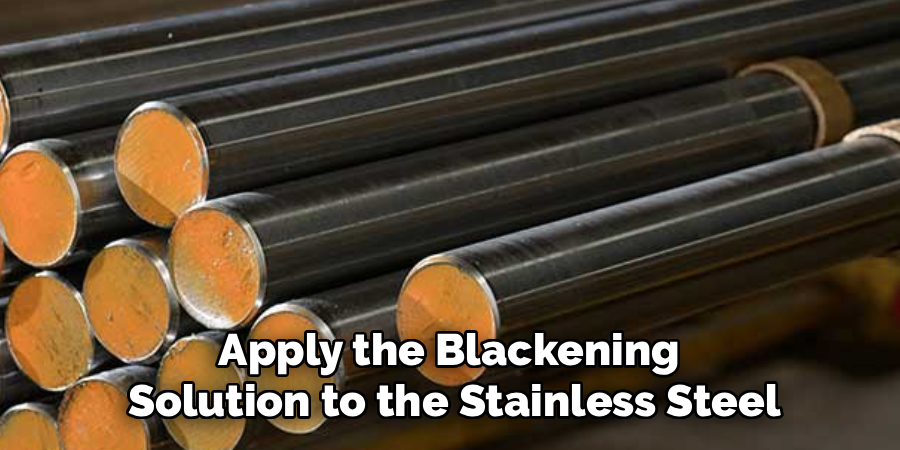
Step 4: Apply the Blackening Solution to the Stainless Steel
With the surface clean and prepped, apply the chemical blackener either by submerging the part in a plastic container or by brushing it on with a sponge for larger pieces. If you’re brushing, work in smooth, overlapping strokes and maintain a wet edge to prevent the solution from drying unevenly in some areas while still reacting in others.
The color shift begins almost immediately — typically moving from silver to gray, then to brown, and eventually to a dark black as the reaction progresses. Total reaction time tends to fall somewhere between one and five minutes, depending on the product and alloy grade. Watch the surface closely. Leaving the solution on past the point of saturation doesn’t deepen the color; it weakens the adhesion of the new layer and can cause it to flake.
Step 5: Rinse and Neutralize the Chemical Reaction
As soon as the metal reaches your target color, halt the reaction. Transfer the part into a bath of distilled water or rinse it under running water for at least two minutes. Distilled water is worth the minor inconvenience here — tap water’s mineral content can leave spotting on a fresh finish that’s difficult to remove cleanly.
Follow the water rinse with a neutralizing soak in a baking soda and water solution (roughly a tablespoon per liter). This alkaline bath addresses any acid residue trapped in the micro-texture of the surface, stopping further reaction that could otherwise continue invisibly. After a few minutes in the neutralizer, give the part a final clean water rinse and pat it dry with a soft microfiber cloth. Rubbing can disturb the finish at this stage.
Step 6: Lightly Polish the Darkened Surface
Once fully dry, the surface may show a faint powdery or matte-sooty residue — a normal byproduct of the oxidation chemistry. It sits loosely on top of the actual finish and buffs away easily. Use a clean, dry cloth or #0000 steel wool with very light pressure to even out the surface and remove any unconsolidated oxidation.
This buffing step also allows some creative control over the final look. Heavier pressure on edges and raised areas will reveal thin traces of bare metal underneath, which produces an aged or distressed effect that works well on decorative hardware. Once you’re satisfied with the appearance, wipe away any residual dust before moving to the final step.
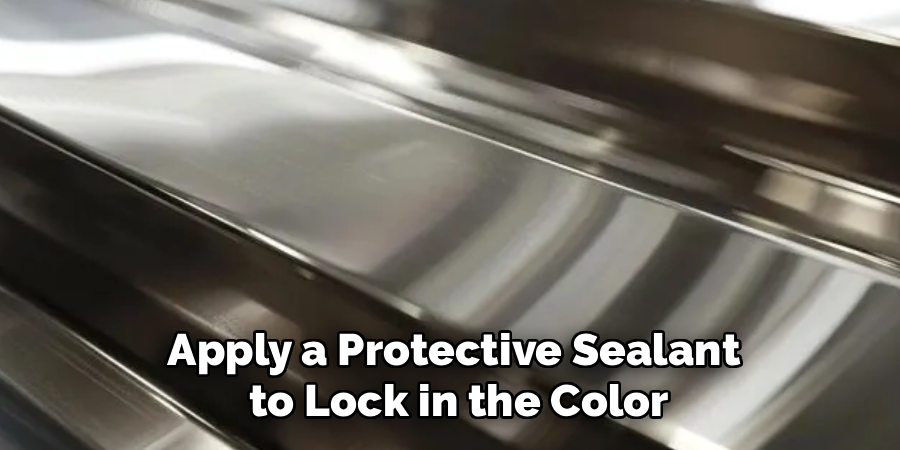
Step 7: Apply a Protective Sealant to Lock in the Color
The darkened layer is, at its core, a controlled form of surface oxidation. Left unprotected, it will wear unevenly — faster on contact points and edges. A sealant is non-negotiable if you want the finish to hold.
The right sealant depends on the application. For decorative interior pieces, a clear paste wax or thin acrylic spray works well. For hardware or outdoor components exposed to moisture, a penetrating oil or specialized metal sealant offers better durability. Apply a thin, even coat and allow it to cure according to the product’s instructions. A well-applied sealant not only extends the life of the finish but tends to deepen the color slightly, bringing out a richer, more deliberate tone.
Following these steps on how to darken stainless steel, your project will have a more professional and polished appearance.
What Are the Common Mistakes to Avoid When Darkening Stainless Steel?
The most consistent problem is inadequate degreasing. Even when people think the surface is clean, residual contamination causes the chemical to react unevenly, leaving a blotchy, inconsistent finish.
Close behind that is over-processing — leaving the blackening solution on longer than necessary doesn’t produce a darker result; it produces a thicker, more fragile layer that flakes off under handling. Skipping the final sealant is the third common failure point, one that usually only becomes obvious weeks later when the finish starts wearing away at the edges.
How Can You Control the Final Color of Darkened Stainless Steel?
Color depth is primarily controlled by two variables: concentration and exposure time. Diluting the blackening solution with distilled water and pulling the metal out after just a few seconds tends to yield a lighter gunmetal gray.
Applying the solution at full strength and allowing the full recommended exposure pushes toward a deeper, near-matte black. For more precise results, a layered approach — multiple short treatments rather than a single extended one — gives you more stopping points and reduces the risk of over-processing.
What Are the Best Applications for Darkened Stainless Steel?
In architectural and interior design, darkened stainless steel has become a material of choice for custom hardware, wall paneling, and kitchen fixtures where a muted industrial finish reads more intentional than raw metal.
The firearms and knife-making industries have used chemical blackening for decades, largely because the finish eliminates light reflection without compromising the underlying steel’s dimensional tolerances. Automotive and motorcycle builders also use it for exhaust trim and engine components, where the blacked-out look is the goal but rust resistance remains a practical requirement.
Final Thoughts and Next Steps for Your Metalworking Project
Darkening stainless steel sits at a useful intersection of chemistry, surface preparation, and craft. The steps themselves aren’t complicated, but small missteps — a missed degreasing pass, an extra minute of chemical exposure — tend to compound in ways that are visible in the final result. The process rewards patience and methodical preparation more than speed.
If you’re approaching this for the first time, start with a scrap piece of the same alloy grade you’ll be working with on the actual project. This lets you dial in your timing and dilution without pressure. Once you’ve confirmed the process works at the test scale, the full application should go smoothly. Gather your materials, follow the steps in order, and seal the finish before it has time to wear — that’s the sequence that consistently produces results worth keeping. Thanks for reading this guide on how to darken stainless steel.
About
Stuart Rich is a distinguished figure in the world of metalworking and fabrication, with a decade of expertise creating innovative and sustainable metal projects. His professional focus lies in merging traditional blacksmithing and machining with modern manufacturing techniques, fostering designs that are both practical and durable. As the author of Metalenify, Stuart Rich delves into the art and science of metallurgy and DIY metal creation, inspiring artisans, hobbyists, and industry professionals alike.
Education
RMIT University
(Melbourne, Australia)
Associate Degree in Engineering Technology (Mechanical / Manufacturing)
Focus on metallurgical properties, industry-driven projects, and practical metal craftsmanship. Gained hands-on experience with traditional machining and digital manufacturing tools, such as CAD, CNC software, and precision welding equipment.
Nottingham Trent University
(United Kingdom)
Bachelor’s in Product Design and Materials Engineering (Honors)
Specialized in product design with a heavy focus on blending creativity with metal production and fabrication techniques. Participated in real-world industry projects, collaborating with architectural and hardware manufacturing companies to optimize material efficiency.
Publications and Impact
In Metalenify, Stuart Rich shares his insights on structural metal design processes, material grades, and strategies for efficient shop production. His writing bridges the gap between raw artisan knowledge and modern industrial needs, making it a must-read for both budding DIY metalworkers and seasoned fabrication professionals.


