
Metal finishing protects surfaces from corrosion, improves durability, and transforms raw material into something that actually looks intentional. The process calls for thorough cleaning, progressive sanding, careful buffing, and choosing the right coating for your specific metal type. Work through each stage in order, and the results tend to speak for themselves.
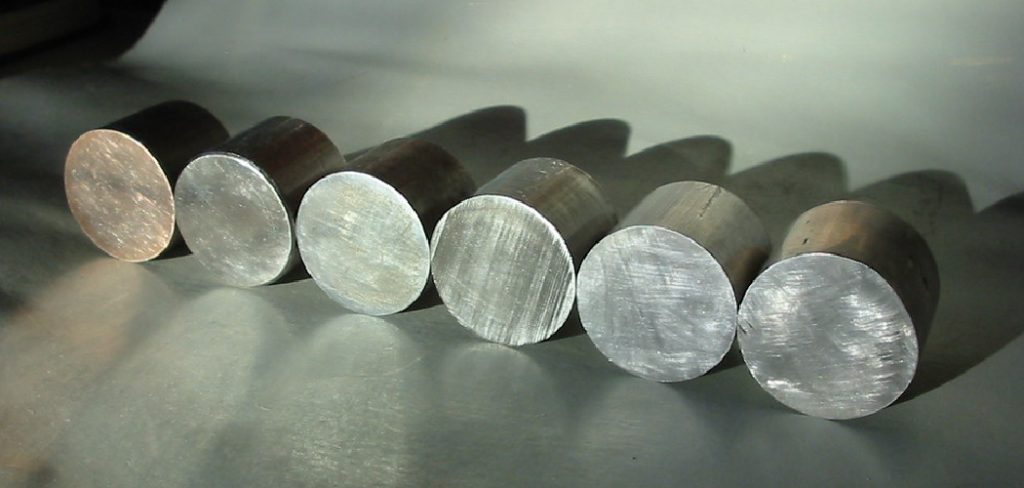
Metal finishing takes an unpolished, often rough surface and turns it into something that can hold up in the real world — both physically and visually. That transformation doesn’t happen by accident. It takes patience, the right materials, and a genuine understanding of how different metals behave under abrasion, heat, and chemical exposure.
A well-finished piece of metal does more than look good. It resists moisture, oxidation, and the kind of slow environmental damage that quietly destroys untreated surfaces. Whether you’re restoring an old frame, working on a custom fabrication, or just trying to clean up a repair, knowing how to finish metal properly gives you the confidence to get it right the first time.
Understanding Metal Finishing
At its core, metal finishing means altering the surface layer of a metal object to achieve a specific property — whether that’s better appearance, improved adhesion, solderability, or resistance to corrosion. The process changes how the exterior layer interacts with its environment, creating a barrier against moisture and oxidation that the raw metal simply can’t provide on its own.
It’s worth noting that finishing isn’t one thing. It’s a category of techniques, and what works for a home hobbyist polishing a decorative bracket is the same foundational process industrial manufacturers rely on to keep components functional for decades. The scale changes. The principles don’t.
Choose the Right Finish for Your Project
Not every finish suits every application, and getting this decision wrong early can undermine everything that follows. A brushed finish, for instance, works well for indoor decorative pieces — it hides fingerprints and light surface wear without drawing attention to itself. Outdoor applications are a different situation entirely. Harsh weather, UV exposure, and moisture demand something more substantial, like powder coating or a purpose-built sealant, to keep rust at bay over time.
The metal type matters just as much as the environment. A finish that’s ideal for stainless steel may actively damage aluminum. Taking a few minutes to match your finishing approach to both the material and the intended setting will save you from having to start over.
Tools and Materials You’ll Need
When it comes to finishing metal, there are a few essential tools and materials you’ll need. These include:
- Sandpaper or steel wool
- Wire brush
- Chemical degreaser/cleaner
- Protective gear (gloves, goggles)
- Primer (if needed)
- Paint or sealant of choice
- Spray gun or paintbrush
- Compressor (for spray gun)
7 Simple Step-By-Step Guidelines on How to Finish Metal
Step 1: Preparation and Initial Cleaning
Surface quality at the start determines surface quality at the end. Any debris left on the metal before sanding will scratch it — sometimes deeply — so thorough cleaning isn’t optional. Use an industrial-grade degreaser to strip away the oils, grease, and accumulated dirt that build up on raw materials over time, then work the surface with a stiff wire brush, giving particular attention to corners, crevices, and welded joints where contaminants tend to collect.
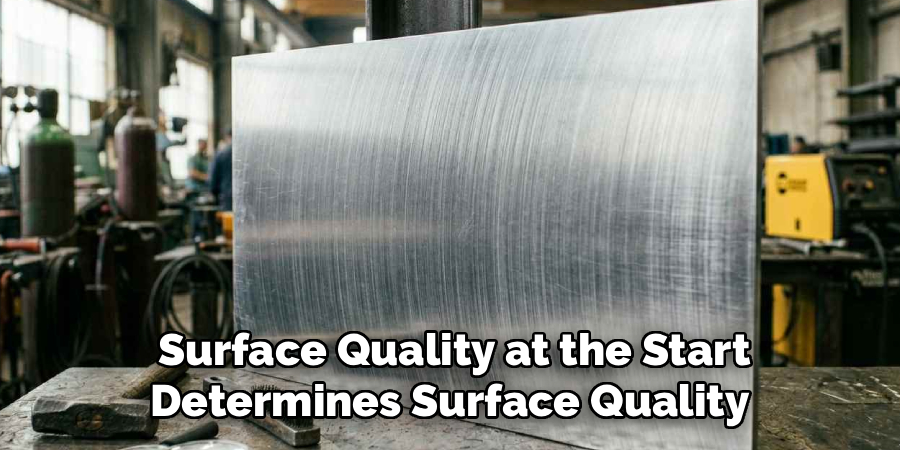
Once the grime is off, rinse the piece completely with warm water and dry it immediately with clean microfiber cloths. Don’t let moisture sit. On certain metals, even a brief exposure can trigger flash rusting, which effectively undoes the preparation you just completed. A clean, dry surface ensures the abrasives cut properly and gives your final coating something solid to bond to.
Step 2: Removing Rust and Old Paint
Old coatings and oxidation sit between your abrasive tools and the actual metal — which means they have to go before any real work can happen. Apply a chemical rust remover or paint stripper following the manufacturer’s instructions, giving it enough time to break down the hardened layers properly. For thick accumulation, an angle grinder fitted with a wire cup brush tends to strip stubborn patches faster and with less physical effort than hand tools alone.
After clearing the bulk of the old finish, wipe the piece down with a solvent like mineral spirits to neutralize any residual chemical stripper. Then examine the metal under bright light. Pockets of rust have a way of hiding in low areas that look clean at first glance. Reaching bare metal at this stage matters because a new finish applied over contamination will eventually fail — it won’t bond to old paint or oxidized material; it’ll bond to it and come off with it.
Step 3: Coarse Sanding for Defect Removal
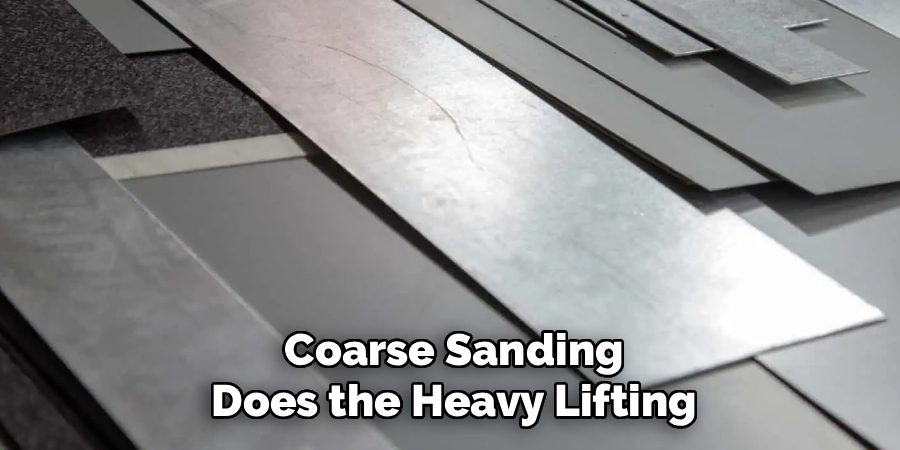
Coarse sanding does the heavy lifting: leveling the surface, removing deep scratches, pitting, and the minor defects that raw metal tends to carry. Start around 80-grit, applying consistent pressure as you work across the material. Where a natural grain exists in the metal, follow it. Crossing the grain at this stage introduces cross-scratches that can be genuinely difficult to resolve later.
Keep the paper moving at all times — stopping in one spot invites gouging. Replace the sandpaper more often than feels necessary, because dull grit generates heat rather than cutting material, and heat at this stage is a problem. Wipe the piece with a clean rag before moving to the next grit to clear the heavy dust.
Step 4: Medium Sanding for Uniformity
This is the middle stage — less aggressive than coarse sanding, not yet focused on shine. The goal here is to smooth out the deeper scratches left behind by the 80-grit before any polishing work begins. Move through 120-grit and then 220-grit, working the entire piece systematically until the texture feels consistently uniform across the surface. The aggressive gouges should disappear, replaced by a smoother, slightly clouded look.
A few drops of cutting fluid or water on the sandpaper can help float metal particles away, which reduces the risk of new deep scratches forming. Edges and fine details often need smaller, folded pieces of sandpaper to reach properly — larger sanding blocks simply won’t conform to tight geometry. Patience here pays off at the polishing stage.
Step 5: Fine Sanding and Smoothing
By this point, the metal should be approaching something that feels genuinely smooth. Fine sanding brings it the rest of the way. Start with 400-grit wet/dry paper and work up through 800-grit, or to 1000-grit if a high-gloss result is the goal. Keeping the paper wet throughout prevents clogging and holds down the friction heat that builds up quickly at fine grits.
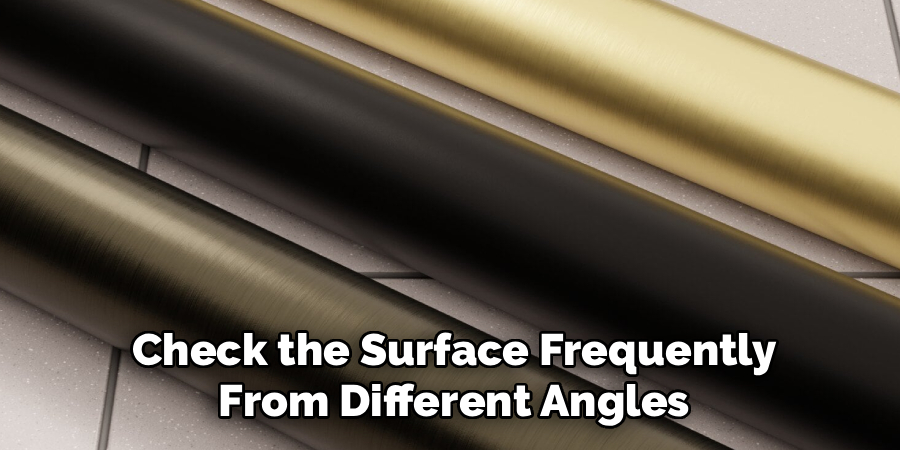
Check the surface frequently from different angles — light raking across the metal will expose stray scratches from earlier stages that might otherwise go unnoticed until the buffing wheel makes them more obvious, not less. If a deeper scratch surfaces at this point, it needs to be addressed by dropping back to a lower grit in that area. Fine sandpaper won’t erase a medium scratch; it’ll just polish around it. Wash and dry the piece thoroughly once fine sanding is complete.
Step 6: Buffing and Polishing
Buffing is where the work becomes visible. Using a coarse cutting compound on a firm buffing wheel, work across the metal in steady, overlapping passes. A shine will begin to emerge relatively quickly, though “quickly” is relative — keep a firm grip throughout, since the spinning wheel can grab an edge and pull the piece away without warning.
Switch to a softer, unstitched wheel with a fine finishing compound for the final pass. Light pressure works better here; the wheel speed and the compound chemistry do most of the actual work. Pressing too hard tends to introduce heat and actually reduces the quality of the finish. Once the high-gloss shine is where you want it, wipe the surface with a soft microfiber cloth to remove any residual compound and see the true depth of the polish.
Step 7: Applying the Finish and Curing
The polish is there, but bare metal exposed to air will begin oxidizing almost immediately. Applying a protective coating locks in the work and gives the surface something to fight back with. Depending on the application, that might be a clear coat spray, a purpose-made metal wax, or a chemical sealant — applied evenly, in smooth continuous passes, at the thickness the manufacturer recommends. Pooling finish is a real problem at this stage; it’ll wrinkle or pit and undo the smooth surface you’ve worked to build.
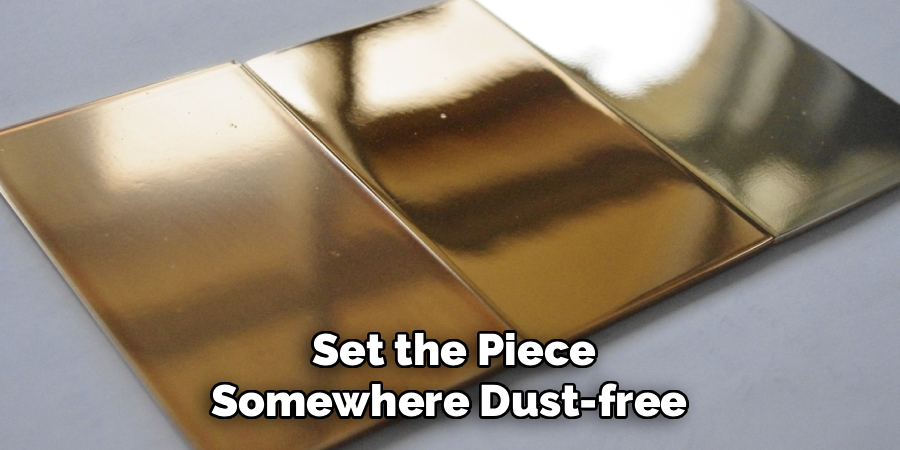
Set the piece somewhere dust-free and temperature-controlled while the coating cures. Avoid touching it. Skin oils transferred during the curing window can leave impressions in the soft finish that won’t polish out. Follow these steps in sequence, and the result tends to be a surface that holds up well and looks genuinely professional.
Following these steps on how to finish metal parts can make a huge difference in the quality of your finished product.
Common Metal Finishing Mistakes to Avoid
Skipping grits is probably the most common error — jumping from 80-grit to 400-grit might seem like a time-saver, but the deep scratches left behind will be plainly visible once the buffing starts. Failing to clean thoroughly before the final coating traps moisture and contamination underneath, which causes premature peeling. Handling the piece too soon after coating leaves permanent smudges and may compromise the protective barrier before it’s had a chance to set.
Overloading the buffing wheel with compound actually slows the process and often leaves a cloudy residue instead of a clear shine. And skipping safety gear — gloves, eyewear, a proper mask — exposes you to metal dust and chemical fumes that accumulate with repeated exposure. None of these are dramatic mistakes in isolation, but each one has a way of showing up in the finished piece.
Metal Finishing Techniques for Different Metals
Different metals don’t just behave differently — they require genuinely different approaches, and treating them as interchangeable is a reliable way to damage a piece. Aluminum is soft and tends to clog sandpaper quickly, so frequent paper changes and dedicated aluminum polishing compounds are worth the extra cost. Stainless steel sits at the other end of the hardness scale; it demands rigid sanding blocks and heavy-duty buffing wheels to achieve anything close to a mirror finish, and it takes patience.
Brass and copper tarnish quickly when exposed to air, which means the window between polishing and applying a clear lacquer is shorter than most people expect. Iron and carbon steel are highly susceptible to rust and generally benefit more from chemical bluing, paint, or heavy wax coatings than from bare polishing. Understanding these differences before starting may save you from discovering them partway through.
Frequently Asked Questions
Q1: What Is The Best Way To Prevent Rust After Polishing Metal?
Sealing the metal completely from atmospheric moisture and oxygen immediately after polishing appears to be the most reliable approach. Clear coat spray paint, specialized metal wax, or a chemical sealant all work — the right choice depends on how the piece will be used. Periodic reapplication of wax maintains the barrier and keeps the surface from degrading over time.
Q2: Can I Polish Metal Without Using Power Tools?
Yes, though it demands considerably more time and physical effort. The sequence of grits stays the same; you’re just working through it with manual sanding blocks and hand-polishing creams instead of power equipment. It’s slower, but hand polishing offers a level of control that power tools can’t always match — particularly useful for detailed antique pieces where aggressive machinery could cause damage.
Q3: Why Does My Metal Look Cloudy After Buffing?
A cloudy result usually comes down to one of two things: too much compound on the wheel, which overloads the fabric and prevents it from cutting properly, or skipping fine sanding stages and trying to buff out medium-grit scratches directly. To correct it, clean the surface, drop back to a fine sandpaper, and run the buffing process again with a fresh, lightly loaded wheel. Less compound than you think you need is almost always the right amount.
Next Steps for Your Metalworking Projects
Getting consistently good results from metal finishing takes time to develop — the first few attempts will reveal things no guide can fully anticipate. The process itself teaches you how different materials respond, where your technique needs adjusting, and which steps you’re inclined to rush.
Working on scrap pieces to practice with different finishes and compounds before committing to an actual project tends to shorten the learning curve considerably. The goal is a surface that holds up, looks intentional, and reflects the effort put into it. Thanks for reading this guide on how to finish metal.

About
Stuart Rich is a distinguished figure in the world of metalworking and fabrication, with a decade of expertise creating innovative and sustainable metal projects. His professional focus lies in merging traditional blacksmithing and machining with modern manufacturing techniques, fostering designs that are both practical and durable. As the author of Metalenify, Stuart Rich delves into the art and science of metallurgy and DIY metal creation, inspiring artisans, hobbyists, and industry professionals alike.
Education
RMIT University
(Melbourne, Australia)
Associate Degree in Engineering Technology (Mechanical / Manufacturing)
Focus on metallurgical properties, industry-driven projects, and practical metal craftsmanship. Gained hands-on experience with traditional machining and digital manufacturing tools, such as CAD, CNC software, and precision welding equipment.
Nottingham Trent University
(United Kingdom)
Bachelor’s in Product Design and Materials Engineering (Honors)
Specialized in product design with a heavy focus on blending creativity with metal production and fabrication techniques. Participated in real-world industry projects, collaborating with architectural and hardware manufacturing companies to optimize material efficiency.
Publications and Impact
In Metalenify, Stuart Rich shares his insights on structural metal design processes, material grades, and strategies for efficient shop production. His writing bridges the gap between raw artisan knowledge and modern industrial needs, making it a must-read for both budding DIY metalworkers and seasoned fabrication professionals.





