
Wood and steel make a striking pair. One is warm and natural, the other strong and sleek, and together they show up in furniture, signage, garage workbenches, and countless creative builds. The tricky part is getting them to stay joined without screws or welding. Bonding two very different materials means working with surfaces that expand, flex, and react in their own ways. The good news is that with the right adhesive and a little patience, you can create a connection that holds up beautifully for years.
This guide explains how to glue wood to steel in a way that feels approachable, even if you have never tackled a project like this before. We will walk through choosing the best adhesive, prepping each surface, and clamping everything for a rock-solid finish. You will also find clear answers to the questions most beginners ask. By the end, you will feel ready to build with confidence, knowing your bond is both strong and lasting.
Why Gluing Wood To Steel Matters
Joining these two materials with adhesive solves problems that screws and welds cannot. Glue spreads stress across the entire surface instead of concentrating it at a few points, which reduces cracking and loosening over time. It also leaves a clean, seamless look with no visible hardware, making it perfect for furniture and decorative pieces.
There is a practical side too. A strong adhesive bond resists moisture, vibration, and daily wear when applied correctly. It lets you combine the warmth of timber with the strength of metal without specialized welding gear or drilling skills. For beginners especially, this opens the door to ambitious projects using simple, accessible tools. Done well, the result is a durable, attractive joint that performs reliably in homes, workshops, and outdoor settings alike.
Step-by-Step Guide To How to Glue Wood to Steel
Step 1: Choose The Right Adhesive
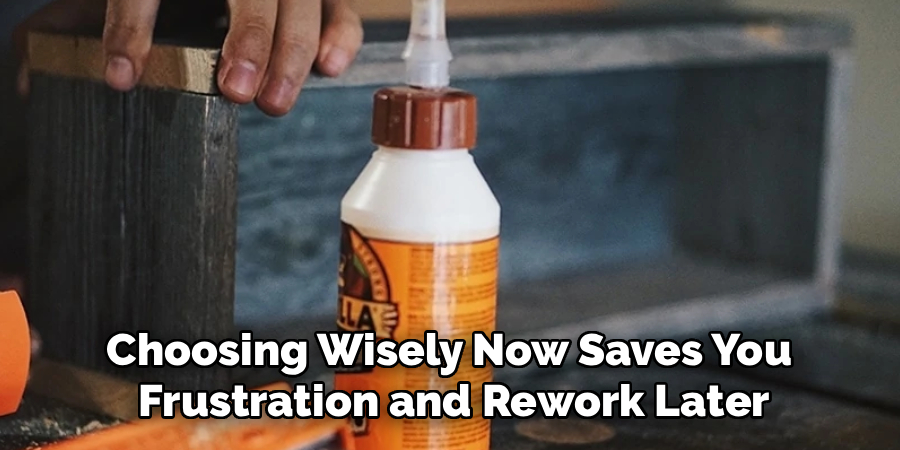
Your bond is only as good as the glue you pick, so start here. For most projects, a two-part epoxy is the gold standard because it grips both porous wood and smooth metal with impressive strength. Polyurethane adhesives are another solid option, especially when you need a little flexibility. Construction adhesives work for heavy, low-stress joints.
Knowing how to glue wood to steel begins with matching the adhesive to your project’s demands, including weight, moisture exposure, and movement. Read the product label carefully and confirm it lists both wood and metal as compatible surfaces. Choosing wisely now saves you frustration and rework later, giving your build a dependable foundation.
Step 2: Gather Your Tools And Materials
Before you mix anything, set up your workspace so the job flows smoothly. You will want your chosen adhesive, clean rags, gloves, sandpaper or a wire brush, rubbing alcohol or acetone, clamps, and a putty knife or spreader. Having everything within reach prevents messy mid-project scrambles, since many adhesives cure fast once mixed.
Lay down a protective covering to guard your bench from drips. Good lighting and ventilation matter too, especially when working with epoxy or solvents. Take a moment to read your adhesive’s instructions fully, noting the working time and cure schedule. This small bit of preparation makes the entire process calmer, safer, and far more likely to end in a clean, strong result.
Step 3: Prepare The Wood Surface
Wood needs the right texture to grip an adhesive well. Start by sanding the bonding area with medium-grit sandpaper to create a slightly rough surface that gives the glue something to bite into. Avoid sanding it glassy smooth, since a little tooth helps the bond. Wipe away all dust with a dry cloth afterward.
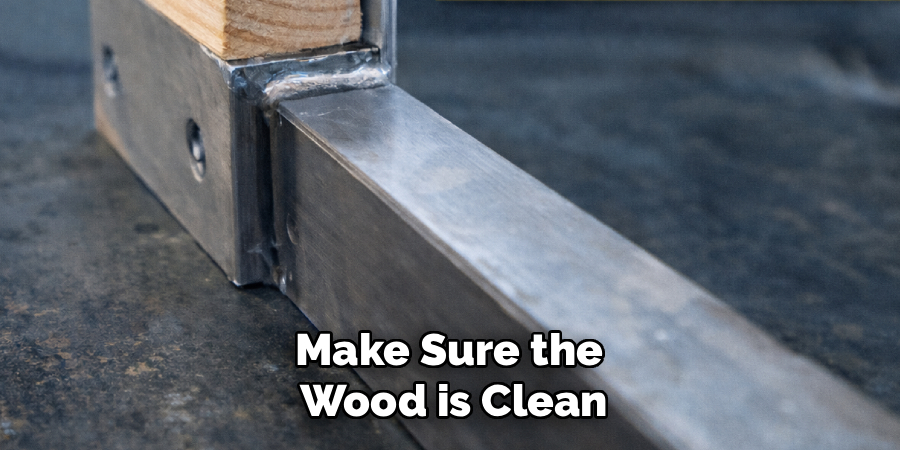
Make sure the wood is clean and dry before moving on. Moisture trapped inside can weaken the joint and cause it to fail down the line. If your timber feels damp, let it dry fully first. A clean, lightly textured, dry surface is exactly what your adhesive needs to form a lasting, reliable connection with the metal.
Step 4: Prepare The Steel Surface
Steel demands its own careful prep because its smooth, often oily surface resists bonding. Begin by scuffing the metal with sandpaper or a wire brush to roughen it and remove any rust, paint, or coating. This texture dramatically improves adhesion. Next, wipe the area thoroughly with rubbing alcohol or acetone to strip away grease and fingerprints.
Let the solvent evaporate completely so no residue remains. Even invisible oils can ruin an otherwise perfect bond, so do not skip this cleaning step. Once mastering how to glue wood to steel, you will find that surface prep on the metal side is often the single biggest factor in whether your joint succeeds or fails.
Step 5: Apply The Adhesive Evenly
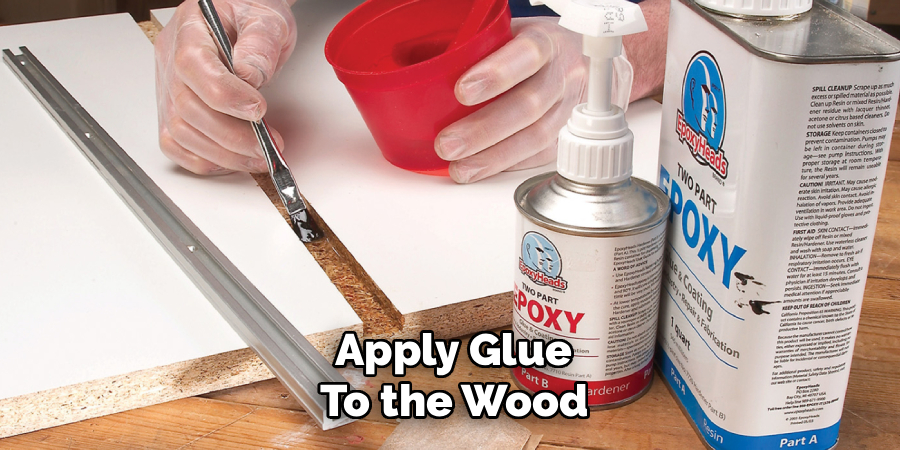
With both surfaces ready, it is time to apply your glue. If you are using two-part epoxy, mix it according to the instructions, usually equal parts of resin and hardener, until the color is uniform. Work quickly but calmly, since epoxy begins setting within minutes. Spread a thin, even layer across the steel using a putty knife or spreader.
Aim for full coverage without globbing the adhesive on too thick. A thin, consistent film actually creates a stronger bond than a heavy one. Apply glue to the wood as well if the product recommends it. Even coverage on both faces ensures the materials meet cleanly with no weak gaps or dry spots.
Step 6: Join And Clamp The Pieces
Now bring the two surfaces together with care. Align the wood and steel exactly where you want them, because repositioning after contact can smear the adhesive and weaken the joint. Press the pieces firmly together, then attach clamps to hold steady, even pressure across the entire bond.
Use enough clamps to distribute the force evenly, and place scrap material under the clamp jaws to protect the wood from dents. Wipe away any glue that squeezes out with a rag before it hardens. Consistent clamping pressure keeps the surfaces tight while the adhesive cures, which is essential for a gap-free, durable connection that will not loosen under stress.
Step 7: Let It Cure And Inspect
Patience during curing makes all the difference. Leave the clamped piece undisturbed for the full cure time listed on your adhesive, which can range from a few hours to a full day. Resist the urge to test the joint early, since premature handling can break a bond that has not fully set.
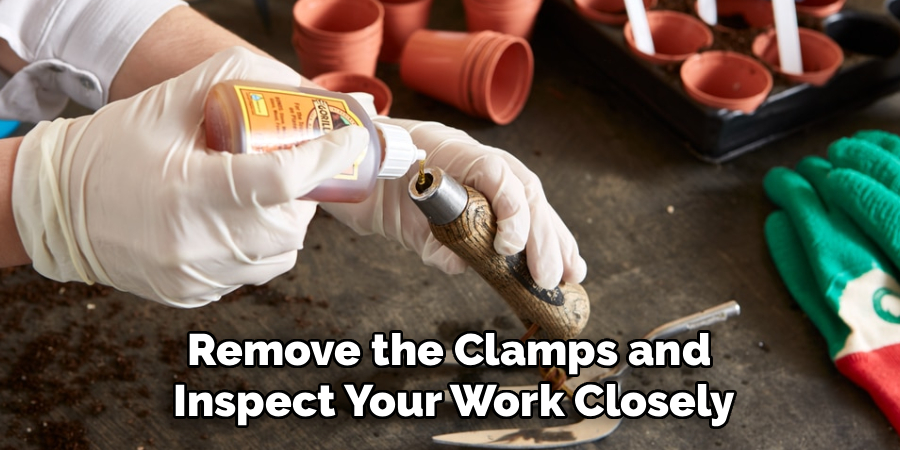
Once cured, remove the clamps and inspect your work closely. Gently check for firmness and look for any gaps or lifted edges. If you spot a weak spot, you can often reinforce it with a little extra adhesive. A solid, even joint with no movement means you have done the job right and your project is ready to use.
Frequently Asked Questions
What Is The Strongest Glue For Bonding Wood And Metal?
Two-part epoxy is widely considered the strongest choice for joining wood and metal. It cures into a rigid, durable bond that grips both porous and smooth surfaces with excellent strength. Polyurethane adhesives come in a close second and offer added flexibility for joints that may shift slightly. For best results, always confirm the label lists both materials as compatible.
Do I Really Need To Sand Both Surfaces First?
Yes, sanding both surfaces is one of the most important steps you can take. Roughening the wood and steel gives the adhesive tiny grooves to grip, dramatically improving the strength of the bond. Smooth, untreated surfaces let glue slip and fail. Scuffing takes only a few minutes and makes a noticeable difference, so it is well worth the small effort for lasting results.
How Long Does The Adhesive Take To Fully Cure?
Cure times vary by product, so always check the label. Many epoxies reach a handling strength within a few hours but need twenty-four hours to fully cure. Polyurethane and construction adhesives often follow similar timelines. Temperature and humidity also affect curing, with cooler conditions slowing things down. For the strongest joint, wait the full recommended time before putting the piece under any load.
Can This Bond Hold Up Outdoors Or In Moisture?
It can, as long as you choose a weatherproof adhesive. Many epoxies and polyurethane glues are formulated to resist moisture, temperature swings, and outdoor exposure. Check the packaging for words like waterproof or exterior grade before buying. Proper surface prep matters even more outdoors, since trapped moisture or grease can weaken the joint over time. With the right product, your bond will stay strong.
What Should I Do If The Joint Fails Later?
If a joint loosens, do not panic, since most failures are fixable. Carefully separate the pieces, then scrape and sand away all old adhesive from both surfaces. Clean the steel with acetone again to remove residue, then reapply fresh glue following each prep step. Often a failed bond simply means a surface was not fully clean or textured the first time, and a careful redo solves it.
Conclusion
Bonding timber and metal is far more achievable than it first appears. With the right adhesive, careful surface prep on both the wood and the steel, even glue application, and steady clamping pressure, you can build joints that look clean and hold strong for years. The seven steps in this guide take you from choosing a product all the way through curing and inspecting, so nothing important slips through the cracks.
Now that you understand how to glue wood to steel, you have the knowledge to tackle furniture, repairs, and creative builds with real confidence. Take your time with each stage, trust the prep work, and let the adhesive fully cure before testing. So gather your materials, pick your adhesive, and start building something that brings the warmth of wood and the strength of steel together beautifully.

About
Stuart Rich is a distinguished figure in the world of metalworking and fabrication, with a decade of expertise creating innovative and sustainable metal projects. His professional focus lies in merging traditional blacksmithing and machining with modern manufacturing techniques, fostering designs that are both practical and durable. As the author of Metalenify, Stuart Rich delves into the art and science of metallurgy and DIY metal creation, inspiring artisans, hobbyists, and industry professionals alike.
Education
RMIT University
(Melbourne, Australia)
Associate Degree in Engineering Technology (Mechanical / Manufacturing)
Focus on metallurgical properties, industry-driven projects, and practical metal craftsmanship. Gained hands-on experience with traditional machining and digital manufacturing tools, such as CAD, CNC software, and precision welding equipment.
Nottingham Trent University
(United Kingdom)
Bachelor’s in Product Design and Materials Engineering (Honors)
Specialized in product design with a heavy focus on blending creativity with metal production and fabrication techniques. Participated in real-world industry projects, collaborating with architectural and hardware manufacturing companies to optimize material efficiency.
Publications and Impact
In Metalenify, Stuart Rich shares his insights on structural metal design processes, material grades, and strategies for efficient shop production. His writing bridges the gap between raw artisan knowledge and modern industrial needs, making it a must-read for both budding DIY metalworkers and seasoned fabrication professionals.





