
A bed never feels quite finished until a headboard slides into place. There’s the metal frame, doing its job, and then there’s the headboard that turns it into something you actually want to look at.
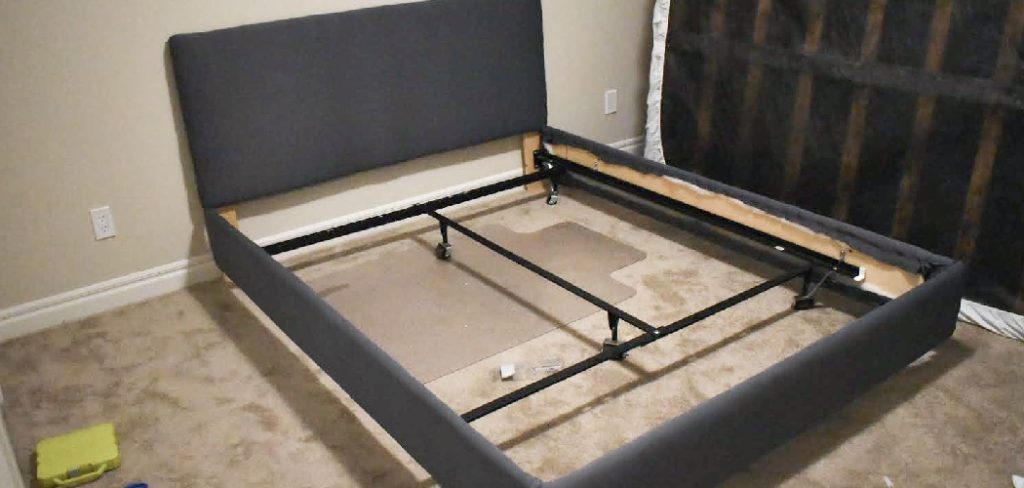
If you’ve stared at a bare frame wondering how to attach a headboard to a metal bed frame without stripping a bolt or scratching the wall, you’ve landed in the right spot. The job sounds fiddly. It usually isn’t.
This guide walks through the whole thing, from checking your frame’s mounting points to that final snug turn of the wrench. You won’t need power tools or years of practice. A clear plan, a few common parts, and a little patience tend to be enough. Let’s get into it.
Why a Securely Attached Headboard Matters
It’s tempting to think of a headboard as pure decoration. That undersells it, though.
Comfort, Support, and a Polished Look
A headboard gives you something to lean against when you’re reading or scrolling at the end of a long day. Pillows stop sliding off into the gap behind the mattress, too.
Then there’s the look. A frame on its own can feel temporary, almost like a placeholder. Add the headboard, and the room reads as deliberate, like someone actually decided how it should be.
Preventing Wobbling, Noise, and Wall Damage
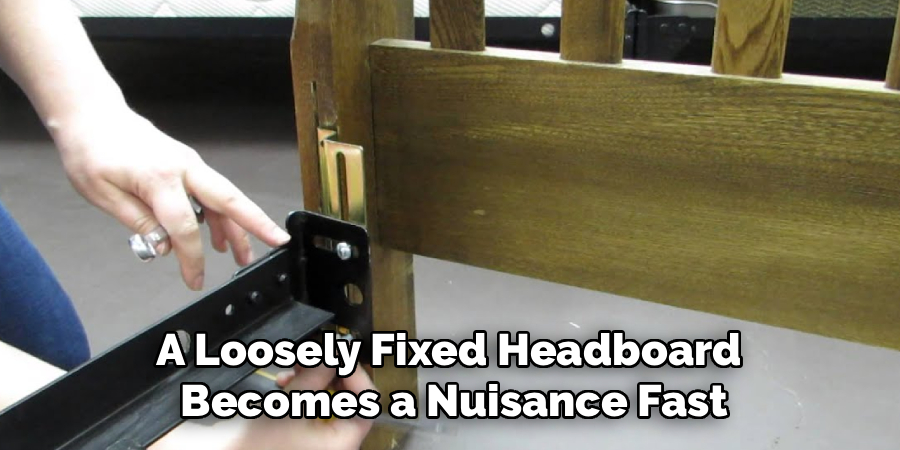
A loosely fixed headboard becomes a nuisance fast. Every shift in bed sends a faint knock through the frame, and over weeks that sound gets harder to ignore.
There’s the wall to think about as well. A headboard that isn’t held firmly may rub against the paint, leaving scuff marks or even a dent. Tighten things properly, and you sidestep both problems before they start.
Understanding Your Metal Bed Frame
Before you reach for a single bolt, it pays to know what you’re working with. Metal frames vary more than people expect.
Identifying Pre-Drilled Mounting Holes
Most metal frames built to take a headboard come with pre-drilled holes near the head end. Look for two slotted brackets or flat tabs rising from the legs, usually with vertical slots that allow some height adjustment.
If you spot those, your job is mostly lining things up. The slots exist precisely so you can nudge the headboard up or down before committing.
Recognizing Different Frame Types and Heights
Not all frames are the same height, and that matters once the headboard goes on. A standard steel frame sits low, while platform and adjustable bases often sit higher off the floor.
The frame type affects which holes line up with your headboard legs. Measuring before you buy any extra hardware can save a frustrating trip back to the store.
Checking for Universal Bracket Compatibility
Many headboards are sold as “universal fit,” which generally means they’ll work with the slotted brackets on a typical frame. The phrase can be optimistic, though.
Check that the spacing between your headboard’s bolt holes matches the spacing on your frame. When they don’t agree, an adapter plate usually bridges the gap, and we’ll get to those shortly.
Gathering the Right Tools and Hardware
A few minutes spent collecting everything now beats stopping halfway through with a bolt missing.
Bolts, Brackets, and Washers You Will Need
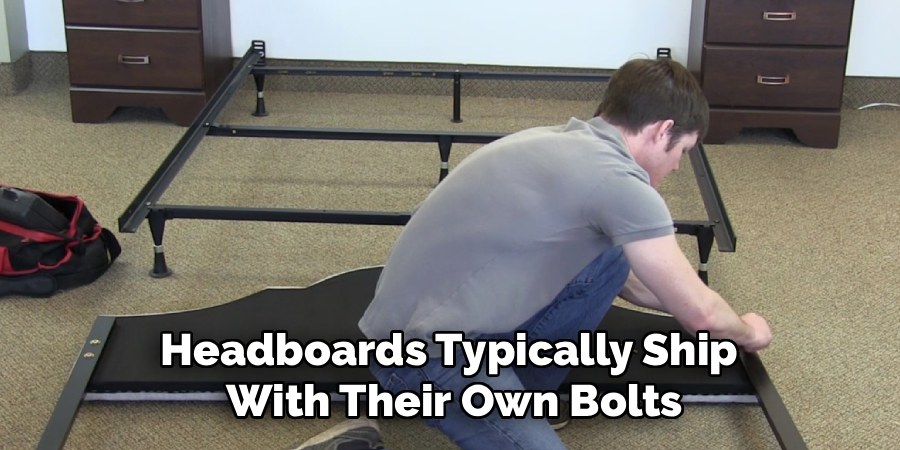
Headboards typically ship with their own bolts, washers, and sometimes nuts. Lay them out and count them against the instructions before you begin, since a short kit is more common than you’d hope.
If your frame and headboard don’t match natively, a universal headboard bracket or adapter kit fills the gap. Keep a few spare washers handy, too. They distribute pressure and stop bolts from chewing into the metal.
Basic Tools That Make the Job Easier
You won’t need much. An adjustable wrench or a socket set handles most bolts, and a screwdriver covers the rest.
A tape measure helps with height and spacing, and a small level is genuinely worth having for that final check. A flashlight earns its place, too, because headboard holes always seem to sit in the darkest corner behind the bed.
Step-by-Step Guide on How to Attach a Headboard to a Metal Bed Frame
This is the part you came for. Work through the steps in order, and resist the urge to fully tighten anything until the very end.
Step 1: Position the Bed and Clear Your Workspace
Pull the bed a foot or two away from the wall so you have room to move behind it. You’ll thank yourself when you’re crouched down lining up bolts.
Clear the floor of anything you might trip over. A little open space around the head of the bed makes the whole job calmer and quicker.
Step 2: Locate the Headboard Mounting Holes on the Frame
Find the brackets or pre-drilled holes at the head end of your frame. They’re usually on the two legs, facing the spot where the headboard will stand.
Shine your flashlight in if the holes are hard to see. Knowing exactly where they sit before you lift the headboard saves a lot of awkward guesswork.
Step 3: Line Up the Headboard Legs With the Brackets
Lift the headboard into place behind the frame and slide its legs down toward the brackets. This is easier with a second pair of hands, though it’s doable alone if you’re patient.
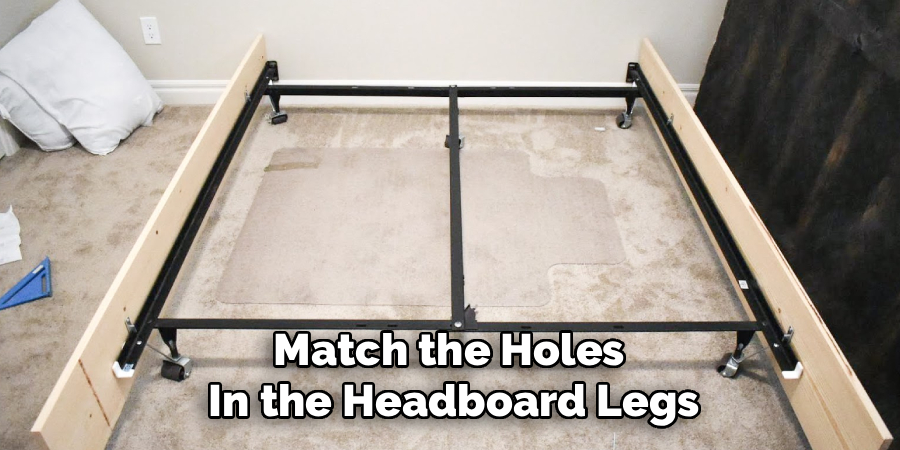
Match the holes in the headboard legs to the slots on the frame. Don’t force anything yet. If they resist, the spacing may be off, which means an adapter is likely in your future.
Step 4: Insert the Bolts and Washers Loosely
Slide a bolt through each matched set of holes, adding a washer where one’s provided. Thread on the nut by hand and leave everything loose for now.
Loose is the goal here. You want enough play to adjust the height and angle before locking it down, so keep the wrench in your pocket a moment longer.
Step 5: Adjust the Height and Check for Level
With the bolts still loose, slide the headboard up or down in the slots until the height looks right against your mattress. Then rest your level across the top edge.
Tilt the headboard gently until the bubble settles in the middle. A crooked headboard tends to look worse the longer you live with it, so it’s worth getting this right now.
Step 6: Tighten Everything Securely
Once the height and level satisfy you, tighten each bolt firmly. Work back and forth between the two sides rather than fully torquing one before the other.
Snug is the target, not gorilla-tight. Overtightening can strip threads or bend thinner brackets, and that’s a harder problem to fix than a slightly loose bolt.
Step 7: Test for Stability and Make Final Adjustments
Give the headboard a solid push and a gentle shake. It shouldn’t rock, knock, or shift against the wall.
If you feel any movement, find the loose bolt and nip it up. A minute spent testing now spares you that maddening midnight rattle later.
Choosing the Right Bracket or Adapter
When your headboard and frame don’t speak the same language, the right bracket usually translates between them.
Using Built-In Headboard Brackets
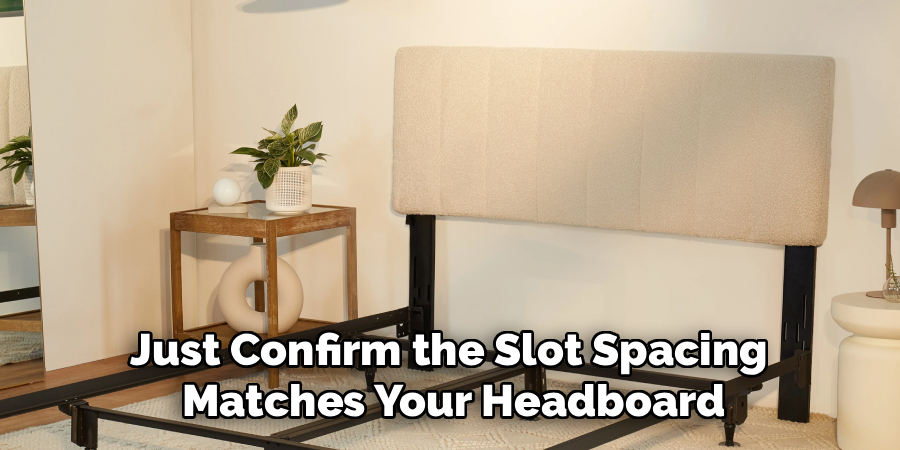
If your frame already has slotted brackets, you’re in luck and can often skip extra parts entirely. These are designed to accept standard headboard bolts directly.
Just confirm the slot spacing matches your headboard before assuming all is well. A quick measurement here may save you an order you didn’t need.
Adding a Universal Headboard Adapter Kit
A universal adapter kit is the common fix when holes refuse to line up. It bolts to your frame and offers a fresh set of holes positioned to meet your headboard.
These kits are inexpensive and widely available. They appear to solve most mismatch problems, though cheaper ones can flex a little under pressure, so a sturdier kit may be worth the few extra dollars.
When to Use Modi-Plates or Conversion Brackets
For trickier setups, modi-plates or conversion brackets give you more flexibility. They’re handy when the headboard sits at an odd height or the frame lacks proper mounting points altogether.
Think of these as the problem-solvers of the bracket world. You reach for them when the simpler options have already let you down.
Attaching a Headboard Without Pre-Drilled Holes
Plenty of older or budget frames arrive with no mounting holes at all. It’s not a dead end, just a different route.
Mounting With Aftermarket Brackets
Aftermarket brackets clamp or bolt onto a frame that wasn’t built for a headboard. They wrap around the frame’s legs or rails and provide the holes the manufacturer left out.
Pick a set rated for your bed size and weight. Position them carefully and check the alignment twice, since you generally can’t shift these as freely once they’re clamped on.
Securing the Headboard to the Wall as an Alternative
If brackets feel like too much fuss, mounting the headboard directly to the wall is a tidy alternative. The headboard hangs just behind the mattress rather than bolting to the frame.
This route demands finding studs and using proper anchors, so it’s a touch more involved on the wall side. The payoff is a headboard that never rattles against the frame, because it isn’t touching it.
Matching Headboard Styles to Metal Frames
Function settled, it’s worth a word on whether your headboard actually suits the frame underneath it.
Pairing Wood and Upholstered Headboards
Wood and upholstered headboards both work beautifully with metal frames, though they hang a little differently. Upholstered styles tend to be heavier, so check that your brackets can carry the load.
A wooden headboard brings warmth that offsets the cool feel of metal. An upholstered one softens the whole look and happens to be kinder when you lean back against it.
Working With Oversized or Custom Headboards
Oversized or custom headboards can be stunning, but they ask more of your hardware. Their extra weight and width may overwhelm a standard bracket meant for something lighter.
Reinforced brackets or an extra mounting point usually steady things up. When in doubt, err toward more support than you think you need.
Fixing Common Problems After Installation
Even a careful install can develop a quirk or two. Most are quick to sort.
Stopping Squeaks and Rattles
A squeak almost always traces back to metal rubbing metal. Slip a small rubber washer or a strip of felt between the headboard and frame, and the noise often vanishes.
If the rattle persists, a loose bolt is usually the culprit. Find it, tighten it, and it typically returns.
Correcting a Loose or Tilted Headboard
A headboard that’s drifted out of level can be nudged back. Loosen the bolts slightly, straighten it against your level, then retighten.
A loose headboard generally just wants firmer bolts. Check each one in turn, since a single slack fastener can let the whole thing wobble.
Keeping Your Headboard Secure Over Time
Beds get used hard, and hardware works loose. A little upkeep keeps everything tight.
Re-Tightening Bolts on a Schedule
Bolts back off gradually as the bed flexes night after night. Giving them a quick check every few months catches looseness before it turns into a rattle.
It takes two minutes with a wrench. Pair it with changing your sheets, and you’ll rarely forget.
Protecting Hardware From Rust and Wear
In a humid room, bolts and brackets can develop rust over time. A light wipe and the occasional drop of oil on the threads help them last and keep them turning freely.
Should a bolt look corroded or stripped when you turn it, replace it. Fresh hardware is cheap insurance against a headboard that suddenly won’t hold.
Common Mistakes to Avoid
A couple of predictable slip-ups account for most headboard headaches, and both are easy to dodge.
Forcing Mismatched Hardware
When holes don’t line up, forcing a bolt through never ends well. You risk stripping threads, cracking the headboard, or bending the bracket.
If parts resist, stop and reach for an adapter instead. The right bracket solves in minutes what brute force only makes worse.
Skipping the Final Stability Check
It’s easy to call the job done the moment the last bolt is in. Skipping that final shake test, though, is how people end up with a knocking headboard a week later.
Push it, wobble it, lean on it. Thirty seconds of testing is the cheapest insurance you’ll find.
Conclusion
Now that you know how to attach a headboard to a metal bed frame, you’ve got everything you need to finish your bed properly. You’ve seen how to read your frame’s mounting points, pick the right brackets, line up the holes, and tighten each bolt for a hold that stays put.
Even the trickier setups tend to come together once you make a start. So gather your hardware, set aside an hour this weekend, and work through the steps at your own pace. Before long, you’ll be leaning back against a sturdy, good-looking headboard you fitted yourself, and that’s a small win worth having.

About
Stuart Rich is a distinguished figure in the world of metalworking and fabrication, with a decade of expertise creating innovative and sustainable metal projects. His professional focus lies in merging traditional blacksmithing and machining with modern manufacturing techniques, fostering designs that are both practical and durable. As the author of Metalenify, Stuart Rich delves into the art and science of metallurgy and DIY metal creation, inspiring artisans, hobbyists, and industry professionals alike.
Education
RMIT University
(Melbourne, Australia)
Associate Degree in Engineering Technology (Mechanical / Manufacturing)
Focus on metallurgical properties, industry-driven projects, and practical metal craftsmanship. Gained hands-on experience with traditional machining and digital manufacturing tools, such as CAD, CNC software, and precision welding equipment.
Nottingham Trent University
(United Kingdom)
Bachelor’s in Product Design and Materials Engineering (Honors)
Specialized in product design with a heavy focus on blending creativity with metal production and fabrication techniques. Participated in real-world industry projects, collaborating with architectural and hardware manufacturing companies to optimize material efficiency.
Publications and Impact
In Metalenify, Stuart Rich shares his insights on structural metal design processes, material grades, and strategies for efficient shop production. His writing bridges the gap between raw artisan knowledge and modern industrial needs, making it a must-read for both budding DIY metalworkers and seasoned fabrication professionals.





