
A worn, rusty handrail can drag down the look of an entire staircase, porch, or balcony. The good news is that a fresh coat of paint can bring that tired metal back to life in just an afternoon. Knowing how to paint metal handrails gives you the power to protect your railing from rust, boost your home’s curb appeal, and save money you might otherwise spend on replacement. It is one of the most rewarding weekend projects you can take on, even if you have never picked up a paintbrush before.
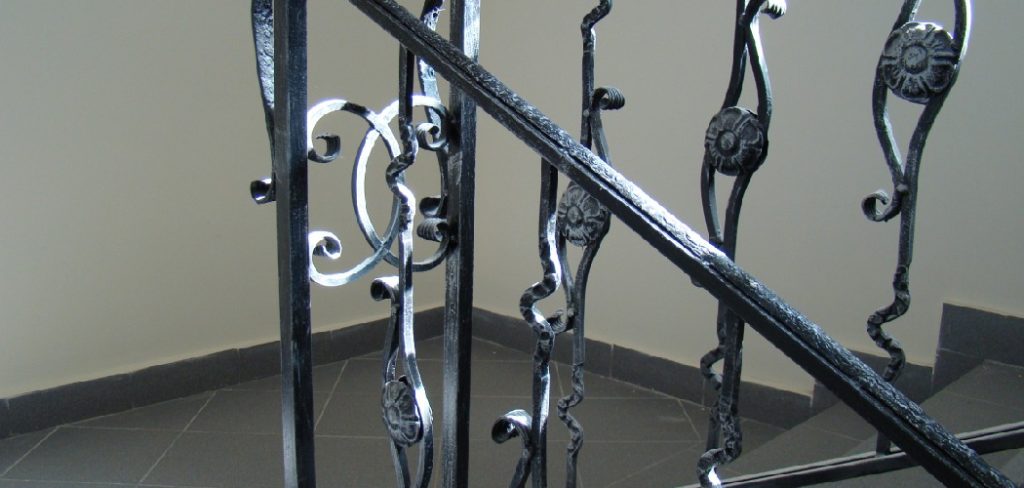
This guide walks you through the whole process in clear, friendly steps that anyone can follow. We will cover the supplies you need, how to prep the surface properly, and the techniques that give you a smooth, long-lasting finish. You will also find answers to common questions that pop up along the way. By the end, you will feel confident transforming a dull, flaking rail into a clean, polished feature you are proud to show off.
Why Painting Metal Handrails Matters
A painted handrail does far more than look nice. The right coating creates a protective barrier that shields the metal from moisture, blocking the rust and corrosion that slowly eat away at unprotected surfaces. That protection extends the life of your railing and saves you from costly repairs or full replacements down the road.
There is a safety angle too. A smooth, well-maintained rail is more pleasant to grip and less likely to snag clothing or skin on rough, rusty patches. On top of that, a fresh color instantly lifts the appearance of your space, whether indoors or out. With a small investment of time and a few affordable supplies, you gain durability, safety, and style all at once.
Step-by-Step Guide To How to Paint Metal Handrails
Step 1: Gather Your Tools And Materials
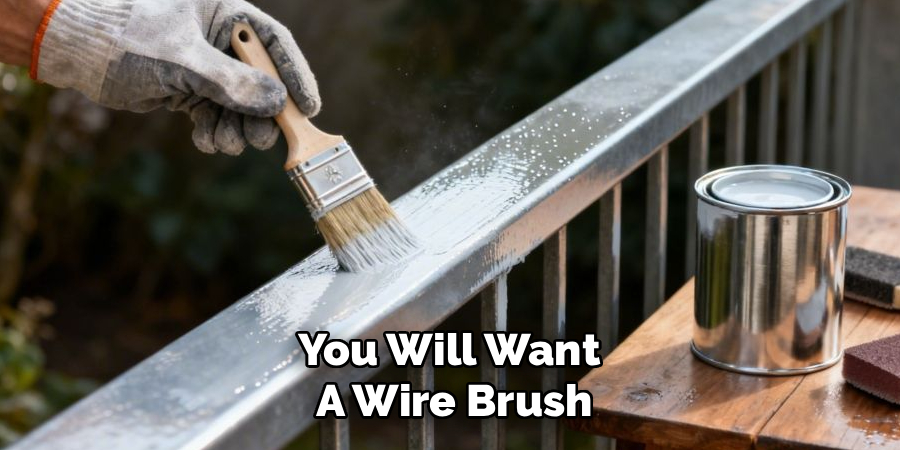
Before you start, collect everything you need so the project flows without interruption. You will want a wire brush, sandpaper or a sanding block, a clean cloth, painter’s tape, metal primer, your chosen paint, and a brush or spray can. Gloves and safety glasses are smart additions for comfort and protection.
Setting up a tidy workspace with good airflow makes the job easier and safer. Lay out a drop cloth to catch drips and keep your surroundings clean. Having the right gear within reach means you will not need to pause halfway through to hunt for a missing item, which helps you stay focused and get a smoother result.
Step 2: Remove Rust And Old Paint
Start by tackling any rust, flaking paint, or loose debris clinging to the surface. Use a wire brush to scrub away the worst of it, working in firm, steady strokes until the metal feels stable and clean. For stubborn spots, a rust remover or a coarse piece of sandpaper helps break things loose.
This stage matters because fresh paint will not stick to a crumbling, rusty surface. Skipping it almost guarantees peeling within months. Take your time and work along the entire rail, including the underside and tricky corners. The cleaner and more solid the base, the better your new coat will bond and the longer it will last.
Step 3: Sand The Surface Smooth
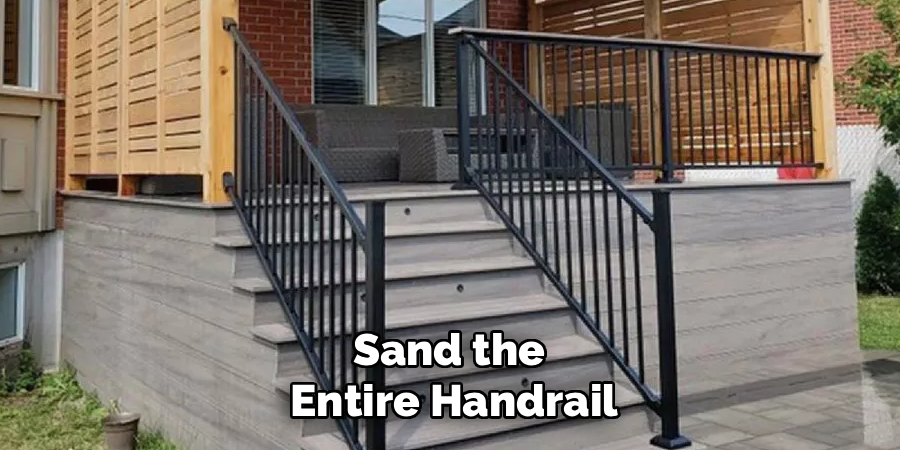
Once the rust is gone, sand the entire handrail to create a slightly rough texture that paint can grip. A fine-grit sandpaper or sanding block works well for this. Move in even strokes across every section, smoothing out any pitting, bumps, or leftover ridges from the previous coating.
Sanding might feel tedious, but it is one of the secrets behind a flawless finish. The light scuffing gives the primer something to hold onto, preventing future flaking. After you finish, run your hand over the rail to check for rough patches you may have missed. A uniformly dull, smooth surface tells you the metal is ready for the next stage.
Step 4: Clean And Tape Off The Area
With sanding done, wipe the rail thoroughly to remove every speck of dust, grit, and oil. A damp cloth works for most surfaces, though a little mild detergent or mineral spirits helps lift greasy residue. Let the metal dry completely before moving on, since trapped moisture can ruin your finish.
Next, protect the surrounding areas. Use painter’s tape along walls, floors, or nearby steps where stray paint could land. If you are learning how to paint metal handrails near brick or wood, careful taping saves you a frustrating cleanup later. A few extra minutes of masking now keeps your lines crisp and your workspace mess-free.
Step 5: Apply A Coat Of Metal Primer
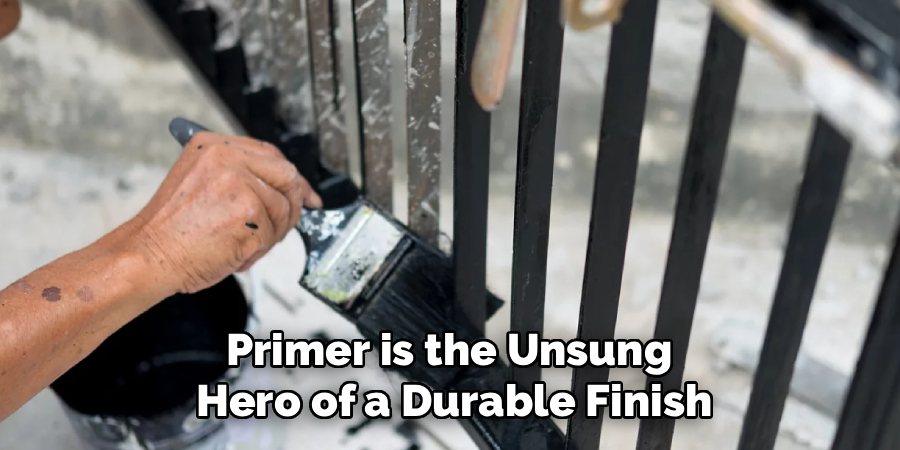
Primer is the unsung hero of a durable finish. Apply a thin, even layer of metal primer across the entire rail, making sure to coat the undersides and joints where rust loves to hide. A brush gives you control in tight spots, while spray primer covers large sections quickly and evenly.
Work in smooth, overlapping strokes and avoid heavy drips that pool in corners. The primer creates a bonded foundation that helps your topcoat adhere and resist chipping. Once applied, give it the full drying time listed on the product label, which is usually a few hours. Rushing this step undermines everything you have done so far.
Step 6: Paint The Handrail Evenly
Now for the satisfying part. Stir your paint well, then apply it in thin, even coats rather than one thick layer. Thin coats dry faster, look smoother, and resist runs. Use long, steady strokes with a brush, or hold spray cans about ten inches away and keep them moving to avoid blotches.
When you are mastering how to paint metal handrails, patience between coats pays off. Let the first layer dry fully, then add a second for richer color and stronger protection. Check for missed spots in seams and undersides as you go. Two thin coats almost always beat one heavy one, giving you a professional, hard-wearing finish.
Step 7: Let It Cure And Inspect Your Work
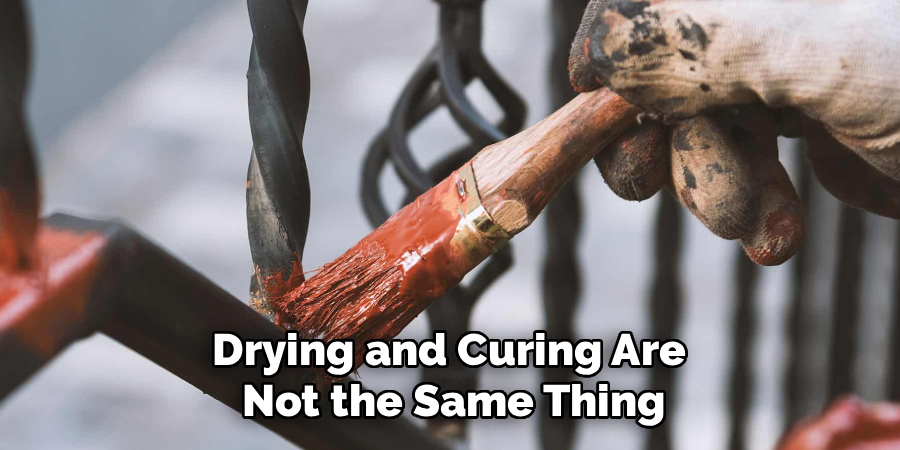
Drying and curing are not the same thing. Your rail may feel dry to the touch within an hour, but the paint needs more time to harden fully and reach its toughest state. Check the label for the recommended cure window, which can stretch from a day to several days for high-traffic surfaces.
While you wait, resist the urge to lean on or grab the rail. Once cured, inspect the finish closely for thin areas, drips, or missed corners, touching them up as needed. A final look ensures your hard work holds up. Then peel away the tape carefully, and admire your freshly transformed handrail.
Frequently Asked Questions
What Kind Of Paint Works Best On Metal Railings?
Look for paint specifically labeled for metal surfaces, since these formulas bond better and resist rust. Oil-based and rust-preventive enamels are popular choices for outdoor rails because they handle weather well. For indoor projects, a durable acrylic-latex metal paint offers easy cleanup and low odor. Pairing your paint with a matching metal primer always delivers the strongest, longest-lasting results.
Do I Really Need To Use A Primer?
Yes, primer makes a real difference. It creates a bonding layer between the bare metal and your topcoat, which helps the paint stick and prevents early peeling or chipping. Primer also adds an extra shield against rust, especially on outdoor railings exposed to rain and humidity. Skipping it might save a little time now, but it usually leads to a finish that fails far sooner.
Can I Paint Over Rust Without Removing It?
It is not recommended to paint directly over active rust. Rust keeps spreading beneath the paint, causing bubbling and flaking within weeks. The best approach is to scrub away loose rust with a wire brush and sandpaper first. If some stubborn rust remains, a rust-converting primer can neutralize it and create a stable surface, but a clean base always gives you better, longer-lasting results.
How Long Should I Wait Between Coats?
Drying time depends on your paint type and the weather, so always check the product label first. Most metal paints need two to four hours before a second coat. Cooler temperatures and high humidity slow drying, so allow extra time on damp days. Rushing a second coat can trap moisture and cause smudging, so patience here protects the smooth, even finish you worked hard to create.
How Do I Keep My Painted Railing Looking Fresh?
Regular care goes a long way. Wipe the rail down every few weeks with a damp cloth to remove dirt and grime that dull the finish. Inspect it occasionally for small chips or scratches, and touch them up quickly before rust sneaks in. For outdoor rails, a fresh coat every few years keeps the protection strong and the color looking vibrant and clean.
Conclusion
Reviving a tired metal railing is one of the simplest ways to refresh your home while protecting it from rust and wear. By gathering the right supplies, removing rust, sanding, priming, and applying thin even coats, you set yourself up for a smooth finish that lasts for years. Each step builds on the last, so a little patience early on pays off in a polished, professional result.
Now that you understand how to paint metal handrails from start to finish, you have everything you need to tackle the project with confidence. Take your time, follow each step, and let every coat cure properly before use. So grab your brush, pick a color you love, and give your railing the fresh, durable makeover it deserves. Your home will look better for it.

About
Stuart Rich is a distinguished figure in the world of metalworking and fabrication, with a decade of expertise creating innovative and sustainable metal projects. His professional focus lies in merging traditional blacksmithing and machining with modern manufacturing techniques, fostering designs that are both practical and durable. As the author of Metalenify, Stuart Rich delves into the art and science of metallurgy and DIY metal creation, inspiring artisans, hobbyists, and industry professionals alike.
Education
RMIT University
(Melbourne, Australia)
Associate Degree in Engineering Technology (Mechanical / Manufacturing)
Focus on metallurgical properties, industry-driven projects, and practical metal craftsmanship. Gained hands-on experience with traditional machining and digital manufacturing tools, such as CAD, CNC software, and precision welding equipment.
Nottingham Trent University
(United Kingdom)
Bachelor’s in Product Design and Materials Engineering (Honors)
Specialized in product design with a heavy focus on blending creativity with metal production and fabrication techniques. Participated in real-world industry projects, collaborating with architectural and hardware manufacturing companies to optimize material efficiency.
Publications and Impact
In Metalenify, Stuart Rich shares his insights on structural metal design processes, material grades, and strategies for efficient shop production. His writing bridges the gap between raw artisan knowledge and modern industrial needs, making it a must-read for both budding DIY metalworkers and seasoned fabrication professionals.





