
To bend metal wire effectively, start by gathering the right tools — heavy-duty pliers, wire cutters, and a sturdy vise. Measure your wire accurately, mark your intended bend points, secure the material firmly, and apply steady, even pressure to shape it. A structured approach produces clean, accurate bends for both simple DIY crafts and professional fabrication work.
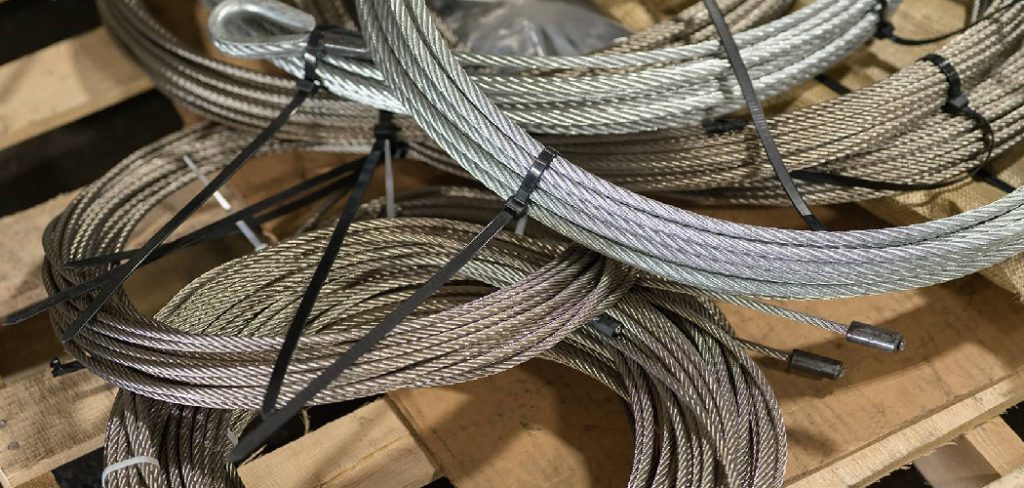
Learning how to bend metal wire opens up a surprising range of possibilities. Craft enthusiasts, jewelry makers, and home repair DIYers all rely on this skill, and yet it rarely gets the thorough treatment it deserves. Done well, bending lets you transform rigid stock into functional brackets, artistic forms, or custom structural parts. Done carelessly, it wastes material and occasionally sends a sharp wire end somewhere you really don’t want it to go.
Understanding how different metals actually behave under stress — not just which direction to push — is what separates clean, repeatable bends from frustrating, lopsided ones. With the right technique and a small investment in patience, almost anyone can shape wire into precise angles or smooth curves.
What Tools and Materials Do You Need to Bend Metal Wire?
To bend metal wire, you will need the following tools and materials:
- Wire Cutters
- Pliers
- Mandrel or Bending Jig
- Hammer
- Vice or Clamp
- Metal Wire
7 Simple Step-By-Step Guidelines on How to Bend Metal Wire
Step 1: Choose the Right Type and Gauge of Wire
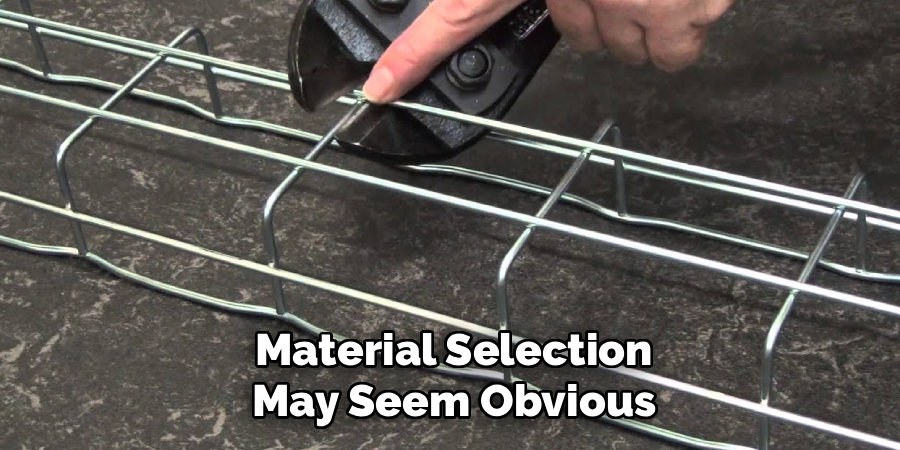
Material selection may seem obvious, but it’s where many beginners quietly go wrong. Copper and aluminum are highly malleable, which makes them genuinely forgiving for first-time work or intricate jewelry designs that call for tight, delicate curves. Steel wire offers far greater structural integrity — though it demands heavier tools and considerably more physical effort to move.
Wire gauge is equally worth thinking through carefully. The numbering system works in reverse of what most people intuitively expect: a lower gauge number means a thicker wire. A 10-gauge steel wire and a 20-gauge copper wire belong to entirely different categories of effort and tooling. Matching the material to your project’s actual demands — not just what’s available in the drawer — tends to save a lot of frustration later.
Step 2: Measure and Mark Your Bending Points
Accuracy matters here more than in almost any other step, particularly if your wire needs to fit a specific assembly or mirror a component already in place. Use a flexible tape or a rigid steel ruler to determine the exact length you need, and leave a little extra at each end for gripping. Trying to bend wire right at its tip is genuinely awkward and almost always produces a sloppy angle.
Once your measurements are confirmed, mark the bending points with a fine-tipped permanent marker. The marks should be visible enough that you can align your vise jaws or plier tips confidently before applying any pressure. It sounds elementary, but taking an extra thirty seconds to double-check at this stage has saved more than a few pieces from the scrap pile.
Step 3: Secure the Wire Firmly in Place
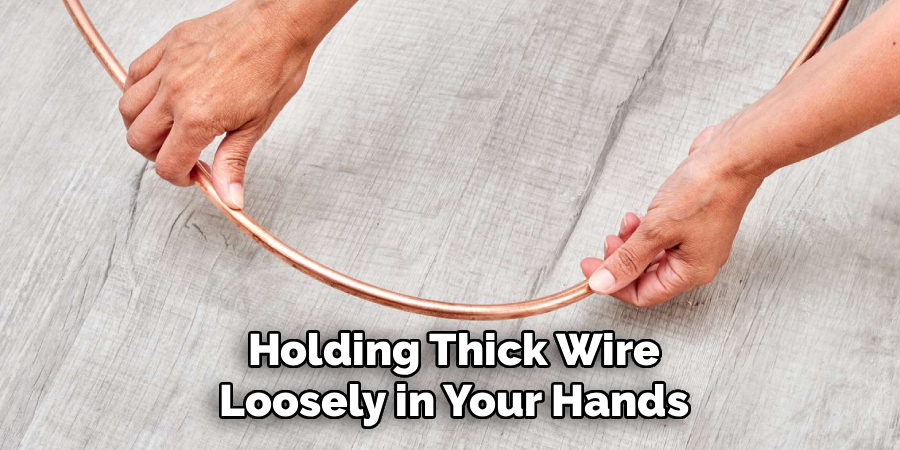
Holding thick wire loosely in your hands while trying to bend it tends to produce warped shapes and occasionally a cut palm. For anything thicker than light craft wire, a bench vise is the right tool for the job. Position the wire so your marker line sits exactly flush with the edge of the vise jaws — that edge becomes your bending fulcrum, and its placement directly determines where the bend actually occurs.
When working with softer metals like copper or aluminum, it’s worth wrapping the vise jaws in masking tape or fitting them with rubber jaw pads. The goal is to immobilize the section that should stay straight while isolating the bending force entirely to the section that protrudes. That distinction — between what moves and what stays fixed — is what produces a sharp, professional angle rather than a vague, wandering curve.
Step 4: Apply Steady and Controlled Pressure
Smooth, consistent force works better than sudden effort here. Grasp the protruding end firmly, either with gloved hands or heavy-duty pliers depending on the wire’s thickness, and push deliberately in the intended direction. Using body weight rather than wrist strength alone gives you considerably more control over the metal.
One thing worth knowing before you start: metals exhibit what fabricators call “springback” — a tendency to return partially toward their original shape once pressure is released. If you’re aiming for a precise 90-degree angle, push the wire just slightly past that point to compensate. How much past depends on the specific material, and it may take one scrap test piece to calibrate your feel for it. Rushing this step, or applying force in quick jerks rather than a steady push, can cause the wire to fatigue at the stress point — sometimes resulting in a clean snap rather than a bend.
Step 5: Use a Mallet for Sharp Angles
Hand pressure and pliers can get you most of the way to a crisp corner, but on thicker steel wire, they sometimes fall short. A soft-faced mallet fills that gap. While the wire remains clamped in the vise, tap the metal at the bend point to press it tightly against the jaw edge. The tapping motion, done methodically rather than aggressively, seats the bend without distorting the wire’s round cross-section.
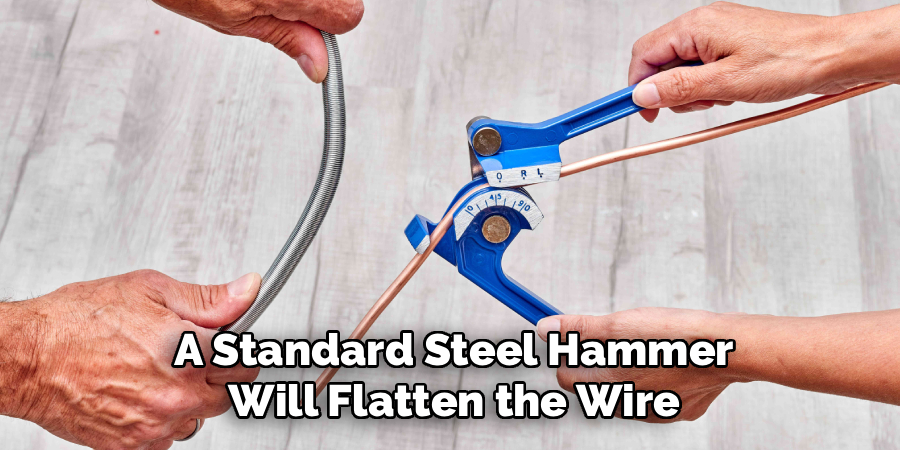
It’s worth being specific about mallet material here: nylon, rubber, or rawhide are appropriate. A standard steel hammer will flatten the wire immediately, leaving dents that compromise both the appearance and the structural profile of the piece. The goal is to refine the angle, not to hammer the wire into submission.
Step 6: Check Your Angles and Make Adjustments
Once the primary bend is done, remove the wire from the vise and actually look at it. Hold it against a speed square, an angle finder, or a printed template to see whether the angle matches what your project requires. The first attempt being slightly off is common — metal’s natural elasticity means the result and the intention don’t always align perfectly on the first pass.
If the angle is too shallow, reclamp the wire in exactly the same position and apply a small additional amount of pressure. If you’ve overshot, you can apply careful reverse pressure to open the angle — but be aware that repeatedly flexing metal in opposing directions causes work-hardening, which progressively makes the material more brittle at that point. Small, incremental adjustments are considerably safer than large corrective ones.
Step 7: Trim the Excess Material and Smooth the Edges
The final step is cleanup. Use heavy-duty wire cutters or a hacksaw to trim the gripping excess you left at the ends. Cut as cleanly and squarely as possible to minimize the jagged material left behind.
After cutting, deburr the ends with a metal file or medium-grit sandpaper. This removes the sharp edges that catch on skin and clothing, and it gives the finished piece a noticeably cleaner look. It’s a step that takes under a minute and makes a real difference to both safety and the overall quality of the result.
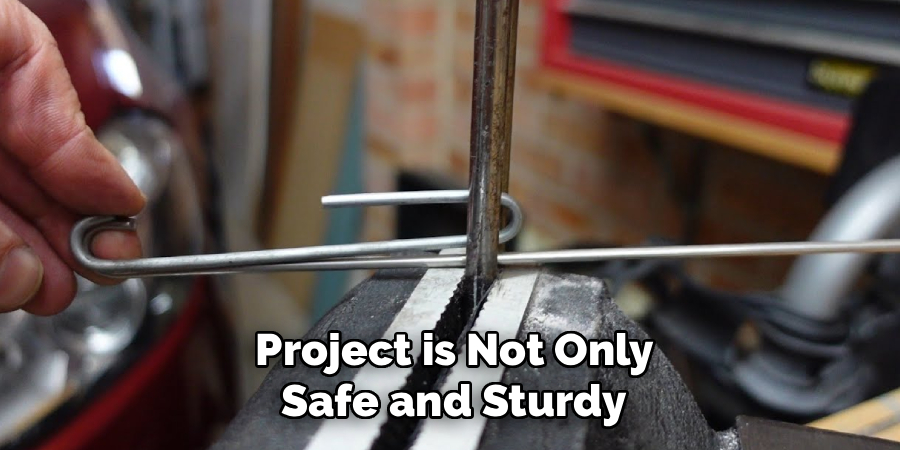
Following these steps on how to bend metal wire properly will ensure that your project is not only safe and sturdy but also visually appealing.
Common Mistakes to Avoid
Ignoring springback is probably the most common error among beginners — the resulting angle ends up wider than intended, and the wire may need to be discarded if the tolerance is tight. Using the wrong pliers for the material is equally problematic; delicate jewelry pliers applied to thick steel wire will damage the tool before they make meaningful progress on the metal.
Skipping the measuring-and-marking step, or doing it only once in a hurry, tends to produce pieces that simply don’t fit where they’re supposed to. And applying sudden, aggressive force rather than steady pressure is perhaps the most dramatic mistake — it’s the one most likely to snap the wire entirely rather than bend it.
Do You Need To Use Professionals?
Bending wire is accessible to most DIYers, but there are situations where professional fabrication is the more appropriate choice. Projects involving heavy-gauge steel that require industrial press brakes, or components that will bear structural loads, fall outside what hand tools can handle safely or repeatably. Professional fabricators have specialized machinery that produces consistent bends across large production runs — something that is genuinely difficult to replicate by hand, even with practice.
Professionals also tend to have a working understanding of the metallurgical limits of specific alloys, which matters when material failure carries real consequences. For home repairs and craft projects, DIY is entirely reasonable. For anything load-bearing or batch-produced, the case for professional fabrication is fairly straightforward.
Frequently Asked Questions
Q1: What Is The Best Wire For Beginners To Practice Bending?
Aluminum and copper are generally the most forgiving starting points. Both metals are soft, readily available, and can be shaped with basic hand tools without requiring much physical force. Starting with 16 or 18-gauge copper wire gives you a chance to develop a feel for how metal moves and responds before you move on to more demanding materials like steel.
Q2: How Do I Prevent The Wire From Breaking When Bending?
Slow, even pressure is the main factor. Bending metal causes work-hardening — each time the material flexes back and forth, it becomes slightly more brittle at that point. If you need a sharp angle in a thick wire and the material is resisting, heating it briefly with a torch can anneal it, softening the metal and reducing the risk of a snap. Avoid bending the same spot more than once or twice if it can be helped.
Q3: Can I Bend Thick Steel Wire Without A Vise?
Technically, yes — practically, it’s difficult and rarely produces a clean result. Two heavy-duty locking pliers can be used to isolate the bending point, but generating enough leverage for a sharp corner that way is genuinely hard. For anything thicker than standard coat hanger wire, a basic bench vise will improve both the quality and the safety of the work considerably.
Take Your Fabrication Skills to the Next Level
Manipulating wire accurately is a foundational skill that opens up a real range of work in metal fabrication. By respecting what different materials will and won’t tolerate, and investing in even a modest set of clamping and shaping tools, you can consistently produce brackets, art pieces, and structural components that look deliberate rather than improvised.
Practice on scrap lengths of varying gauges to build muscle memory and get a feel for how different metals respond to pressure. Set up your bench with a reliable vise and a quality soft-faced mallet, and start working through your own wire projects with considerably more confidence than before. Thanks for reading this guide on how to bend metal wire.

About
Stuart Rich is a distinguished figure in the world of metalworking and fabrication, with a decade of expertise creating innovative and sustainable metal projects. His professional focus lies in merging traditional blacksmithing and machining with modern manufacturing techniques, fostering designs that are both practical and durable. As the author of Metalenify, Stuart Rich delves into the art and science of metallurgy and DIY metal creation, inspiring artisans, hobbyists, and industry professionals alike.
Education
RMIT University
(Melbourne, Australia)
Associate Degree in Engineering Technology (Mechanical / Manufacturing)
Focus on metallurgical properties, industry-driven projects, and practical metal craftsmanship. Gained hands-on experience with traditional machining and digital manufacturing tools, such as CAD, CNC software, and precision welding equipment.
Nottingham Trent University
(United Kingdom)
Bachelor’s in Product Design and Materials Engineering (Honors)
Specialized in product design with a heavy focus on blending creativity with metal production and fabrication techniques. Participated in real-world industry projects, collaborating with architectural and hardware manufacturing companies to optimize material efficiency.
Publications and Impact
In Metalenify, Stuart Rich shares his insights on structural metal design processes, material grades, and strategies for efficient shop production. His writing bridges the gap between raw artisan knowledge and modern industrial needs, making it a must-read for both budding DIY metalworkers and seasoned fabrication professionals.





