
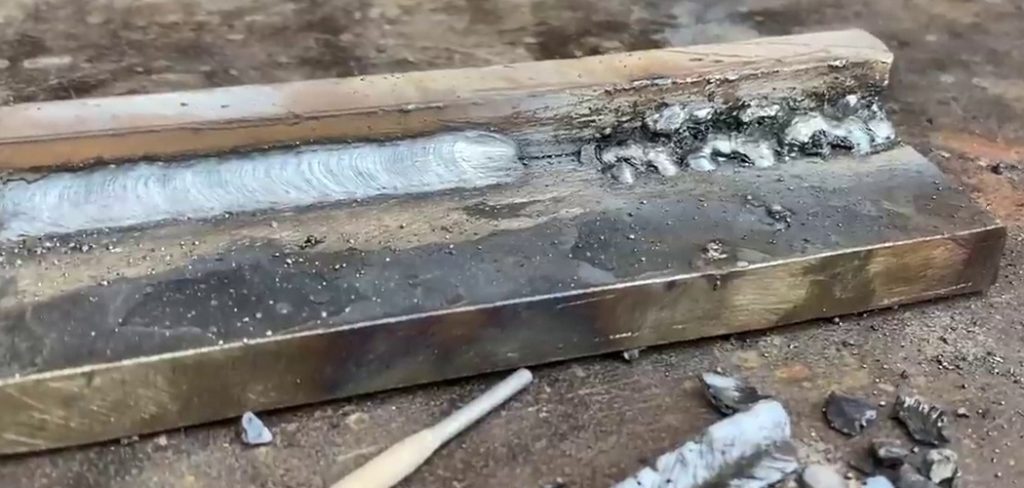
Welding slag is the crusty, glassy layer that forms over your weld after the metal cools. It looks messy, but it also hides problems and can ruin your finished work if you leave it in place. Learning how to remove welding slag the right way is one of the most useful skills any welder can build.
The good news? You don’t need fancy equipment or years of practice. With a few simple tools, the right technique, and some safety know-how, you can clean a weld bead in minutes. By the end of this guide, you’ll be able to remove slag safely, inspect your weld, and prep the surface for painting, coating, or a second pass.
Let’s walk through the benefits, the gear you’ll need, and a clear 10-step process you can follow every time.
What Are the Benefits?
Cleaning slag off your welds isn’t just about looks. It affects strength, safety, and the quality of your final project. Here’s why it matters.
- You can inspect the weld properly. Slag hides cracks, porosity, and gaps. Once you remove it, you can actually see if the weld is solid.
- You get stronger multi-pass welds. If you weld over slag, you trap impurities between layers. This creates weak spots that can fail under stress.
- You prep the surface for finishing. Paint, powder coating, and primer won’t stick to slag. A clean weld means a smooth, lasting finish.
- You spot mistakes early. Catching a bad weld now is cheaper and safer than discovering it after the part is in use.
- You build better habits. Clean work is a sign of a careful welder. It also makes your projects look professional.
So what? Removing slag turns a rough, risky weld into a clean, reliable joint you can trust. That single habit raises the quality of everything you build.
What Will You Need?
You don’t need a huge toolkit to do this job well. Most of these items are affordable and easy to find. Gather your gear before you start so you’re not searching mid-task.
Slag Removal Tools:
- Chipping hammer – the classic tool for knocking off slag, especially after stick welding
- Wire brush – removes leftover spatter and fine debris (steel brush for steel, stainless brush for stainless)
- Angle grinder with a flap disc or wire wheel – for heavy slag or large jobs
- Needle scaler – great for tight corners and stubborn buildup
- Chisel and small hammer – handy for awkward spots
Safety Gear:
- Safety glasses or a face shield – slag flies off fast and hot
- Welding gloves – the metal stays hot long after the arc stops
- Hearing protection – grinders and scalers are loud
- Long sleeves and an apron – protect your skin from sparks and chips
- A dust mask or respirator – grinding kicks up fine particles
Helpful Extras:
- A wire-bristle hand brush for detail work
- A clamp or vise to hold the workpiece steady
- A clean rag and a magnet to sweep up loose debris
Tip: Match your brush material to your base metal. Using a steel brush on stainless steel can cause rust spots later.
10 Easy Steps on How to Remove Welding Slag
Follow these steps in order. Each one builds on the last, so don’t skip ahead. Take your time, especially while the metal is still warm.
Step 1: Let the Weld Cool Slightly
Right after you finish welding, the joint is dangerously hot. Slag itself can reach high temperatures and stay hot for several minutes. Wait until the glowing color fades and the metal dulls before you touch anything.
That said, slag often pops off more easily while the weld is still warm. Find the balance: cool enough to handle safely with gloves, but not stone cold. Never grab a fresh weld with bare hands, and keep water away from hot metal unless you plan to quench on purpose.
Step 2: Put On Your Safety Gear
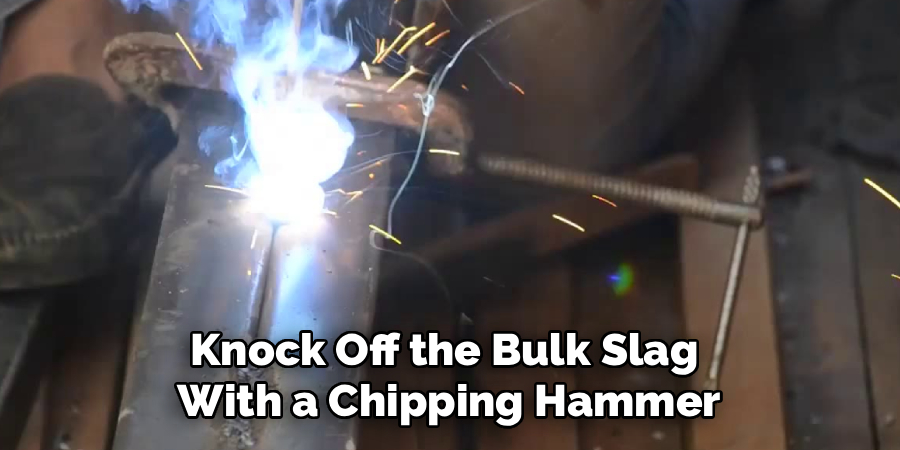
Before any cleaning starts, gear up. Slip on your safety glasses or face shield, pull on your welding gloves, and put on long sleeves. If you’ll be grinding, add hearing protection and a dust mask.
Flying slag is sharp and hot. It can hit your eyes, hands, or face in a split second. Spending thirty seconds on protection beats a trip to the emergency room. Make this a habit you never break, even for a quick job.
Step 3: Secure the Workpiece
A loose part will shift while you chip or grind, which is both frustrating and unsafe. Clamp the workpiece to your bench or lock it in a vise. Make sure it can’t slide, tip, or spin.
A steady piece lets you work with control and aim your tools accurately. It also keeps both hands free for the job. For large or oddly shaped parts, use more than one clamp to hold things firmly in place.
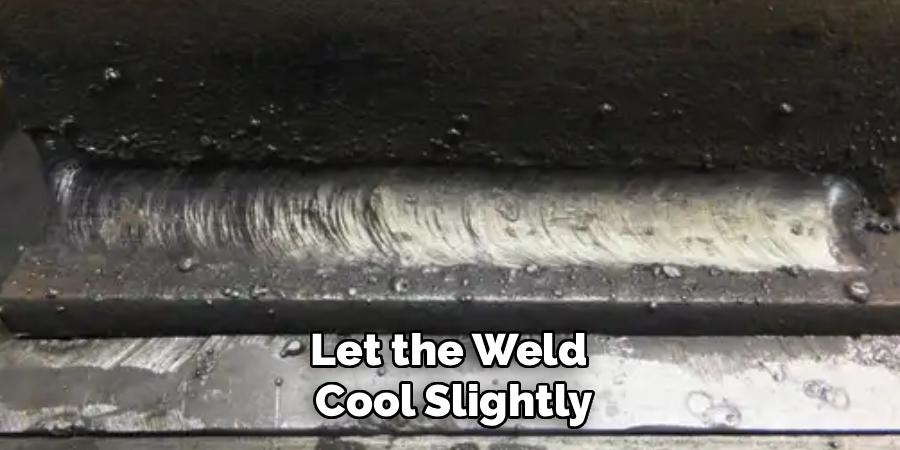
Step 4: Knock Off the Bulk Slag With a Chipping Hammer
Start with the chipping hammer. Hold it at a slight angle and tap along the length of the weld bead. Work from one end to the other, following the line of the weld rather than hammering straight down.
Most of the slag will crack and flake away in chunks. Don’t swing too hard, you might dent the metal or knock the hammer into the weld itself. Steady, controlled taps do the job better than heavy blows. Aim the chips away from your body and others.
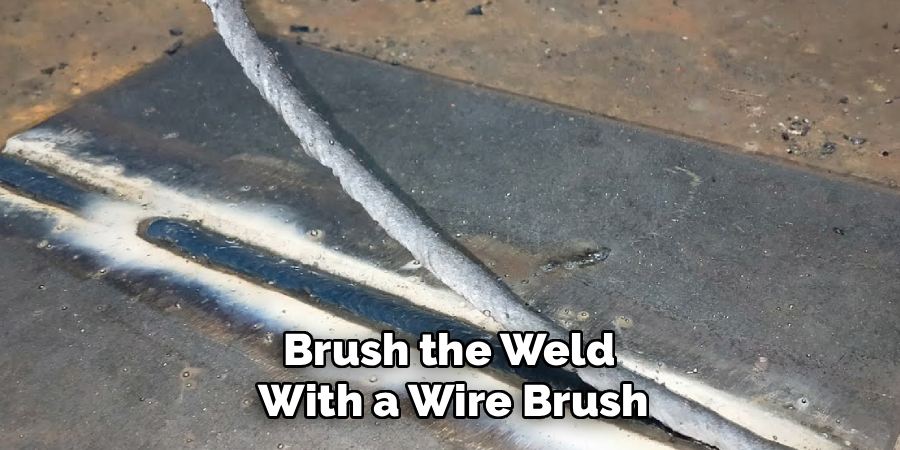
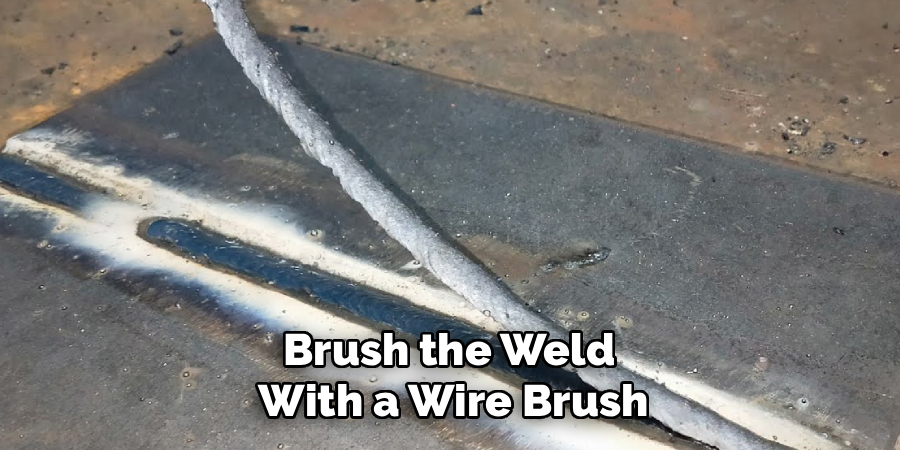
Step 5: Brush the Weld With a Wire Brush
After the big pieces come off, switch to a wire brush. Scrub firmly along the weld bead and the area beside it. This clears away the fine, crusty layer the hammer left behind.
Brush in the same direction as the weld for the cleanest result. Apply steady pressure, but let the bristles do the work. Keep brushing until you can see the actual weld metal and the surrounding surface looks clean and metallic.
Step 6: Use a Grinder for Stubborn or Heavy Slag
Some slag won’t budge with hand tools, especially on thick welds or flux-cored jobs. Reach for your angle grinder fitted with a flap disc or wire wheel. Keep both hands on the grinder and brace yourself.
Move the disc gently across the weld. Let the tool grind at its own speed instead of forcing it. Avoid grinding too deep, since removing weld metal can weaken the joint. Stop often to check your progress and prevent overheating the steel.
Step 7: Reach Tight Corners and Detail Areas
Welds often sit in corners, joints, or grooves that a wide tool can’t reach. Use a needle scaler, a small chisel, or a wire hand brush to clean these tight spots.
Work slowly and patiently here. Trapped slag in corners is exactly where weak spots hide, so don’t rush. Angle your tool to match the shape of the joint and pick away at the buildup until the corner looks as clean as the rest of the bead.
Step 8: Inspect the Weld Closely
Now that the slag is gone, take a good look. Run your eyes along the full length of the weld in good light. You’re checking for cracks, holes (porosity), gaps, or spots you missed.
Run a gloved finger along the bead to feel for rough edges or pits. If you find leftover slag, go back and clean it. If you spot a flaw in the weld itself, you may need to grind it out and re-weld. Catching problems now saves trouble later.
Step 9: Clean Up Spatter and Debris
Welding leaves more than slag. Tiny beads of metal, called spatter, often stick to the surface around the weld. Knock these off with your chipping hammer or scrape them away with a putty knife or chisel.
Then sweep the work area with a wire brush and a magnet to collect loose chips. A clean surface helps if you plan to paint or coat the part. It also keeps sharp debris off your bench and floor, where it could cause cuts or trips.
Step 10: Prepare the Surface for Finishing
If you’re done welding and ready to finish, give the area one last wipe. Use a clean rag to remove dust, and degrease the surface if you’ll be painting or coating it.
For a smooth final look, lightly go over the weld with a flap disc or sandpaper. This blends the bead with the base metal. Now your weld is clean, inspected, and ready for primer, paint, or its next job. You’ve completed the process the right way.
5 Things You Should Avoid
Even simple jobs can go wrong. Steer clear of these common mistakes to stay safe and protect your work.
- Don’t touch hot slag or metal with bare hands. It stays scorching long after the arc stops. Always wear gloves and let the piece cool to a safe level first.
- Don’t skip eye protection. Slag chips fly off with surprising force. A single piece can cause a serious eye injury, so never chip or grind without glasses or a shield.
- Don’t weld over slag. If you’re doing a second pass, clean each layer first. Welding over slag traps impurities and creates weak, unreliable joints.
- Don’t grind too aggressively. Pressing hard or grinding too deep removes good weld metal and weakens the joint. Use a light touch and check your progress often.
- Don’t use the wrong wire brush. A steel brush on stainless steel leaves bits of carbon steel behind, which rust later. Match your brush to your base metal every time.
So what? Avoiding these mistakes keeps you safe and keeps your welds strong. Most welding injuries and weld failures come from rushing or skipping basic steps.
Conclusion
How to remove welding slag is a small step that makes a big difference. A clean weld is easier to inspect, stronger in multi-pass jobs, and ready for a professional finish. Skip this step, and you risk hidden flaws, weak joints, and a messy final product.
The process is simple once you know it: cool the weld, gear up, secure the part, then chip, brush, and grind away the slag. Inspect your work, clean up the spatter, and prep the surface. Along the way, protect your eyes and hands, match your brush to your metal, and never weld over slag.
Your next step is easy. Save this 10-step process as a checklist and keep it near your workbench. Run through it on your next project, and you’ll build a habit that raises the quality of every weld you make.

About
Stuart Rich is a distinguished figure in the world of metalworking and fabrication, with a decade of expertise creating innovative and sustainable metal projects. His professional focus lies in merging traditional blacksmithing and machining with modern manufacturing techniques, fostering designs that are both practical and durable. As the author of Metalenify, Stuart Rich delves into the art and science of metallurgy and DIY metal creation, inspiring artisans, hobbyists, and industry professionals alike.
Education
RMIT University
(Melbourne, Australia)
Associate Degree in Engineering Technology (Mechanical / Manufacturing)
Focus on metallurgical properties, industry-driven projects, and practical metal craftsmanship. Gained hands-on experience with traditional machining and digital manufacturing tools, such as CAD, CNC software, and precision welding equipment.
Nottingham Trent University
(United Kingdom)
Bachelor’s in Product Design and Materials Engineering (Honors)
Specialized in product design with a heavy focus on blending creativity with metal production and fabrication techniques. Participated in real-world industry projects, collaborating with architectural and hardware manufacturing companies to optimize material efficiency.
Publications and Impact
In Metalenify, Stuart Rich shares his insights on structural metal design processes, material grades, and strategies for efficient shop production. His writing bridges the gap between raw artisan knowledge and modern industrial needs, making it a must-read for both budding DIY metalworkers and seasoned fabrication professionals.





