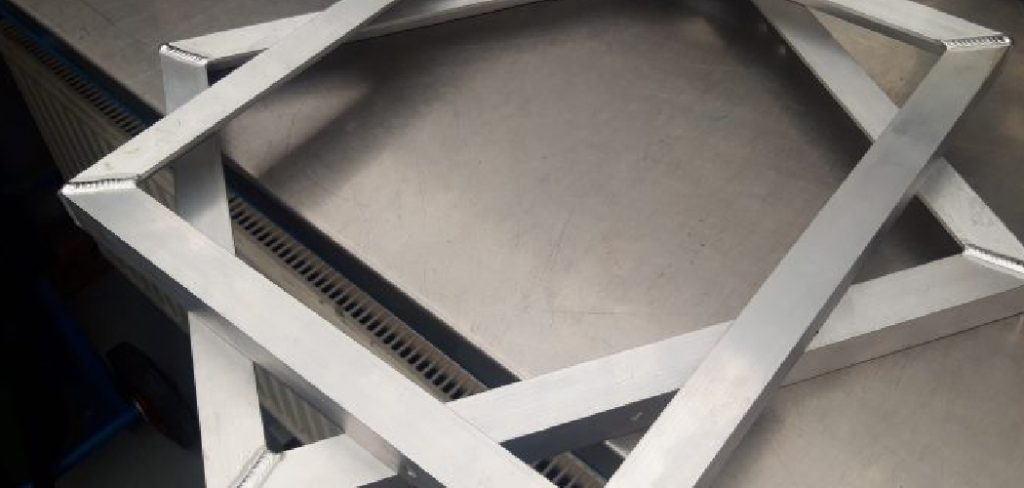
The most reliable ways to join two pieces of metal without welding are mechanical fasteners—rivets, nuts and bolts—or high-strength two-part epoxy adhesives. Industrial adhesives work well for flat surface bonding, while rivets and bolts tend to be the better call for heavy, load-bearing joints where structural stability matters.
Metalworking can feel out of reach if you don’t have access to a welding rig or the training to operate one safely. That’s a reasonable barrier. But it’s also not the obstacle it might seem. Modern cold-joining techniques—methods that create strong, lasting bonds without any heat—have become genuinely capable alternatives, not just workarounds for people who can’t afford a welder.
Whether you’re repairing a garden gate, fabricating a custom shelf bracket, or fixing a cracked metal housing, these methods are within reach for anyone willing to work carefully. You don’t need a professional shop. A well-organized garage or basement workspace is enough.
This guide on how to join two pieces of metal without welding walks through everything: the tools you’ll need, how to choose the right method for your specific situation, and a step-by-step process for getting a clean, durable result.
What Tools and Materials Do You Need to Join Metal Without Welding?
The equipment list shifts depending on which joining method you use—adhesive or mechanical fastener—so it’s worth knowing both before you head to the hardware store.
For epoxy-based bonding, you’ll need a two-part metal adhesive (J-B Weld is the most commonly cited option, though Loctite and Permatex both make comparable products), mixing sticks, a clean disposable surface for blending, heavy-duty clamps, and either coarse sandpaper or a wire brush to prep the bonding surfaces.
If you’re going the mechanical route, the list looks a bit different. A power drill with titanium or cobalt drill bits is non-negotiable—standard wood bits will dull almost immediately against steel or aluminum. You’ll also need your chosen fasteners: pop rivets and a hand riveter for thinner sheet metal, or nuts, bolts, and the appropriate wrenches for heavier plate stock.
Regardless of which path you take, keep safety glasses, heavy work gloves, and a degreasing solvent on hand. Surface prep is where a lot of these projects succeed or fail, and clean hands touching clean metal make a meaningful difference.
What Are the 7 Simple Step-by-Step Guidelines on How to Join Two Pieces of Metal Without Welding?
Step 1: Preparing the Metal Surfaces Properly
Surface preparation may be the single most important phase of this entire process—and the one most likely to be rushed. Any grease, oxidation, old paint, or even the invisible oil residue left by your fingertips will compromise the bond, regardless of how well you execute every other step.
Start by wiping both metal surfaces thoroughly with a dedicated degreaser or isopropyl alcohol. Let the solvent fully evaporate before moving on. Then, using 60- to 80-grit sandpaper or a stiff wire brush, scuff the areas where the two pieces will make contact. This isn’t just cosmetic roughening—it creates micro-abrasions that give structural epoxy something to grip. Without them, adhesive tends to peel rather than hold.
Even for bolted joints, this prep work pays off. Removing rust and flattening burrs produces a tighter fit and a cleaner final appearance.
Step 2: Choosing the Right Joining Method
The choice between adhesive and mechanical fasteners comes down to two questions: what kind of stress will the joint face, and will it ever need to come apart?
Epoxy works well for cosmetic parts or joints that will primarily experience shear stress—forces pulling parallel to the bonded surface. Adhesive distributes load evenly across the entire contact area, which is actually an advantage over fasteners on thin aluminum or sheet steel, where concentrated clamping force can deform the material.
For anything load-bearing, subject to vibration, or likely to be disassembled at some point, mechanical fasteners are the more appropriate choice. Pop rivets are ideal when you can only access one side of the material. Nuts and bolts offer more clamping force for thicker stock and can be undone when needed. Take a moment to think through the long-term demands of the joint before committing to a method—it’s harder to reverse course mid-project.
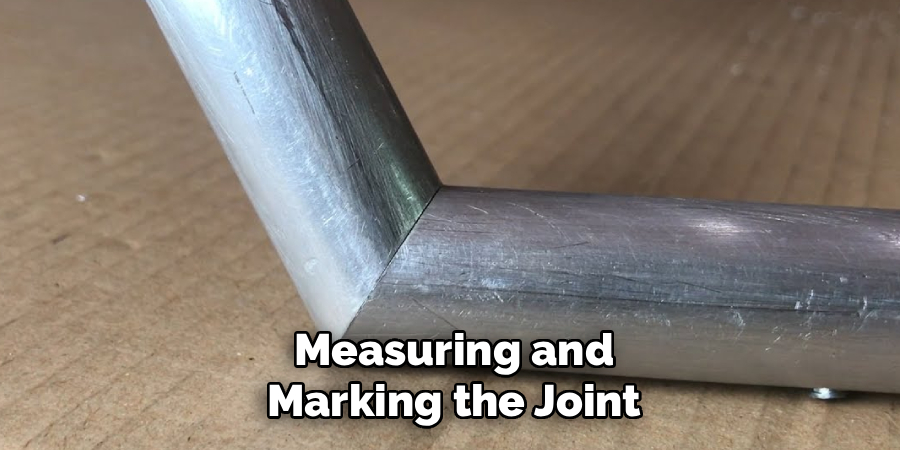
Step 3: Measuring and Marking the Joint

Metal doesn’t forgive guesswork the way wood sometimes does. Once you’ve drilled a hole or cured an adhesive joint, your options narrow considerably. Measure carefully.
Lay both pieces flat on a stable workbench and position them exactly as they’ll sit in the finished assembly. A machinist’s square or digital caliper will give you the precision you need to confirm alignment. When everything looks right, use a tungsten carbide scribe or a permanent marker to trace the overlapping edges and mark the center points of any planned holes.
For drilled holes, follow each marked point with a center punch and a firm hammer strike. That small dimple keeps your drill bit from skating across the metal surface when you start the tool—a common and aggravating problem when working on smooth stock.
Step 4: Drilling Holes for Fasteners
Clean, accurate holes are what separate a professional-looking bolted joint from a messy one. Before you drill anything, clamp the metal firmly to the workbench. A piece that shifts or lifts mid-drill can snap a bit or, more seriously, cause injury.
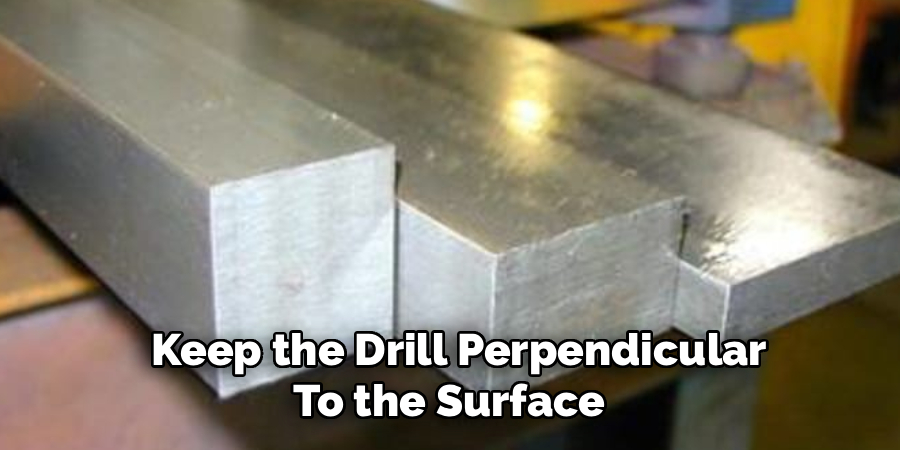
Apply a few drops of cutting fluid or general-purpose machine oil to the punch mark. This reduces heat buildup and extends the life of your bit noticeably—especially when working through steel. Keep the drill perpendicular to the surface and maintain steady, moderate pressure. Forcing the tool or running it at too high a speed tends to work against you.
Once the bit breaks through, deburr the hole immediately. A dedicated deburring tool is ideal, but a larger drill bit twisted slowly by hand across the hole’s edge will also knock off the sharp metal shards left behind.
Step 5: Applying Epoxy or Adhesive
Mixing epoxy correctly matters more than most people expect. Dispense equal amounts of resin and hardener onto a disposable mixing surface—a piece of cardboard or a plastic tray both work—and blend them thoroughly for at least a full minute. The mixture should be completely uniform in color, with no visible streaks.
Apply a thin, even layer to the scuffed surfaces of both metal pieces using a putty knife or disposable brush. The goal is full coverage without excess—too much adhesive and you’ll have globs squeezing out under pressure; too little and the joint won’t reach its rated strength. Press the pieces together carefully, aligning them to the layout marks you made earlier, and hold firm pressure long enough for the adhesive to spread into the micro-abrasions.
Step 6: Securing the Joint with Clamps
Clamps serve two functions depending on your method: for epoxy, they maintain pressure while the adhesive cures; for rivets, they hold pre-drilled holes in alignment during installation.
Position C-clamps, bar clamps, or locking pliers at several points around the joint perimeter. If you’re working with adhesive, you want just enough pressure to produce a thin bead of squeeze-out along the seams—that’s a reasonable sign of full coverage. Clamping too aggressively forces adhesive out of the joint entirely, leaving you with a bond that’s thinner than it should be.
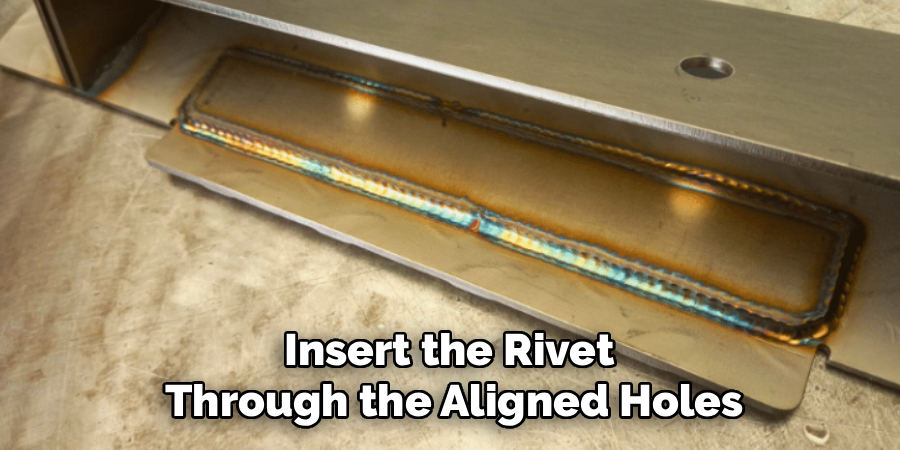
For riveted joints, insert the rivet through the aligned holes and squeeze the riveter handles until the mandrel snaps. That sharp snap indicates the rivet has set properly and the mechanical connection is complete. With epoxy, leave the clamps in place for the full cure time listed on the packaging. Pulling them early—even if the joint feels solid—can disrupt bond formation before it’s finished.
Step 7: Finalizing and Cleaning the Connection
Once the joint has cured or the fasteners are set, take time to clean up the work. For epoxy joints, use a sharp chisel or coarse sandpaper to carefully remove any hardened adhesive that squeezed out along the seams. A wipe-down with acetone or rubbing alcohol removes fingerprints and surface residue, leaving the metal looking intentional rather than improvised.
For bolted or riveted assemblies, verify that every fastener is fully tightened and check for any protruding burrs that could cause cuts or snags on surrounding material. If the project will be painted or coated, apply a metal primer over the joint now—it’s considerably easier to do this before the assembly is installed or loaded.
Following these steps on how to join two pieces of metal without welding can result in a strong and durable bond.
What Are the Common Mistakes to Avoid?
Skipping surface prep is far and away the most common error, and it tends to be fatal to adhesive bonds. Oily or oxidized metal simply doesn’t allow epoxy to adhere properly, regardless of how well you apply it.
Removing clamps before the adhesive has fully cured is another frequent problem. Epoxy may feel firm after a few hours, but structural strength typically develops over a longer window—often 15 to 24 hours. Patience here is directly rewarded.
Using standard wood drill bits on metal will dull them almost immediately and leave ragged, dangerous holes. The same goes for skipping cutting fluid when drilling through thicker steel—without lubrication, heat builds quickly, bits wear faster, and snapping becomes a real risk.
How Much Will It Cost to Join Metal Without Welding?
The cost of cold-joining methods compares favorably with that of welding equipment in almost every scenario. A quality two-part metal epoxy typically runs between $7 and $15 per tube, which is usually enough for several small projects. A basic hand riveter kit with assorted aluminum pop rivets generally retails for $20 to $35 at most hardware stores.
If you’re drilling into steel, a set of cobalt bits and a small bottle of cutting fluid will add roughly $15 to $25. Altogether, you can get a capable toolkit together for under $50—a meaningful difference compared to the hundreds or thousands of dollars a welding setup would require.
Frequently Asked Questions
Q1: What Is The Strongest Glue For Metal To Metal?
A1: Two-part structural epoxy is generally considered the strongest adhesive option for metal-to-metal bonds. Products like J-B Weld Cold-Weld Formula or Loctite Metal/Concrete Epoxy chemically bond with the metal surface and can withstand substantial shear loads once fully cured. Clean, roughened surfaces and firm clamping during the cure period are what allow these adhesives to reach their rated strength.
Q2: Can I Use Super Glue To Join Metal Pieces?
A2: Cyanoacrylate adhesive—super glue—can temporarily hold small, lightweight metal parts in place, but it’s poorly suited for structural applications. It tends to be brittle and may crack or fail when exposed to vibration, impact, or temperature fluctuation. For any joint that needs to hold under real-world conditions, mechanical fasteners or metal-specific epoxy are more appropriate choices.
Q3: How Long Does Metal Epoxy Take To Dry Completely?
A3: Most two-part metal epoxies reach a hand-tight set within 4 to 6 hours, but full structural cure typically requires 15 to 24 hours of undisturbed clamping. Fast-setting variants are available and cure more quickly, though they may offer somewhat lower maximum strength compared to standard formulations. Always check the manufacturer’s instructions—cure times can vary by product and ambient temperature.
Making Your Next Fabrication Project a Success
Knowing how to join two pieces of metal without welding opens up a wider range of repair and fabrication work than most people expect. With careful surface preparation, a clear-eyed choice between adhesives and fasteners, and attention to the curing or installation process, the results can be genuinely professional-grade.
Choose the method that fits your project’s load requirements and long-term needs. Gather your materials before you start. Work methodically, and don’t rush the steps that require patience. The process is more accessible than it looks.
About
Stuart Rich is a distinguished figure in the world of metalworking and fabrication, with a decade of expertise creating innovative and sustainable metal projects. His professional focus lies in merging traditional blacksmithing and machining with modern manufacturing techniques, fostering designs that are both practical and durable. As the author of Metalenify, Stuart Rich delves into the art and science of metallurgy and DIY metal creation, inspiring artisans, hobbyists, and industry professionals alike.
Education
RMIT University
(Melbourne, Australia)
Associate Degree in Engineering Technology (Mechanical / Manufacturing)
Focus on metallurgical properties, industry-driven projects, and practical metal craftsmanship. Gained hands-on experience with traditional machining and digital manufacturing tools, such as CAD, CNC software, and precision welding equipment.
Nottingham Trent University
(United Kingdom)
Bachelor’s in Product Design and Materials Engineering (Honors)
Specialized in product design with a heavy focus on blending creativity with metal production and fabrication techniques. Participated in real-world industry projects, collaborating with architectural and hardware manufacturing companies to optimize material efficiency.
Publications and Impact
In Metalenify, Stuart Rich shares his insights on structural metal design processes, material grades, and strategies for efficient shop production. His writing bridges the gap between raw artisan knowledge and modern industrial needs, making it a must-read for both budding DIY metalworkers and seasoned fabrication professionals.


