
Welding aluminum can feel tricky at first, especially when your beads come out dirty, dull, or uneven. A big part of the problem often comes down to one setting on your TIG welder: AC balance. Learning how to adjust ac balance for aluminum gives you control over how your machine cleans the metal and how deep your weld penetrates. Aluminum forms a tough oxide layer that melts at a much higher temperature than the metal underneath, so your welder needs to break through that layer cleanly before fusing the joint.
The good news? This is a skill anyone can master with a little practice. You don’t need years of experience to get it right. Once you understand what the balance control does, you can dial in settings that match your material, your tungsten, and your project. In this guide, we’ll walk you through everything step by step, answer common questions, and help you build the confidence to weld cleaner, stronger aluminum joints every single time.
Why Adjusting AC Balance for Aluminum Matters
Getting your AC balance right changes everything about your weld quality. The balance control decides how much time your welder spends cleaning the oxide layer versus how much it spends melting and joining the metal. Too much cleaning action wastes heat and can overheat your tungsten. Too little cleaning leaves a dirty, contaminated weld that’s weak and ugly.
When you find the sweet spot, you get a bright, smooth bead with that frosty “cleaning zone” around it that tells you the oxide is gone. You’ll also extend the life of your tungsten, reduce spatter, and improve penetration. For beginners and pros alike, mastering this setting means fewer mistakes, less rework, and stronger joints. It’s one of the fastest ways to level up your aluminum welding skills.
Step-by-Step Guide to How to Adjust AC Balance for Aluminum
Step 1: Understand What the Balance Control Does
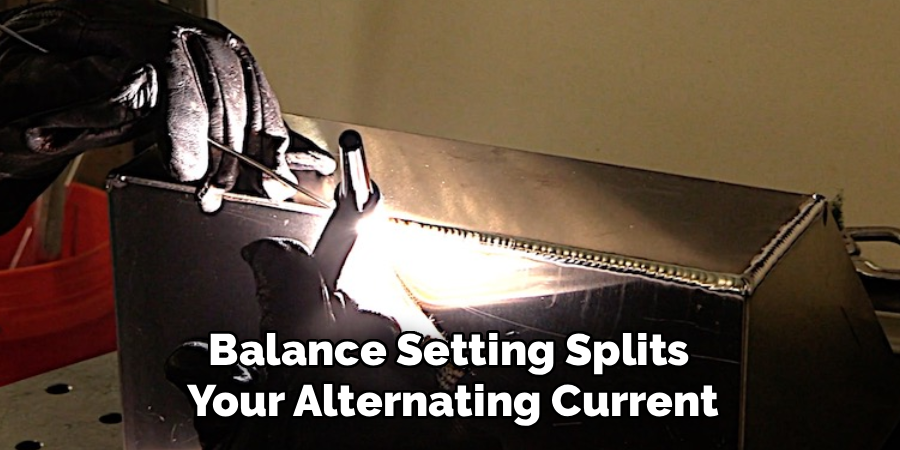
before you touch any dials, it helps to know what’s actually happening. the balance setting splits your alternating current between two halves of the cycle: electrode positive (EP) and electrode negative (EN). the EP portion does the cleaning, blasting away the oxide layer on the aluminum surface. the EN portion delivers heat into the joint for penetration. most modern welders show this as a percentage, often labeled “% EN.” a higher EN percentage means more penetration and less cleaning, while a lower EN percentage means more cleaning and less heat focus. understanding this trade-off is the foundation for every adjustment you make.
Step 2: Set Your Starting Point
start with a balanced baseline so you have something to fine-tune from. for most clean aluminum, a setting of around 65% to 70% EN works well as a beginning. this gives you enough cleaning to remove the oxide without wasting heat. if your machine older EP scale instead, aim for roughly 30% to 35% EP, which lands in the same range. write down your starting numbers so you can track changes. think of this baseline like the default settings in a new app: a safe place to begin before you customize things to fit your exact project and material.
Step 3: Match the Setting to Your Material Condition
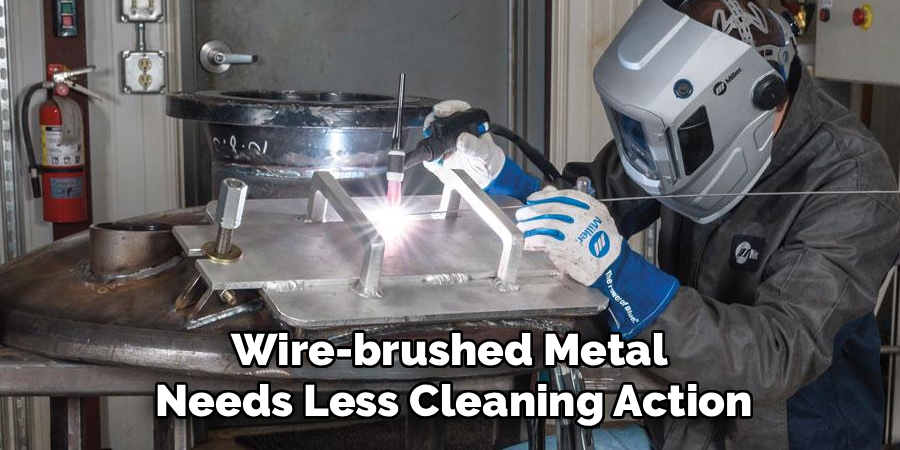
now adjust based on how clean your aluminum actually is. fresh, wire-brushed metal needs less cleaning action, so you can push your EN percentage higher for deeper penetration. dirty, oxidized, or weathered aluminum needs more cleaning, so you’ll lower the EN percentage to spend more time blasting away contamination. cast aluminum and older salvaged parts almost always demand extra cleaning. this is where knowing how to adjust ac balance for aluminum really pays off, because reading your material and responding to it is what separates clean welds from frustrating ones. take a moment to inspect and prep before you strike an arc.
Step 4: Choose the Right Tungsten
your tungsten choice works hand in hand with your balance setting. more cleaning action (lower EN) puts extra heat on the tungsten tip, so it can ball up or wear faster. pure tungsten handles this well but isn’t ideal for modern inverter machines. instead, reach for 2% lanthanated or ceriated tungsten, which holds a sharper point and tolerates a range of settings. grind your tungsten to a slight point with a small flat on the tip for AC work. if you notice your tungsten balling excessively, that’s a signal your cleaning percentage may be too high for the amperage you’re running.
Step 5: Run a Test Bead and Read the Results
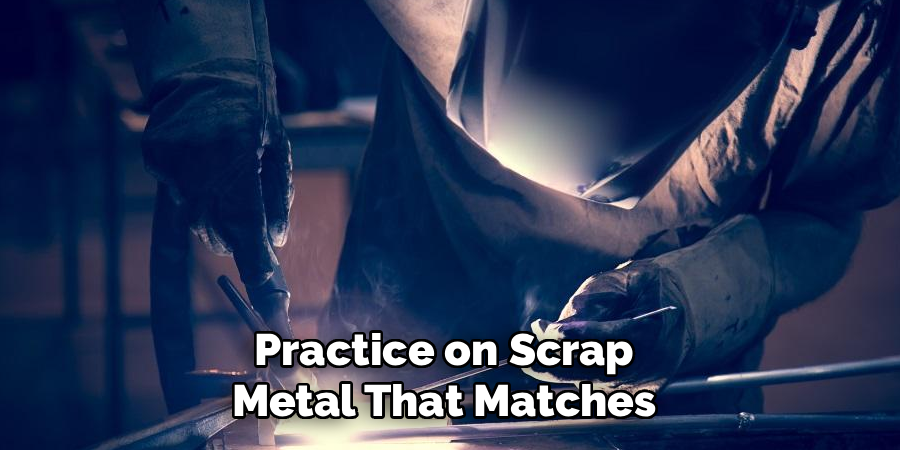
practice on scrap metal that matches your project before welding the real piece. lay down a test bead and watch closely. you’re looking for a bright, shiny weld with a thin, frosty gray “etching zone” running alongside it, usually about the width of the weld itself. if that cleaning zone is very wide and the tungsten is overheating, you have too much cleaning. if the bead looks dull, gray, or dirty with no etching zone, you need more cleaning. reading these visual cues is the fastest feedback loop you have, and it builds your instincts quickly with each pass you make.
Step 6: Fine-Tune in Small Increments
once you’ve read your test bead, make small changes rather than big jumps. adjust your balance by about 5% at a time, then run another test bead and compare. knowing how to adjust ac balance for aluminum the right way means treating it like tuning an instrument: small, deliberate moves get you to the perfect note. if you change too much at once, you won’t know which adjustment caused the difference. keep notes on what works for each material thickness and type. over time you’ll build a personal cheat sheet that makes future projects faster and removes the guesswork entirely.
Step 7: Lock In Settings and Adjust for Frequency
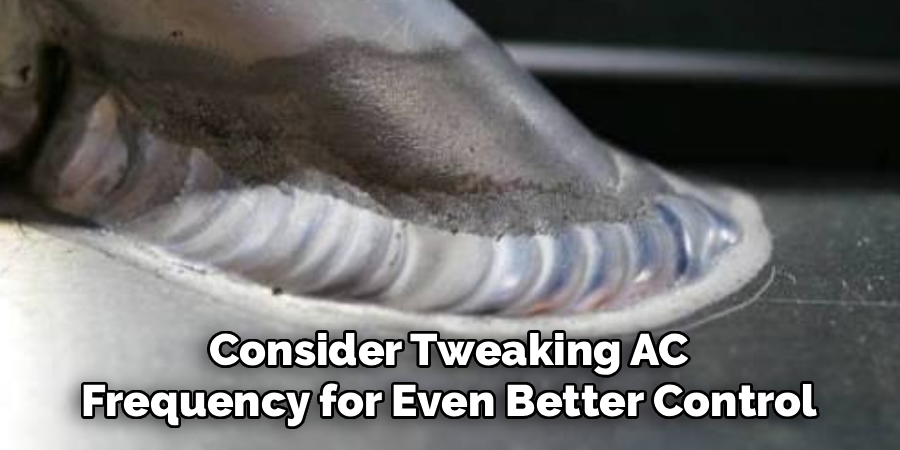
after you nail the balance, consider tweaking AC frequency for even better control. a higher frequency, around 120 to 200 Hz, tightens and focuses the arc, which is great for thin material and precise joints. a lower frequency, near 60 Hz, gives a softer, wider arc that suits thicker aluminum. frequency and balance work together, so make these adjustments separately and test after each one. once everything looks right, note your final numbers so you can repeat the setup instantly next time. with practice, dialing in your machine becomes second nature and your results stay consistent across every job.
Frequently Asked Questions
What Is the Best AC Balance Setting for Beginners?
A great starting range is 65% to 70% EN, which balances cleaning and penetration nicely for most clean aluminum. From there, you can adjust based on your results. Beginners benefit from starting in this middle zone because it forgives small mistakes. Run test beads, watch the etching zone, and make small tweaks until your weld looks bright and consistent.
Why Does My Aluminum Weld Look Dirty or Gray?
A dull, gray, or sooty weld usually means you don’t have enough cleaning action. Try lowering your EN percentage to give the electrode-positive portion more time to break down the oxide layer. Also check that your base metal is properly wire-brushed and free of grease. Clean prep plus the right balance setting almost always solves the problem quickly.
What Does the Frosty White Zone Around My Weld Mean?
That frosty gray or white zone is called the etching or cleaning zone, and it’s a good sign. It shows your welder is successfully removing the aluminum oxide layer. Ideally, it should be a thin band roughly the width of your weld bead. If it grows too wide, you’re using more cleaning than needed and may be overheating your tungsten.
Does AC Frequency Affect Cleaning Action?
Frequency mainly controls arc focus and width, not cleaning itself. Cleaning is governed by the balance setting. However, higher frequency tightens the arc for precise, thin-material work, while lower frequency spreads heat for thicker joints. Adjust frequency and balance separately, testing after each change, so you can clearly see how each setting affects your weld quality and appearance.
Why Is My Tungsten Balling Up Too Much?
Excessive balling usually means too much cleaning action or amperage for your tungsten size. Lower your cleaning percentage slightly, confirm your amperage matches the material thickness, and use a quality 2% lanthanated or ceriated tungsten. These hold a sharper point on AC. A small, controlled ball is normal, but a large molten tip signals your settings need a quick adjustment.
Conclusion
Dialing in the right balance setting is one of the most rewarding skills you can build as an aluminum welder. Once you understand how the cleaning and penetration halves of the AC cycle work together, you gain real control over your results. Start with a sensible baseline, match your settings to your material, choose the right tungsten, and let your test beads guide every small adjustment you make. The visual feedback from the etching zone tells you exactly what’s happening, so trust what you see and tweak in small steps.
Learning how to adjust ac balance for aluminum takes a little patience, but it pays off in cleaner beads, stronger joints, and far less rework. Keep notes on your winning settings, practice on scrap, and don’t be afraid to experiment. With each weld, your confidence grows and your machine starts to feel like an extension of your hands. Now grab some aluminum, fire up your welder, and put these steps to work.

About
Stuart Rich is a distinguished figure in the world of metalworking and fabrication, with a decade of expertise creating innovative and sustainable metal projects. His professional focus lies in merging traditional blacksmithing and machining with modern manufacturing techniques, fostering designs that are both practical and durable. As the author of Metalenify, Stuart Rich delves into the art and science of metallurgy and DIY metal creation, inspiring artisans, hobbyists, and industry professionals alike.
Education
RMIT University
(Melbourne, Australia)
Associate Degree in Engineering Technology (Mechanical / Manufacturing)
Focus on metallurgical properties, industry-driven projects, and practical metal craftsmanship. Gained hands-on experience with traditional machining and digital manufacturing tools, such as CAD, CNC software, and precision welding equipment.
Nottingham Trent University
(United Kingdom)
Bachelor’s in Product Design and Materials Engineering (Honors)
Specialized in product design with a heavy focus on blending creativity with metal production and fabrication techniques. Participated in real-world industry projects, collaborating with architectural and hardware manufacturing companies to optimize material efficiency.
Publications and Impact
In Metalenify, Stuart Rich shares his insights on structural metal design processes, material grades, and strategies for efficient shop production. His writing bridges the gap between raw artisan knowledge and modern industrial needs, making it a must-read for both budding DIY metalworkers and seasoned fabrication professionals.





