
an oxy acetylene cutting torch is one of the most reliable tools for slicing through thick metal, and learning to handle it opens up a world of welding, fabrication, and repair work. this tool mixes oxygen and acetylene gas to create an intensely hot flame, hot enough to cut through steel like a warm knife through butter. for beginners, the idea of working with high-pressure gas and open flame can feel intimidating, but with the right guidance it becomes a skill you can master safely and confidently.
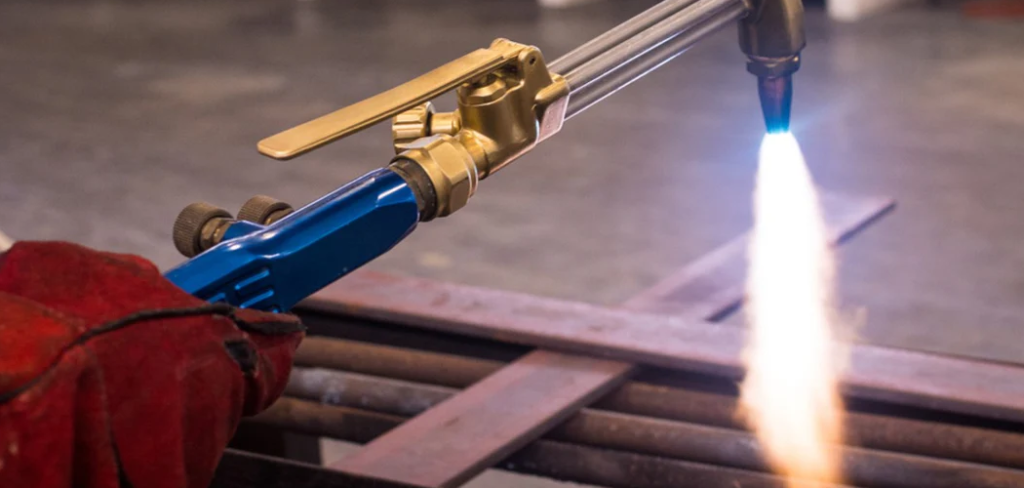
in this guide, you’ll discover exactly how to use an oxy acetylene cutting torch from setup to shutdown. we’ve broken everything into clear, manageable steps so you never feel lost along the way. whether you’re a hobbyist tackling your first project or someone building practical trade skills, this walkthrough gives you the knowledge to get started. by the end, you’ll understand the equipment, the safety basics, and the technique needed to make clean, accurate cuts. let’s empower your skills and turn a complex tool into something you handle with ease.
Why Using an Oxy Acetylene Cutting Torch Matters
knowing how to operate this torch matters because it gives you control over heavy-duty cutting jobs that smaller tools simply can’t handle. unlike electric cutters, an oxy acetylene setup is portable and works anywhere, even without a power source. that flexibility makes it a favorite among mechanics, farmers, welders, and DIY builders who need dependable results in the field or the workshop. the flame produces extreme heat, letting you cut, gouge, and shape thick steel with precision and speed.
beyond convenience, this skill saves you money and time. instead of outsourcing metal cutting, you can do it yourself with accuracy and confidence. mastering the torch also builds a foundation for advanced welding and fabrication work, expanding your career or hobby options. with proper technique, you reduce material waste and create safer, cleaner cuts. it’s a tool that rewards practice, and every project sharpens your ability while boosting your confidence around metalwork.
Step-by-Step Guide to How to Use an Oxy Acetylene Cutting Torch
Step 1: Gather and Inspect Your Equipment
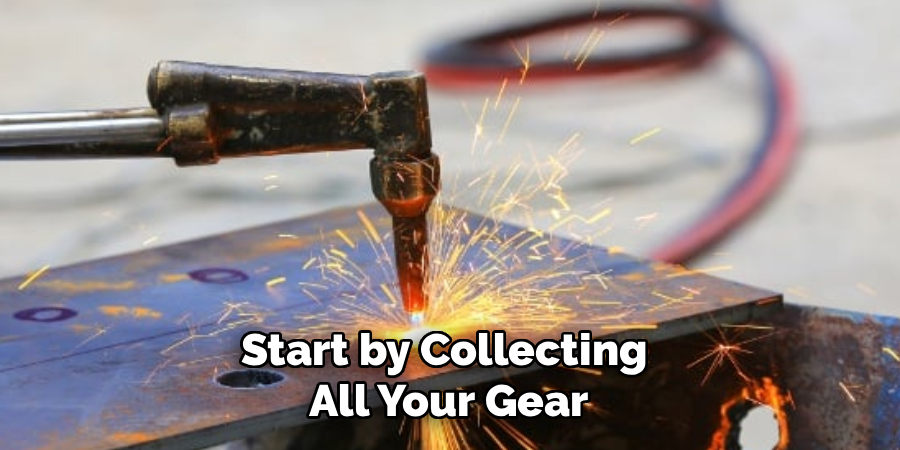
before you light anything, start by collecting all your gear and checking it carefully. you’ll need oxygen and acetylene cylinders, regulators, hoses, a cutting attachment, the right tip, a striker, and proper safety gear like gloves, goggles, and flame-resistant clothing. inspect each hose for cracks or wear, and make sure connections are tight and free of oil or grease. learning how to use an oxy acetylene cutting torch safely begins here, because faulty equipment is the most common cause of accidents. take your time with this check, and never rush past damaged parts. a few extra minutes of inspection protects you and ensures smooth, reliable performance.
Step 2: Set Up in a Safe Work Area
choose a workspace that’s clean, dry, and well-ventilated before you begin. clear away flammable materials like paper, rags, fuel, and sawdust, since sparks can travel several feet during cutting. keep a fire extinguisher within easy reach and make sure the floor is sturdy and level. position your cylinders upright and secure them with a chain or stand so they can’t tip over. good lighting helps you see your cut lines clearly, and a metal workbench gives you a safe surface. setting up properly reduces hazards and lets you focus fully on technique instead of worrying about your surroundings.
Step 3: Connect the Regulators and Hoses
attach the oxygen regulator to the oxygen cylinder and the acetylene regulator to the acetylene cylinder, using the correct fittings for each. remember that acetylene connections turn the opposite way from oxygen connections, which prevents dangerous mix-ups. tighten everything with a proper wrench, but avoid overtightening, which can damage threads. connect the color-coded hoses, green for oxygen and red for acetylene, and double-check that each link is secure. once connected, you can begin learning how to use an oxy acetylene cutting torch with confidence. before opening any valves, glance over the whole assembly one more time to confirm a snug, leak-free setup throughout the system.
Step 4: Open the Cylinder Valves Slowly
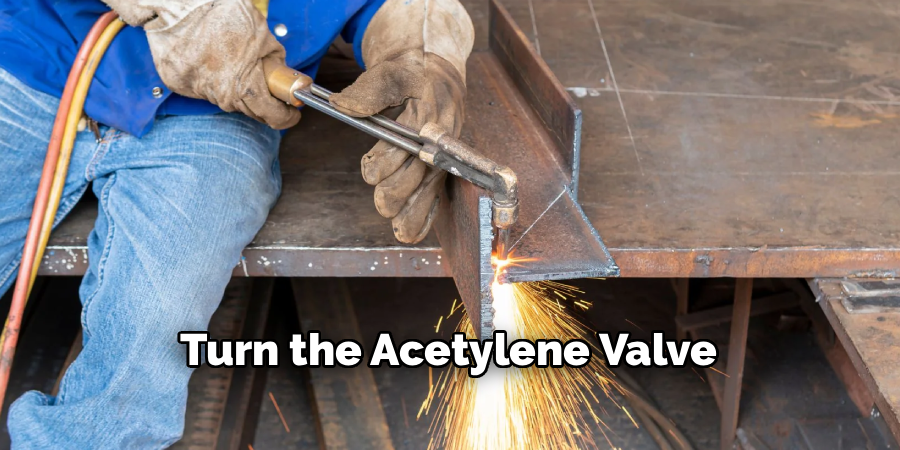
with everything connected, it’s time to open your cylinder valves carefully. turn the acetylene valve only about a quarter to a half turn, then open the oxygen valve fully. opening valves slowly prevents sudden pressure surges that could damage your regulators. next, set your working pressures using the regulator adjusting screws, typically around 5 to 10 psi for acetylene and a higher reading for oxygen, depending on your tip size and the manufacturer’s chart. always follow your equipment’s recommended settings. this step gives you steady, controlled gas flow, which is the foundation for a stable flame and clean cuts every single time.
Step 5: Light the Torch and Adjust the Flame
now you’re ready to create your flame, so put on your goggles first. open the acetylene valve on the torch slightly and use your striker, never a lighter, to ignite the gas. you’ll see a smoky orange flame at first. slowly add oxygen until the flame turns blue with a sharp inner cone. this balanced flame is called a neutral flame, and it’s ideal for most cutting jobs. adjust carefully until the cones are clean and well-defined. take your time here, because the right flame makes cutting smoother and safer. with practice, you’ll recognize the perfect flame instantly by sight and sound.
Step 6: Make the Cut
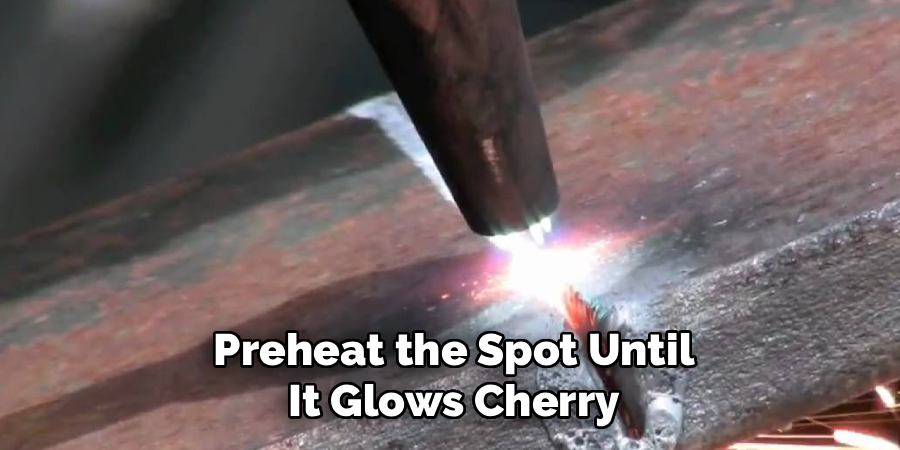
position the torch so the inner flame cones sit just above the metal surface. preheat the spot until it glows cherry red, then press the oxygen cutting lever to release a stream of pure oxygen. this jet blows away the molten metal and creates your cut. move the torch steadily along your marked line, keeping a consistent distance and speed. moving too fast leaves an incomplete cut, while moving too slow wastes gas and widens the line. let the flame do the work, and guide it smoothly. with steady hands and even pacing, you’ll produce clean, accurate edges on your metal.
Step 7: Shut Down Safely
when you finish cutting, shut everything down in the correct order to stay safe. first, close the torch’s oxygen valve, then close the acetylene valve to extinguish the flame. next, close both cylinder valves completely. now bleed the lines by opening each torch valve briefly to release trapped gas, then closing them again. finally, back out the regulator adjusting screws until they turn freely. this proper shutdown protects your equipment, prevents leaks, and keeps your workspace safe for next time. building this habit ensures every session ends as carefully as it began, reinforcing safe and confident handling of your torch.
Frequently Asked Questions
What Safety Gear Do I Need For Torch Cutting?
you’ll need flame-resistant clothing, leather gloves, and tinted cutting goggles or a face shield rated for the work. closed-toe leather boots protect your feet from sparks and falling metal. avoid synthetic fabrics, which can melt against your skin. keeping a fire extinguisher nearby is essential. proper gear protects you from heat, sparks, and bright light, letting you work with confidence and reducing the risk of burns or eye injury.
How Do I Know If I Have A Neutral Flame?
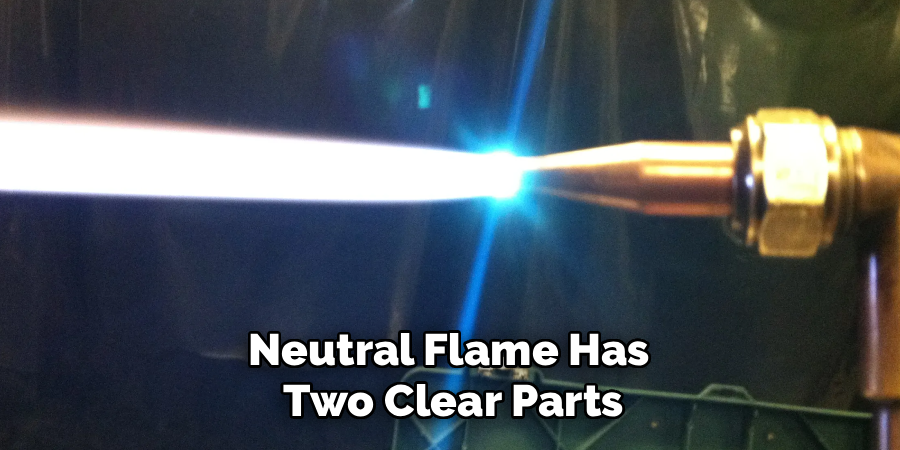
a neutral flame has two clear parts: a bright blue inner cone and a softer outer flame. you achieve it by balancing oxygen and acetylene until the inner cones look sharp and well-defined, with no feathery edges. too much acetylene creates a feathery carburizing flame, while too much oxygen makes a harsh, hissing oxidizing flame. for most cutting jobs, the neutral flame gives you clean, efficient results every time.
Why Does My Cut Look Rough Or Uneven?
rough cuts usually come from inconsistent speed, incorrect torch angle, or the wrong gas pressure. moving too slowly melts and widens the cut, while moving too fast leaves uncut sections. holding the torch at the wrong distance also affects quality. practice keeping a steady pace and consistent height above the metal. checking your tip for clogs and confirming your pressure settings often solves the problem and improves your edges noticeably.
Can Beginners Safely Learn This Skill?
absolutely. with proper guidance, safety gear, and patience, beginners of all skill levels can learn torch cutting confidently. start with thin scrap metal to practice your flame control and cutting motion before tackling bigger projects. taking your time with setup and shutdown builds safe habits early. plenty of tutorials and expert support are available to answer your questions, so you never have to figure things out alone. practice steadily and your skills will grow quickly.
How Often Should I Inspect My Equipment?
inspect your equipment before every single use. check hoses for cracks, leaks, or wear, and confirm all connections are tight and clean. test for gas leaks using soapy water on the fittings, watching for bubbles. examine the torch tip for clogs or damage. regular inspection catches small problems before they become dangerous. building this routine takes only a few minutes and keeps both you and your equipment safe over the long term.
Conclusion
learning how to use an oxy acetylene cutting torch is a rewarding skill that combines safety, technique, and a bit of practice. you’ve now walked through the entire process, from inspecting your gear and setting up a safe workspace to connecting regulators, adjusting your flame, making clean cuts, and shutting down properly. each step builds on the last, and together they give you a complete, confident workflow. remember that careful preparation and steady hands matter far more than speed, especially when you’re starting out.
the best way to improve is to get hands-on, so grab some scrap metal and start practicing the techniques you’ve learned here. take it slow, respect the equipment, and celebrate each clean cut as a sign of your growing expertise. with patience and consistent practice, you’ll soon handle your torch like a seasoned pro. empower your skills, stay safe, and enjoy the satisfaction of mastering one of metalworking’s most versatile tools.

About
Stuart Rich is a distinguished figure in the world of metalworking and fabrication, with a decade of expertise creating innovative and sustainable metal projects. His professional focus lies in merging traditional blacksmithing and machining with modern manufacturing techniques, fostering designs that are both practical and durable. As the author of Metalenify, Stuart Rich delves into the art and science of metallurgy and DIY metal creation, inspiring artisans, hobbyists, and industry professionals alike.
Education
RMIT University
(Melbourne, Australia)
Associate Degree in Engineering Technology (Mechanical / Manufacturing)
Focus on metallurgical properties, industry-driven projects, and practical metal craftsmanship. Gained hands-on experience with traditional machining and digital manufacturing tools, such as CAD, CNC software, and precision welding equipment.
Nottingham Trent University
(United Kingdom)
Bachelor’s in Product Design and Materials Engineering (Honors)
Specialized in product design with a heavy focus on blending creativity with metal production and fabrication techniques. Participated in real-world industry projects, collaborating with architectural and hardware manufacturing companies to optimize material efficiency.
Publications and Impact
In Metalenify, Stuart Rich shares his insights on structural metal design processes, material grades, and strategies for efficient shop production. His writing bridges the gap between raw artisan knowledge and modern industrial needs, making it a must-read for both budding DIY metalworkers and seasoned fabrication professionals.





