
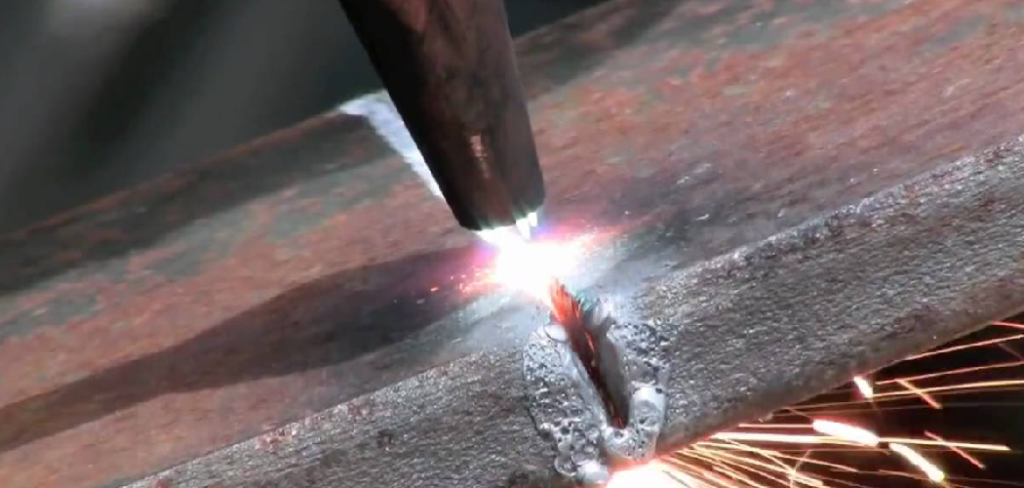
An oxy cutting torch is one of the most powerful tools you can use to slice through thick metal with surprising precision. It works by combining oxygen and a fuel gas, usually acetylene, to create a flame hot enough to melt and cut steel like butter. Whether you are a hobbyist building something in your garage or a beginner stepping into metalwork, learning how to use oxy cutting torch equipment safely opens up a world of possibilities.
This tool might look intimidating at first, with its hoses, gauges, and bright flame. But once you understand the basics, you will feel confident and in control. The key is taking things one step at a time and respecting the safety rules that keep you protected.
In this guide, we will walk you through everything you need to know, from setting up your equipment to making clean, accurate cuts. You will discover why this skill matters, how to perform each step correctly, and answers to the questions beginners ask most. Let’s get you ready to cut with confidence.
Why Using an Oxy Cutting Torch Matters
Knowing how to handle this tool gives you a real advantage in countless projects, from automotive repair to construction and creative metal art. It cuts through thick steel faster than many electric tools, and it works in places without power, making it incredibly versatile.
Beyond convenience, mastering this skill saves you money. Instead of paying someone else to cut metal, you can do the work yourself with clean, professional results. It also boosts your safety awareness, since handling gas equipment teaches careful habits that carry over to every project.
The flame reaches temperatures above 3,000°C, so it tackles jobs that smaller tools simply cannot manage. With practice, you gain precision, speed, and the freedom to take on bigger, more rewarding tasks. That confidence is exactly what turns a curious beginner into a capable maker.
Step-by-Step Guide to How to Use Oxy Cutting Torch
Step 1: Gather and Inspect Your Equipment
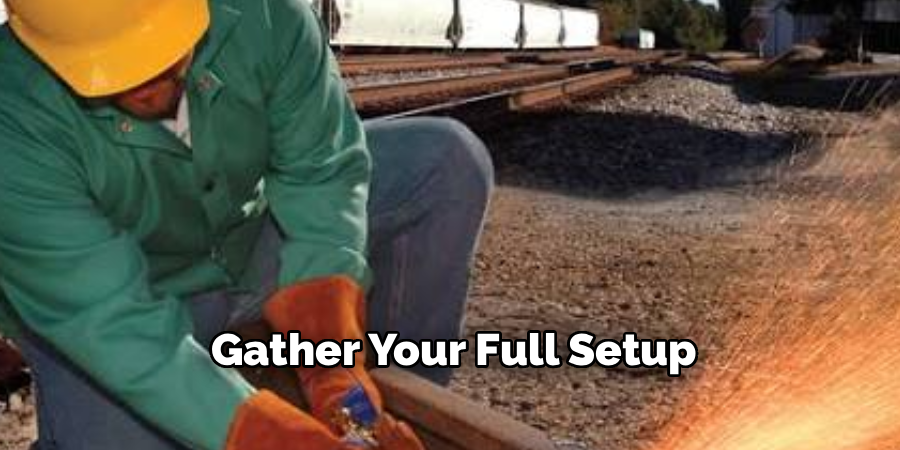
Before you light anything, gather your full setup and check every part. you will need oxygen and acetylene cylinders, regulators, hoses, a cutting torch, a striker, and safety gear. inspect the hoses for cracks or wear, and make sure all connections are tight and clean. look over the gauges to confirm they read zero when the cylinders are closed. taking a few extra minutes here prevents dangerous leaks later. think of it like checking your car before a long drive; a quick inspection now keeps small problems from becoming big ones once the flame is burning.
Step 2: Set Up in a Safe Work Area
Choose a clean, open space free from flammable materials like wood, paper, or fuel. concrete floors work best, and good ventilation is essential to clear away fumes. keep a fire extinguisher within arm’s reach and a bucket of water nearby just in case. secure your cylinders upright using a chain or stand so they cannot tip over. clear away clutter that might trip you while you work. learning how to use oxy cutting torch tools safely starts with a workspace that protects you, so never rush this part. a tidy area means fewer surprises and more focus on the cut itself.
Step 3: Put On Your Safety Gear
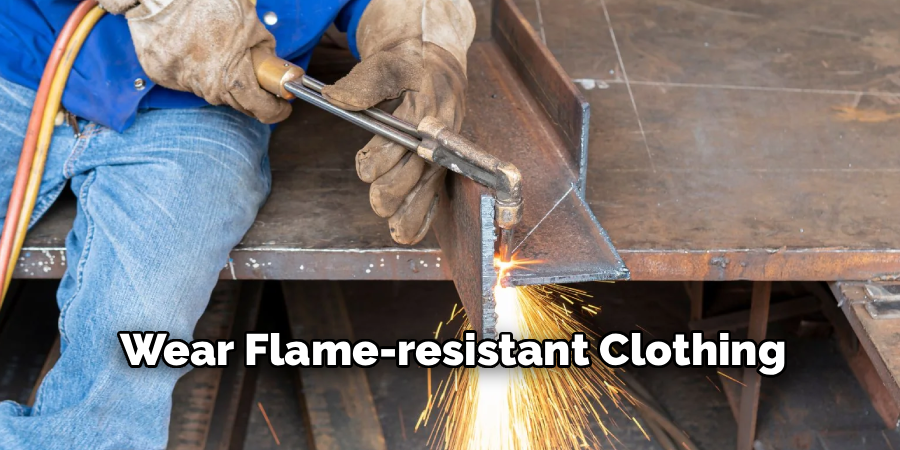
Your body is your most valuable tool, so protect it properly. wear flame-resistant clothing, leather gloves, and sturdy boots that cover your feet. cutting goggles or a face shield with the correct shade lens are non-negotiable, since the bright flame can damage your eyes. avoid loose sleeves, frayed fabric, or anything synthetic that could melt. tie back long hair and remove jewelry. the sparks and molten metal travel farther than you expect, so cover exposed skin. when you feel fully protected, you can concentrate on technique instead of worrying about burns or stray sparks landing where they shouldn’t.
Step 4: Open the Gas Valves and Set Pressures
With everything secure, slowly open the oxygen cylinder valve all the way, then crack the acetylene valve only about a quarter turn. set your regulators to the recommended pressures, typically around 5 to 10 psi for acetylene and higher for oxygen depending on the metal thickness. open the cylinders gently to avoid sudden pressure spikes. double-check your gauges to confirm a steady, even reading. these settings control how clean and stable your flame will be, so adjust carefully. getting the pressure right is the foundation of every smooth cut you make from here on.
Step 5: Light and Adjust the Flame
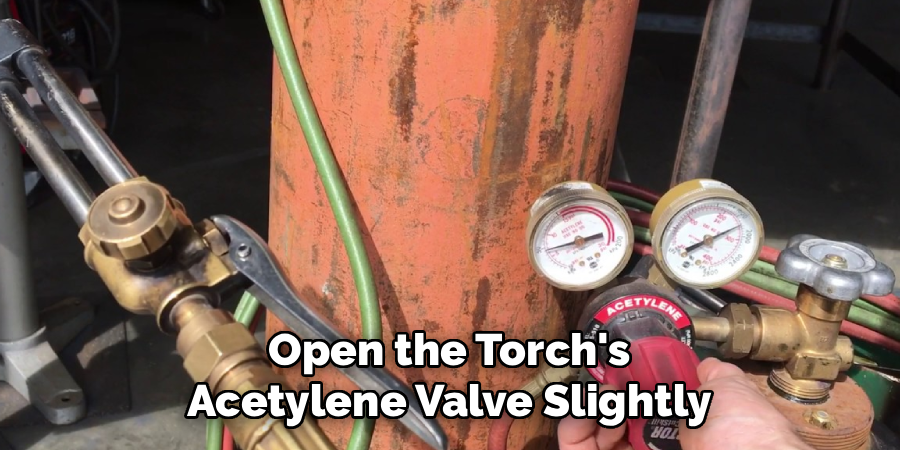
Now you are ready to create the flame. open the torch’s acetylene valve slightly and use your striker, never a regular lighter, to ignite the gas. you will see a smoky orange flame at first. slowly add oxygen until the flame turns sharp and blue with a bright inner cone. this is called a neutral flame, and it gives you the cleanest cuts. if the flame hisses or looks ragged, fine-tune the valves until it settles. this is one of the most satisfying moments when you learn how to use oxy cutting torch equipment, because a well-balanced flame makes everything easier.
Step 6: Preheat the Metal and Begin Cutting
Hold the torch so the inner cone sits just above the metal surface, about a quarter inch away. preheat the spot until it glows a bright cherry red. once it reaches that color, press the oxygen lever to release the cutting stream. this jet of pure oxygen burns through the heated metal and blows the molten material away. move steadily along your marked line at a consistent pace. too fast and the cut won’t finish; too slow and you waste gas. keep your hand smooth and let the torch do the work for you.
Step 7: Shut Down the Equipment Safely
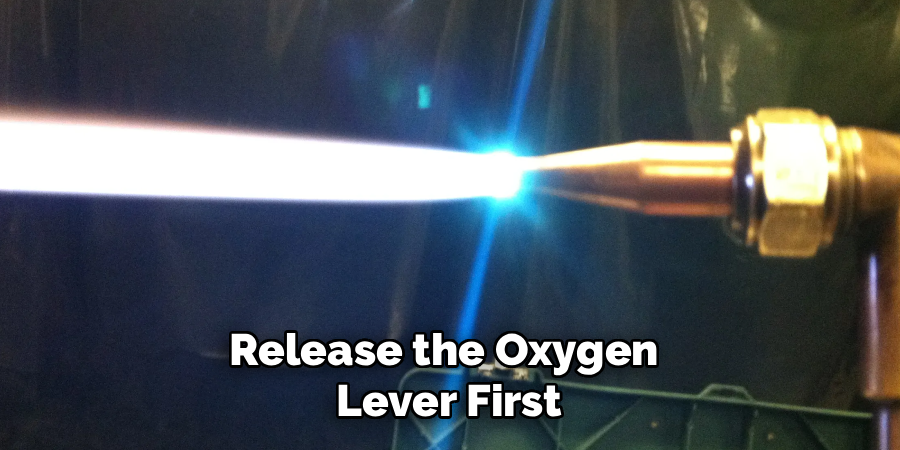
Finishing safely is just as important as starting well. release the oxygen lever first, then close the torch valves to extinguish the flame. shut off both cylinder valves completely. next, bleed the lines by opening each torch valve briefly to release trapped gas, then close them again. back out the regulator adjustment screws until they feel loose. coil your hoses neatly and store everything in a dry, ventilated spot. this proper shutdown prevents leaks and keeps your gear ready for next time. a calm, careful finish protects both you and your equipment for years of safe use.
Frequently Asked Questions
What Metals Can an Oxy Cutting Torch Cut?
This tool works best on carbon steel and iron, including thick plates that other tools struggle with. It is not suitable for aluminum, stainless steel, or copper, because those metals resist the oxidation process the torch relies on. For everyday projects involving mild steel, it performs beautifully, giving you clean edges. Always match your tool to the metal for the best, safest results.
Is It Safe for Beginners to Use One?
Yes, beginners can learn safely with the right preparation and respect for the equipment. The most important things are wearing proper protective gear, working in a ventilated, fire-safe area, and following each setup step carefully. Many people start nervous and grow confident quickly with practice. If you feel unsure, consider a short hands-on class or guidance from an experienced user to build your skills steadily.
What Is a Neutral Flame and Why Does It Matter?
A neutral flame has balanced oxygen and fuel, producing a sharp blue color with a bright inner cone. It matters because it delivers the cleanest, most efficient cuts without adding extra carbon or oxygen to the metal. Too much fuel creates a carburizing flame, while too much oxygen makes an oxidizing one. Learning to recognize the neutral flame quickly improves both your cut quality and safety.
How Do I Prevent Flashbacks or Backfires?
Flashbacks happen when the flame travels back into the hoses, which is dangerous. To prevent them, install flashback arrestors on both regulators, keep your pressures set correctly, and clean your torch tip regularly. Always light the torch with a striker and follow the proper startup sequence. If you ever hear a popping sound, shut down immediately and inspect your setup before continuing your work.
What Pressure Settings Should I Use?
Pressure depends on the metal thickness and your torch tip size, so always check the manufacturer’s chart. As a general starting point, acetylene usually runs between 5 and 10 psi, while oxygen runs higher. Thicker metal needs more oxygen pressure for a stronger cutting stream. Start low, test your flame, and adjust gradually. Correct pressures give you cleaner cuts and help your gas supply last longer.
Conclusion
You now have a clear, friendly roadmap for tackling metal cutting with confidence. From inspecting your equipment and setting up a safe workspace to adjusting a perfect neutral flame and shutting down properly, each step builds toward clean, professional results. The key takeaways are simple: respect the safety rules, take your time with setup, and let the torch do the heavy lifting while you guide it steadily.
Learning how to use oxy cutting torch equipment is a skill that rewards patience and practice. Every cut you make sharpens your technique and grows your confidence for bigger projects ahead. So gather your gear, double-check your safety setup, and start small with scrap metal until the process feels natural. With each session, you will move faster and cut cleaner. Now it’s your turn to fire up, stay safe, and bring your metalworking ideas to life.

About
Stuart Rich is a distinguished figure in the world of metalworking and fabrication, with a decade of expertise creating innovative and sustainable metal projects. His professional focus lies in merging traditional blacksmithing and machining with modern manufacturing techniques, fostering designs that are both practical and durable. As the author of Metalenify, Stuart Rich delves into the art and science of metallurgy and DIY metal creation, inspiring artisans, hobbyists, and industry professionals alike.
Education
RMIT University
(Melbourne, Australia)
Associate Degree in Engineering Technology (Mechanical / Manufacturing)
Focus on metallurgical properties, industry-driven projects, and practical metal craftsmanship. Gained hands-on experience with traditional machining and digital manufacturing tools, such as CAD, CNC software, and precision welding equipment.
Nottingham Trent University
(United Kingdom)
Bachelor’s in Product Design and Materials Engineering (Honors)
Specialized in product design with a heavy focus on blending creativity with metal production and fabrication techniques. Participated in real-world industry projects, collaborating with architectural and hardware manufacturing companies to optimize material efficiency.
Publications and Impact
In Metalenify, Stuart Rich shares his insights on structural metal design processes, material grades, and strategies for efficient shop production. His writing bridges the gap between raw artisan knowledge and modern industrial needs, making it a must-read for both budding DIY metalworkers and seasoned fabrication professionals.





