
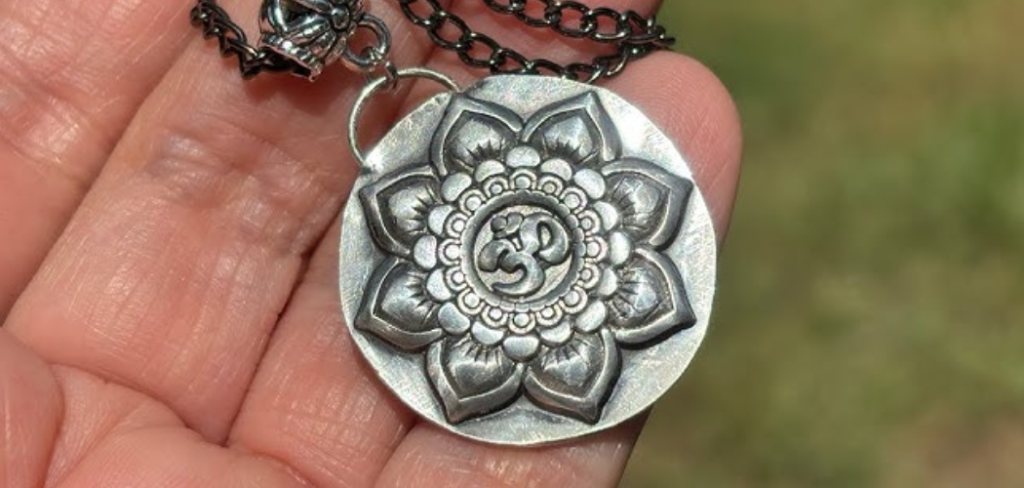
Pewter is a beautiful, soft metal loved by hobbyists and crafters for its silvery shine and easy workability. But that same softness makes it tricky to work with. Pewter melts at a surprisingly low temperature, so one wrong move with a hot iron can turn your delicate piece into a puddle. That is exactly why learning how to solder pewter without melting the base is such a valuable skill. Whether you are repairing an antique figurine, joining jewelry components, or building something new, the right technique keeps your project intact and looking clean.
The good news is that you do not need years of experience to get it right. With the proper tools, a steady hand, and a little patience, anyone can master this craft. This guide breaks the whole process into clear, friendly steps so you feel confident from the very first joint. We will cover the why, the how, and the common questions beginners ask, giving you everything you need to solder safely and successfully.
Why Soldering Pewter Without Melting the Base Matters
Getting this right protects both your materials and your time. Pewter typically melts between 338°F and 446°F, which is far lower than metals like copper or brass. If your iron runs too hot or lingers too long, you risk warping, pitting, or completely melting the workpiece you are trying to join. That means wasted material, frustration, and a project you have to start over.
Mastering proper heat control gives you cleaner joints, stronger bonds, and a more professional finish. It also builds your confidence to tackle more ambitious work, from intricate jewelry to detailed model repairs. When you understand how heat moves through metal, you reduce errors dramatically and enjoy the process far more. In short, good technique turns a fragile material into a forgiving, rewarding one.
Step-by-Step Guide to How to Solder Pewter Without Melting the Base
Step 1: Gather the Right Tools and Materials
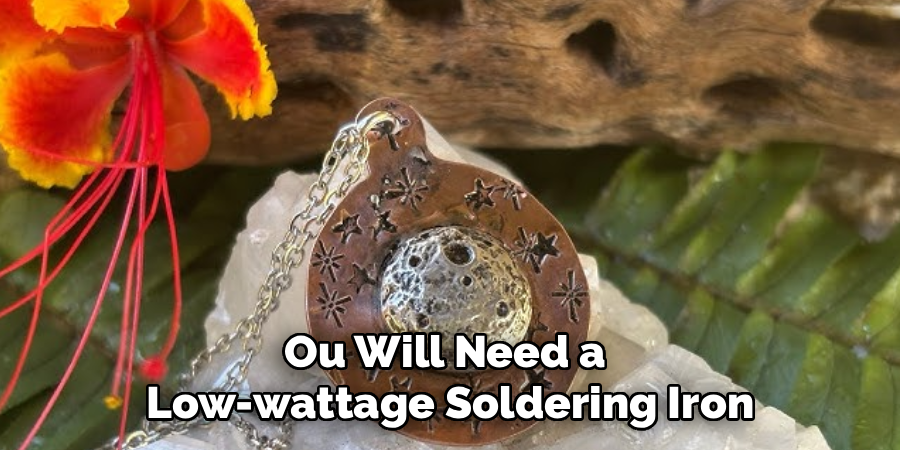
Before you touch any heat, set yourself up for success. You will need a low-wattage soldering iron, ideally one with adjustable temperature control between 25 and 40 watts. Pick up pewter-specific solder, which melts at a lower point than standard electronics solder, along with a matching flux to help the solder flow. Have a damp sponge, a heat-resistant work surface, fine sandpaper, and a pair of tweezers or clamps nearby. Keeping everything within reach means you can work quickly and precisely. Rushing to grab a missing tool mid-solder is one of the most common reasons beginners accidentally overheat their pieces.
Step 2: Clean and Prepare Your Pewter Surfaces
Clean metal is the foundation of every strong joint. Use fine sandpaper or a wire brush to gently scuff the areas you plan to join, removing oxidation, grease, and dirt. Wipe the surfaces with rubbing alcohol and let them dry completely. Dirty pewter resists solder and forces you to apply more heat, which is exactly what you want to avoid. After cleaning, fit the two pieces together to check the alignment. A snug fit means the solder has less gap to fill, so you spend less time with the iron near the surface. Preparation may feel slow, but it saves you from costly mistakes later.
Step 3: Apply Flux to the Joint
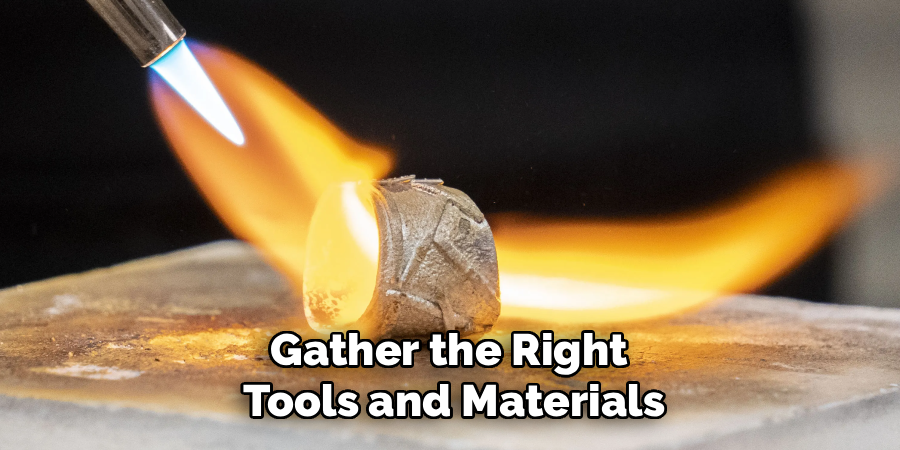
Flux is your best friend when you want to learn how to solder pewter without melting the base. This chemical paste or liquid cleans the metal at a microscopic level and helps molten solder flow smoothly into the joint. Brush a thin, even layer onto the exact spot where you want the two pieces to bond. Avoid slathering on too much, since excess flux can bubble and spatter. Because flux improves the solder’s flow, you can complete the joint faster and with less direct heat. That speed is the secret to protecting your soft pewter from the iron’s high temperature.
Step 4: Set Your Iron to a Low Temperature
Heat control is everything here. Set your adjustable iron to its lowest effective setting, then test it on scrap pewter if you have any. The tip should be hot enough to melt the pewter solder on contact but not so hot that it instantly liquefies the base metal. Tin the tip first by melting a small amount of solder onto it, which improves heat transfer. A well-tinned tip lets you work with brief, gentle contact instead of pressing hard for long seconds. Remember, you are trying to heat the solder, not the entire piece, so finesse beats force every time.
Step 5: Touch, Heat, and Flow the Solder Quickly
Now comes the moment that defines how to solder pewter without melting the base successfully. Touch the iron’s tip to the joint for just a second or two, then feed a small amount of solder into the heated area. The solder should melt and flow into the seam almost instantly thanks to your flux and clean surfaces. Pull the iron away the moment the solder flows. Do not hover or repeatedly poke the joint, since each extra second pushes heat deeper into the base metal. Quick, decisive contact is what separates a clean bond from a melted mess.
Step 6: Cool the Joint Before Moving It
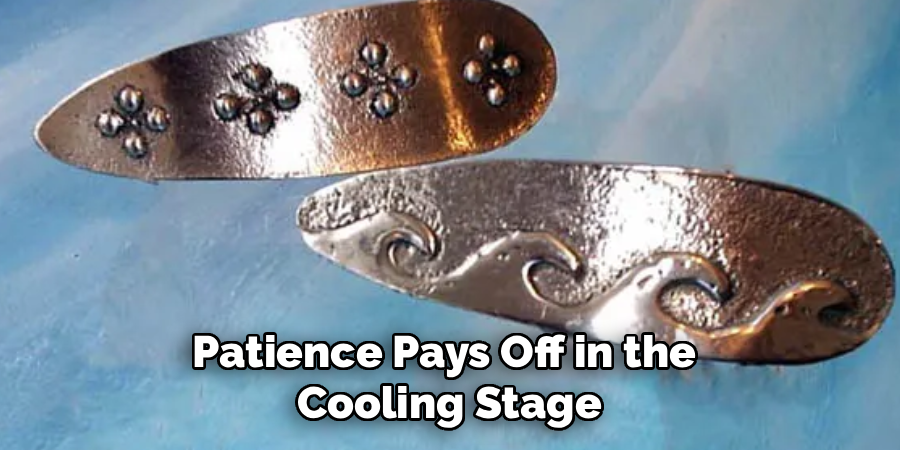
Patience pays off in the cooling stage. Once the solder has flowed, hold the pieces perfectly still and let the joint cool naturally for at least thirty seconds. Moving too soon can crack the connection or leave a weak, grainy bond. Avoid the temptation to speed things up by blowing on it or dunking it in water, as rapid cooling can stress both the solder and the pewter. If you used clamps or tweezers, keep them in place until the metal feels cool to the touch. A calm, steady cool-down gives you a joint that is both strong and visually clean.
Step 7: Inspect, Clean, and Finish
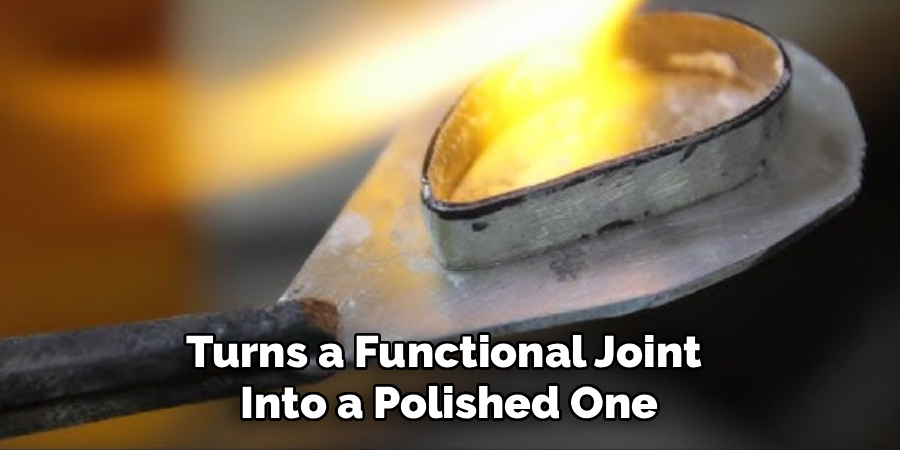
The final step turns a functional joint into a polished one. Look closely at your seam to confirm the solder filled the gap evenly without holes or cold spots. If a section looks weak, you can reapply flux and add a tiny touch of solder using the same quick method. Once you are satisfied, wash away any leftover flux with warm water and mild soap, since residue can corrode pewter over time. Gently buff the area with fine sandpaper or a polishing cloth to blend the joint with the surrounding metal. Now your piece looks intentional, smooth, and ready to show off.
Frequently Asked Questions
What Temperature Should My Soldering Iron Be for Pewter?
Aim for the lowest setting that still melts your pewter solder, usually around 350°F to 400°F. Pewter itself melts near 400°F, so precision matters. An adjustable, low-wattage iron between 25 and 40 watts gives you the control you need. Test on scrap material first if possible, and always favor brief contact over high heat to protect your base piece.
Can I Use Regular Electronics Solder on Pewter?
It is not ideal. Standard electronics solder often melts at a higher temperature than pewter, which raises your risk of melting the base. Instead, use a pewter-specific solder designed to flow at lower temperatures. These specialty solders bond well with the metal and reduce the heat you need to apply, making your whole project safer, cleaner, and far more forgiving for beginners.
Why Does My Pewter Keep Melting Instead of Bonding?
This usually means too much heat or too much time. If your iron runs hot or you hold it on the joint for several seconds, the base metal liquefies before the solder bonds. Lower your iron’s temperature, use proper flux, and touch the joint only briefly. Clean surfaces also help solder flow faster, so you spend less time near that delicate, low-melting metal.
Do I Really Need Flux to Solder Pewter?
Yes, flux makes a noticeable difference. It cleans the metal surface, prevents oxidation during heating, and helps molten solder flow smoothly into the joint. Without flux, solder tends to bead up and resist bonding, forcing you to apply more heat. Since extra heat is your biggest enemy with pewter, a thin layer of the right flux is genuinely worth the small effort.
How Do I Fix a Joint That Did Not Bond Properly?
Start by cleaning the area and adding a fresh, thin layer of flux. Then reheat the joint briefly and feed in a tiny amount of solder using the same quick-contact method. Avoid stacking lots of solder, since that often signals an underlying heat or cleanliness issue. If problems persist, recheck your iron’s temperature and make sure both surfaces are properly scuffed and free of grease.
Conclusion
Working with pewter does not have to feel intimidating, even though the metal melts easily. Once you understand how heat behaves and you respect the importance of speed and cleanliness, the process becomes genuinely enjoyable. The core of how to solder pewter without melting the base comes down to a few reliable habits use a low-temperature iron, prepare your surfaces thoroughly, apply flux, and make brief, confident contact with the joint. Each step builds on the last, and together they protect your work while delivering strong, attractive results.
Now it is your turn to put these techniques into practice. Start with a small, low-pressure project so you can build confidence without risking anything precious. Pay attention to your iron’s temperature, keep your movements quick and deliberate, and let each joint cool fully before handling it. With a little practice, you will soon solder pewter pieces that look clean and professional. Grab your tools, prepare your materials, and enjoy the satisfying craft of bringing soft metal together beautifully.

About
Stuart Rich is a distinguished figure in the world of metalworking and fabrication, with a decade of expertise creating innovative and sustainable metal projects. His professional focus lies in merging traditional blacksmithing and machining with modern manufacturing techniques, fostering designs that are both practical and durable. As the author of Metalenify, Stuart Rich delves into the art and science of metallurgy and DIY metal creation, inspiring artisans, hobbyists, and industry professionals alike.
Education
RMIT University
(Melbourne, Australia)
Associate Degree in Engineering Technology (Mechanical / Manufacturing)
Focus on metallurgical properties, industry-driven projects, and practical metal craftsmanship. Gained hands-on experience with traditional machining and digital manufacturing tools, such as CAD, CNC software, and precision welding equipment.
Nottingham Trent University
(United Kingdom)
Bachelor’s in Product Design and Materials Engineering (Honors)
Specialized in product design with a heavy focus on blending creativity with metal production and fabrication techniques. Participated in real-world industry projects, collaborating with architectural and hardware manufacturing companies to optimize material efficiency.
Publications and Impact
In Metalenify, Stuart Rich shares his insights on structural metal design processes, material grades, and strategies for efficient shop production. His writing bridges the gap between raw artisan knowledge and modern industrial needs, making it a must-read for both budding DIY metalworkers and seasoned fabrication professionals.





