
Working with titanium is exciting, but cleaning it the wrong way can ruin a perfect part in seconds. If you’ve just pulled a freshly cut sheet off your machine, you might notice dark heat marks, oily residue, or stubborn discoloration around the edges. Knowing how to clean laser cut titanium sheets safely keeps your material strong, attractive, and ready for the next stage of your project. This guide walks you through every step in plain language, so you don’t need years of metalworking experience to get great results.
Titanium is prized for its strength, light weight, and resistance to corrosion. That’s why it shows up in aerospace, medical devices, and custom fabrication. But the laser cutting process leaves behind heat-affected zones, oxidation, and contaminants that can weaken your finish if ignored. Cleaning these sheets properly protects both the metal and your hands. Whether you’re a hobbyist or a shop technician, this beginner-friendly walkthrough gives you the confidence to handle titanium like a pro from start to finish.
Why Cleaning Laser Cut Titanium Sheets Safely Matters
Skipping a proper clean isn’t just a cosmetic problem. Leftover residue and oxidation can interfere with welding, bonding, anodizing, or painting later on. A clean surface means stronger joints, better coatings, and a longer-lasting part. You also protect the natural corrosion resistance that makes titanium so valuable in the first place.
Safety matters just as much as quality. Laser cutting can leave sharp burrs and fine metal particles that irritate skin or lungs. Using the right products and protective gear keeps you healthy while you work. On top of that, a careful process reduces costly mistakes and rework. When you treat each sheet with attention, you save time, money, and frustration, and you end up with results you can genuinely trust.
Step-by-Step Guide To How To Clean Laser Cut Titanium Sheets Safely
Step 1: Gather Your Tools and Protective Gear
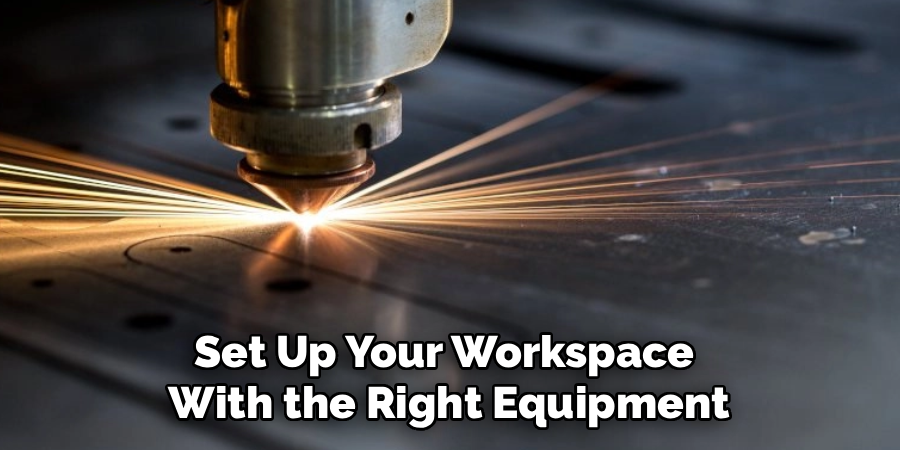
Before you touch anything, set up your workspace with the right equipment. you’ll want nitrile gloves, safety glasses, a dust mask or respirator, lint-free cloths, soft nylon brushes, and a clean, well-ventilated area. avoid steel wool or wire brushes, since loose iron particles can embed in titanium and trigger corrosion later.
Having everything within reach keeps the process smooth and prevents you from touching the sheet with bare hands midway through. fingerprints leave oils that interfere with finishing. organize your cleaning solutions, water source, and drying space ahead of time. a tidy setup is your first defense against contamination, and it makes the entire job faster, safer, and far less stressful for beginners.
Step 2: Inspect the Sheet for Heat Marks and Debris
Take a moment to study the surface under good lighting before applying anything. look closely at the cut edges, where heat marks, oxidation colors, and tiny burrs tend to gather. these blue, purple, or straw-colored bands form in the heat-affected zone and need extra attention.
Run a gloved fingertip near the edges to feel for rough spots, but be gentle to avoid cuts. note any heavy buildup or sticky residue from cutting assist gases or protective films. identifying problem areas early helps you choose the right method for each section. this quick inspection saves you from scrubbing blindly and ensures you target only what actually needs cleaning, protecting the rest of the surface.
Step 3: Remove Loose Particles and Surface Residue
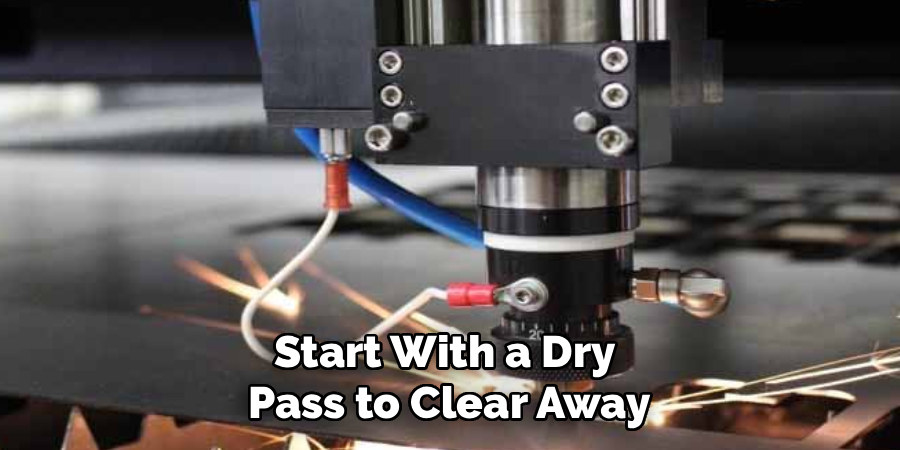
Start with a dry pass to clear away loose dust, metal fines, and debris. use compressed air or a soft brush, sweeping particles away from your body and breathing zone. this prevents grit from scratching the surface once liquids are introduced.
Next, wipe the sheet down with a clean, lint-free cloth to lift remaining surface dust. work in one direction rather than circular motions, which can grind particles into the metal. if a protective plastic film was applied before cutting, peel it back slowly now. learning how to clean laser cut titanium sheets safely begins with this gentle groundwork, because removing loose material first makes every later step more effective and far less abrasive.
Step 4: Apply a Mild Cleaning Solution
Now reach for a gentle cleaner. a mixture of warm water and a mild, pH-neutral detergent works well for general oils and fingerprints. for tougher residue, isopropyl alcohol or acetone on a soft cloth can dissolve stubborn films without harming the titanium underneath.
Apply the solution to your cloth rather than pouring it directly on the sheet, which gives you better control. wipe along the grain in smooth, even strokes, refreshing the cloth as it picks up grime. avoid harsh acids or chlorine-based products, as these can damage the protective oxide layer. patience pays off here, so take your time and let the cleaner do the work instead of scrubbing aggressively at the surface.
Step 5: Tackle Heat Discoloration and Oxidation
Those colorful heat bands near the cuts need a slightly different approach. for light discoloration, a non-abrasive nylon pad with your cleaning solution often does the trick. for heavier oxidation, a titanium-safe pickling paste or a specialized cleaning gel can restore the surface without scratching it.
Always follow the product instructions and test on a small hidden area first. apply the paste carefully, let it sit only as long as recommended, then rinse thoroughly. this is a key part of how to clean laser cut titanium sheets safely, since rushing chemical treatments can etch the metal or leave uneven marks. work patiently, check your progress often, and stop as soon as the discoloration lifts to protect the finish.
Step 6: Rinse Thoroughly With Clean Water
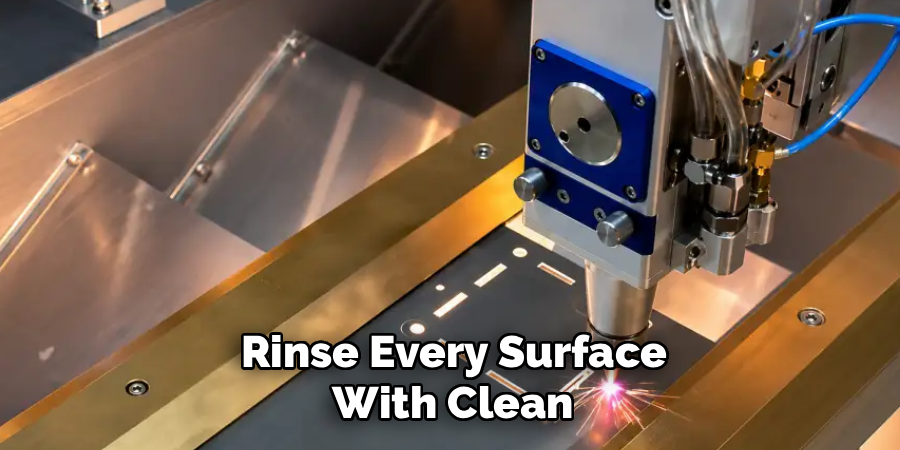
Once the residue and discoloration are gone, rinse every surface with clean, preferably distilled, water. tap water can leave mineral spots that mar an otherwise spotless finish. flush both sides of the sheet to remove all traces of detergent, alcohol, or pickling paste.
Leftover chemicals can continue reacting with the metal if you skip this step, so be generous and thorough. tilt the sheet to let water run off the edges rather than pooling in corners. a complete rinse ensures nothing remains to interfere with future coatings or welding. think of this stage as resetting the surface to a neutral, contaminant-free state that’s ready for safe handling and a clean dry.
Step 7: Dry and Store the Sheet Properly
Drying correctly prevents water spots and renewed contamination. pat the sheet with a fresh lint-free cloth, then let it air dry fully in a clean, dust-free space. for faster results, use filtered compressed air, moving it evenly across the surface.
Once dry, handle the titanium with gloves to avoid transferring oils from your skin. store the sheet flat or upright in a clean, dry location away from steel tools, moisture, and dust. interleaving sheets with acid-free paper adds extra protection. proper storage locks in all your hard work, keeping the metal pristine until you’re ready to fabricate, weld, or finish it for its final purpose with confidence.
Frequently Asked Questions
Can I Use Steel Wool To Clean Titanium Sheets?
No, you should avoid steel wool and wire brushes entirely. They leave behind tiny iron particles that embed in the titanium surface and cause corrosion over time. Instead, choose soft nylon brushes or non-abrasive pads designed for reactive metals. These tools clean effectively without scratching or contaminating the surface, keeping your titanium strong, attractive, and ready for welding, coating, or any other finishing process you have planned.
What Causes The Colorful Marks Near The Cut Edges?
Those rainbow-like bands come from the heat-affected zone created during laser cutting. As the metal heats and cools, a thin oxide layer forms, producing straw, blue, and purple colors. While they look striking, they can interfere with coatings or welds. Gentle cleaning with titanium-safe products usually removes them. For structural parts, addressing this oxidation ensures stronger bonds and a more reliable, professional final result.
Is It Safe To Use Acetone On Titanium?
Yes, acetone is generally safe and effective for removing oils, adhesives, and stubborn residue from titanium. Apply it to a lint-free cloth rather than pouring it directly, and always work in a well-ventilated area away from open flames. Acetone evaporates quickly and won’t damage the titanium’s protective oxide layer. Just wear gloves and eye protection, since the solvent can irritate skin and eyes with prolonged contact.
How Often Should I Clean Laser Cut Titanium?
Clean each sheet right after cutting, before residue and oxidation have time to settle. If you’re storing sheets for a while, inspect them periodically and wipe away any dust or fingerprints that accumulate. A quick clean before welding, anodizing, or coating is also smart, since a fresh, contaminant-free surface guarantees better adhesion. Regular, gentle maintenance is far easier than tackling heavy buildup later on.
Do I Really Need A Respirator For This Task?
For most light wiping, safety glasses and gloves are enough. However, when you’re blowing off dry metal particles or working with solvents like acetone, a respirator or proper dust mask is strongly recommended. Fine titanium dust and chemical fumes can irritate your lungs over time. Good ventilation paired with the right mask keeps you healthy and lets you focus on quality work without worry.
Conclusion
Cleaning titanium doesn’t have to feel intimidating, even if you’re just starting out. By gathering the right gear, inspecting each sheet, removing loose debris, applying gentle cleaners, addressing heat marks, rinsing thoroughly, and storing your material properly, you set yourself up for consistently excellent results. Each step builds on the last, protecting both the metal’s strength and your own safety along the way.
Now that you understand how to clean laser cut titanium sheets safely, you can approach every project with confidence and care. Take what you’ve learned here and put it into practice on your next sheet. With a little patience and the right techniques, you’ll keep your titanium pristine, your finishes flawless, and your fabrication work ready for whatever comes next. Grab your gloves and give it a try today.

About
Stuart Rich is a distinguished figure in the world of metalworking and fabrication, with a decade of expertise creating innovative and sustainable metal projects. His professional focus lies in merging traditional blacksmithing and machining with modern manufacturing techniques, fostering designs that are both practical and durable. As the author of Metalenify, Stuart Rich delves into the art and science of metallurgy and DIY metal creation, inspiring artisans, hobbyists, and industry professionals alike.
Education
RMIT University
(Melbourne, Australia)
Associate Degree in Engineering Technology (Mechanical / Manufacturing)
Focus on metallurgical properties, industry-driven projects, and practical metal craftsmanship. Gained hands-on experience with traditional machining and digital manufacturing tools, such as CAD, CNC software, and precision welding equipment.
Nottingham Trent University
(United Kingdom)
Bachelor’s in Product Design and Materials Engineering (Honors)
Specialized in product design with a heavy focus on blending creativity with metal production and fabrication techniques. Participated in real-world industry projects, collaborating with architectural and hardware manufacturing companies to optimize material efficiency.
Publications and Impact
In Metalenify, Stuart Rich shares his insights on structural metal design processes, material grades, and strategies for efficient shop production. His writing bridges the gap between raw artisan knowledge and modern industrial needs, making it a must-read for both budding DIY metalworkers and seasoned fabrication professionals.





