
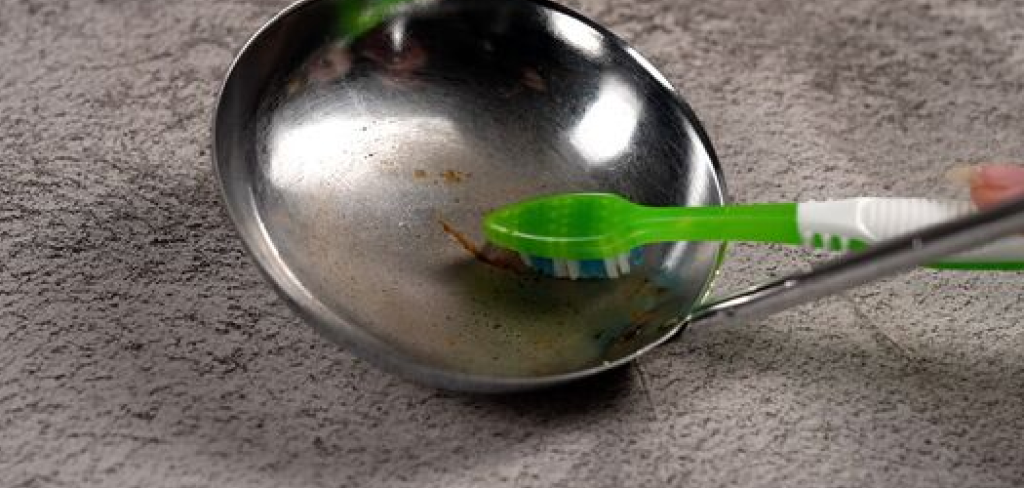
Factory-fresh steel has a certain coldness to it. That bright, uniform shine looks clean, sure, but it rarely suits a rustic shelf bracket, a piece of handmade jewelry, or a prop meant to look like it survived a century in someone’s attic. Plenty of makers want the opposite of new.
That’s where deliberate aging comes in. Artists, jewelry makers, and DIY decorators often reach for a weathered, antique finish on purpose, and learning how to tarnish steel turns out to be a fairly controlled, repeatable process once you grasp the chemistry behind it.
This guide covers why steel tarnishes in the first place, the safest methods to speed things up, the supplies you’ll want, a clear step-by-step process, and how to lock in the look once you’ve got it. It reads like a chemistry experiment at first. In practice, it’s closer to a craft.
What Tarnishing Steel Actually Means
Before mixing anything, it helps to be clear on terms. People use “tarnish,” “patina,” and “rust” almost interchangeably, but they aren’t quite the same thing.
Tarnish Versus Patina Versus Rust
Tarnish is a thin surface discoloration, usually a dulling or darkening, that forms as the metal reacts with its surroundings. It sits shallow and tends to look uniform.
Patina is a broader term for an aged surface layer, often prized for its color and character on metals like copper and bronze. Rust, by contrast, is iron oxide, and it’s destructive. It flakes, spreads, and eats into the metal over time. The aim here is usually a stable, attractive tarnish or patina, not active rust that keeps gnawing away.
The Chemistry Behind the Color Change
The color shift comes down to oxidation. When steel meets oxygen, moisture, or an acid, a reaction at the surface changes how light bounces off it.
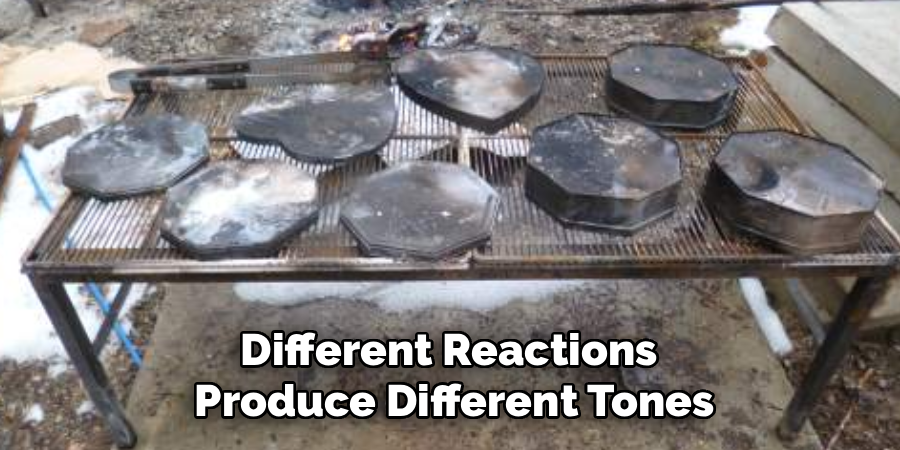
Different reactions produce different tones. A mild acid and salt mix may darken steel evenly, while heat can coax out blues and purples. None of this is magic, just predictable surface chemistry you can nudge in the direction you want.
Why People Tarnish Steel on Purpose
The reasons tend to be aesthetic. A tarnished finish reads as old, handmade, or industrial, which suits everything from costume props to rustic hardware.
Jewelry makers often darken steel to add depth, letting raised details catch the light against a shadowed background. Decorators use it to make new pieces blend with vintage surroundings. Whatever the project, the goal is a character that fresh steel simply doesn’t have.
Choosing Your Tarnishing Method
No single method is best for every job. Your timeline, the look you’re chasing, and how comfortable you are around chemicals all factor in.
Vinegar and Salt Method
This is the gentle, kitchen-cupboard approach. White vinegar and salt create a mild reaction that darkens steel fairly evenly without much fuss.
It’s slow compared to stronger options, but it’s also forgiving. For a subtle aged tone, this is a reasonable place to start.
Hydrogen Peroxide and Acid Soak
Adding hydrogen peroxide to the mix speeds oxidation considerably. Combined with vinegar and salt, it can produce deeper, darker tones in a fraction of the time.
The tradeoff is control. Faster reactions can get away from you, so this method rewards a bit of attention. You’ll want to watch it rather than walk away.
Heat Tarnishing With a Torch
Heat takes a different path entirely. Applying controlled flame to steel produces colorful oxide layers, shifting from straw yellow through blue and into purple as the temperature climbs.
It’s striking when it works, though it demands more caution and a steadier hand. This route suits someone after vivid color rather than a uniform dark finish.
Comparing Speed, Color, and Safety
Roughly speaking, vinegar and salt are slow, safe, and subtle. The peroxide soak is faster and darker but needs closer watching. Heat tarnishing offers the most dramatic color at the cost of higher risk and a learning curve.
If you’re unsure, the vinegar and peroxide approach tends to balance speed and control well. You can always experiment with heat once you’ve got a feel for the basics.
Tools and Materials You Will Need
Most of what you need is inexpensive, and you may already own a fair amount of it. Gathering everything first keeps you from scrambling mid-reaction.
Common Household Chemicals
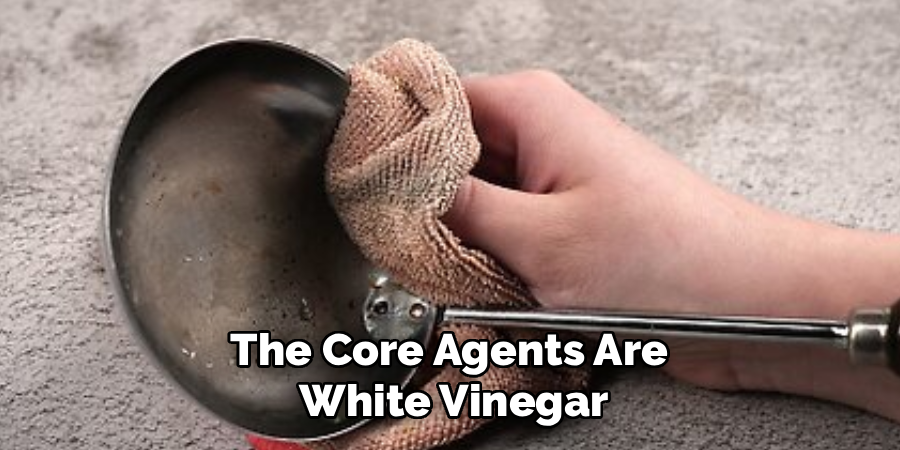
The core agents are white vinegar, table salt, and hydrogen peroxide. Together, they drive the most common chemical tarnishing methods.
Some people add a little ammonia for certain effects, though it’s optional and calls for extra ventilation. For most projects, the vinegar, salt, and peroxide trio does the heavy lifting.
Application and Soaking Supplies
How you apply the solution depends on the piece. Spray bottles work well for large or oddly shaped items, while a plastic container lets you fully submerge smaller pieces.
Keep a few brushes and rags on hand, too. They’re useful for spot-treating areas or spreading solution into recesses where a spray might miss.
Safety and Cleanup Gear
Don’t treat this part as optional. Gloves and eye protection are basic essentials, and a ventilated workspace matters whenever these solutions are in play.
Keep baking soda nearby as well. It neutralizes the acidic reaction, which makes both cleanup and disposal safer and more responsible.
Preparing Your Steel Before Tarnishing
Good prep is where an even finish is actually won. Skip it, and the tarnish tends to show every fingerprint and oily patch you left behind.
Cleaning Off Oils and Coatings
Start by washing the steel with soap and water, then wipe it down with a degreaser or rubbing alcohol. Oils and residue create resist spots where the solution can’t react properly.
A genuinely clean surface tarnishes uniformly. This step is dull, admittedly, but it sets up everything that follows.
Removing Protective Layers
Many steel items come with a clear coat, oil, or paint meant to prevent exactly the reaction you’re trying to create. Those layers have to go.
Sanding or stripping removes them. If your solution beads up or simply won’t take, an unseen protective coating is often the reason.
Roughing the Surface for Faster Results
Lightly scuffing the steel with fine sandpaper opens up the surface a little. This gives the solution more grip and can speed up the reaction noticeably.
You’re not trying to scratch deep grooves, just break the smooth finish. A gentle pass usually does it.
How to Tarnish Steel: Step-by-Step Guide
This walkthrough uses the vinegar, salt, and peroxide method, since it balances speed with control. The main thing to keep in mind is that working in stages gives the most even, controllable finish. Patience beats force here, nearly every time.
Step 1: Clean and Degrease the Steel
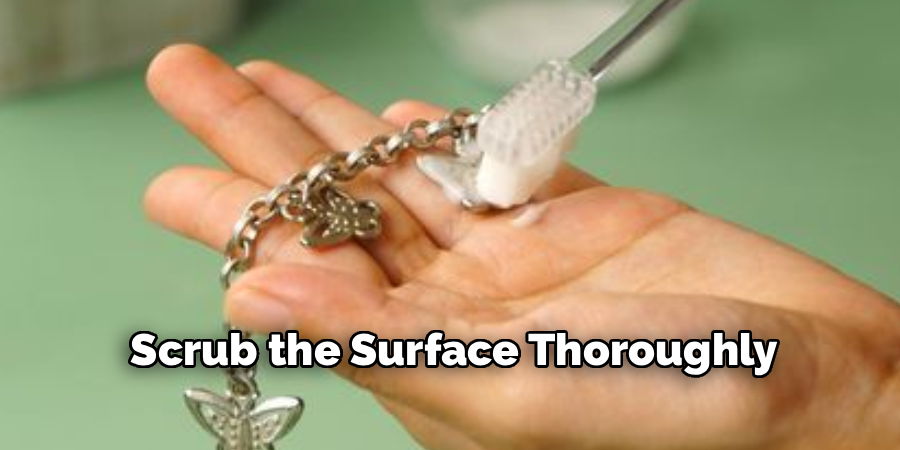
Scrub the surface thoroughly, then wipe it with alcohol and let it dry. Nothing should remain that could block the reaction or leave a blotchy spot.
This repeats the prep stage on purpose. A clean start genuinely matters that much.
Step 2: Scuff the Surface Lightly
Run fine-grit sandpaper over the steel to open the surface. This helps the solution react faster and more evenly across the whole piece.
Keep the pressure light. You want a slightly roughened face, not visible scratches that may show through the finish.
Step 3: Mix Your Tarnishing Solution
In a non-metal container, combine vinegar, a generous pinch of salt, and hydrogen peroxide. The salt accelerates the reaction while the peroxide pushes oxidation along.
Stir until the salt dissolves. A glass or plastic vessel is important here, since a metal one would react with the mix itself.
Step 4: Apply or Submerge the Steel
Now coat the steel. Small pieces can soak fully in the container, while larger ones may be easier to spray or brush.
Whichever you choose, aim for even coverage. Patchy application leads to patchy results, so make sure the solution reaches every surface you want aged.
Step 5: Let the Reaction Develop
Watch the color shift. Depending on your mix and the steel, changes can appear within minutes or take an hour or more.
Don’t rush it. If the tone looks too light, you can reapply for a stronger effect, building the color gradually rather than overshooting.
Step 6: Check and Build the Finish
Inspect the piece as it darkens. If you want more depth, layer on an additional solution and let it react again.
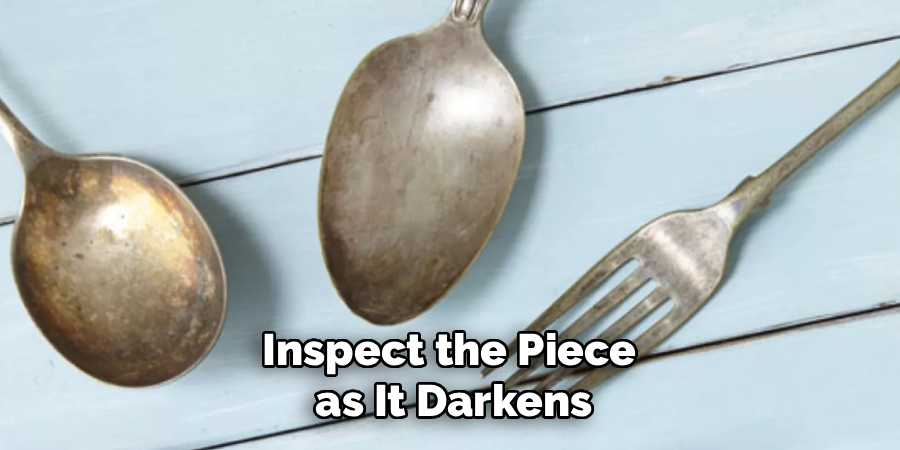
This is where staging pays off. Several light applications give you far more control over the final shade than one heavy, impatient soak.
Step 7: Neutralize and Rinse
Once you’re happy with the look, stop the reaction. Rinse the steel with water, then wipe it with a baking soda solution to neutralize any lingering acid.
This step is easy to skip and easy to regret. Without it, the reaction keeps going quietly, which can turn your controlled tarnish into creeping rust.
Step 8: Dry the Steel Completely
Finally, pat the piece dry and let it air out fully. Trapped moisture is the enemy at this stage, since it invites uneven spots or unwanted rust.
Make sure recesses and seams dry too. A little extra time here protects all the work you just did.
Using Heat to Tarnish Steel
Heat offers a completely different aesthetic from the chemical route. Instead of a uniform dark finish, you get vivid oxide colors that can look almost iridescent.
Setting Up a Safe Heat Station
This method needs more care than the others. Work on a fireproof surface, ensure good ventilation, and clear away anything flammable before you light a torch.
Treat the setup as seriously as the technique. Open flame and a cluttered bench don’t mix.
Heating for Color Control
As steel heats, it passes through a sequence of colors, moving from straw yellow to brown, then blue and purple as it gets hotter. Slow, even heating gives you the chance to stop at the shade you want.
Keep the torch moving rather than dwelling on one spot. The color band can shift quickly, so a steady, sweeping motion helps you hold an even tone.
Cooling to Lock the Color
Timing the cool-down matters. Pulling the heat away at the right moment can preserve the color you’ve reached.
Some makers air cool for a gentler result, while a quench may lock things faster. Either way, once the steel cools, the oxide color tends to set in place.
Sealing and Protecting the Tarnished Finish
A tarnished finish isn’t permanent on its own. Without protection, it may continue reacting, dull over time, or rub off with handling. Sealing keeps the look stable.
Choosing a Clear Sealant
Several options work, depending on the piece and the look you’re after. Wax gives a soft, low-sheen finish, lacquer offers a harder shell, and a clear coat sits somewhere in between.
Match the sealant to the item’s use. Something handled often or exposed to weather benefits from a more durable coating than a decorative shelf piece does.
Applying an Even Protective Layer
Whatever you choose, thin and consistent coats work best. They preserve the tarnish without trapping moisture underneath, which would otherwise undo your effort.
Build the protection gradually if needed. A couple of light layers tend to outperform one thick, uneven coat that may cloud the finish.
Maintaining the Look Long Term
Even sealed, a tarnished piece appreciates a little care. Gentle cleaning, avoiding abrasive scrubbing, keeps the surface intact.
Reapply the sealant periodically, especially on items that see regular handling. A quick maintenance habit helps the finish last for years rather than months.
Common Mistakes to Avoid
Most disappointing results trace back to a handful of predictable errors. Knowing them ahead of time saves a lot of redo work.
Skipping the Cleaning Step
It comes up again because it causes so many problems. Oils and residue create resist spots, leaving the tarnish blotchy and uneven.
A few minutes of cleaning prevent hours of frustration. Don’t talk yourself out of it.
Letting Reactions Run Too Long
There’s a temptation to leave the solution on for a deep, dramatic finish. Push it too far, though, and controlled tarnish can tip over into active rust.
Check progress in stages instead. Stopping at the right moment is what separates an aged look from a corroded one.
Forgetting to Neutralize
This one quietly ruins otherwise good work. Leftover acid keeps reacting after you think you’ve finished, slowly eating into the metal.
A baking soda rinse stops the process cold. Treat it as a required step, not an afterthought.
Safety Tips for Tarnishing at Home
None of this is especially dangerous when handled sensibly. A casual attitude, though, can cause real trouble, so a few habits are worth keeping.
Working in a Ventilated Space
Vinegar, peroxide, and especially ammonia can give off fumes. Open a window, run a fan, or work outside so you’re not breathing concentrated vapor.
Good airflow costs nothing. It’s one of the easiest precautions to get right.
Handling Chemicals Safely
Wear gloves and goggles whenever solutions are involved. And never mix incompatible chemicals on a hunch, since some combinations produce harmful gases.
Stick to known recipes. Improvising with chemistry you don’t understand is where accidents tend to happen.
Disposing of Solutions Responsibly
Used solution isn’t something to tip carelessly down the drain. Neutralize it with baking soda first, then follow your local disposal guidelines.
This protects both your plumbing and the wider environment. A small amount of care here goes a long way.
Frequently Asked Questions
A few questions come up regularly. Here are short, honest answers.
How Long Does It Take to Tarnish Steel?
It depends heavily on the method. Chemical tarnishing can show results in minutes with a peroxide mix, while a gentle vinegar soak may take an hour or more.
Heat tarnishing is faster still, producing color almost immediately. Building a deep, even finish generally rewards patience over speed.
Is Tarnished Steel the Same as Rusted Steel?
No, and the distinction matters. Tarnish is a relatively stable surface discoloration, while rust is active corrosion that flakes and spreads, damaging the metal over time.
The goal is a controlled, stable finish. That’s exactly why neutralizing and sealing are so important, since they keep tarnish from sliding into rust.
Can You Reverse Tarnish if You Change Your Mind?
In most cases, yes. Because tarnish sits at the surface, sanding and polishing can usually take the steel back to its original shine.
It takes some elbow grease, depending on how dark you went. But a tarnished finish is far more reversible than people often assume.
Conclusion
Once the chemistry clicks, learning how to tarnish steel becomes less of an experiment and more of a reliable craft. Know the difference between tarnish and rust, gather your supplies, prep the surface well, follow the step-by-step process, and seal the finish to keep it stable.
Patience and basic safety produce the most even, professional-looking results. Rushing tends to show, and skipping the neutralizing step tends to come back to haunt you.
So start small. A scrap piece or an unimportant bracket lets you test your mix and timing without much risk. From there, experiment with different solutions and a touch of heat for new colors, and when you land on a finish you love, share it with a friend or post it online. Your first convincingly aged piece is closer than you’d think.

About
Stuart Rich is a distinguished figure in the world of metalworking and fabrication, with a decade of expertise creating innovative and sustainable metal projects. His professional focus lies in merging traditional blacksmithing and machining with modern manufacturing techniques, fostering designs that are both practical and durable. As the author of Metalenify, Stuart Rich delves into the art and science of metallurgy and DIY metal creation, inspiring artisans, hobbyists, and industry professionals alike.
Education
RMIT University
(Melbourne, Australia)
Associate Degree in Engineering Technology (Mechanical / Manufacturing)
Focus on metallurgical properties, industry-driven projects, and practical metal craftsmanship. Gained hands-on experience with traditional machining and digital manufacturing tools, such as CAD, CNC software, and precision welding equipment.
Nottingham Trent University
(United Kingdom)
Bachelor’s in Product Design and Materials Engineering (Honors)
Specialized in product design with a heavy focus on blending creativity with metal production and fabrication techniques. Participated in real-world industry projects, collaborating with architectural and hardware manufacturing companies to optimize material efficiency.
Publications and Impact
In Metalenify, Stuart Rich shares his insights on structural metal design processes, material grades, and strategies for efficient shop production. His writing bridges the gap between raw artisan knowledge and modern industrial needs, making it a must-read for both budding DIY metalworkers and seasoned fabrication professionals.





