Ever wondered how a plain iron nail can suddenly pick up paper clips? Magnetising metal sounds like a science-lab trick, but you can do it at home with simple tools. The process is easy once you understand the basics, and it teaches you a lot about how magnetism actually works.
In this guide on how to magnetise a metal, you’ll learn what magnetising metal really means, why people do it, and the exact tools you need. We’ll walk through 10 clear steps using two popular methods: stroking with a magnet and using electricity with a coil. You’ll also get safety tips, common mistakes to dodge, and answers to the questions beginners ask most.
Let’s get started.
What Are the Benefits of Magnetising Metal?
Magnetising metal isn’t just a fun experiment. It has real, practical uses around the home, in workshops, and in classrooms. Here’s why it’s worth learning.
- Handy Tools: A magnetised screwdriver holds screws in place, which makes repairs far easier in tight spots.
- Quick Fixes: You can magnetise a needle to make a simple compass when you’re outdoors or learning navigation.
- Great for Learning: It’s one of the best ways to teach kids and students how magnetism works through hands-on practice.
- Low Cost: You don’t need expensive gear. Most projects use items you already own.
- Reusable Skill: Once you understand the method, you can magnetise many tools and remagnetise them whenever they lose strength.
In short, the process saves time, builds knowledge, and makes everyday tasks smoother.
What Will You Need?
Before you begin, gather your supplies. The exact list depends on which method you choose, so I’ve split it into two groups.
For the Stroking Method:
- A strong permanent magnet (a neodymium or bar magnet works well)
- A piece of ferromagnetic metal, such as a steel nail, needle, or screwdriver
- A few small steel objects for testing, like paper clips or pins
For the Electrical (Coil) Method:
- A length of thin insulated copper wire (about 1 to 2 meters)
- A steel nail or iron rod to act as the core
- A battery (a 1.5V AA or a 9V battery)
- Electrical tape
- Wire strippers or scissors
General Ltems:
- Safety glasses
- A clean, flat work surface
A quick note on materials: not every metal can be magnetised. Stick to ferromagnetic metals like iron, steel, cobalt, and nickel. Aluminum, copper, and gold will not hold magnetism.
10 Easy Steps on How to Magnetise a Metal
Follow these steps in order. The first half covers the stroking method, and the later steps cover the electrical method so you can pick whichever suits you.
Step 1: Choose the Right Metal
Start by picking a metal that can actually be magnetised. Iron and steel are your best bets. Test a few objects with your permanent magnet first. If the magnet sticks to the metal, it will hold a charge. If it doesn’t stick, set that item aside and try another.
Step 2: Clean and Prepare the Surface
Dirt, oil, and rust weaken the magnetising process. Wipe your metal object with a clean cloth, and remove any grime. A smooth, clean surface lets the magnetic field transfer more effectively, giving you a stronger result. If there is rust, use a wire brush to remove it before proceeding.
Step 3: Position Your Permanent Magnet
Hold your strong permanent magnet firmly in one hand and the metal object in the other. Place the magnet at one end of the metal. Make sure you know which pole you’re using, because you’ll need to stay consistent throughout the next step. Try to get the magnet as close as possible to the metal without touching it, but make sure you can still see a visible gap between them. This is important because if they touch, their magnetic fields will interact and affect your results.
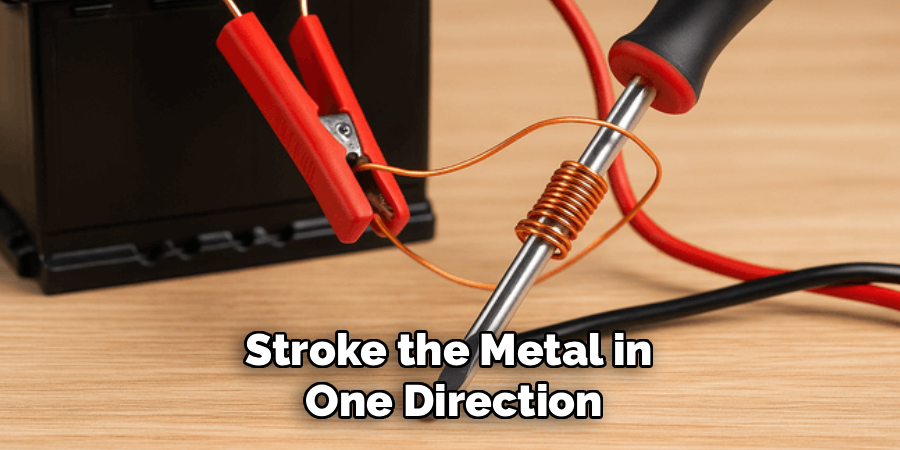
Step 4: Stroke the Metal in One Direction

Drag the magnet along the metal from one end to the other in a single, smooth motion. This is the key part. Always stroke in the same direction every time. Lift the magnet away at the end, return to the starting point, and repeat. Never rub it back and forth. Remember, consistency is key to achieving accurate results.
Step 5: Repeat the Stroking Process
Repeat the same one-way stroke 30 to 50 times. Each pass nudges the metal’s internal particles, called domains, to line up in the same direction. The more aligned they become, the stronger your magnet gets. Patience here pays off.
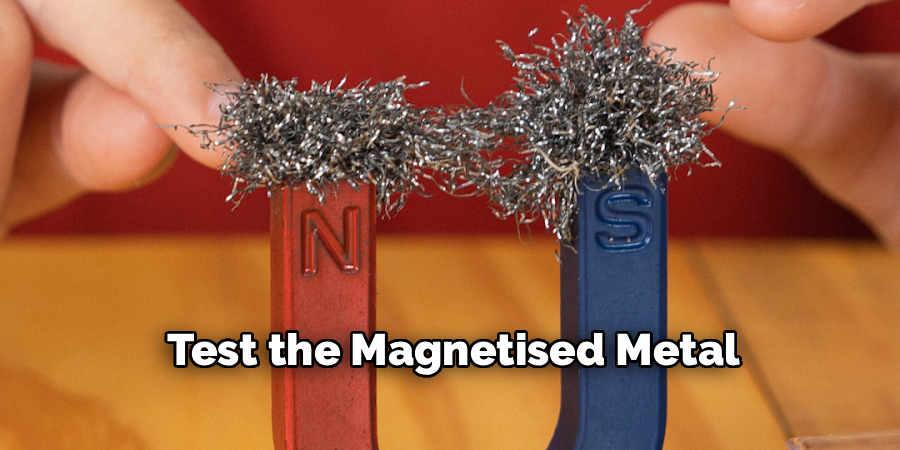
Step 6: Test the Magnetised Metal
Now check your work. Bring the metal close to a few paper clips or pins. If they cling to it, congratulations, you’ve magnetised the metal. If the pull is weak, simply repeat the stroking process for another round of passes.
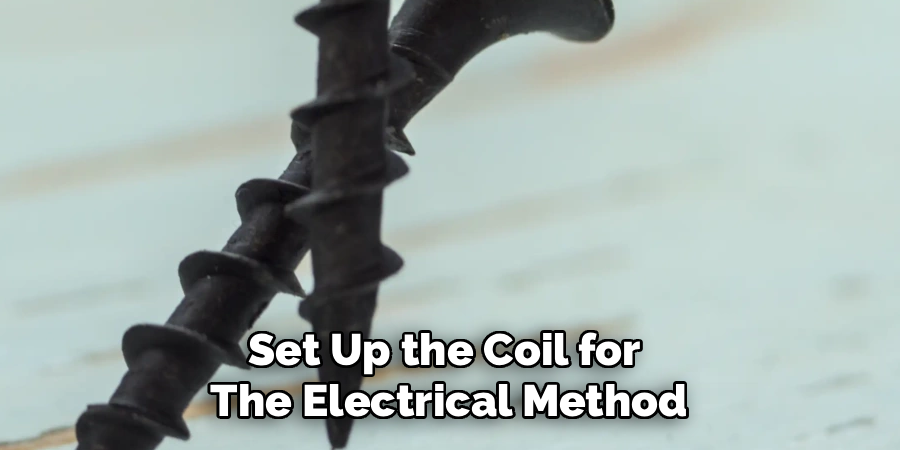
Step 7: Set Up the Coil for the Electrical Method
If you want a stronger magnet, try the electrical route. Take your insulated copper wire and wrap it tightly around the steel nail. Make neat, even coils along the length of the nail, leaving a few inches of wire free at each end. The more loops you add, the stronger the field.
Step 8: Strip and Connect the Wire to the Battery
Strip about half an inch of insulation from both free ends of the wire. Connect one end to the positive terminal of your battery and the other end to the negative terminal. Use electrical tape to hold the connections in place. This sends current through the coil and creates a magnetic field around the nail.
Step 9: Hold the Connection Briefly
Keep the wires connected for only a short time, around 10 to 30 seconds. The current flowing through the coil magnetises the steel core inside it. Watch the battery and wire closely. If they feel warm, disconnect right away to stay safe.
Step 10: Disconnect and Test Again
Remove the wires from the battery. The steel nail should now hold a magnetic charge. Test it the same way as before, by picking up small steel objects. An electromagnet-charged core often holds a stronger magnetism than the stroked version, so compare the two if you tried both.
By following these steps, you have successfully created your own electromagnet! You can use this knowledge to create more powerful electromagnets or even apply it to other projects.
5 Things You Should Avoid
Even simple projects have pitfalls. Steer clear of these common mistakes to get better, safer results.
- Stroking back and forth. Moving the magnet in both directions cancels out the alignment you’re building. Always stroke one way only.
- Using the wrong metal. Aluminum, copper, and brass won’t hold magnetism. Test with your magnet first to avoid wasted effort.
- Leaving the battery connected too long. A coil left hooked up can overheat the wire and drain or damage the battery. Keep connections short and watch for heat.
- Skipping safety glasses. Wires can snap, and small metal pieces can fly. Protect your eyes, especially when kids are involved.
- Expecting permanent strength. Magnetised metal can weaken over time, especially if it’s dropped or heated. Don’t assume it lasts forever, and be ready to remagnetise it.
Frequently Asked Questions
How Long Does a Magnetised Metal Stay Magnetic?
It depends on the metal and method you use. Soft iron tends to lose its magnetism quickly, while hardened steel holds it much longer. Dropping the object, heating it, or storing it near other magnets can speed up the loss. To keep it strong, store it carefully and remagnetise it whenever the pull feels weak.
- Can I Magnetise Any Metal at Home?
No, only ferromagnetic metals like iron, steel, cobalt, and nickel can be magnetised. Metals such as aluminum, copper, gold, and brass will not respond to a magnet at all. A quick test is to touch the metal with a permanent magnet. If it sticks, you can magnetise it. If it doesn’t stick, no method will work on it. - Is Magnetising Metal With a Battery Safe?
Yes, it’s safe when you follow basic precautions. Use a low-voltage battery, keep the connection brief, and disconnect if the wire gets warm. Always wear safety glasses and work on a clean surface. Keep young children supervised, and never leave the coil connected and unattended, since overheating is the main risk to avoid.
Conclusion
Magnetising metal is a simple, rewarding skill you can learn in an afternoon. You now know the two main methods: stroking with a permanent magnet for quick results, and using a coil and battery for a stronger charge. The secret to both is consistency, whether that means stroking in one direction or wrapping a neat, tight coil.
Remember the essentials: start with the right ferromagnetic metal, clean it first, and always test your results with small steel objects. Keep safety in mind by wearing glasses and limiting how long you leave the battery connected. And don’t be discouraged if the magnetism fades over time, because you can always repeat the process.
Hopefully, this guide on how to magnetise a metal has given you a better understanding of how to make your own electromagnets. But, the use of electromagnets is not limited to just science experiments and DIY projects.
About
Stuart Rich is a distinguished figure in the world of metalworking and fabrication, with a decade of expertise creating innovative and sustainable metal projects. His professional focus lies in merging traditional blacksmithing and machining with modern manufacturing techniques, fostering designs that are both practical and durable. As the author of Metalenify, Stuart Rich delves into the art and science of metallurgy and DIY metal creation, inspiring artisans, hobbyists, and industry professionals alike.
Education
RMIT University
(Melbourne, Australia)
Associate Degree in Engineering Technology (Mechanical / Manufacturing)
Focus on metallurgical properties, industry-driven projects, and practical metal craftsmanship. Gained hands-on experience with traditional machining and digital manufacturing tools, such as CAD, CNC software, and precision welding equipment.
Nottingham Trent University
(United Kingdom)
Bachelor’s in Product Design and Materials Engineering (Honors)
Specialized in product design with a heavy focus on blending creativity with metal production and fabrication techniques. Participated in real-world industry projects, collaborating with architectural and hardware manufacturing companies to optimize material efficiency.
Publications and Impact
In Metalenify, Stuart Rich shares his insights on structural metal design processes, material grades, and strategies for efficient shop production. His writing bridges the gap between raw artisan knowledge and modern industrial needs, making it a must-read for both budding DIY metalworkers and seasoned fabrication professionals.


