Metals are everywhere. They make up the tools in your garage, the coins in your pocket, the pipes in your walls, and the jewelry on your hands. But not all metals are the same. Some rust while others resist corrosion. Some stick to magnets, and others don’t. Some are worth a fortune, while others are common and cheap.
Learning to tell metals apart is a handy skill. Whether you’re sorting scrap, restoring an old item, working on a DIY project, or just curious, knowing how to identify a metal can save you time and money. The good news? You don’t need a science lab to get started. With a few simple tools and some basic know-how, you can figure out what you’re holding.
This guide on how to identify different metals walks you through everything step by step.
What are the Benefits?
Knowing how to identify metals brings real, practical rewards. Here’s why this skill matters.
- Save money when buying or selling scrap. Scrap yards pay different rates for different metals. Copper and brass fetch more than steel. If you can sort your materials correctly, you’ll get a fair price instead of mixing valuable metals into the cheap pile.
- Choose the right material for projects. Some metals resist rust, while others bend easily or conduct heat well. Picking the correct metal means your project lasts longer and works better.
- Avoid safety risks. Certain metals react badly to heat, chemicals, or moisture. Knowing what you’re working with helps you handle it safely.
- Restore items the right way. When fixing antiques or old hardware, using a matching metal keeps the piece authentic and strong.
- Build a useful life skill. Once you learn the basics, you’ll spot metals quickly in everyday life. It’s a skill that pays off again and again.
In short, a little knowledge goes a long way. You’ll waste less, earn more, and make smarter choices.
What Will You Need?
You don’t need fancy gear to start identifying metals. Most of these items are cheap and easy to find. Gather these tools before you begin:
- A strong magnet. A simple fridge magnet works, but a stronger neodymium magnet gives clearer results.
- A file or sandpaper. Useful for cleaning a small spot to see the metal’s true color.
- A clean cloth. For wiping away dirt, grease, and dust.
- A bright light or flashlight. Good lighting helps you judge color and shine.
- Safety gloves and goggles. Protect your hands and eyes, especially during scratch or spark tests.
- A bench grinder (optional). For the spark test, which reveals a lot about steel and iron.
- A few drops of vinegar or lemon juice. Simple acids can show how a metal reacts.
- A small scale (optional). Helps you compare weight and density.
- A notebook. Jot down your findings so you can compare and learn.
Once you’ve got your supplies ready, you’re set to start testing.
10 Easy Steps on How to Identify Different Metals
Follow these ten steps in order. Each one reveals a different clue. Together, they build a clear picture of what metal you have.
Step 1: Look at the Color
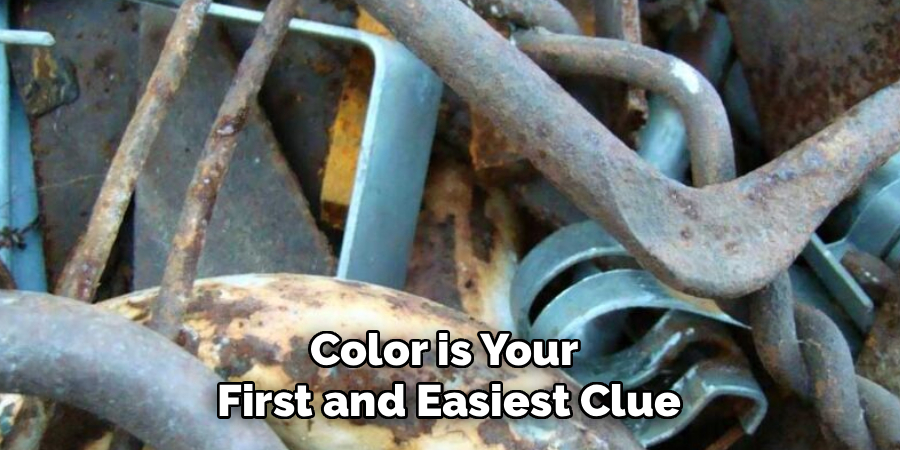
Color is your first and easiest clue. Clean a small spot with sandpaper to see the true shade.
- Reddish-brown usually means copper.
- Yellow or gold points to brass or bronze.
- Silvery-gray suggests steel, aluminum, or nickel.
- Dull gray often means lead or zinc.
Color alone won’t give you a final answer, but it narrows things down fast.
Step 2: Test with a Magnet
Grab your magnet and hold it near the metal. This simple test splits metals into two groups.
- Magnetic metals include iron, steel, and some stainless steels. The magnet sticks firmly.
- Non-magnetic metals include aluminum, copper, brass, gold, and most stainless steel. The magnet won’t grab on.
If your metal sticks, you’re likely dealing with iron or steel. If it doesn’t, move on to the next tests.
Step 3: Check the Weight
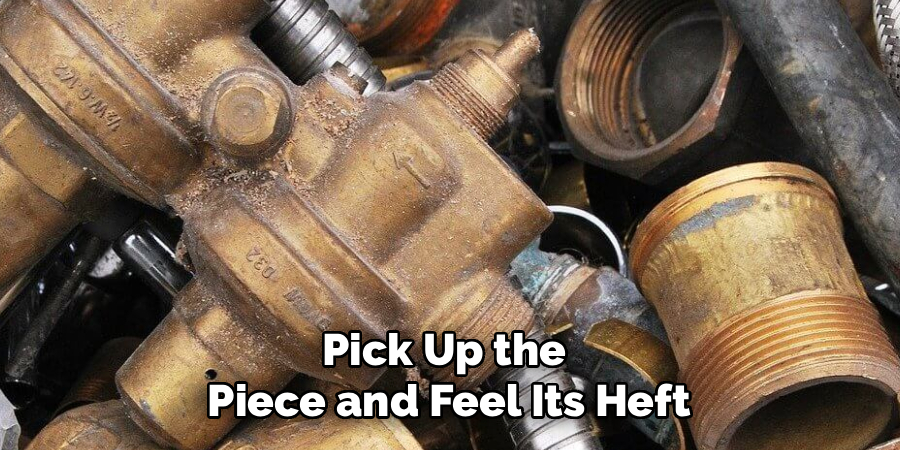
Pick up the piece and feel its heft. Density tells you a lot.
- Aluminum feels surprisingly light for its size.
- Lead feels heavy and dense.
- Steel and copper sit somewhere in the middle.
Compare two similar-sized pieces to feel the difference. With practice, weight becomes a quick clue.
Step 4: Examine the Surface and Shine
Look closely at how the metal reflects light. Some metals shine bright, while others look dull.
- Polished aluminum and chrome look bright and mirror-like.
- Copper and brass have a warm glow.
- Cast iron looks rough and matte.
Note any texture, too. A grainy surface often means cast iron, while a smooth finish suggests a worked metal like steel or aluminum.
Step 5: Look for Rust or Corrosion
The way a metal corrodes tells its own story. Check for spots, stains, or buildup.
- Red-orange rust means iron or steel.
- Green film (patina) points to copper or brass.
- White powder suggests aluminum or zinc.
If there’s no corrosion at all on an old piece, you might be looking at stainless steel or a precious metal.
Step 6: Do the Spark Test
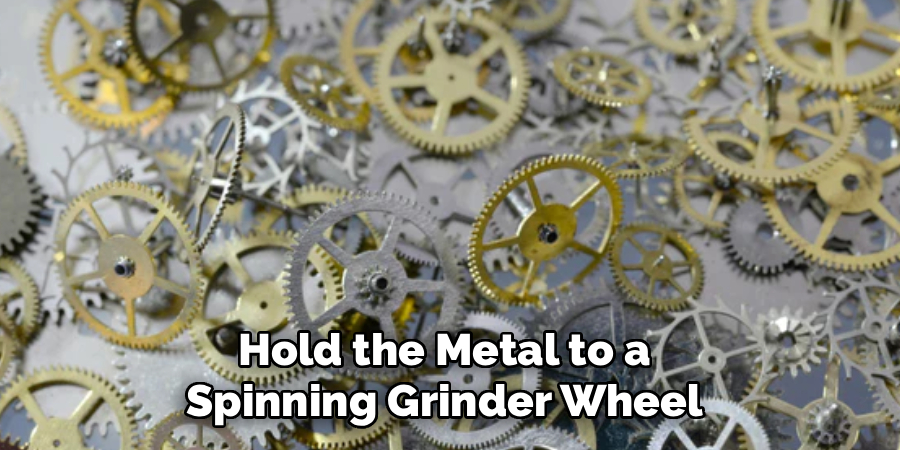
This test works best on steel and iron. Hold the metal to a spinning grinder wheel and watch the sparks. Wear goggles and gloves.
- Long, bright sparks with many branches mean high-carbon steel.
- Short, dull red sparks suggest low-carbon steel or iron.
- Few or no sparks point to softer metals like aluminum or copper.
The spark pattern is a reliable clue once you’ve seen a few examples.
Step 7: Try the Scratch or Hardness Test
Run a file across an edge or scratch the surface gently. Hardness varies between metals.
- Soft metals like lead, aluminum, and copper scratch easily.
- Hard metals like steel resist scratching and feel tough under the file.
Notice how much pressure it takes to make a mark. The harder the metal, the more likely it’s steel or iron.
Step 8: Check the Sound
Tap the metal with another piece of metal and listen. Each type makes its own ring.
- Steel gives a clear, ringing tone that lasts.
- Cast iron makes a dull thud with little ring.
- Aluminum produces a softer, higher pitch.
This trick takes practice, but it’s a fun way to confirm what your other tests suggest.
Step 9: Use a Simple Acid Test
Place a drop of vinegar or lemon juice on a clean spot and watch the reaction. Always handle acids carefully.
- Copper may turn slightly green.
- Aluminum can fizz or bubble.
- Stainless steel usually shows no reaction.
For serious testing, hobbyists use special acid kits, but household acids work fine for basic checks.
Step 10: Compare and Confirm
Now gather all your clues. No single test is perfect, so combine the results.
For example, if a metal is silvery, light, non-magnetic, and scratches easily, it’s almost certainly aluminum. If it’s gray, heavy, magnetic, and sparks brightly, you’re looking at steel. Write down your findings and match them against known metal traits. The more clues that line up, the more confident your answer.
5 Things You Should Avoid
Even simple tests can go wrong. Steer clear of these common mistakes.
- Don’t rely on one test alone. A single clue can mislead you. Always combine several methods for an accurate result.
- Don’t skip cleaning the metal first. Dirt, paint, and rust hide the true color and surface. Clean a small spot before testing.
- Don’t ignore safety gear. Sparks, sharp edges, and acids can hurt you. Wear gloves and goggles every time.
- Don’t assume color tells all. Many metals look similar once coated or aged. Color is a starting point, not a final answer.
- Don’t guess on valuable items. If you suspect gold, silver, or another precious metal, get a professional test before selling. A wrong guess can cost you.
Avoiding these slip-ups keeps your results accurate and your hands safe.
Frequently Asked Questions
- How Can I Tell the Difference Between Aluminum and Stainless Steel?
Both look silvery, but a few tests sort them out fast. Aluminum is much lighter and feels soft, while stainless steel is heavier and tougher. Hold a magnet to each piece. Most stainless steel shows a slight pull, but aluminum stays completely unaffected. Aluminum also scratches more easily than the hard, durable surface of stainless steel. - Is the Magnet Test Always Reliable?
The magnet test is helpful, but it has limits. It quickly separates iron and most steels from other metals. However, some stainless steel grades aren’t magnetic at all, which can fool you. That’s why you should never depend on the magnet alone. Pair it with color, weight, and scratch tests to reach a confident, accurate conclusion every time. - Can I Identify Gold or Silver at Home?
You can get strong hints at home, but full certainty needs an expert. Gold won’t stick to a magnet and resists rust or tarnish. Silver tarnishes over time and produces a clear ring when tapped. For real proof of value, take precious metals to a jeweler. They use acid kits and electronic testers for exact results.
Conclusion
How to identify different metals isn’t as tricky as it sounds. With a magnet, a file, some good light, and a bit of patience, you can sort common metals with confidence. The key is to use several tests together. Color, weight, magnetism, sparks, and sound each tell part of the story. When you combine them, the answer becomes clear.
Start with the easy steps, like checking color and using a magnet. Then move to the deeper tests, such as the spark and scratch checks, when you need more proof.
Avoid the common mistakes, wear your safety gear, and write down what you find. The more you practice, the faster and sharper your skills become.
About
Stuart Rich is a distinguished figure in the world of metalworking and fabrication, with a decade of expertise creating innovative and sustainable metal projects. His professional focus lies in merging traditional blacksmithing and machining with modern manufacturing techniques, fostering designs that are both practical and durable. As the author of Metalenify, Stuart Rich delves into the art and science of metallurgy and DIY metal creation, inspiring artisans, hobbyists, and industry professionals alike.
Education
RMIT University
(Melbourne, Australia)
Associate Degree in Engineering Technology (Mechanical / Manufacturing)
Focus on metallurgical properties, industry-driven projects, and practical metal craftsmanship. Gained hands-on experience with traditional machining and digital manufacturing tools, such as CAD, CNC software, and precision welding equipment.
Nottingham Trent University
(United Kingdom)
Bachelor’s in Product Design and Materials Engineering (Honors)
Specialized in product design with a heavy focus on blending creativity with metal production and fabrication techniques. Participated in real-world industry projects, collaborating with architectural and hardware manufacturing companies to optimize material efficiency.
Publications and Impact
In Metalenify, Stuart Rich shares his insights on structural metal design processes, material grades, and strategies for efficient shop production. His writing bridges the gap between raw artisan knowledge and modern industrial needs, making it a must-read for both budding DIY metalworkers and seasoned fabrication professionals.


