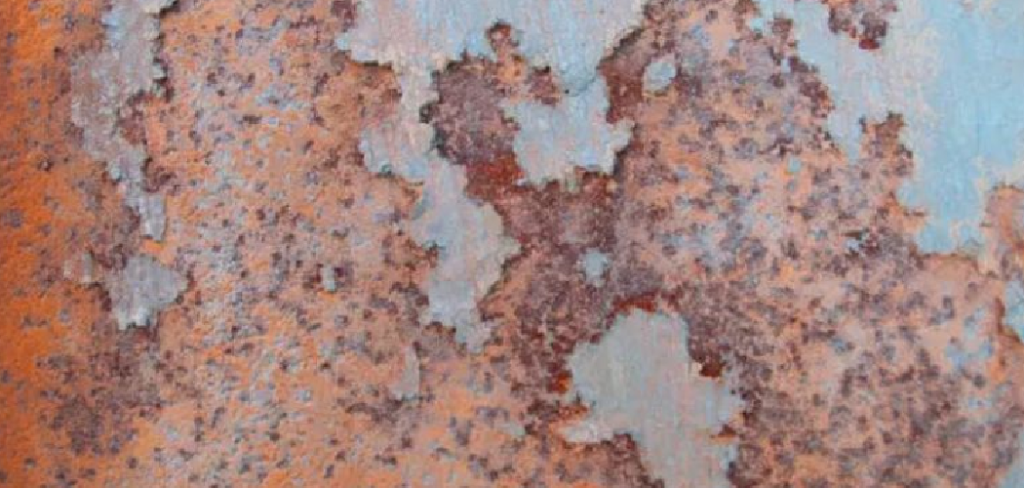
Rust has a way of sneaking up on you. One day your patio railing looks fine, and the next it’s covered in orange, flaky patches. The good news? You don’t need to replace that rusted metal. With the right approach, you can repaint it and make it look as good as new.
In this guide, you’ll learn exactly how to repaint rusted metal the right way. We’ll walk through surface prep, rust removal, cleaning, priming, painting, drying, and long-term protection. By the end, you’ll have a clear plan you can follow this weekend.
Let’s get started.
The Benefits of Repainting Rusted Metal
Repainting rusted metal isn’t just about looks, although a fresh coat does wonders. There are practical reasons to take on this project.
- You save money. Replacing metal fixtures, fences, or furniture can be expensive. A can of primer and paint costs a fraction of that price.
- You stop the spread. Rust eats away at metal over time. Once it starts, it keeps going. Sealing the surface with primer and paint halts that process and protects the metal underneath.
- You extend the life of your items. A properly painted surface can last years before needing attention again. That means more time enjoying your patio set and less time worrying about it.
- You boost curb appeal. Whether it’s a mailbox, gate, or railing, freshly painted metal makes your whole property look cared for.
- It’s eco-friendly. Restoring what you already own keeps usable items out of the landfill. That’s a small win for your wallet and the planet.
What Will You Need?
Before you begin, gather your supplies. Having everything ready makes the job smoother and faster.
Safety Gear:
- Safety glasses
- Dust mask or respirator
- Work gloves
Rust Removal Tools:
- Wire brush
- Sandpaper (medium 80–120 grit and fine 220 grit)
- Sanding block or power sander (optional)
- Putty knife or scraper
Cleaning Supplies:
- Mild detergent or degreaser
- Bucket and water
- Clean rags or cloths
- Rust converter (optional but helpful)
Painting Materials:
- Rust-inhibiting metal primer
- Metal paint (spray or brush-on)
- Paintbrushes or a small roller
- Painter’s tape
- Drop cloth or old newspaper
Extras:
- Tack cloth for picking up dust
- Mineral spirits for cleanup
Once you have these on hand, you’re ready to roll.
10 Easy Steps on How to Repaint Rusted Metal
Follow these steps in order. Take your time, especially with prep work, because that’s where the lasting results come from.
Step 1: Set Up a Safe, Well-Ventilated Work Area
Start by choosing a good spot. Work outdoors or in a garage with the door open. Paint and rust converter fumes need fresh air to escape. Lay down a drop cloth to catch dust and drips. Put on your safety glasses, gloves, and dust mask before you touch anything. Rust particles aren’t something you want to breathe in or get in your eyes.
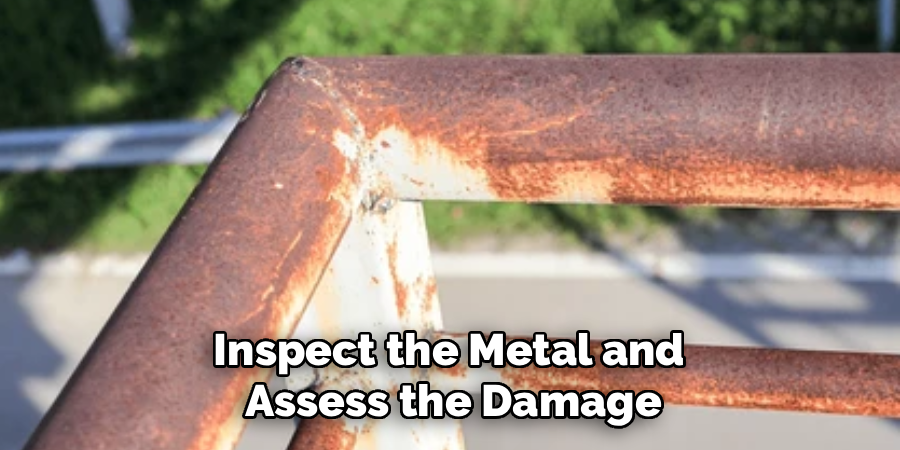
Step 2: Inspect the Metal and Assess the Damage
Take a close look at the surface. Is the rust surface-level, or has it eaten holes through the metal? Light surface rust is easy to handle. Deep, structural rust may need patching or, in extreme cases, replacement. Run your hand over the area and note any loose, flaky sections. Knowing what you’re dealing with helps you plan the right amount of prep work.
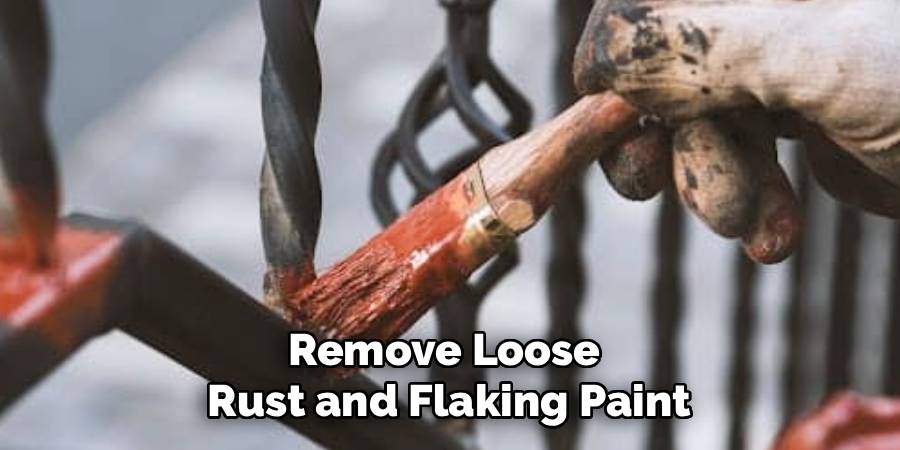
Step 3: Remove Loose Rust and Flaking Paint
Now the elbow grease begins. Use your wire brush to scrub away loose rust and peeling paint. Work in firm, steady strokes. For stubborn spots, a putty knife or scraper helps lift chunks off. The goal is to get rid of anything that isn’t firmly attached. If you skip this, your new paint will peel right along with the old layers.
Step 4: Sand the Surface Smooth
Once the loose material is gone, grab your sandpaper. Start with the medium grit to knock down rough patches and remaining rust. Then switch to fine grit to smooth everything out. Sanding also “roughs up” glossy old paint so the new primer grips better. A power sander speeds this up on large surfaces, but hand sanding works fine for smaller items.
Step 5: Treat Stubborn Rust With a Converter
For rust you can’t fully remove, a rust converter is your friend. This liquid reacts with rust and turns it into a stable, paintable surface. Brush it on according to the product directions and let it dry. It usually leaves a black coating that primer sticks to nicely. This step is optional, but it adds an extra layer of protection where rust runs deep.
Step 6: Clean the Metal Thoroughly
Dust, grease, and grime will ruin a paint job. Mix mild detergent with warm water and wash the entire surface. A degreaser works well for oily areas. Rinse with clean water and let it dry completely. Then wipe the surface with a tack cloth to grab any leftover dust. The metal should be clean, dry, and smooth before you move on.
Step 7: Mask Off Surrounding Areas
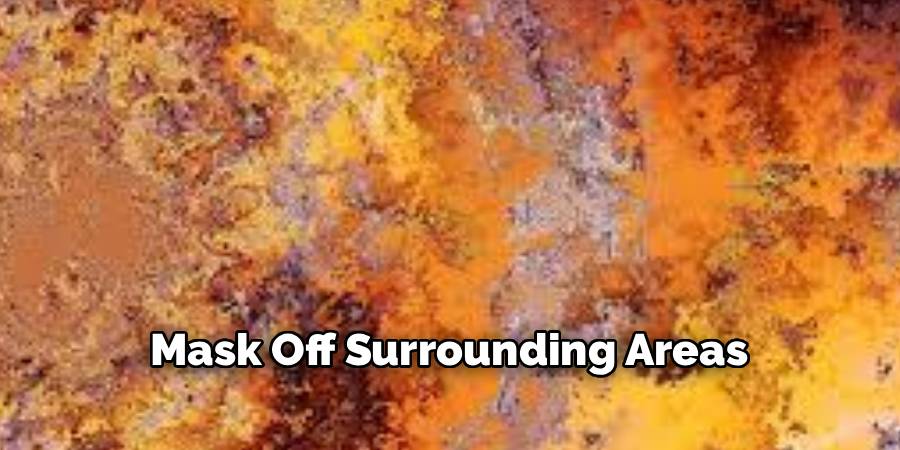
Protect anything you don’t want painted. Use painter’s tape along edges, hinges, or nearby surfaces. Cover the ground with newspaper or a drop cloth. This small step saves a big cleanup headache later. Take a few extra minutes here, especially if you’re using spray paint, which drifts more than you’d expect.
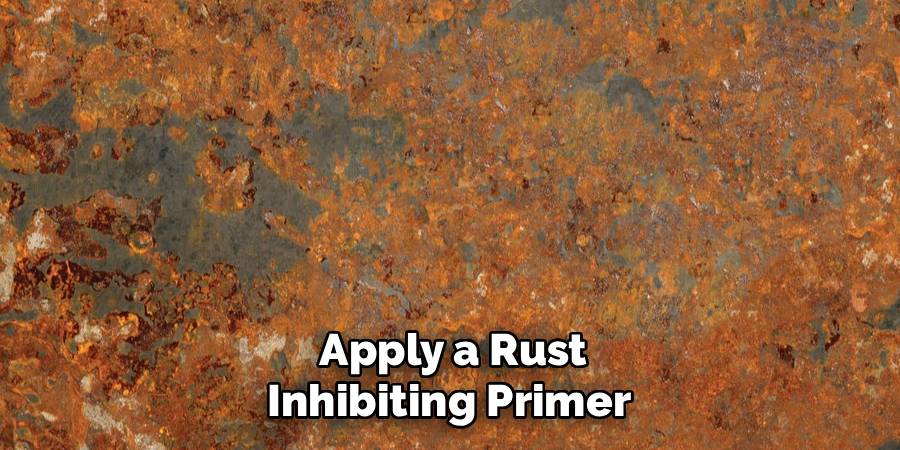
Step 8: Apply a Rust-Inhibiting Primer
Primer is the secret to a long-lasting finish. Choose a primer made for metal and rust prevention. Apply a thin, even coat with a brush, roller, or spray. Don’t glob it on. Thin coats dry better and resist drips. Cover the entire surface, including any treated rust spots. Let the primer dry fully according to the label, usually one to two hours.
Step 9: Paint With Quality Metal Paint
Time for color. Use paint designed for metal surfaces. Apply your first coat in thin, even strokes, following the shape of the object. Let it dry, then add a second coat for full coverage and durability. Two thin coats always beat one thick one. If you’re spraying, hold the can about 10 inches away and keep your movements steady to avoid runs.
Step 10: Let It Dry and Add Protection
Patience pays off here. Let the paint cure fully before touching or using the item. This can take several hours to a full day, depending on the product and weather. For outdoor metal, consider a clear protective topcoat or sealant. This extra layer shields against moisture, UV rays, and future rust. Once everything is cured, remove the tape and admire your work.
That’s it. Ten steps from rusty to refreshed.
5 Things You Should Avoid
Even simple projects have pitfalls. Steer clear of these common mistakes for the best results.
1. Skipping the prep work. It’s tempting to paint right over rust, but it never holds. Without proper rust removal and sanding, your fresh coat will bubble and peel within weeks.
2. Painting over a dirty surface. Grease, dust, and moisture prevent paint from bonding. Always clean and dry the metal first.
3. Applying thick coats. One heavy layer leads to drips, uneven drying, and a weak finish. Thin, multiple coats are far more durable.
4. Forgetting the primer. Primer isn’t optional on rusted metal. It blocks future rust and gives your paint something to grip. Skip it, and you’ll repeat this whole project sooner than you’d like.
5. Rushing the drying time. Touching or using the item too soon ruins the finish. Let each layer cure fully before moving forward.
Frequently Asked Questions
- Can I Paint Directly Over Rust Without Removing It?
You shouldn’t paint over loose or flaky rust, since the paint won’t stick. However, you can paint over tightly bonded surface rust if you use a rust converter first. The converter stabilizes the rust and creates a paintable base. For best results, always remove what you can and treat the rest. This approach gives you a finish that actually lasts. - What Kind of Paint Works Best on Metal?
Look for paint specifically labeled for metal surfaces. Oil-based enamels are durable and great for outdoor items. Many products now combine primer and paint in one, which saves time. For high-moisture areas, choose a rust-inhibiting formula. Spray paints offer smooth coverage, while brush-on paints give you more control on detailed pieces. - How Long Does Repainted Metal Last?
With proper prep and quality materials, a repainted metal surface can last five to ten years or more. Outdoor items in harsh weather may need a touch-up sooner. Adding a clear protective topcoat extends the lifespan even further. The key is good preparation and full drying time. Cut corners, and you’ll be repainting much sooner.
Conclusion
Repainting rusted metal is one of the most rewarding home improvement projects you can tackle. It saves money, stops rust from spreading, and gives tired fixtures a fresh new life. The secret isn’t fancy tools or special skills. It’s careful preparation.
Remember the flow: set up safely, remove the rust, sand smooth, clean thoroughly, prime, paint, and protect. Take your time with each step, especially prep and drying, and you’ll be rewarded with a finish that holds up for years.
Now that you know how to repaint rusted metal, pick a project and gather your supplies. Start small with a mailbox or piece of patio furniture to build your confidence. Before long, you’ll be tackling railings, gates, and more like a pro. Grab that wire brush and get started this weekend.
About
Stuart Rich is a distinguished figure in the world of metalworking and fabrication, with a decade of expertise creating innovative and sustainable metal projects. His professional focus lies in merging traditional blacksmithing and machining with modern manufacturing techniques, fostering designs that are both practical and durable. As the author of Metalenify, Stuart Rich delves into the art and science of metallurgy and DIY metal creation, inspiring artisans, hobbyists, and industry professionals alike.
Education
RMIT University
(Melbourne, Australia)
Associate Degree in Engineering Technology (Mechanical / Manufacturing)
Focus on metallurgical properties, industry-driven projects, and practical metal craftsmanship. Gained hands-on experience with traditional machining and digital manufacturing tools, such as CAD, CNC software, and precision welding equipment.
Nottingham Trent University
(United Kingdom)
Bachelor’s in Product Design and Materials Engineering (Honors)
Specialized in product design with a heavy focus on blending creativity with metal production and fabrication techniques. Participated in real-world industry projects, collaborating with architectural and hardware manufacturing companies to optimize material efficiency.
Publications and Impact
In Metalenify, Stuart Rich shares his insights on structural metal design processes, material grades, and strategies for efficient shop production. His writing bridges the gap between raw artisan knowledge and modern industrial needs, making it a must-read for both budding DIY metalworkers and seasoned fabrication professionals.


