
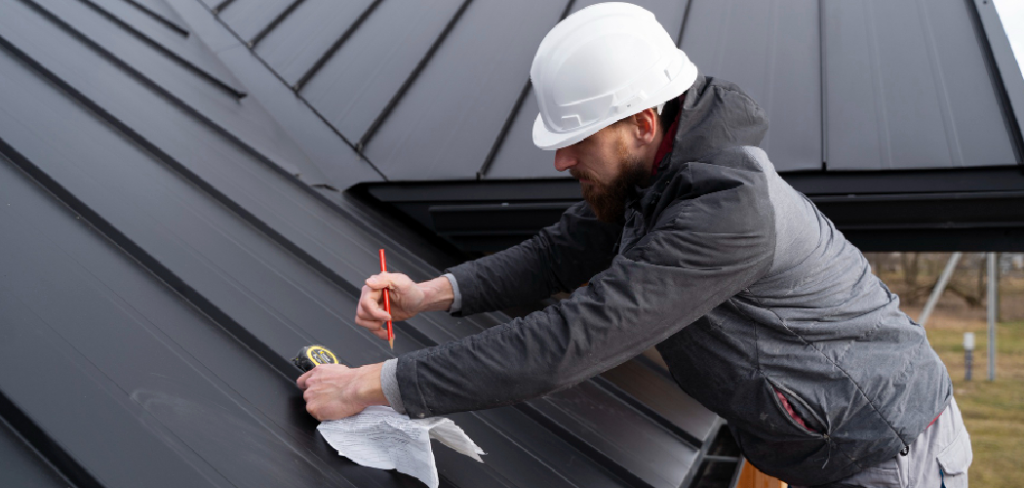
To cut metal roofing panels, measure and mark your line first, then pick the tool that fits the job. Tin snips handle small cuts. Electric shears give you clean edges. A circular saw with a metal blade chews through long, straight runs. Wear your safety gear, clamp the panel down, and file the edges afterward so rust and cuts don’t catch you off guard.
Cutting metal roofing looks harder than it is. Plenty of homeowners talk themselves out of the job before they’ve even picked up a tool, which is a shame, because the basics aren’t complicated. You need the correct tool, a marked line, and a willingness to slow down. That’s most of it.
What trips people up isn’t the cutting itself. It’s the prep—or the lack of it. A panel that slides around mid-cut, a blade meant for wood, a measurement taken in a hurry. Get those parts right and the rest tends to fall into place.
Here’s what this guide covers: the material you’re dealing with, the tools worth keeping nearby, seven steps that take you from raw panel to finished edge, and the mistakes that snag beginners. By the time you finish reading, the job should feel a lot less like a gamble. In this guide on how to cut metal roofing panels, we will cover everything from materials and tools to the step-by-step process and common mistakes to avoid.
Know What You’re Cutting First
Take a minute before you touch a blade. Metal roofing isn’t one single thing—it shows up as galvanized steel, aluminum, copper, and zinc, and each behaves a little differently once you start cutting. Steel lasts a long time and shows up on more roofs than anything else, but it fights back under the blade. Aluminum, by contrast, is soft and forgiving.
Thickness changes the equation too. Roofing gets measured in gauges, and the numbers run backward from what you’d expect: a lower gauge means a thicker, heavier panel. Cutting 24-gauge steel is a different experience from slicing through a 29-gauge sheet. Knowing your gauge ahead of time tells you which tool to reach for, and it helps you protect the coating that keeps the panel from rusting down the line.
Tools and Materials You’ll Need
Gathering everything first saves you the frustration of stopping halfway through to hunt for a file. Here’s the short list:
- Tin snips (straight, left, and right-cutting) for small or curved cuts
- Electric or pneumatic metal shears for clean, straight cuts
- Circular saw with a metal-cutting blade for long panels
- Nibbler for detailed cuts with minimal distortion
- Measuring tape and permanent marker for accurate marking
- Carpenter’s square or straightedge to guide your cuts
- Safety glasses, work gloves, and ear protection
- Clamps to hold panels in place
- Metal file or deburring tool to smooth rough edges
7 Steps on How to Cut Metal Roofing Panels
Work through these in order. There’s no prize for speed here—rushing is usually how a good panel turns into scrap, or how someone ends up with a gash on their hand.
Step 1: Put On Your Safety Gear
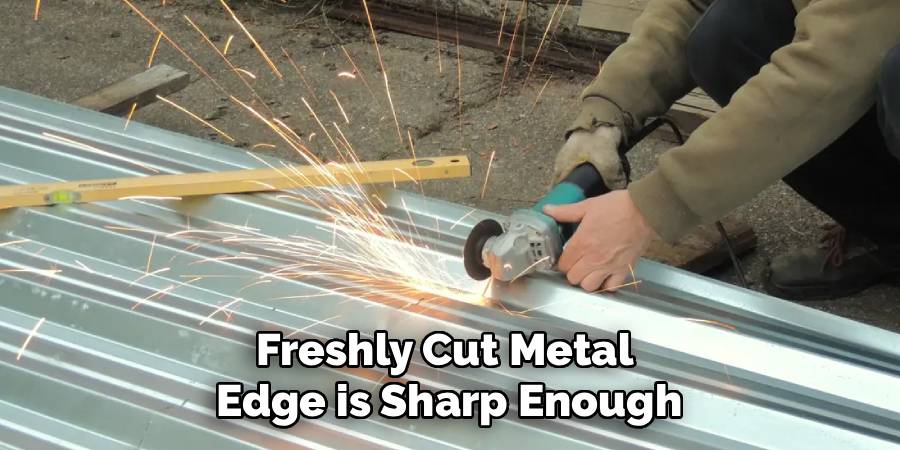
Start with protection, every time. A freshly cut metal edge is sharp enough to slice skin without much effort, so heavy-duty work gloves aren’t optional. They shield your hands from both the edges and the loose shavings that scatter as you cut.
Safety glasses go on next. Cutting throws tiny metal shards into the air, and your eyes won’t forgive a careless moment. Running a power tool like a circular saw? Add ear protection—the noise builds up over time in ways you won’t notice until it’s too late. Long sleeves and solid boots finish the picture.
Step 2: Measure and Mark Your Cut Line
Everything downstream depends on this step. Pull out the tape, find your length or width, then check it again. “Measure twice, cut once” sounds like a cliché until you’ve thrown away a panel that came up an inch short.
Once the number feels right, draw your line with a permanent marker. Lay a carpenter’s square or straightedge against the panel and trace a clean line across it. That line is your guide, and a faint or crooked one will pull your cut off course. On longer panels, mark a few points along the way and connect them—it keeps the whole line honest.
Step 3: Secure the Panel Firmly
A panel that wobbles mid-cut gives you a ragged edge at best and a dangerous situation at worst. Set it on something flat and stable, like a pair of sawhorses or a heavy workbench. Check that the cutting area is supported and won’t sag once you lean into it.
Clamp the edges down. This stops the panel from sliding or buzzing as you work, and the steadier it sits, the cleaner your cut comes out. Long panels are easier with a second set of hands—have someone hold the far end, or prop it up with extra supports. The difference between a smooth cut and a maddening one often comes down to how well the panel stays put.
Step 4: Choose the Right Cutting Tool
Match the tool to the cut. Short runs and curves call for tin snips, which give you fine control. Long straight cuts go faster with electric shears or a circular saw fitted with a metal blade.
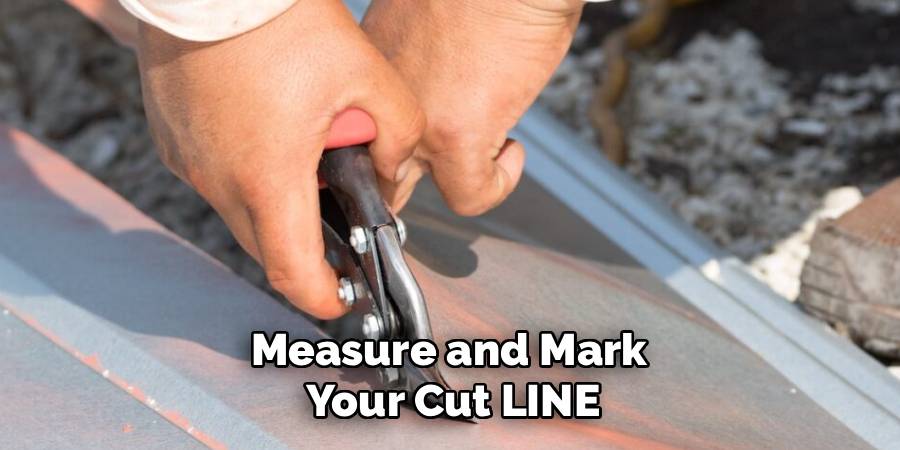
The finish matters as well. A circular saw moves quickly but tends to leave hot, rough edges, and the wrong blade can scorch the panel’s coating. Electric shears and nibblers run cooler and leave a tidier edge. Choosing well here means less wasted material and a result that doesn’t shout “weekend project.”

Step 5: Make the Cut Slowly and Steadily
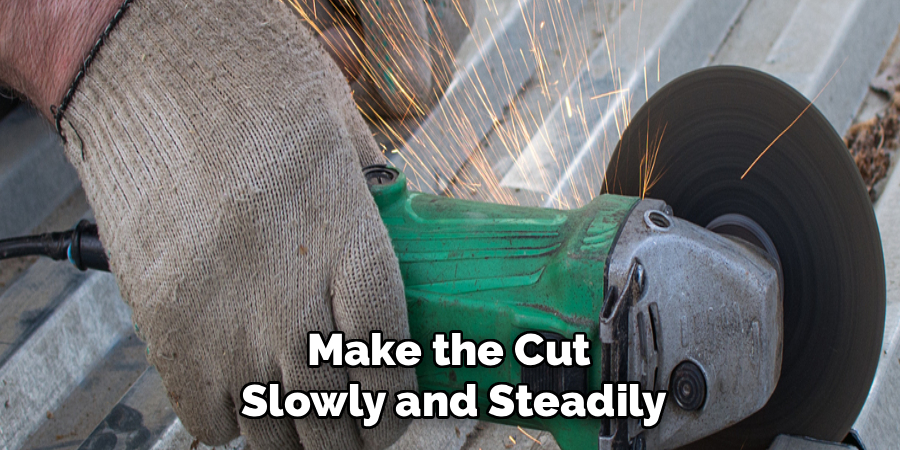
Now the actual cutting. Run the tool along your line with firm, even pressure, and let it do the work—push too hard and you’ll bend the metal or bind the blade. Keep things slow and deliberate, especially as the cut begins.
Stay on your line and watch where the blade is heading. With tin snips, take full strokes so you don’t leave a row of jagged little tabs behind. With a circular saw, keep moving—pausing partway through tends to leave a burn mark right where you stopped. Patience pays off with a noticeably cleaner edge.
Step 6: Smooth the Cut Edges
A fresh cut almost always leaves burrs and rough patches along the edge. Those can slice a hand, and worse, they expose bare metal that may start to rust. Run a metal file or deburring tool down the whole length of the cut.
File in one direction with steady strokes until the edge feels smooth under your fingers. Corners deserve extra attention since they tend to be the sharpest. On galvanized or coated panels, a dab of touch-up primer over the exposed edge goes a long way—it guards against corrosion and leaves the cut looking finished rather than raw.
Step 7: Test Fit and Inspect
Hold the panel up to its spot before you commit to installing it. Does the cut match the space? Do the edges sit flush against the panels around it? A problem caught now is a five-minute fix; the same problem caught after installation is a much longer afternoon.
Give the edge one last look for sharp spots or unevenness. If something’s off, file it or trim a little more. A careful check means each panel sits snug and the finished roof reads as clean and seamless. Satisfied? Then it’s ready to go up.
Following these steps on how to cut metal roofing panels will ensure a smooth and efficient installation process.
Common Mistakes to Avoid
Even people who’ve done this before slip occasionally. A few patterns come up again and again. Measuring in a hurry produces panels that end up too short to use—the single most common waste of material. The wrong blade or tool overheats the metal and burns off the coating that fends off rust.
Skipping safety gear invites injuries that those razor edges hand out freely. And leaving burrs in place weakens the panel’s rust resistance while leaving a hazard behind. Slow down and plan each cut, and most of these never happen.
Tips for Professional-Looking Results
Small habits separate sloppy work from clean work. Cut with the finished side oriented correctly, since some tools leave a neater edge on one face than the other. Keep your blades and snips sharp—a dull edge tears the metal instead of slicing it.
Light helps more than people realize, so work somewhere you can actually see your line. Skip the hottest days when the metal expands. Doing the same cut over and over? Build a template or jig so every panel comes out identical. Take breaks, because tired hands make careless cuts. And sweep up the shavings as you go—left behind, they scratch panel surfaces or leave rust stains that are a pain to remove later.
A Few Final Thoughts on Cutting Metal Roofing
Cutting metal roofing rewards patience more than skill. Understand what you’re cutting, line up the right tools, and move through each step without rushing—do that, and clean results follow on their own. Safety, accurate measurement, and a properly finished edge carry most of the weight here.
New to it? Practice on a scrap piece first. A few trial cuts let you learn how your tools behave before a full-priced panel is on the line. With a bit of patience and the steps above, the project should come together without drama and hold up well for years to come. Thanks for reading this guide on how to cut metal roofing panels.

About
Stuart Rich is a distinguished figure in the world of metalworking and fabrication, with a decade of expertise creating innovative and sustainable metal projects. His professional focus lies in merging traditional blacksmithing and machining with modern manufacturing techniques, fostering designs that are both practical and durable. As the author of Metalenify, Stuart Rich delves into the art and science of metallurgy and DIY metal creation, inspiring artisans, hobbyists, and industry professionals alike.
Education
RMIT University
(Melbourne, Australia)
Associate Degree in Engineering Technology (Mechanical / Manufacturing)
Focus on metallurgical properties, industry-driven projects, and practical metal craftsmanship. Gained hands-on experience with traditional machining and digital manufacturing tools, such as CAD, CNC software, and precision welding equipment.
Nottingham Trent University
(United Kingdom)
Bachelor’s in Product Design and Materials Engineering (Honors)
Specialized in product design with a heavy focus on blending creativity with metal production and fabrication techniques. Participated in real-world industry projects, collaborating with architectural and hardware manufacturing companies to optimize material efficiency.
Publications and Impact
In Metalenify, Stuart Rich shares his insights on structural metal design processes, material grades, and strategies for efficient shop production. His writing bridges the gap between raw artisan knowledge and modern industrial needs, making it a must-read for both budding DIY metalworkers and seasoned fabrication professionals.





