
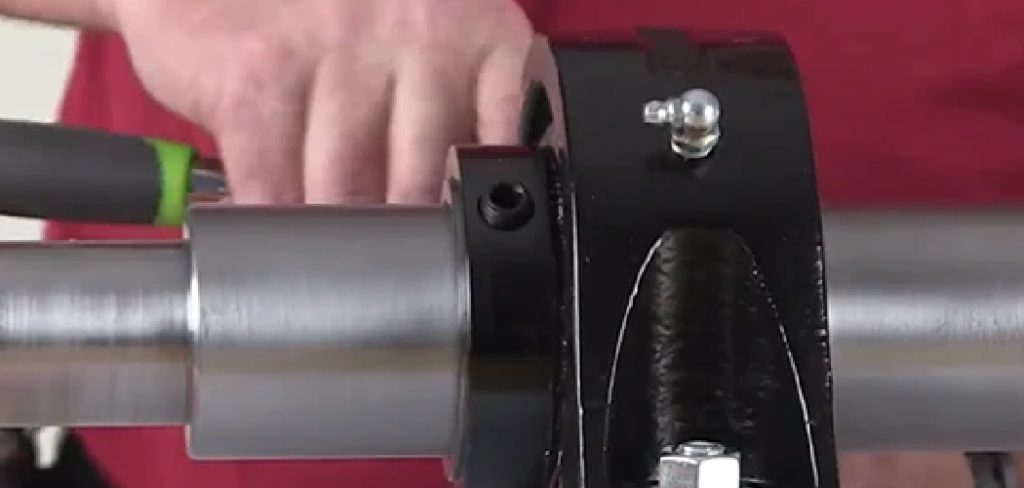
Clean the shaft and mounting surface first. Set the housing in place, slide the shaft through, then align everything with a straightedge or laser. Torque the mounting bolts to spec, lock the shaft with set screws or a collar, lubricate if needed, and run a short test before going full speed.
A pillow block bearing does quiet, unglamorous work. It holds a rotating shaft, carries the load, and lets the whole thing spin without grinding itself apart. Get the installation right and you barely think about it again. Get it wrong, and the symptoms show up fast—heat, noise, a vibration you can feel through the floor.
I’ve watched a perfectly good bearing fail inside a week because someone hammered it onto a shaft. That’s the part most guides skip over. The steps themselves aren’t complicated, but the small judgment calls along the way decide whether the bearing lasts six months or six years.
What follows is the full sequence, plus the mistakes worth avoiding and a rough sense of what the job costs. None of it requires a degree. It does require patience, which is harder to come by than a torque wrench. In this guide on how to install pillow block bearings, we’ll cover the following steps:
Tools and Materials You’ll Need
Lay everything out before you touch the bearing. Stopping halfway through to hunt for a hex key is how surfaces pick up dust and shafts pick up nicks.
- Clean shop rags or lint-free towels
- Fine-grit emery cloth or sandpaper
- Solvent or degreaser
- Torque wrench
- Allen wrenches (hex keys) for set screws
- Socket set and wrenches for mounting bolts
- Feeler gauges
- Straightedge, dial indicator, or laser alignment tool
- Bearing grease and a grease gun, if the bearing isn’t pre-lubricated
- Safety glasses and heavy-duty work gloves
7 Step-By-Step Guidelines on How to Install Pillow Block Bearings
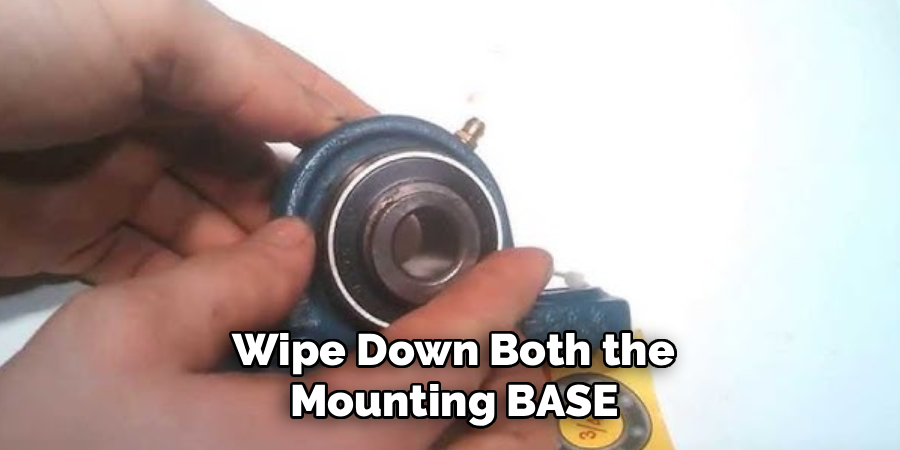
Step 1: Clean the Mounting Surface and the Shaft
Start with the dull part, because it matters more than it looks. Wipe down both the mounting base and the shaft until nothing remains—no grit, no old paint flecks, no film of rust. A leftover smear of grime under the housing might seem harmless, but it tilts the bearing a hair off true, and that small tilt loads the inner ring in ways it was never meant to handle. Degreaser and a clean rag will get you there.
Then run your eye and your fingertips along the shaft. Burrs, deep scratches, a rough patch you can catch a nail on—any of these will fight you later. Polish them out gently with emery cloth until the metal feels even. One thing worth checking now rather than during insertion: the shaft diameter has to match the bearing bore. Too large and you’ll be tempted to force it. Too small and the shaft spins inside the bore, chewing away at both through fretting wear. This phase isn’t exciting, but skip it and you’ve already lost.
Step 2: Inspect and Position the Housing
Unpack the bearing and look it over before it goes anywhere near the shaft. Shipping is rough on castings. Check the housing for cracks, spin the insert to confirm it turns cleanly, and make sure the grease fitting is intact and reachable. Slide the housing onto the base in roughly its final spot—but resist the urge to bolt it down. Not yet.
Here’s the catch with mounting surfaces: they’re rarely as flat as they appear. If the base is warped and you crank the bolts tight, the housing twists to match it, and that distortion can crush the rolling elements inside. When the surface looks suspect, shims are your friend; a few thin ones can build a genuinely flat platform under the block. While you’re at it, point the grease fitting somewhere you can actually reach for future lubrication. In the future, you will be grateful. Leave the bolts loose enough that the housing still shifts—you’ll need that play in the next two steps.
Step 3: Insert the Shaft into the Bearing
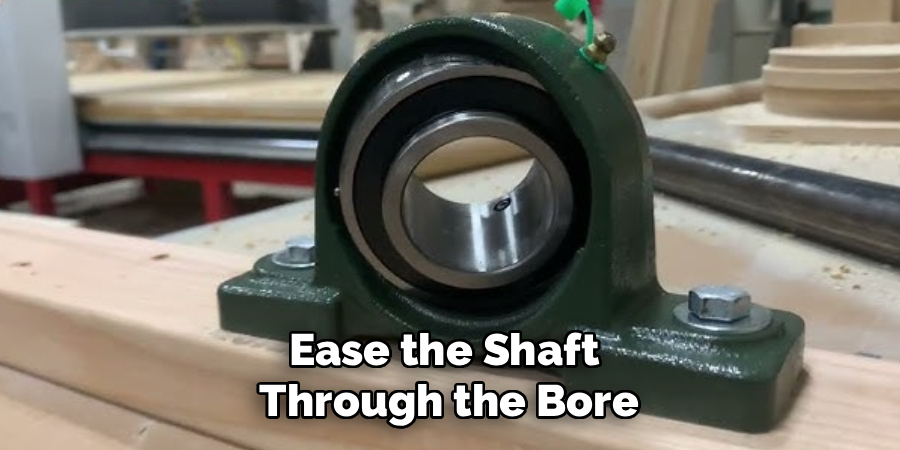
With the housing sitting loose, ease the shaft through the bore. It should go in with little resistance. If you find yourself reaching for a steel hammer, stop—something is wrong. Forcing the fit damages the raceways and the rolling elements, and that damage is permanent even if the bearing seems fine afterward. Tightness usually means a missed burr or a tolerance mismatch, so go back and check before you push harder.
When the shaft needs a little persuasion, a dead-blow hammer or rubber mallet does the job. Tap the end of the shaft only, never the housing and never the inner ring directly. Keep the shaft level as it travels through, or it’ll bind against the seals on the way in. Long, heavy shafts deserve extra care here—prop the free end on a jack or a hoist so its own weight doesn’t lever down on the bearing insert and damage it before anything’s secured.
Step 4: Align the Pillow Block Bearing
Alignment is where most installations live or die. Misalignment ranks as the single biggest cause of premature bearing failure, so this is the step to slow down on. The shaft needs to sit perpendicular to the housing and parallel to the machine’s center axis. A straightedge gets you close; a dial indicator or laser tool gets you exact. When the shaft runs even slightly off, the load piles up unevenly, and the rolling elements grind against the raceways. That grinding shows up as heat, then vibration, then failure.
Nudge the loosely bolted housing in small increments until your indicator reads true. The margins here are tighter than they feel—a fraction of a degree of angular misalignment can cost the bearing thousands of operating hours. Got several bearings on one long shaft? Set the end bearings first to establish a straight reference line, then bring the intermediate ones into agreement with it. It’s fussy work. It also happens to be the difference between a quiet machine and a noisy one.
Step 5: Tighten the Mounting Bolts
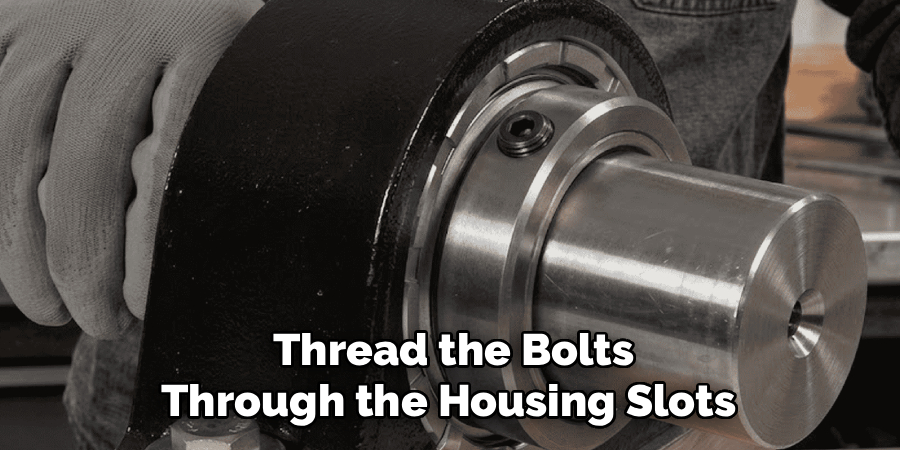
Now you can lock things down. Thread the bolts through the housing slots and snug them by hand so the unit stops shifting. Then reach for the torque wrench and work in a cross-pattern, alternating sides as you go. This spreads the clamping force evenly across the casting—tighten one corner fully before the others and you risk twisting or cracking the housing under the lopsided stress.
Check the manufacturer’s manual for the exact torque values; they vary by model and bolt size, and guessing here tends to end badly in both directions. You and over-tightening may distort the housing and squeeze the outer ring. Under-tighten and the whole unit can rattle loose once it’s running. After you hit the final spec, put the dial indicator back on and confirm your alignment is held. Bolting down has a sneaky way of pulling the housing slightly out of true, and you’d rather find out now.
Step 6: Secure the Shaft with Set Screws
The shaft and the inner ring need to turn as one unit. Most pillow blocks handle this with two set screws on the extended inner ring collar. Hand-tighten the screw facing the direction of rotation first, then the second one. After that, bring them to the manufacturer’s torque spec with an Allen wrench—this is what stops the shaft from slipping when the load or speed climbs.
Some bearings use an eccentric locking collar instead. If yours does, slide the collar over the inner ring cam and turn it in the shaft’s normal direction of rotation until it grips. A light tap with a punch and hammer seats it, then the single collar set screw locks it down. Whichever method you’ve got, don’t shortcut it. A shaft that spins free inside the bore generates heat almost immediately, and from there you’re looking at galling and a dead bearing in short order.
Step 7: Lubricate and Test the Assembly
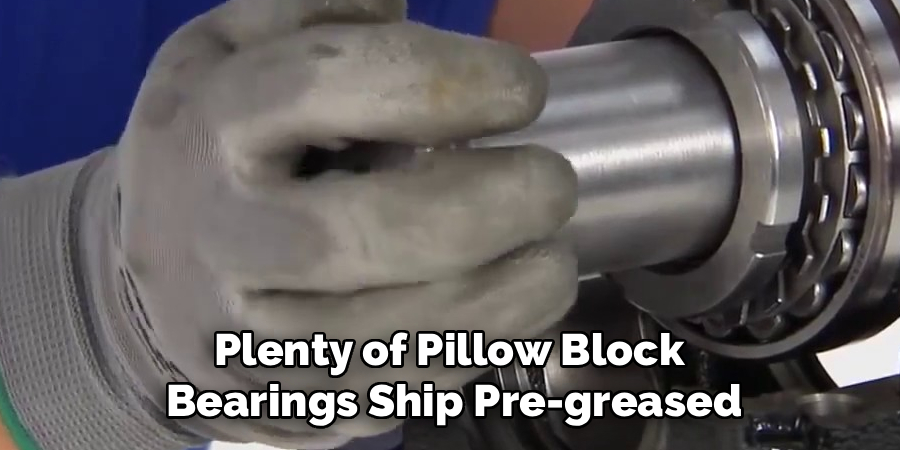
Last technical step: get the lubrication right. Plenty of pillow block bearings ship pre-greased, so check the documentation before you add anything. If grease is called for, work it in slowly with a manual gun until a thin bead of fresh grease appears at the seals. Easy does it, though—over-greasing causes its own problems. Too much packed inside churns, heats up, and can blow the seals out entirely. More is not better here.
Then test by feel before you test by power. Spin the shaft by hand and listen for binding, grinding, or any hard spot in the rotation. If it turns clean, start the machine at low speed and watch it. Abnormal noise, heavy vibration, a housing that gets too hot under a thermal gun—any of these means stop and reassess. A run that stays quiet, smooth, and stable through the first hour tells you the install went well.
Following these steps on how to install pillow block bearings will ensure that your machine runs smoothly and efficiently.
Common Mistakes to Avoid
The classic blunder is driving the bearing onto the shaft with a steel hammer. It feels productive. It also wrecks the raceways on the spot. Over-tightening set screws is another quiet killer—too much torque can distort the inner ring and make the shaft bind. Skipping the alignment check almost guarantees vibration and a short service life down the road.
Then there’s lubrication: the wrong grease, or two incompatible greases mixed together, can break down and leave the bearing running hot and unprotected. And a bearing bolted to an uneven surface? That one distorts the housing the moment you torque it.
Do You Need To Use Professionals?
For a standard pillow block, probably not. A competent maintenance tech or a handy person with the right tools can manage it. If you own a torque wrench, have something to align with, and understand mechanical tolerances at a basic level, the job stays in-house comfortably.
The calculation shifts with the stakes. High-speed equipment, very heavy loads, or a long shaft riding on several bearings at once—these push past weekend-mechanic territory. A millwright or mechanical engineer brings laser alignment gear and a diagnostic instinct that’s hard to fake, and on expensive machinery, that experience tends to pay for itself. The question isn’t really whether you can do it. It’s what failure would cost.
How Much Will It Cost?
It depends mostly on the bearing and who turns the wrench. A small, light-duty unit might run $20. A heavy-duty industrial model can pass $500. Handle the install yourself, and your extra costs stay modest—cleaning supplies, grease, maybe a tool you didn’t already own.
Bring in a professional and labor becomes the bigger line item. Millwrights and mechanical contractors typically charge somewhere between $75 and $150 an hour, so a complex job can climb into the several-hundred-dollar range fairly quickly. For a simple single-bearing swap, that may be hard to justify. For a critical production line, it often isn’t.
Frequently Asked Questions
How Often Should I Lubricate A Pillow Block Bearing?
It hinges on the environment, the load, and how fast the shaft turns. In clean conditions at moderate speed, every few months may be plenty. Push the bearing into a wet, dirty, or heavy-duty setting and the interval shrinks fast—sometimes to weekly or even daily, partly to flush contaminants back out through the seals. The manufacturer’s schedule is the number to trust over any rule of thumb.
Can I Use Any Type Of Grease For My Bearing?
No. The grease has to match the manufacturer’s spec for base oil viscosity and thickener type. Mixing incompatible greases—a lithium-based one with a polyurea-based one, say—can cause the blend to break down into something closer to liquid, which strips away the protection entirely. Confirm what’s already inside the bearing before you add anything new.
What Are The Signs Of A Failing Pillow Block Bearing?
Noise usually arrives first: grinding, squealing, or a low rumble that wasn’t there before. Vibration follows, transmitting through the frame and mounting structure. Heat is the third tell—a housing that’s grown too hot to touch points to serious internal friction, and that’s the stage where failure tends to be close.
Wrapping Up Your Bearing Installation
Installing a pillow block bearing rewards patience more than strength. Clean the components properly, get the alignment honest, torque the fasteners to spec, and the bearing will largely look after itself for years.
The preparation matters as much as the install—maybe more. Work through the steps without rushing, keep the right tools within reach, and your next mechanical job should go smoothly. Thanks for reading this guide on how to install pillow block bearings.

About
Stuart Rich is a distinguished figure in the world of metalworking and fabrication, with a decade of expertise creating innovative and sustainable metal projects. His professional focus lies in merging traditional blacksmithing and machining with modern manufacturing techniques, fostering designs that are both practical and durable. As the author of Metalenify, Stuart Rich delves into the art and science of metallurgy and DIY metal creation, inspiring artisans, hobbyists, and industry professionals alike.
Education
RMIT University
(Melbourne, Australia)
Associate Degree in Engineering Technology (Mechanical / Manufacturing)
Focus on metallurgical properties, industry-driven projects, and practical metal craftsmanship. Gained hands-on experience with traditional machining and digital manufacturing tools, such as CAD, CNC software, and precision welding equipment.
Nottingham Trent University
(United Kingdom)
Bachelor’s in Product Design and Materials Engineering (Honors)
Specialized in product design with a heavy focus on blending creativity with metal production and fabrication techniques. Participated in real-world industry projects, collaborating with architectural and hardware manufacturing companies to optimize material efficiency.
Publications and Impact
In Metalenify, Stuart Rich shares his insights on structural metal design processes, material grades, and strategies for efficient shop production. His writing bridges the gap between raw artisan knowledge and modern industrial needs, making it a must-read for both budding DIY metalworkers and seasoned fabrication professionals.





