
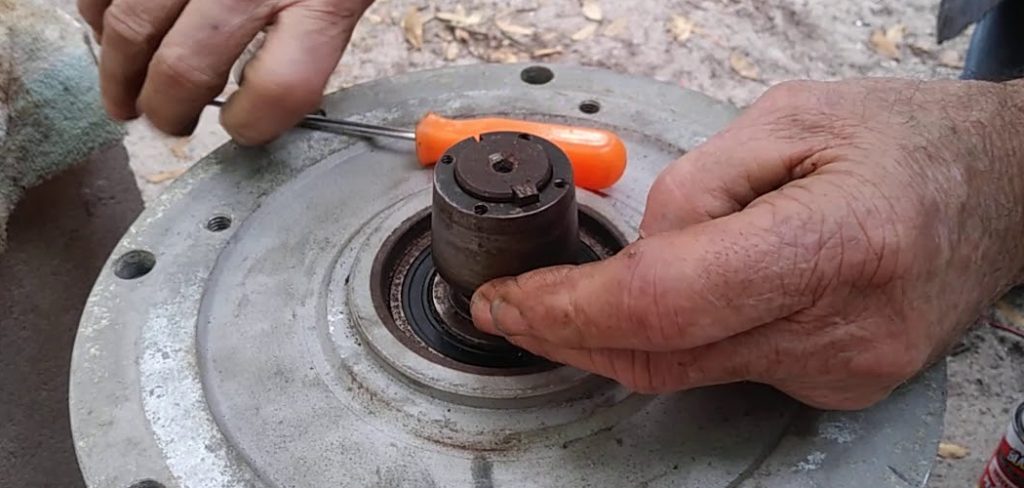
Installing a keyway involves preparing the shaft and hub, measuring the required dimensions, cutting the slot using a broach or milling machine, and fitting the key securely. Proper alignment and precise measurements are essential to ensure efficient power transmission and prevent mechanical failure in your rotating machinery.
A keyway is one of those mechanical features that doesn’t get much attention—until something goes wrong. At its core, it’s a slot machined into a shaft and a mating hub that allows a small metal key to lock them together, transmitting rotational force without slipping. Miss a step, cut a millimeter too deep, or skip the deburring phase, and you could be looking at significant equipment damage and a production halt that nobody scheduled.
Getting the installation right demands patience and precision. This guide on how to install a keyway walks you through a structured, seven-step process that applies whether you’re assembling an industrial motor or tackling a smaller mechanical project. Follow each step carefully, and the result should be a connection that holds steady under high torque and vibration for years.
Tools and Materials You’ll Need
Before touching the shaft, get everything you need within reach. Stopping mid-cut to search for a tool is a good way to ruin the workpiece.
- Milling machine or broaching tool
- Cutting fluid or lubricant
- Digital calipers and micrometers
- Dial indicator for alignment
- Deburring tool or fine file
- The machine key (woodruff, square, or custom profile)
- Safety glasses and heavy-duty work gloves
7 Steps on How to Install a Keyway
Step 1: Measure and Prepare the Shaft and Hub
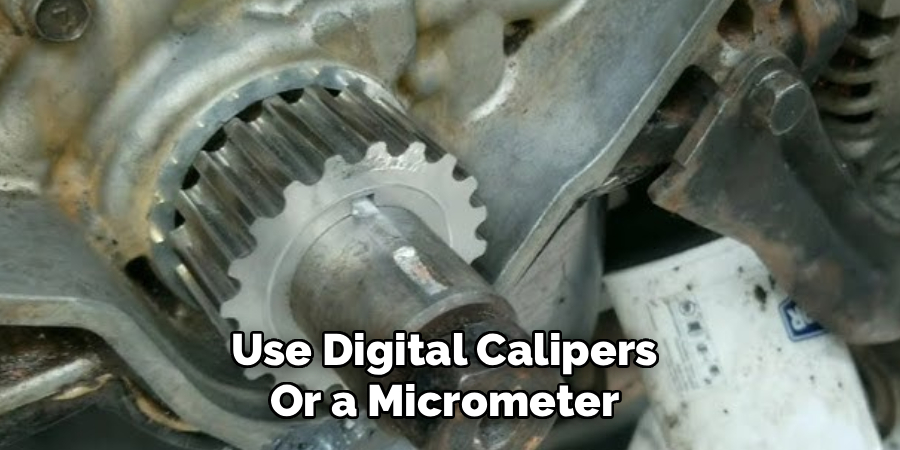
Measurement comes first—everything else depends on it. Use digital calipers or a micrometer to record the shaft diameter and the bore size of the hub. These figures determine the correct key size and the exact depth your cut needs to reach.
After confirming the dimensions, clean both components thoroughly. Rust, old grease, and metal dust may seem minor, but surface contamination can throw off alignment or cause the cutting tool to wander. Secure the shaft in a vise or clamping mechanism until it’s completely stationary.
Step 2: Select the Appropriate Cutting Tool
The right cutting method depends on what type of keyway you’re cutting and what equipment is available. For an internal keyway inside a hub, a broach paired with an arbor press is typically the most reliable approach. The broach is pushed through the bore incrementally, shaving away metal in controlled stages until the slot hits the required depth.
Cutting an external keyway on the shaft itself calls for a different setup—a milling machine fitted with an end mill or a keyseat cutter. A milling machine gives you precise control over both the length and depth of the cut. Whichever method you use, confirm that your cutting tool is sharp and suited to the shaft material. High-speed steel works for most steels; carbide is worth the cost for harder alloys.
Step 3: Align and Secure the Workpiece
Alignment may be the most overlooked part of this whole process. Use a dial indicator to center the shaft beneath the milling cutter, or confirm that the hub sits perfectly flat on the arbor press plate. Even a slight deviation can produce a crooked keyway—one that will generate vibration and accelerate bearing wear once the machine is running.
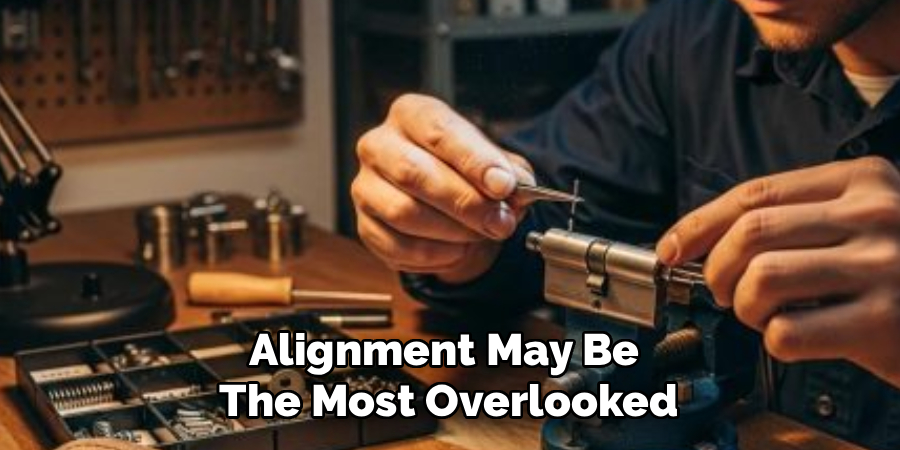
Lock the workpiece down with substantial clamps or a machine vise, then double-check it. Any movement during the cut wastes the shaft and can shatter the tool. Verify your zero points and reference marks before turning anything on.
Step 4: Apply Lubrication and Begin the Cut
Metal cutting generates heat fast, and heat degrades cutting tools and leaves poor surface finishes. Before making the first pass, apply cutting fluid generously, and reapply it throughout the process. Lubrication keeps temperatures manageable and clears metal chips from the cutting path.
Take it slow. Make shallow passes rather than trying to hog out material in one go. On a milling machine, advance the cutter gradually along the shaft and check the depth after the first pass. When broaching, apply steady, even pressure to the arbor press lever, adding shims as needed to work toward the final depth incrementally.
Step 5: Check Dimensions and Adjust as Needed
Midway through, stop and measure. Clear the metal shavings with a brush, then use calipers to check the width and depth of the developing slot. A slight undercut is correctable; a slot that’s too deep may render the shaft unusable.
If the keyway is still shallow, recalculate the remaining material to remove and adjust the milling height or broach shim accordingly. Inconsistent depth—where one end of the slot is deeper than the other—will prevent the key from seating uniformly. That kind of loose connection tends to shear under load rather than hold.
Step 6: Deburr and Clean the Machined Surfaces
Fresh machining leaves sharp edges and metal burrs along the slot. Run a fine-toothed file or deburring tool along both the shaft slot and the hub slot to smooth them out. Skipping this step makes assembly harder and can stop the key from seating properly.
Once the edges are clean, wipe everything down with a solvent-soaked rag to remove cutting fluid residue and fine metal particles. Microscopic debris left on the mating surfaces can cause galling when the hub slides over the shaft under pressure.
Step 7: Fit the Key and Assemble the Components
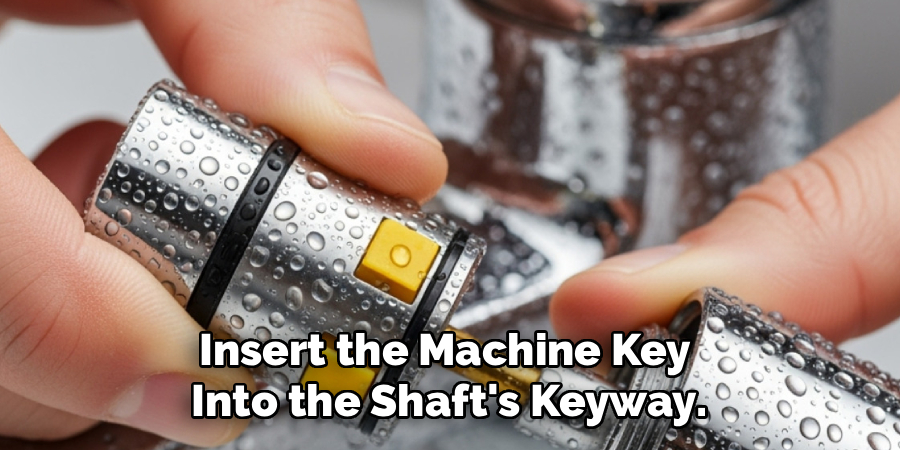
Insert the machine key into the shaft’s keyway. A proper fit should require only a light tap from a brass hammer or rubber mallet—enough to seat it fully, but not so tight that you’re forcing it. If the key wobbles by hand, the slot is likely oversized and will need attention before assembly continues.
With the key seated, align the hub’s keyway over it and slide the hub onto the shaft. A light coat of anti-seize compound or machine oil makes the process smoother and protects against corrosion down the line. Secure the assembly with any required set screws or retaining rings, then rotate the shaft manually to confirm it turns freely without binding.
Following these steps on how to install a keyway on a shaft ensures proper alignment and secure attachment of the key and hub.
Common Mistakes to Avoid
Skipping deburring is probably the most common error—it leads to improper key seating and unnecessary friction during assembly. A close second is failing to secure the workpiece adequately, which produces a crooked cut that undermines power transmission.
Rushing the cut without adequate lubrication damages the tool and leaves a rough finish in the slot. And perhaps most critically: always measure twice before making the first pass. A ruined shaft is far more expensive than the time a second measurement takes.
Do You Need Professional Help?
For machinists with solid experience and access to proper equipment, keyway installation is manageable work. For beginners, the precision required may present a real challenge. Without a reliable milling machine, an arbor press, or calibrated measuring instruments, attempting this task with improvised tools risks ruined components and potential injury.
If the machinery operates at high speeds or under extreme torque loads, a professional machine shop may be the more sensible choice. The specialized tooling and trained judgment a professional brings to the job can mean the difference between a safe installation and a structural failure waiting to happen.
Frequently Asked Questions
What Is The Best Material For A Machine Key?
Carbon steel is the standard choice for most general machinery applications—it offers a practical balance of strength and cost. Stainless steel is preferred in corrosive environments. Brass is occasionally specified in situations where the key is deliberately designed to shear and protect the more expensive components around it.
How Do I Remove A Stuck Key From A Shaft?
Start by applying penetrating oil along the edges of the keyway and leaving it for several minutes to work through any rust or grime. Then use locking pliers or gently drive the key out with a brass punch and a hammer, taking care not to strike the shaft directly. Patience here prevents damage to the shaft surface.
Why Is My Keyway Fitting Too Loose?
A loose fit typically points to inaccurate measurements, a worn cutting tool, or a shaft that has seen significant wear over time. If too much material was removed during the cut, the key won’t sit securely, creating mechanical backlash that worsens under load. Depending on severity, the fix may involve an oversized custom key or having a machine shop weld and recut the slot.
Ensure Mechanical Reliability Moving Forward
A correctly installed keyway keeps rotating machinery running safely and efficiently. Getting the measurements right, cutting carefully, and aligning components properly reduces the risk of unexpected failure—the kind that tends to happen at the worst possible moment.
If you’re planning routine maintenance or upgrading existing equipment, make a habit of inspecting keyways for signs of wear. A worn or widened slot is worth addressing early. Replacing a key is a straightforward job; replacing a shaft that’s finally given out is not. Thanks for reading this guide on how to install a keyway.

About
Stuart Rich is a distinguished figure in the world of metalworking and fabrication, with a decade of expertise creating innovative and sustainable metal projects. His professional focus lies in merging traditional blacksmithing and machining with modern manufacturing techniques, fostering designs that are both practical and durable. As the author of Metalenify, Stuart Rich delves into the art and science of metallurgy and DIY metal creation, inspiring artisans, hobbyists, and industry professionals alike.
Education
RMIT University
(Melbourne, Australia)
Associate Degree in Engineering Technology (Mechanical / Manufacturing)
Focus on metallurgical properties, industry-driven projects, and practical metal craftsmanship. Gained hands-on experience with traditional machining and digital manufacturing tools, such as CAD, CNC software, and precision welding equipment.
Nottingham Trent University
(United Kingdom)
Bachelor’s in Product Design and Materials Engineering (Honors)
Specialized in product design with a heavy focus on blending creativity with metal production and fabrication techniques. Participated in real-world industry projects, collaborating with architectural and hardware manufacturing companies to optimize material efficiency.
Publications and Impact
In Metalenify, Stuart Rich shares his insights on structural metal design processes, material grades, and strategies for efficient shop production. His writing bridges the gap between raw artisan knowledge and modern industrial needs, making it a must-read for both budding DIY metalworkers and seasoned fabrication professionals.





