
Measuring a bearing comes down to three numbers. Grab a digital caliper and record the inner diameter (bore), the outer diameter, and the width. Clean the part first, take a few readings rather than one, then match those figures against a manufacturer’s catalog to track down the right replacement.

Bearing measurement seems like a minor task until you get it wrong. A reading that’s off by a single millimeter can send you a part that won’t seat properly—and that small error tends to snowball into friction, heat, and eventually a machine that quits on you mid-shift.
The payoff for slowing down is real, though. Spend a few extra minutes checking the inner and outer dimensions of your hardware, and you sidestep wasted money and the kind of downtime nobody schedules. What follows is a walkthrough of the whole process, written so you can order the correct replacement without second-guessing yourself. In this guide on how to measure bearing size, we’ll cover the tools you’ll need, the steps to take, and some common mistakes to avoid.
Understanding Bearing Basics
Bearings exist to cut friction between moving parts while carrying rotational loads. Identify one correctly and you’ll need three primary dimensions: the inner diameter (ID), the outer diameter (OD), and the width (W).
The inner diameter is the size of the central hole where the shaft fits. The outer diameter measures the full distance across the outside edge of the metal ring. Width? That’s just the thickness of the bearing itself. Pin down these three and you can cross-reference standard industry charts to find the exact part number for your application.
Tools and Materials You’ll Need
In addition to having a good understanding of the dimensions and specifications of bearings, there are also some tools and materials you’ll need to properly install and maintain them.
Tools:
- Bearing puller or press
- Heat source (such as a heat gun)
- Proper-sized sockets or wrenches
- Grease gun
- Cleaning solvent
Materials:
- Grease/lubricant suitable for your specific bearing type
- Replacement seals (if applicable)
- Bearing locknut (if applicable)
7 Simple Step-By-Step Guidelines on How to Measure Bearing Size
Step 1: Clean the Bearing Thoroughly
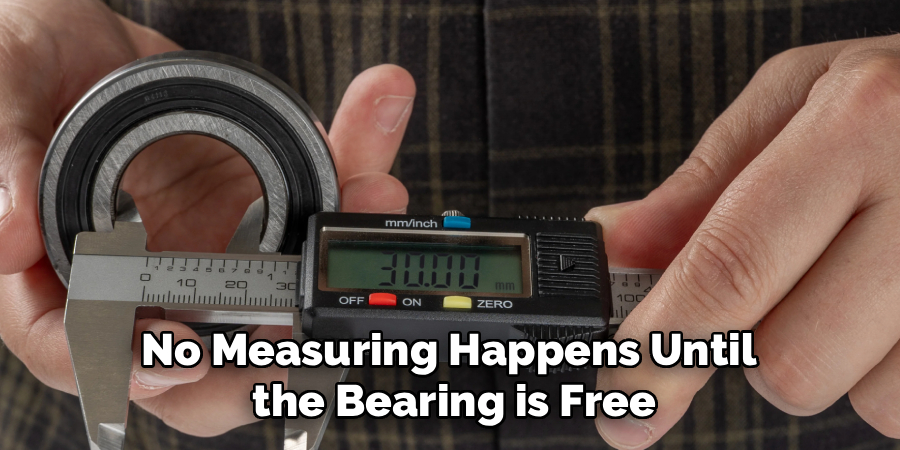
No measuring happens until the bearing is free of dirt, grime, and old lubricating grease. A thin film of debris can throw your caliper reading off by a millimeter, which is plenty to land you the wrong part. Apply a degreaser or mild solvent to a lint-free cloth and wipe down the whole surface.
Give the bore and outer edges extra attention—those are the contact points for your tools. Let the component air dry on a flat, safe surface once it’s clean. A spotless surface lets the caliper jaws sit flush against the metal, so your numbers reflect the real dimensions instead of a layer of compressed gunk.
Step 2: Measure the Inner Diameter (ID)
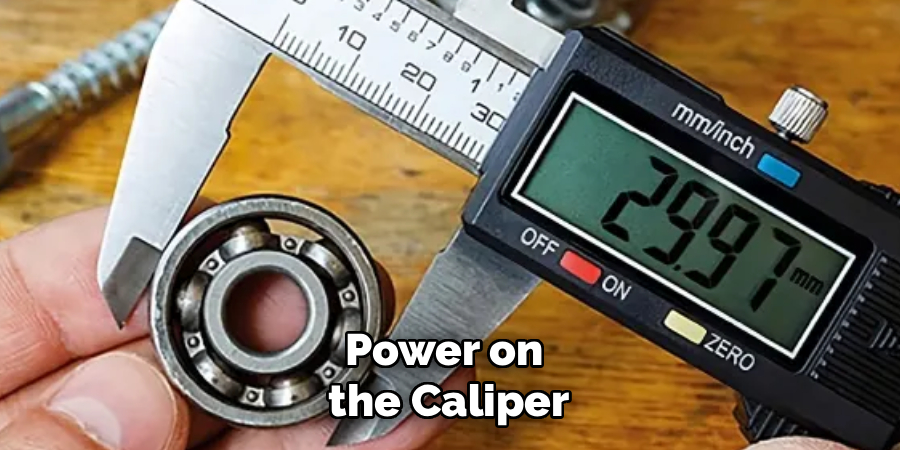
The inner diameter, sometimes called the bore size, is the empty space dead center where the shaft sits. You’ll use the smaller, upward-facing jaws on your caliper for this, since they’re built for inside measurements. Power on the caliper, confirm it’s zeroed, and slide the internal jaws into the center hole.
Open them slowly until they meet the inner walls of the ring with firm, even contact. Snug is the goal—not forced, and not hard enough to scratch the surface. Wiggle the caliper a little to find the widest point across the center, then read the display and jot the number down.
Step 3: Measure the Outer Diameter (OD)
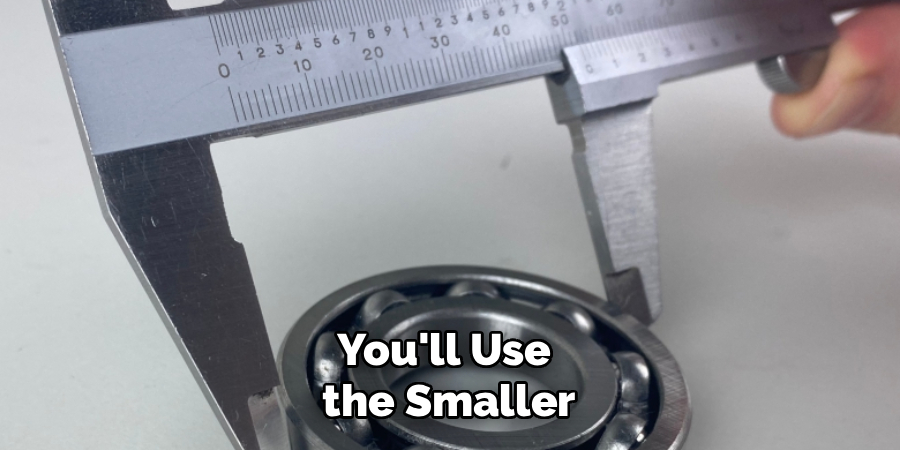
With the inner diameter logged, turn your attention to the total distance across the outside, the outer diameter. Switch to the larger, downward-facing jaws meant for exterior measurements. Close the caliper, hit zero to reset, then open the jaws wide enough for the whole bearing.
Set the hardware squarely between the jaws and ease them closed against the outer metal edges. The bearing has to sit perfectly straight in the tool. Tilt it even slightly, and you’ll get an inflated reading that quietly wrecks your data. Once the jaws rest flush against the outer ring and the number holds steady, record this second dimension next to your first.
Step 4: Measure the Bearing Width (W)
The third measurement is the width, or thickness—the dimension that decides whether the part settles into its housing or sticks out and rattles. Keep the same large outer jaws and turn the bearing on its side so you’re looking straight at the edge. Zero the caliper again before this one.
Clamp the jaws onto the two flat faces of the ring, keeping the metal flush against the tool. Here’s a habit worth building: take this reading at three different points around the circumference to confirm the thickness stays uniform. When the number holds steady across those points, write it down alongside your other two.
Step 5: Check for Tapers and Special Features
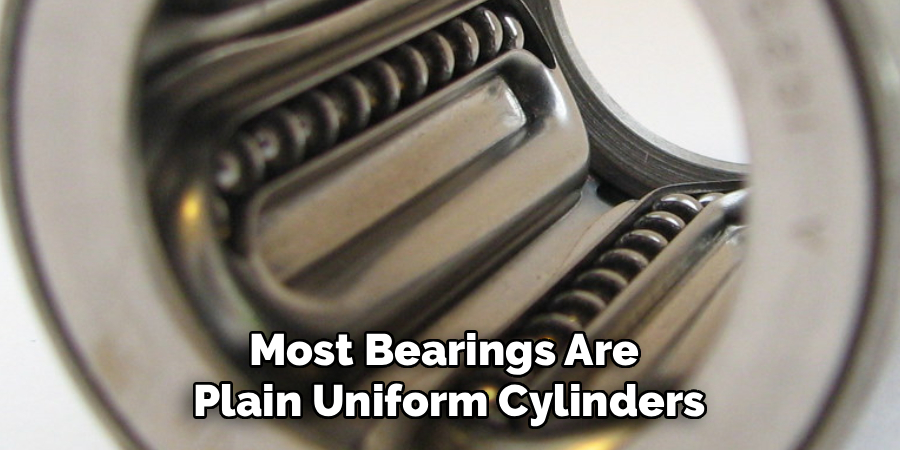
Most bearings are plain uniform cylinders, but some applications call for tapered roller bearings or parts with flanges and protective shields. Look the bearing over. Is the inner bore a straight cylinder, or does it slope? A slope means a tapered design, and you’ll need to capture both the smallest and the largest inside diameters to identify it.
While you’re at it, scan the outer ring for raised edges, snap rings, or extended inner rings that change how the part seats. Note whether the bearing is sealed (rubber covering the sides), shielded (metal covering), or open. These structural details matter as much as the numbers because they shape the bearing’s load capacity and how well it stands up to its environment.
Step 6: Verify Your Measurements
One reading is never enough with precision components. A slight misalignment or a momentary lapse can hand you a bad number. So repeat the whole sequence—inner diameter, outer diameter, width—at least twice more. Reset the caliper to zero before each reading and come at the bearing from a slightly different angle to test for consistency.
When your second and third readings line up with the first, you can trust the data. But if you spot variations beyond a few fractions of a millimeter, stop. Clean the bearing again, recalibrate the tool, and start over. There’s little room for “close enough” in mechanical work, so don’t lock in a number you’re not sure about.
Step 7: Match with a Standard Bearing Chart
Now translate those physical numbers into an actual part number. Bearings are made to strict international standards, which means your dimensions map to a universal identification code. Pull up a standard bearing size chart from a reputable manufacturer or an industrial supplier.
Scan the chart for the row that matches your three measurements. Find it, then read across to the standard bearing series number—something like 6204 or 608. That alphanumeric code is what you hand your supplier to order the exact replacement, which takes the guesswork out of maintenance entirely.
Following these steps on how to measure bearing size can save you time and money in the long run.
Common Mistakes to Avoid
The error that trips people up most often is measuring a bearing still slick with grease, which pads the dimensions and points you toward the wrong part. Heavy-handed pressure on the caliper jaws is another culprit; it can skew the reading or scratch a delicate surface.
Make zeroing the caliper a reflex before every new measurement so you’re not building on a baseline error. And watch your units. Confusing metric for imperial is an easy slip, so check whether the manufacturer’s chart wants millimeters or inches before you start matching.
Tips for Accurate Measurement
A good digital caliper earns its keep. Skip the cheap plastic models and tape measures, which simply can’t deliver the resolution this job demands. Work in good light, too, so you can actually see whether the jaws sit flush against the metal.
There’s a useful workaround for badly worn or damaged bearings: measure the shaft and the housing instead. Those parts tend to hold their original dimensions better than a bearing that’s already failing. And record every reading the second you take it—memory has a way of betraying you right when an order’s on the line.
When Bearing Replacement Is Needed?
Bearings tolerate enormous pressure, but friction, heat, and contamination wear them down over time. Grinding, squealing, or clicking from your machinery during operation is your cue to replace it.
The same goes for unusual vibration, excessive heat, or visible damage like rust and metal flaking on the surface. Put this off and the bearing may seize entirely, which usually takes the surrounding shafts and housings down with it—a much pricier problem than the part you were avoiding.
Applications of Accurate Bearing Sizing
Plenty of industries lean on correct bearing sizing to keep their equipment running. In automotive work, wheel and engine bearings have to be sized exactly to manage high-speed rotation and heavy vehicle loads.
Manufacturing plants depend on precise bearings for conveyor belts, robotic arms, and heavy-duty motors. Even the gear in your garage counts—skateboards, bicycles, and household appliances all need accurate bearing measurements to run smoothly and safely.
Frequently Asked Questions
What Is the Best Tool to Measure Bearing Size?
A high-quality digital caliper is generally regarded as the best tool for the job. It reads down to a fraction of a millimeter and includes dedicated jaws for both internal and external measurements. Micrometers are accurate too, but most people favor calipers for their versatility and how easy they are to use.
Can I Measure a Bearing With a Standard Ruler?
A ruler or flexible tape measure won’t cut it for bearing dimensions. These parts are sized to the millimeter, and a ruler can’t offer that kind of precision—a visual guess will almost certainly point you to the wrong part. Stick with a precision instrument like a digital caliper so your data holds up.
How Do I Find the Bearing Number From My Measurements?
Once you’ve logged the inner diameter, outer diameter, and width, consult a manufacturer’s size chart to locate the bearing number. These charts are widely available online and list standard bearing codes beside their physical dimensions. Match your three measurements to the chart, and you’ll have the correct alphanumeric part number.
Wrapping Up Your Bearing Measurement Journey
Knowing how to measure bearing size is a skill that pays for itself—saved time, less frustration, and fewer expensive failures down the road. Clean your components carefully, lean on a reliable digital caliper, and follow a consistent verification routine, and you’ll buy the right replacement part every time.
Keep a digital copy of a standard bearing chart within reach, and just about any maintenance task becomes manageable.

About
Stuart Rich is a distinguished figure in the world of metalworking and fabrication, with a decade of expertise creating innovative and sustainable metal projects. His professional focus lies in merging traditional blacksmithing and machining with modern manufacturing techniques, fostering designs that are both practical and durable. As the author of Metalenify, Stuart Rich delves into the art and science of metallurgy and DIY metal creation, inspiring artisans, hobbyists, and industry professionals alike.
Education
RMIT University
(Melbourne, Australia)
Associate Degree in Engineering Technology (Mechanical / Manufacturing)
Focus on metallurgical properties, industry-driven projects, and practical metal craftsmanship. Gained hands-on experience with traditional machining and digital manufacturing tools, such as CAD, CNC software, and precision welding equipment.
Nottingham Trent University
(United Kingdom)
Bachelor’s in Product Design and Materials Engineering (Honors)
Specialized in product design with a heavy focus on blending creativity with metal production and fabrication techniques. Participated in real-world industry projects, collaborating with architectural and hardware manufacturing companies to optimize material efficiency.
Publications and Impact
In Metalenify, Stuart Rich shares his insights on structural metal design processes, material grades, and strategies for efficient shop production. His writing bridges the gap between raw artisan knowledge and modern industrial needs, making it a must-read for both budding DIY metalworkers and seasoned fabrication professionals.





