
Copper is one of the most rewarding metals to work with, and a hammered texture turns a plain sheet into something with real character. If you have ever admired the dimpled surface of a handmade copper bowl or a piece of statement jewelry, you have seen this craft in action. Learning how to texture copper sheet with hammers is a beginner-friendly skill that needs only a few tools, a little patience, and a willingness to practice.
The process is simple at its core: you strike the metal with shaped hammers against a hard surface, and each blow leaves its own mark. Over time, those marks combine into beautiful patterns that catch the light. This guide walks you through everything you need, from gathering supplies to finishing your piece. Whether you are crafting decor, jewelry, or art, you will find the steps clear and easy to follow. No prior metalworking experience is needed, so grab your sheet and let us get started on something you will be proud to show off.
Why Texturing Copper Sheet With Hammers Matters
Adding texture does more than make copper look good, though it certainly does that. A hammered surface hides small scratches and fingerprints, so your finished piece stays attractive with less upkeep. The dimples and ridges also catch light from many angles, giving the metal a warm, lively glow that flat sheets simply cannot match. On a practical level, hammering work-hardens copper, making thin sheets stronger and more resistant to bending.
This matters for items like bowls, cuffs, and pendants that get handled often. Texturing also lets you add a personal signature to your work, since no two hammered patterns are ever identical. Best of all, it is an accessible technique that rewards beginners quickly. With each session you build muscle memory, reduce mistakes, and gain confidence to tackle bigger projects.
Step-By-Step Guide To How To Texture Copper Sheet With Hammers
Step 1: Gather Your Tools And Materials
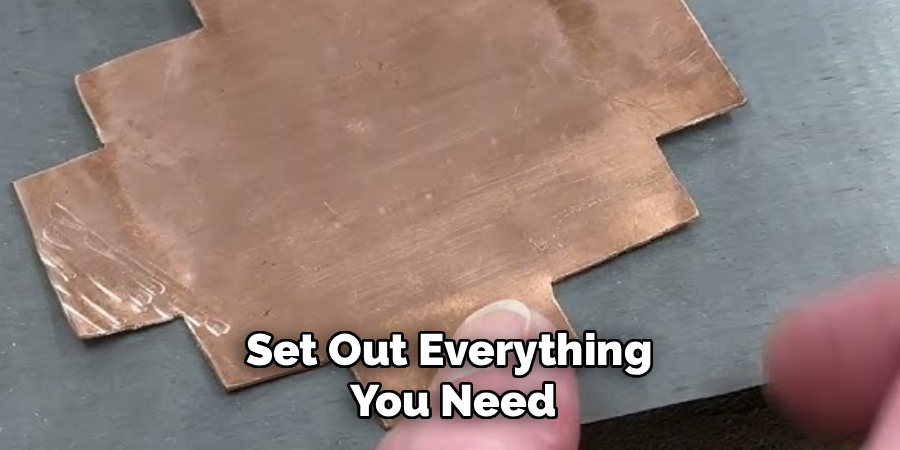
Before you start, set out everything you need so the process flows smoothly. You will want a copper sheet between 18 and 24 gauge, which is thin enough to shape yet sturdy enough to hold detail. Pick up a few hammers with different faces, such as a ball-peen, a cross-peen, and a flat-faced planishing hammer. Each one leaves a distinct mark, so variety gives you more creative options.
You will also need a solid steel bench block or a small anvil to support the metal. Add safety glasses, work gloves, and a pair of metal snips for trimming. Keep a soft cloth and some painter’s tape nearby for protecting and cleaning your work.
Step 2: Prepare Your Work Surface
A stable setup makes all the difference, so take a moment to organize your space. Place your steel bench block on a sturdy table that will not wobble when you strike it. If your table has any give, slip a sandbag or a thick leather pad underneath the block to absorb shock and reduce noise. This protects both your ears and your wrists during longer sessions.
Make sure you have good lighting from the side, since angled light helps you see the texture forming as you work. Clear away clutter so your hammers stay within easy reach. A tidy, well-supported surface keeps your strikes accurate and your results consistent from the very first blow.
Step 3: Clean And Anneal The Copper
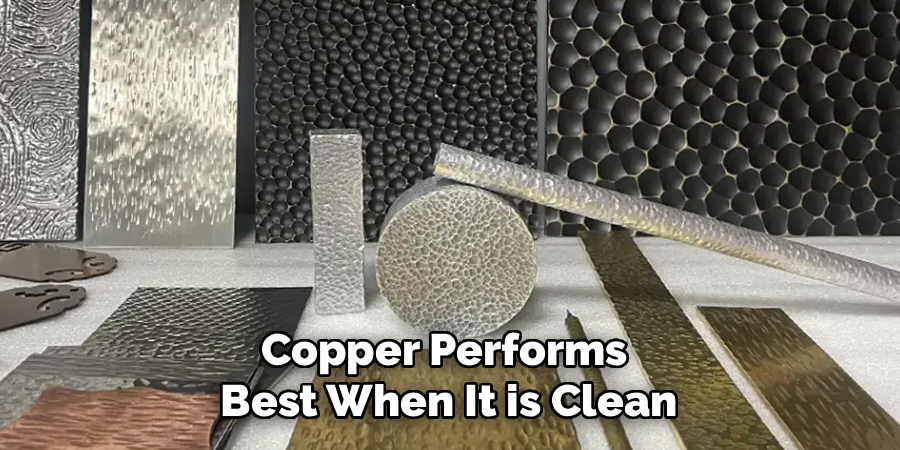
Copper performs best when it is clean and soft, so start by wiping the sheet with a mild dish soap and warm water to remove oils and dust. Dry it completely to prevent water spots. Many crafters then anneal the metal, which means heating it until it glows a dull red, then letting it cool. Annealing relaxes the copper and makes it easier to texture.
If you choose to anneal, use a small butane torch and work in a safe, fire-resistant area. Let the sheet air cool or quench it in water once it dims. Learning how to texture copper sheet with hammers becomes far easier when the metal is soft and free of stiffness.
Step 4: Secure The Sheet And Plan Your Pattern
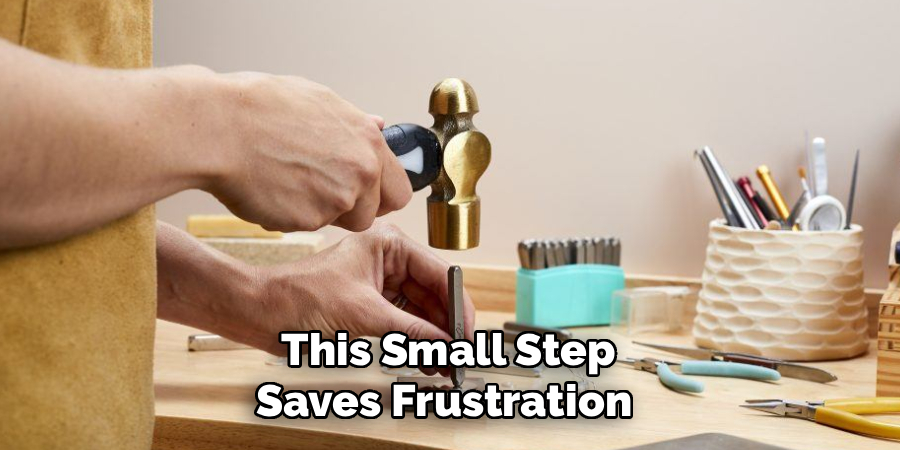
Now position your clean copper flat on the bench block. To keep it from sliding, tape down two opposite corners with painter’s tape, leaving the center open for hammering. This small step saves frustration and keeps your strikes landing where you intend.
Take a minute to picture the pattern you want. Some makers prefer an even, all-over dimple, while others like random clusters or directional lines. You can lightly mark guide dots with a pencil if that helps you stay organized. Planning ahead reduces guesswork and gives your finished piece a deliberate, professional look rather than a scattered, accidental one.
Step 5: Begin Hammering With Controlled Strikes
With everything ready, pick up your ball-peen hammer and hold it near the end of the handle for better control and natural swing. Strike the copper with firm, even taps, letting the weight of the hammer do most of the work. Avoid swinging too hard, since heavy blows can dent or warp the sheet unevenly.
Move across the surface in a steady rhythm, slightly overlapping each mark so no bare gaps remain. Rotate the sheet as you go to keep your angle comfortable. Knowing how to texture copper sheet with hammers comes down to consistency, so focus on repeating the same motion rather than rushing through the whole piece at once.
Step 6: Layer Different Hammer Faces
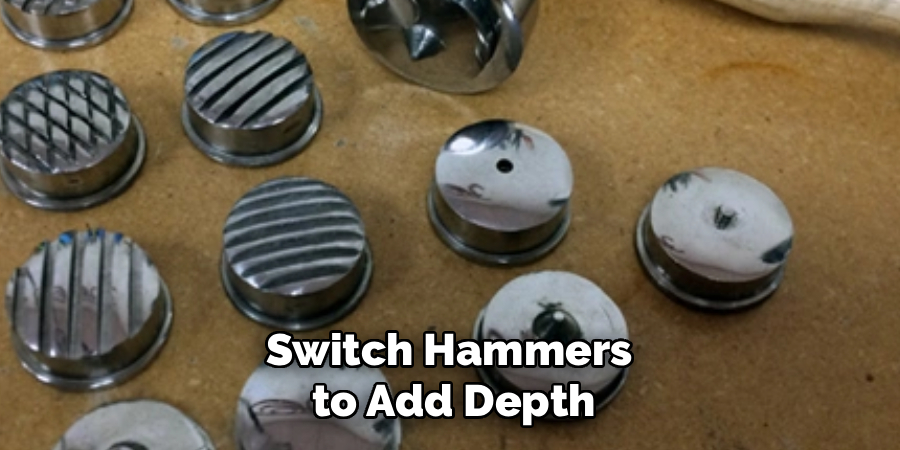
Once you have a base layer of texture, switch hammers to add depth and interest. Try the cross-peen for short linear marks or the flat planishing face to smooth and brighten select areas. Layering different shapes creates contrast that makes the surface feel rich and intentional rather than flat and repetitive.
Work slowly and step back often to check how the light plays across your pattern. If one area looks too sparse, add a few more taps to balance it. This is where your personal style truly shows, so feel free to experiment. There is no single correct look, and small variations make each piece uniquely yours.
Step 7: Clean, Polish, And Seal Your Work
After the texture satisfies you, remove the tape and inspect the sheet for any flat spots you may have missed. Give it a final wipe with a soft cloth to clear away debris. To brighten the copper, rub it gently with a polishing cloth or a paste of salt and lemon, then rinse and dry thoroughly.
If you want to keep that fresh shine, apply a thin coat of clear lacquer or a metal wax, since copper naturally darkens over time. Some makers love that aged patina and skip sealing altogether. Either choice is valid, so decide based on the look you want for your finished project.
Frequently Asked Questions
What Gauge Of Copper Is Best For Beginners?
For beginners, 20 to 24 gauge copper is the sweet spot. It is thin enough to shape easily with light hammer strikes, yet thick enough to hold detail without tearing. Thinner sheets dent too quickly, while heavier gauges demand more force and stronger tools. Starting in this middle range builds confidence and lets you practice control before moving on to more challenging projects.
Do I Really Need To Anneal The Copper First?
Annealing is not strictly required, but it helps a lot. Heating the copper softens it, so your hammer marks land cleanly and the metal resists cracking. If you skip annealing, you can still texture the sheet, though it may feel stiffer and need more effort. For thin sheets and simple patterns, many crafters work cold and get great results either way.
How Do I Stop The Sheet From Warping?
Warping usually happens when strikes are uneven or too forceful. Keep your blows light and consistent, and let the hammer’s weight do the work. Supporting the copper fully on a flat steel block also prevents bending. If a piece does curl, you can gently flatten it by tapping the back side with a soft mallet against your block until it lies flat again.
Can I Texture Copper Without Special Hammers?
Yes, you can experiment with everyday tools, though purpose-made hammers give the cleanest results. Old screwdrivers, bolts, and chisels create interesting stamped marks when tapped with a regular hammer. Just make sure any tool you use is clean and free of rust to avoid transferring marks you do not want. Improvising is a fun, low-cost way to discover patterns before investing in dedicated hammers.
How Do I Keep My Finished Piece From Tarnishing?
Copper naturally darkens as it reacts with air, which some people love and others prefer to prevent. To keep the bright finish, apply a thin layer of clear lacquer or a microcrystalline wax after polishing. Store the piece away from humidity for extra protection. If you enjoy a darker, antique look, simply leave it untreated and let the patina develop over time.
Conclusion
Texturing copper is a satisfying craft that turns a flat sheet into a piece full of light, depth, and personality. By gathering the right tools, preparing your surface, softening the metal, and striking with steady, controlled blows, you can create patterns that are truly your own. Remember to layer different hammer faces for added interest, and finish with polishing or sealing based on the look you prefer.
With a little practice, you will see your skills improve quickly, your mistakes shrink, and your confidence grow. Now that you understand how to texture copper sheet with hammers, the best next step is simply to begin. Grab a small offcut, try a few strikes, and enjoy the process. Every piece you make teaches you something new, so keep experimenting, keep refining, and soon you will be crafting textured copper you are proud to share with everyone.

About
Stuart Rich is a distinguished figure in the world of metalworking and fabrication, with a decade of expertise creating innovative and sustainable metal projects. His professional focus lies in merging traditional blacksmithing and machining with modern manufacturing techniques, fostering designs that are both practical and durable. As the author of Metalenify, Stuart Rich delves into the art and science of metallurgy and DIY metal creation, inspiring artisans, hobbyists, and industry professionals alike.
Education
RMIT University
(Melbourne, Australia)
Associate Degree in Engineering Technology (Mechanical / Manufacturing)
Focus on metallurgical properties, industry-driven projects, and practical metal craftsmanship. Gained hands-on experience with traditional machining and digital manufacturing tools, such as CAD, CNC software, and precision welding equipment.
Nottingham Trent University
(United Kingdom)
Bachelor’s in Product Design and Materials Engineering (Honors)
Specialized in product design with a heavy focus on blending creativity with metal production and fabrication techniques. Participated in real-world industry projects, collaborating with architectural and hardware manufacturing companies to optimize material efficiency.
Publications and Impact
In Metalenify, Stuart Rich shares his insights on structural metal design processes, material grades, and strategies for efficient shop production. His writing bridges the gap between raw artisan knowledge and modern industrial needs, making it a must-read for both budding DIY metalworkers and seasoned fabrication professionals.





