
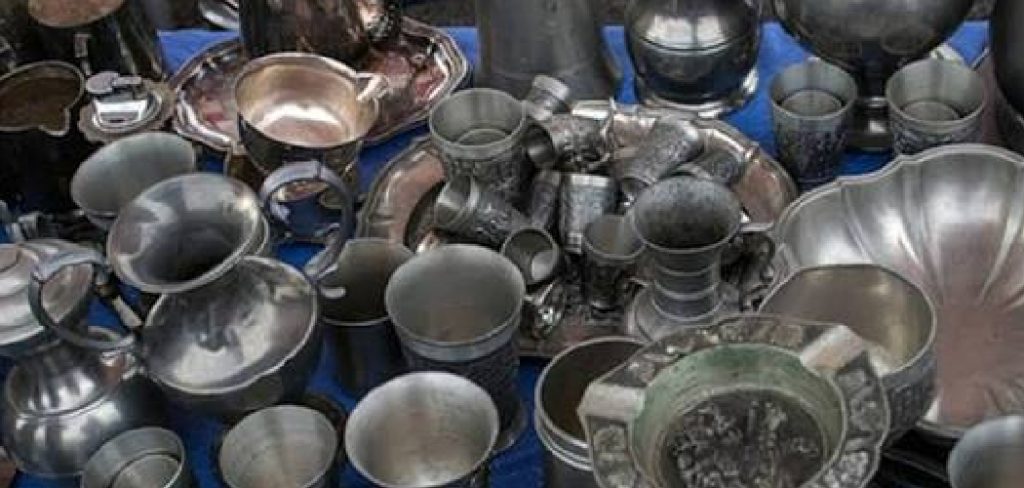
Pewter zinc alloy has a soft, modern shine when it’s brand new. But sometimes that fresh look feels a little too clean. Maybe you’re restoring a vintage piece, crafting decor with old-world charm, or matching a new fixture to antique hardware. Whatever your goal, learning how to age pewter zinc alloy quickly lets you skip years of natural wear and create that aged, characterful patina in a single afternoon. The good news?
You don’t need to be a metalworking expert to do it. With a few common household items and some simple techniques, you can transform shiny metal into something that looks decades old. This guide walks you through every step in plain language, so anyone can follow along confidently. We’ll cover why aging matters, the exact process to use, and answers to the questions people ask most. By the end, you’ll feel ready to tackle your own project and enjoy results you can be proud of.
Why Aging Pewter Zinc Alloy Matters
Aging pewter zinc alloy gives your pieces personality that fresh metal simply can’t match. A natural patina adds depth, warmth, and a sense of history that makes objects feel authentic rather than mass-produced. For restoration projects, artificial aging helps new parts blend seamlessly with older originals, so repairs disappear into the design. It’s also a practical choice.
A controlled patina can protect the surface and hide minor scratches or imperfections you’d rather not see. Beyond looks, the process empowers you to customize finishes to suit your taste, whether you want a soft gray tone or a darker, weathered effect. Best of all, you stay in full control of the outcome, adjusting your approach until the result matches exactly what you imagined.
Step-By-Step Guide To How to Age Pewter Zinc Alloy Quickly
Step 1: Gather Your Materials And Workspace
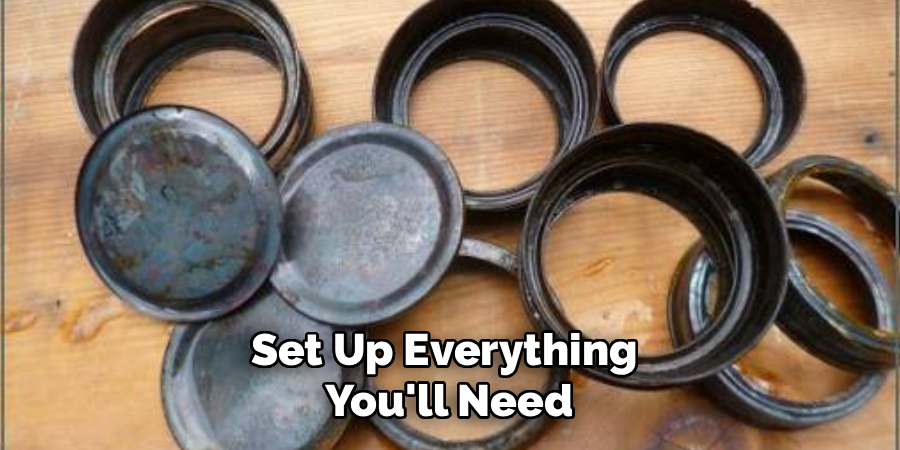
Before you start, set up everything you’ll need in one place. You’ll want gloves, safety glasses, a clean rag, fine steel wool, white vinegar, salt, hydrogen peroxide, and a plastic container. Work in a well-ventilated area, ideally near an open window or outdoors, since some solutions release mild fumes.
Lay down newspaper or a plastic sheet to protect your surface from spills. Having everything ready means you won’t scramble mid-project, which keeps your results consistent. Think of this prep stage as your foundation. A tidy, organized workspace makes the entire aging process smoother, safer, and far more enjoyable from start to finish.
Step 2: Clean The Metal Surface Thoroughly
Patina won’t develop evenly on dirty or greasy metal, so cleaning comes first. Wash your piece with warm water and a little dish soap, then dry it completely with a soft cloth. Oils from your fingers can also interfere, so handle the clean item with gloves from this point forward.
For stubborn residue, give the surface a gentle rub with fine steel wool. This removes any protective coating and slightly roughens the metal, helping your aging solution grip better. Once everything looks clean and dull, you’re ready to move on. A spotless starting surface is the secret to a believable, uniform finish.
Step 3: Mix Your Aging Solution
Now comes the fun chemistry part. In your plastic container, combine equal parts white vinegar and hydrogen peroxide, then stir in a generous pinch of salt. This mixture reacts with the zinc in the alloy to speed up oxidation, which is exactly how to age pewter zinc alloy quickly without waiting years for natural tarnish.
Stir gently until the salt dissolves. You can adjust the strength later, but start with this balanced ratio for a reliable, even result. Keep the solution within reach and avoid breathing in the fumes directly. With your mixture ready, you’re set to begin transforming the metal’s appearance.
Step 4: Apply The Solution Evenly
Dip your rag or a soft brush into the solution and apply it across the entire surface. Work in smooth, overlapping strokes so no area gets missed. You’ll notice the metal start to change tone within minutes, shifting from bright silver toward a softer gray.
For deeper aging, you can submerge smaller pieces directly in the container. Keep an eye on the reaction as it develops, since this is where you control the final look. The longer the solution stays in contact, the darker the patina becomes. This hands-on stage is one of the best ways to age pewter zinc alloy quickly while staying in full control.
Step 5: Monitor And Build The Patina
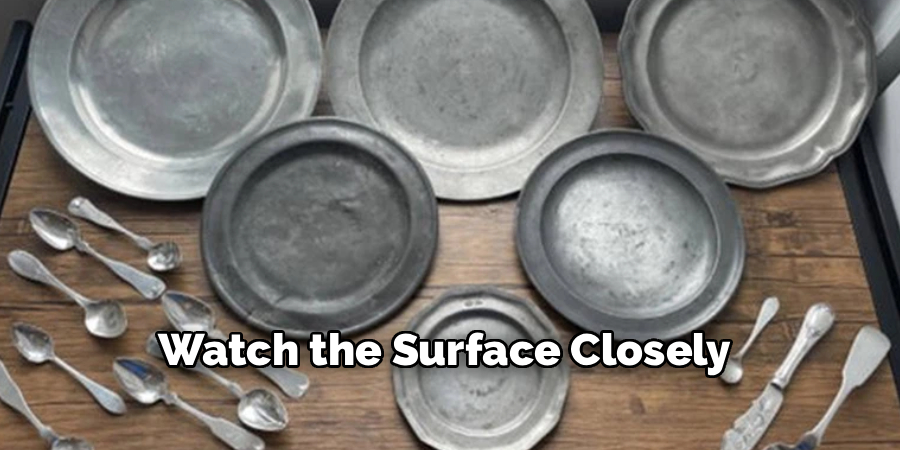
Patience pays off here, even though the process is fast. Watch the surface closely over the next ten to twenty minutes. If you want a lighter, weathered effect, stop early. For a richer, antique look, reapply the solution in layers, letting each one settle before adding the next.
You can speed up oxidation slightly by gently warming the piece with a hair dryer between coats. Avoid rushing, though, because building gradually gives you a more natural, varied finish. Keep checking until the color matches your vision. Remember, you can always add more, but you can’t easily undo too much.
Step 6: Rinse And Neutralize
Once you’re happy with the color, stop the chemical reaction promptly. Rinse the piece under cool running water to wash away the acidic solution. Then wipe it with a cloth dampened in a baking soda and water mix, which neutralizes any leftover acid and prevents over-aging.
Dry the metal completely with a clean towel afterward. This step protects your hard work and keeps the patina stable. Skipping it can cause uneven discoloration or continued tarnishing you didn’t plan for. Take a moment here to inspect the surface in good light, checking that the finish looks even and exactly how you wanted it.
Step 7: Seal And Protect The Finish
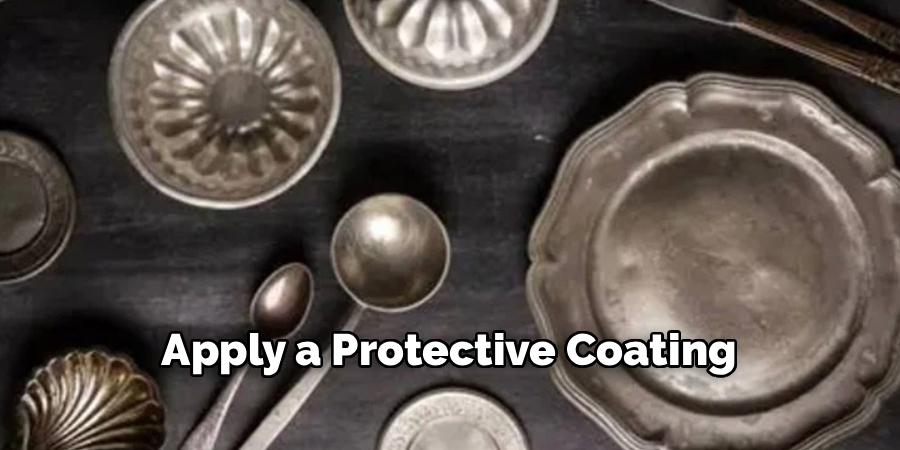
To lock in your new look, apply a protective coating. A thin layer of clear wax or matte lacquer works beautifully, sealing the patina and shielding it from fingerprints, moisture, and future wear. Use a soft cloth for wax, buffing gently, or a light spray for lacquer.
Allow the sealant to cure fully according to the product instructions before handling the piece regularly. This final touch keeps your aged finish looking great for years to come. Once it’s dry, step back and admire your work. You’ve successfully transformed shiny metal into a piece with genuine character and timeless appeal.
Frequently Asked Questions
How Long Does The Aging Process Actually Take?
Most projects take between thirty minutes and an hour from start to finish. The chemical reaction itself often begins within minutes, and you can build a deeper patina in about twenty minutes. Drying and sealing add a little extra time. Compared to natural aging, which takes years, this fast method delivers impressive results in a single afternoon.
Is This Process Safe To Do At Home?
Yes, it’s safe when you take basic precautions. Always wear gloves and safety glasses, and work in a well-ventilated space to avoid breathing fumes. The household ingredients are mild, but the solution is acidic, so keep it away from skin, eyes, and pets. Following each step carefully keeps the process beginner-friendly and low-risk for everyone.
Can I Reverse The Patina If I Don’t Like It?
You can lighten or remove unwanted patina before sealing. Gently buff the surface with fine steel wool or a metal polish to bring back some shine. If you’ve already sealed the piece, you’ll need to remove the coating first. It’s always wise to test your technique on a hidden area before committing to the whole project.
Will This Method Work On Other Metals Too?
This particular solution is tailored for the zinc content in pewter alloys, so results vary on other metals. Copper, brass, and bronze each react differently and often need different chemicals. If you’re working with a mixed-metal item, test a small spot first. For best results, match your aging method to the specific metal you’re treating.
What If My Patina Looks Uneven Or Patchy?
Uneven results usually come from skipped cleaning or inconsistent application. To fix patchiness, buff the area lightly, then reapply the solution in thin, even layers. Warming the surface gently can help blend tones. Don’t worry if it isn’t perfect on the first try. A slightly varied finish often looks more authentic and natural anyway.
Conclusion
Transforming bright, new metal into something with timeless character is easier than you might think. With a clean surface, a simple household solution, and a little patience, you can master how to age pewter zinc alloy quickly and enjoy professional-looking results at home. The key takeaways are straightforward: prepare your workspace well, clean thoroughly, build your patina in layers, and always seal the finish to protect your work.
Each step gives you full control, so you can stop exactly when the look matches your vision. Whether you’re restoring a beloved antique or adding charm to a new piece, this method empowers you to create finishes you’ll love. So gather your materials, set aside an afternoon, and give it a try. Once you see how rewarding the process is, you’ll feel confident tackling even bigger projects with ease.

About
Stuart Rich is a distinguished figure in the world of metalworking and fabrication, with a decade of expertise creating innovative and sustainable metal projects. His professional focus lies in merging traditional blacksmithing and machining with modern manufacturing techniques, fostering designs that are both practical and durable. As the author of Metalenify, Stuart Rich delves into the art and science of metallurgy and DIY metal creation, inspiring artisans, hobbyists, and industry professionals alike.
Education
RMIT University
(Melbourne, Australia)
Associate Degree in Engineering Technology (Mechanical / Manufacturing)
Focus on metallurgical properties, industry-driven projects, and practical metal craftsmanship. Gained hands-on experience with traditional machining and digital manufacturing tools, such as CAD, CNC software, and precision welding equipment.
Nottingham Trent University
(United Kingdom)
Bachelor’s in Product Design and Materials Engineering (Honors)
Specialized in product design with a heavy focus on blending creativity with metal production and fabrication techniques. Participated in real-world industry projects, collaborating with architectural and hardware manufacturing companies to optimize material efficiency.
Publications and Impact
In Metalenify, Stuart Rich shares his insights on structural metal design processes, material grades, and strategies for efficient shop production. His writing bridges the gap between raw artisan knowledge and modern industrial needs, making it a must-read for both budding DIY metalworkers and seasoned fabrication professionals.





