
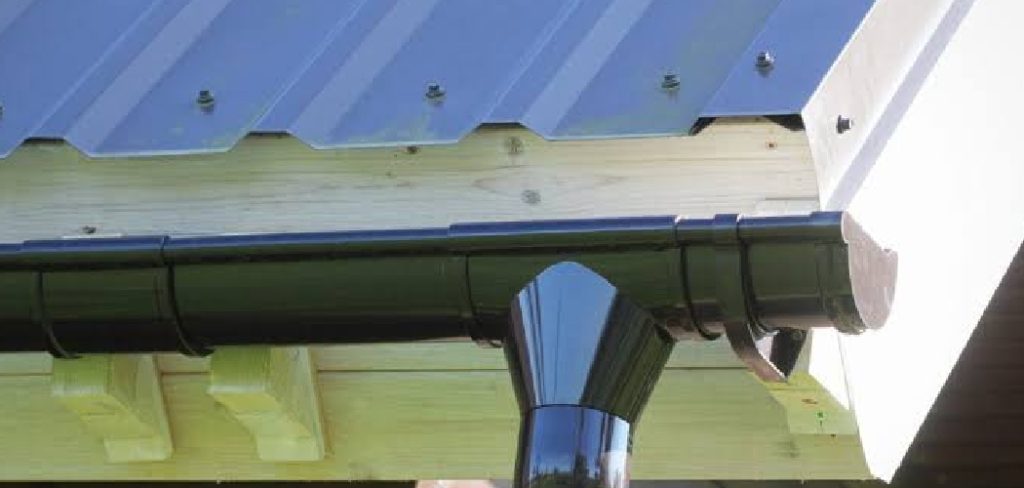
Few sounds test your patience like rain hammering against a metal roof. What starts as a gentle pitter-patter can quickly turn into a roaring drumbeat that drowns out conversations, disrupts sleep, and makes your home feel less peaceful. If you’ve ever wondered how to soundproof metal roof from rain, you’re not alone. Metal roofs are durable, stylish, and energy-efficient, but they amplify sound in ways that shingle roofs simply don’t.
The good news? You don’t have to live with the noise. With the right materials and a step-by-step approach, you can dramatically reduce that racket and reclaim your quiet. This guide walks you through everything you need, from understanding why metal roofs are so loud to practical fixes you can tackle yourself or hand off to a professional. Whether you’re a complete beginner or a hands-on homeowner, you’ll find clear, actionable advice here. Let’s turn that thunderous rooftop into a calm, comfortable space you’ll actually enjoy during a downpour.
Why Soundproofing Your Metal Roof From Rain Matters
Rain noise isn’t just an annoyance — it affects your daily comfort and wellbeing. Constant loud drumming can interrupt sleep, raise stress levels, and make it hard to focus or relax at home. For families, remote workers, and light sleepers, that matters a lot.
Soundproofing also adds real value. A quieter roof improves your home’s livability and can boost its appeal to future buyers. Many of the same materials that block noise also improve insulation, which means lower energy bills year-round. You get a double benefit: peace and savings.
Best of all, most solutions are straightforward and budget-friendly. Whether you choose insulation, underlayment, or simple sealing, each step brings noticeable improvement. Investing a little time now means enjoying calm, comfortable spaces every time the clouds roll in.
Step-by-Step Guide to How to Soundproof Metal Roof From Rain
Step 1: Inspect Your Roof and Identify Noise Sources

Before buying any materials, take time to understand where your noise problem starts. Climb into your attic during a rainstorm if it’s safe, and listen carefully. Loose panels, gaps, and uninsulated sections often vibrate the most, amplifying every drop. Note which areas sound loudest and check for visible spaces between the metal and the roof structure.
A clear picture of your roof’s weak points saves you time and money later. You’ll know exactly where to focus your effort rather than treating the whole roof equally. Bring a flashlight, take photos, and jot down what you find so you can plan a targeted approach.
Step 2: Seal Gaps and Tighten Loose Panels
Once you know your trouble spots, start by sealing gaps and securing anything that moves. Loose fasteners and panels rattle with every gust and raindrop, so tightening screws and adding washers can make an immediate difference. Use a quality exterior sealant or acoustic caulk to fill small cracks where sound and moisture sneak through.
This step is one of the most affordable and effective parts of how to soundproof metal roof from rain, yet many people skip it. Sealing not only quiets your home but also prevents leaks and drafts. Work methodically, panel by panel, and you’ll notice a calmer roof almost right away.
Step 3: Install Acoustic Insulation
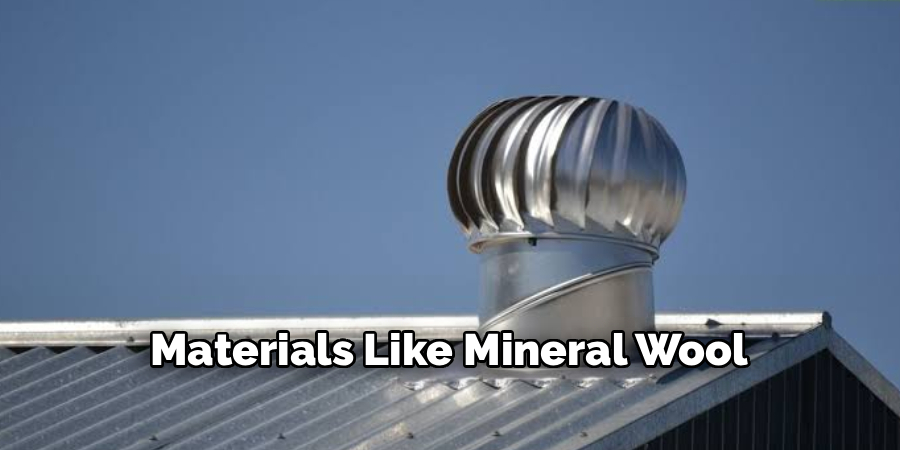
Insulation is your strongest weapon against rain noise. Materials like mineral wool, fiberglass batts, or spray foam absorb sound waves before they bounce into your living space. Fit the insulation snugly between roof joists or rafters, leaving no gaps for sound to travel through. Thicker, denser materials generally deliver better results.
Beyond noise reduction, insulation regulates temperature and lowers your energy costs. Think of it as one upgrade that solves several problems at once. If you’re unsure which type suits your roof, a quick chat with a supplier or contractor helps you match the right product to your climate and budget.
Step 4: Add a Soundproofing Underlayment
An underlayment sits between the metal panels and the roof deck, acting as a cushion that muffles impact noise. Mass-loaded vinyl, rubber membranes, and specialized acoustic underlayments are popular choices because they’re dense yet flexible. They dampen vibrations and stop sound from transferring into the structure below.
If your roof is already installed, adding underlayment may require lifting panels, so this step often suits new builds or major re-roofing projects. Still, it’s worth considering when you plan how to soundproof metal roof from rain for the long term. The quieter, more comfortable result makes the extra effort genuinely worthwhile.
Step 5: Apply Resilient Channels or Decoupling
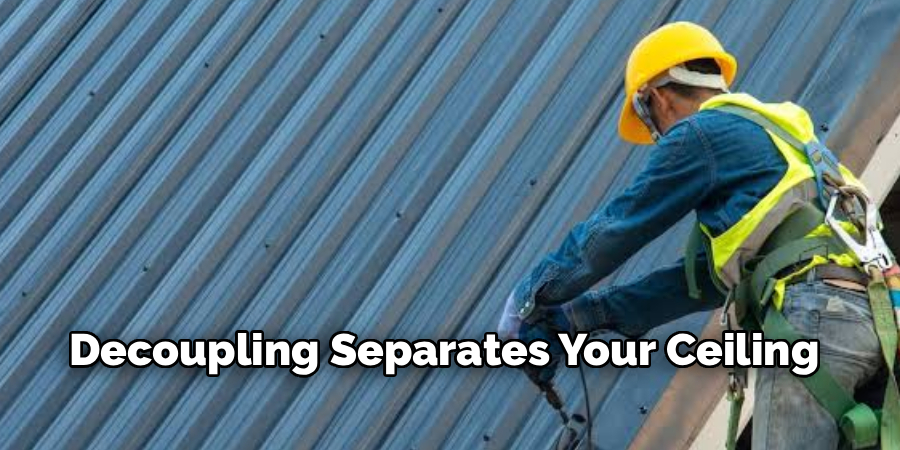
Decoupling separates your ceiling from the roof structure so sound vibrations can’t pass straight through. Resilient channels are thin metal strips that you attach to the joists before mounting drywall or ceiling panels. This small air gap interrupts the path noise takes, reducing how much reaches your ears.
It sounds technical, but the concept is simple: break the connection, break the sound. This method works especially well in finished rooms where you want a polished, quiet space. Pair decoupling with insulation for even stronger results, and you’ll be amazed at how much calmer your interior becomes during heavy rain.
Step 6: Finish With an Insulated Ceiling
A well-built ceiling acts as your final barrier against rain noise. Adding a layer of drywall, acoustic ceiling tiles, or insulated panels traps any remaining sound before it enters the room. For the best outcome, use dense materials and seal the edges tightly so no noise slips through the cracks.
This step also gives your space a clean, finished look while quietly doing its job overhead. If you’ve already insulated and decoupled, the ceiling locks in all that hard work. Many homeowners are surprised by how much quieter and cozier their rooms feel once this final layer is in place.
Step 7: Test, Adjust, and Maintain
After completing your upgrades, wait for the next rainstorm and listen closely. Compare the new sound levels to your earlier notes and see how far you’ve come. If certain spots still feel loud, you can target them with extra sealing or insulation rather than redoing everything.
Maintenance keeps your results lasting for years. Check fasteners, sealant, and insulation periodically, especially after storms or seasonal shifts. Small touch-ups prevent bigger problems down the road. With regular care, your quiet roof stays quiet, giving you lasting comfort and confidence that your effort truly paid off.
Frequently Asked Questions
Can I Soundproof My Metal Roof Without Removing the Panels?
Yes, you can. Many effective methods work from the inside, so you won’t need to lift any panels. Adding attic insulation, sealing gaps, installing resilient channels, and finishing with an insulated ceiling all reduce noise without touching the roof exterior. These interior fixes are often easier, more affordable, and ideal for homeowners who want quieter results without a full re-roofing project.
How Much Does It Cost to Reduce Rain Noise on a Metal Roof?
Costs vary widely based on your home’s size and the methods you choose. Simple fixes like sealing gaps or adding attic insulation might cost a few hundred dollars. Larger projects involving underlayment, decoupling, or new ceilings can run into the thousands. Starting with affordable steps first lets you measure improvement before deciding whether bigger investments are necessary for your comfort.
Which Insulation Works Best Against Rain Noise?
Dense materials perform best at absorbing sound. Mineral wool and fiberglass batts are popular, affordable choices that fit neatly between rafters. Spray foam offers excellent coverage and seals gaps at the same time. Mass-loaded vinyl adds serious noise-blocking power when used as an underlayment. The right pick depends on your budget, climate, and whether you want added energy savings alongside quieter rooms.
Will Soundproofing Also Help With Temperature Control?
Absolutely. Many soundproofing materials, especially insulation, do double duty by regulating indoor temperature. Insulation slows heat transfer, keeping your home cooler in summer and warmer in winter. This means you’ll likely see lower energy bills alongside a quieter space. It’s one of the biggest hidden perks of reducing rain noise, making your investment pay off in more ways than one.
Is This a DIY Project or Should I Hire a Professional?
It depends on the method and your comfort level. Sealing gaps, tightening panels, and adding attic insulation are beginner-friendly tasks most homeowners can handle. More complex jobs like installing underlayment, decoupling ceilings, or working on the roof exterior are safer with a professional. When in doubt, start with the simple steps yourself and bring in an expert for the heavy lifting.
Conclusion
A noisy metal roof doesn’t have to disrupt your peace any longer. By understanding where the sound comes from and applying the right fixes in order, you can transform a thunderous downpour into a gentle background hum. The key takeaways are simple: inspect your roof, seal the gaps, add quality insulation, consider underlayment and decoupling, and finish with a solid ceiling.
Each step builds on the last, giving you steady, noticeable improvement along the way. Knowing how to soundproof metal roof from rain empowers you to make smart choices that boost comfort, save energy, and protect your home for years to come. Whether you tackle the easy steps yourself or call in an expert for the bigger jobs, the path to a quieter home is well within reach. Don’t wait for the next storm to remind you of the problem — start with one small step today, and enjoy the calm, cozy space you deserve every time the rain falls.

About
Stuart Rich is a distinguished figure in the world of metalworking and fabrication, with a decade of expertise creating innovative and sustainable metal projects. His professional focus lies in merging traditional blacksmithing and machining with modern manufacturing techniques, fostering designs that are both practical and durable. As the author of Metalenify, Stuart Rich delves into the art and science of metallurgy and DIY metal creation, inspiring artisans, hobbyists, and industry professionals alike.
Education
RMIT University
(Melbourne, Australia)
Associate Degree in Engineering Technology (Mechanical / Manufacturing)
Focus on metallurgical properties, industry-driven projects, and practical metal craftsmanship. Gained hands-on experience with traditional machining and digital manufacturing tools, such as CAD, CNC software, and precision welding equipment.
Nottingham Trent University
(United Kingdom)
Bachelor’s in Product Design and Materials Engineering (Honors)
Specialized in product design with a heavy focus on blending creativity with metal production and fabrication techniques. Participated in real-world industry projects, collaborating with architectural and hardware manufacturing companies to optimize material efficiency.
Publications and Impact
In Metalenify, Stuart Rich shares his insights on structural metal design processes, material grades, and strategies for efficient shop production. His writing bridges the gap between raw artisan knowledge and modern industrial needs, making it a must-read for both budding DIY metalworkers and seasoned fabrication professionals.





