
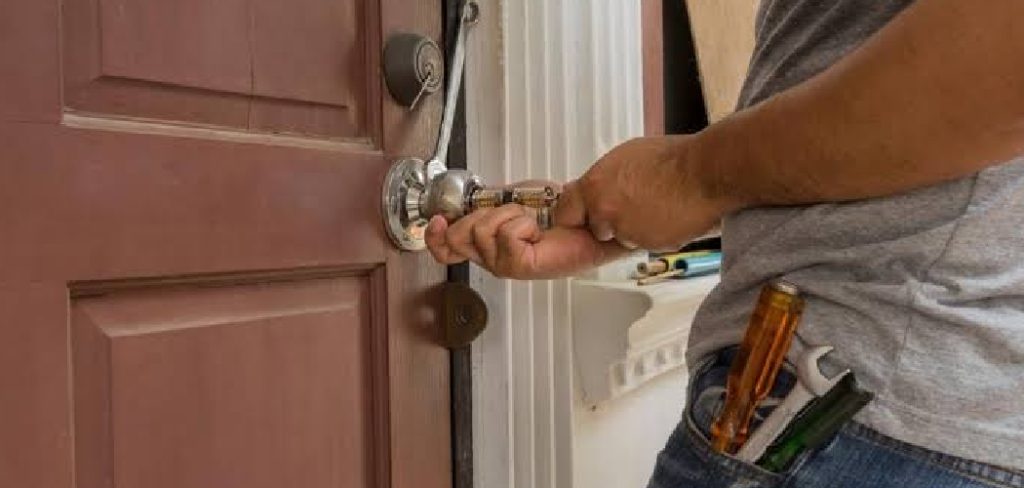
old iron door latches carry a kind of charm that modern hardware simply can’t match. they tell stories of homes built generations ago, and when you find one buried under layers of rust, it’s tempting to toss it aside. but learning how to restore rusted antique iron door latches gives you the power to bring that history back to life. with a little patience and the right approach, you can transform a crusty, seized-up latch into a working piece of functional art.
the good news is that you don’t need to be a professional metalworker to do this. rust may look intimidating, but iron is forgiving, and most latches respond beautifully to gentle care. in this guide, we’ll walk through every step together, from soaking and scrubbing to sealing and protecting. whether you’re reviving a single doorknob latch or restoring an entire collection of antique hardware, you’ll find clear, beginner-friendly directions that make the process feel less like guesswork and more like a rewarding weekend project.
Why Restoring Antique Iron Door Latches Matters
restoring old iron hardware is about more than appearances, though a clean latch certainly looks stunning. these pieces were built to last, often with craftsmanship you rarely see in mass-produced parts today. by saving them, you preserve a tangible link to the past and keep usable history in your home rather than in a landfill.
there’s a practical side too. quality antique latches are increasingly hard to find, and replacements can be costly or simply unavailable for older doors. restoring what you already have saves money and keeps original character intact. you’ll also sharpen handy new skills along the way, building confidence with tools and techniques you can apply to future projects. it’s empowering work that rewards your effort with results you can see and touch every day.
Step-by-Step Guide To How to Restore Rusted Antique Iron Door Latches
Step 1: Remove The Latch Carefully
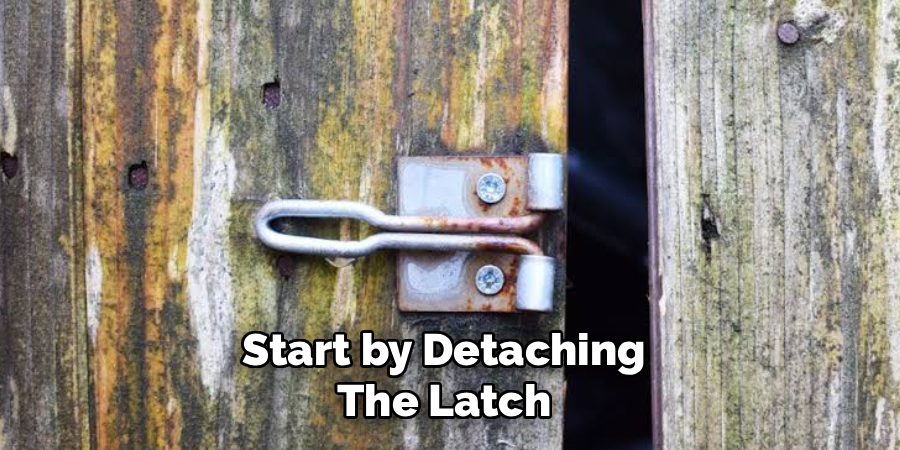
start by detaching the latch from the door so you can work on it freely. use a screwdriver that fits the screw heads snugly to avoid stripping them, and keep a small container nearby for loose hardware. older screws can be stubborn, so apply a drop of penetrating oil and wait a few minutes before turning them. work slowly and resist forcing anything, since cast iron can crack under pressure. once the latch is free, take a moment to photograph how the parts fit together. that simple reference photo will save you frustration later when it’s time to reassemble everything correctly.
Step 2: Disassemble And Sort The Parts
with the latch in hand, separate its components into individual pieces. most latches include a body, a sliding bolt, springs, and a few fasteners. lay each part on a clean cloth in the order you remove it, which makes reassembly far easier. if pieces feel seized, soak them in penetrating oil rather than prying them apart. take notes or snap photos as you go, especially around spring placement, since these small parts love to spring loose and vanish. learning how to restore rusted antique iron door latches becomes much smoother when you treat disassembly as a careful, organized stage rather than a rushed one.
Step 3: Soak Away The Surface Rust
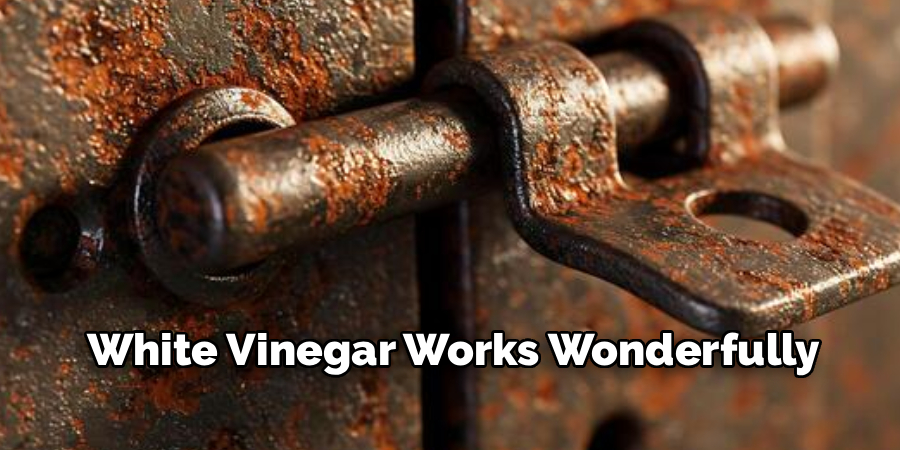
submerge the rusty parts in a rust-dissolving solution to loosen built-up corrosion. white vinegar works wonderfully for this and is gentle on the underlying metal. place your pieces in a glass or plastic container, cover them completely, and let them soak for several hours or overnight depending on how heavy the rust is. check periodically and you’ll notice the liquid darkening as it does its job. for severe cases, a longer soak helps, but avoid leaving iron submerged for days, since prolonged exposure can etch the surface and weaken delicate details you want to preserve.
Step 4: Scrub Off Loosened Corrosion
once soaking has softened the rust, it’s time to scrub it away. use a brass-bristle brush or fine steel wool to work over the surface, applying steady but gentle pressure. brass is softer than iron, so it lifts rust without gouging the original finish. get into crevices and around moving parts with an old toothbrush, since these tight spots often hide the most stubborn buildup. rinse the pieces with clean water and inspect your progress. if patches of rust remain, return them to the soak for another round. this stage is where the transformation really starts to show, so enjoy watching the metal reappear.
Step 5: Dry And Polish The Metal
drying matters more than most beginners expect, because damp iron rusts again almost immediately. wipe every piece thoroughly with a clean towel, then let the parts sit in a warm, dry spot for an hour or use a hairdryer to chase moisture from tight crevices. once fully dry, polish the surface with a fine abrasive pad or polishing cloth to bring out the natural sheen. knowing how to restore rusted antique iron door latches means respecting this drying window closely. a little attention here protects all your hard work and prepares the metal to accept a protective coating evenly.
Step 6: Treat And Protect The Surface
bare iron needs a protective layer to keep rust from returning. apply a thin coat of paste wax, mineral oil, or a clear metal sealant, depending on the look you want. wax gives a soft, traditional finish, while sealant offers stronger long-term defense. spread the coating evenly with a soft cloth, working it into every surface and crevice. let it cure according to the product instructions, then buff away any excess for a smooth result. this protective barrier is what separates a quick clean-up from a true restoration, so don’t skip it. your latch will reward you with lasting durability and a beautiful, even glow.
Step 7: Reassemble And Reinstall
now bring everything back together using your reference photos as a guide. fit the springs and bolt into place first, then secure the body with its fasteners. add a drop of light machine oil to moving parts so the bolt slides freely and quietly. test the action a few times before reinstalling, making sure nothing sticks or catches. once you’re satisfied, mount the latch back onto the door and tighten the screws snugly without over-torquing them. step back and enjoy the result. a restored latch that clicks smoothly into place is a genuinely satisfying reward for your careful effort.
Frequently Asked Questions
How Long Does It Take To Restore A Rusted Iron Latch?
most restorations take a single weekend, though the active hands-on time is usually only a couple of hours. the longest stage is soaking, which can run overnight depending on rust severity. drying and curing the protective coating also add waiting time. if you’re working on several latches at once, plan for a bit more, but the relaxed pace makes this an enjoyable, low-pressure project for any skill level.
Will Vinegar Damage Antique Iron Hardware?
vinegar is safe when used correctly, since it dissolves rust without harming solid iron underneath. the key is monitoring the soak rather than leaving pieces submerged for days. extended exposure can etch the surface and dull fine details, so check progress regularly. once the rust loosens, rinse and dry the parts promptly. used thoughtfully, vinegar is one of the gentlest and most affordable rust removers you can reach for at home.
Should I Repaint The Latch After Cleaning?
that depends entirely on the look you want. many collectors prefer the natural metal finish, sealed with wax or oil to highlight the original character. if the latch was painted historically, you might match that era with a period-appropriate color. either choice works well, so let the piece and your home’s style guide you. just be sure the metal is clean, dry, and rust-free before applying any paint or protective coating.
What If The Latch Is Too Corroded To Save?
heavily corroded latches can still surprise you, so don’t give up too soon. extended soaking and gentle scrubbing often reveal solid metal beneath even alarming rust. if a spring snaps or a part crumbles, you can frequently source replacement components from salvage shops or specialty suppliers. only when the structural body has rusted through completely is replacement truly necessary. patience reveals what’s salvageable, and most pieces have far more life left than they first appear.
How Do I Stop Rust From Returning?
prevention comes down to two things: keeping moisture away and maintaining a protective barrier. after restoring a latch, reapply wax or oil every several months, especially in humid environments or on exterior doors. wipe the hardware dry whenever it gets wet, and address small spots of new rust quickly before they spread. with this simple, ongoing care routine, your restored latch will stay beautiful and functional for many years to come.
Conclusion
bringing old iron hardware back to life is one of the most rewarding projects you can take on, blending practical skill with a genuine respect for craftsmanship. by following these seven steps, you’ve learned how to restore rusted antique iron door latches from the first careful removal all the way through to a smooth, protected finish. each stage builds on the last, and the patience you invest pays off in hardware that works beautifully and looks stunning.
don’t let those rusty treasures sit forgotten in a drawer or on a tired old door. gather your supplies, set aside a weekend, and start your first restoration with confidence. you now have the knowledge and the techniques to succeed, no matter your experience level. the more pieces you tackle, the sharper your skills become, and soon you’ll see rust not as a problem but as an opportunity. roll up your sleeves and give that antique latch the second life it deserves.

About
Stuart Rich is a distinguished figure in the world of metalworking and fabrication, with a decade of expertise creating innovative and sustainable metal projects. His professional focus lies in merging traditional blacksmithing and machining with modern manufacturing techniques, fostering designs that are both practical and durable. As the author of Metalenify, Stuart Rich delves into the art and science of metallurgy and DIY metal creation, inspiring artisans, hobbyists, and industry professionals alike.
Education
RMIT University
(Melbourne, Australia)
Associate Degree in Engineering Technology (Mechanical / Manufacturing)
Focus on metallurgical properties, industry-driven projects, and practical metal craftsmanship. Gained hands-on experience with traditional machining and digital manufacturing tools, such as CAD, CNC software, and precision welding equipment.
Nottingham Trent University
(United Kingdom)
Bachelor’s in Product Design and Materials Engineering (Honors)
Specialized in product design with a heavy focus on blending creativity with metal production and fabrication techniques. Participated in real-world industry projects, collaborating with architectural and hardware manufacturing companies to optimize material efficiency.
Publications and Impact
In Metalenify, Stuart Rich shares his insights on structural metal design processes, material grades, and strategies for efficient shop production. His writing bridges the gap between raw artisan knowledge and modern industrial needs, making it a must-read for both budding DIY metalworkers and seasoned fabrication professionals.





