
Brass fireplace tools add warmth and character to any home, but over time they lose their golden shine. Tarnish creeps in, dark spots appear, and stubborn green or white buildup forms on the handles and bases. If your poker, shovel, and tongs look dull and neglected, you are not alone. Many homeowners face this exact problem, especially after a long heating season. The good news? Restoring them is easier than you think. Learning how to clean corrosion off brass fireplace tools takes just a few household items, a little patience, and the right technique. You do not need expensive products or professional help to bring back that beautiful glow.
This guide walks you through everything step by step, in plain language anyone can follow. Whether you are a complete beginner or simply want a refresher, you will find clear, practical advice here. By the end, your fireplace set will look as good as new, protecting your investment and adding a polished touch to your living space. Let’s get started and make those tools shine again.
Why Cleaning Corrosion Off Brass Fireplace Tools Matters
corrosion does more than ruin the look of your fireplace set. left untreated, it slowly eats into the metal, weakening handles and joints that you rely on for safe use. a corroded poker or pair of tongs can become brittle, and small flakes of buildup may spread to nearby surfaces. keeping your tools clean protects both their appearance and their working life.
there are real benefits to regular care. polished brass reflects light beautifully, making your whole hearth feel inviting and well kept. clean tools are also safer to handle, easier to grip, and far more pleasant to use. taking a little time now saves you money later, since you avoid replacing damaged pieces. a small effort delivers lasting value for your home.
Step-by-Step Guide to How To Clean Corrosion Off Brass Fireplace Tools
Step 1: Confirm Your Tools Are Real Brass
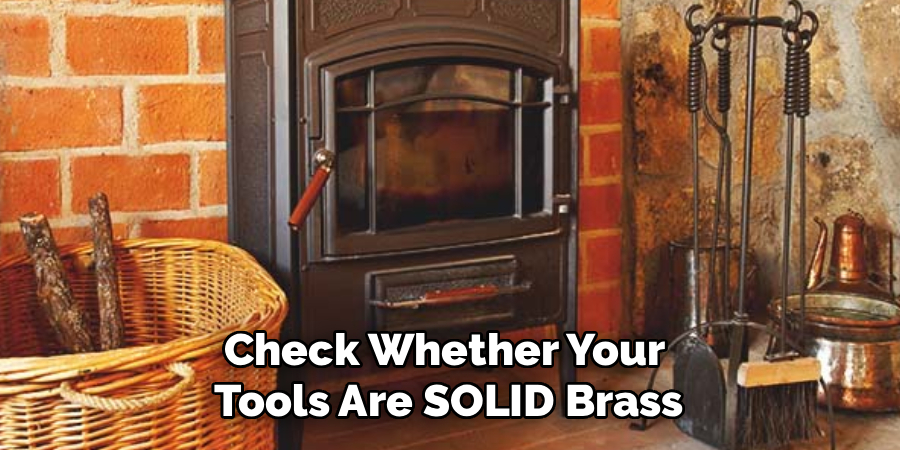
before you start, check whether your tools are solid brass or simply brass-plated. this matters because the cleaning approach differs slightly. grab a small magnet and hold it near the metal. if the magnet sticks firmly, your tools are likely brass-plated over iron or steel. if it does not stick, you probably have solid brass.
knowing the difference helps you avoid damage. brass-plated items have a thin coating, so you must clean gently to protect that layer. solid brass can handle a bit more scrubbing. take a moment to test each piece, since fireplace sets sometimes mix materials across handles and heads.
Step 2: Gather Your Supplies And Set Up
now collect everything you need so the job runs smoothly. you will want white vinegar, table salt, flour, lemon, baking soda, soft cloths, an old toothbrush, warm water, and a pair of rubber gloves. lay down newspaper or an old towel to protect your work surface from drips and grime.
working in a well-lit, ventilated spot makes the task far easier and more pleasant. natural light helps you spot every stubborn area of corrosion. set your tools out in a row so you can move through them one at a time. having supplies within reach means you stay focused and avoid frustrating interruptions halfway through.
Step 3: Remove Loose Dirt And Soot
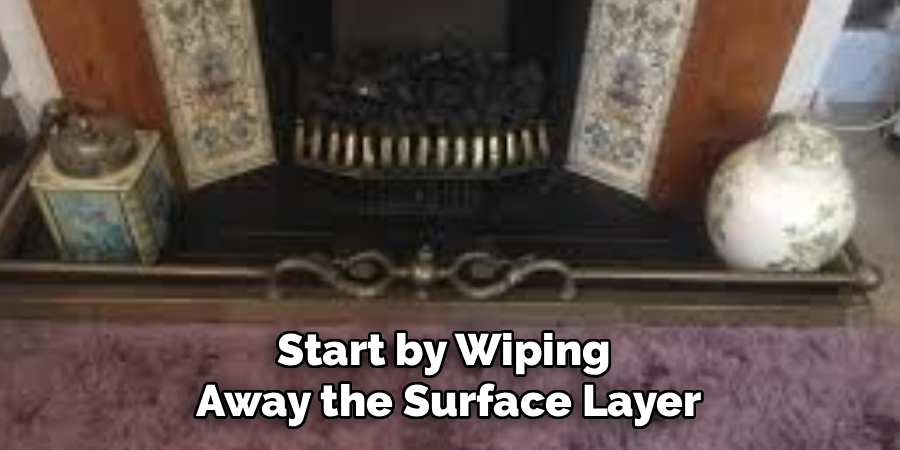
start by wiping away the surface layer of dust, ash, and soot. dip a soft cloth in warm, soapy water and gently rub down each tool from top to bottom. this first pass clears away grime that would otherwise interfere with deeper cleaning later on.
for tight grooves and decorative details, reach for your old toothbrush. its soft bristles loosen dirt trapped in crevices without scratching the metal. take your time around handles and joints, where buildup often hides. once you finish, dry each piece thoroughly with a clean towel. you now have a clean base, ready for the real corrosion-fighting work in the next steps.
Step 4: Mix A Natural Cleaning Paste
here is where you really learn how to clean corrosion off brass fireplace tools effectively. make a simple homemade paste by combining equal parts white vinegar, salt, and flour into a thick mixture. stir until it forms a spreadable consistency, similar to soft toothpaste. this gentle blend lifts tarnish without harsh chemicals.
if you prefer, cut a lemon in half, sprinkle salt on the exposed flesh, and use it as a natural scrubber instead. both methods rely on mild acid and a fine abrasive to break down corrosion safely. choose whichever option suits the supplies you already have at home. your tools will respond well to either approach.
Step 5: Apply The Paste And Let It Work
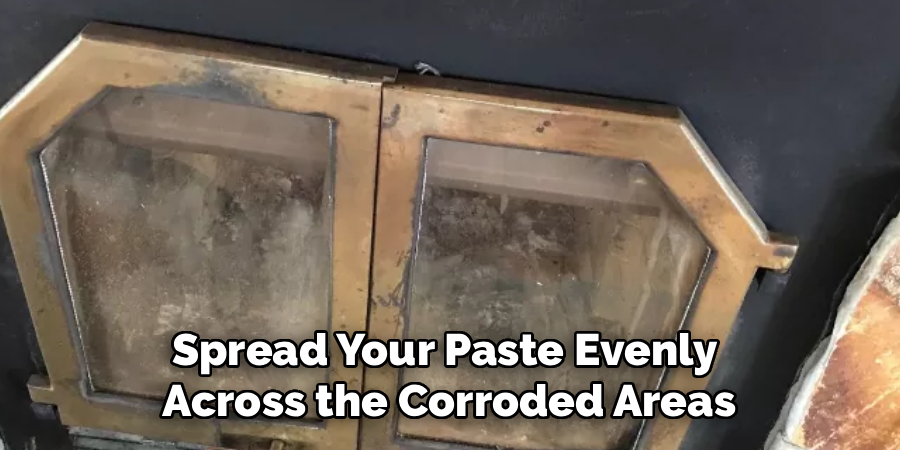
spread your paste evenly across the corroded areas using a cloth or your gloved fingers. cover every dark spot and patch of buildup, paying close attention to the worst-affected sections. once applied, let the mixture sit for around ten to fifteen minutes. this resting time allows the mild acid to loosen the corrosion.
resist the urge to rush. the waiting period does most of the heavy lifting, softening stubborn deposits so they wipe away with far less effort. for heavily corroded pieces, you may extend the time slightly. while you wait, you can prepare the next tool, keeping your workflow smooth and efficient from start to finish.
Step 6: Scrub Gently And Rinse
after the paste has done its job, scrub the surface using a soft cloth or your toothbrush. work in small circular motions, applying light pressure so you protect the metal beneath. you should see the corrosion lift away, revealing the bright brass underneath. knowing how to clean corrosion off brass fireplace tools properly means being patient rather than forceful.
once the buildup loosens, rinse each piece under warm running water to wash off all residue. leftover paste can dull the finish, so rinse thoroughly. inspect your work under good light. if a few spots remain, simply repeat the paste and scrub on those areas until they clear.
Step 7: Dry, Polish, And Protect
drying is more important than it sounds. water left on brass invites new spots and fresh corrosion, undoing your hard work. wipe each tool completely dry with a soft, clean cloth, reaching into every groove and joint. take your time to remove all moisture before moving on.
next, buff the surface with a dry microfiber cloth to bring out a warm, glowing shine. for lasting protection, apply a thin coat of mineral oil or a dedicated brass wax. this barrier slows future tarnish and keeps your tools looking great for longer. finally, store them away from damp areas to preserve that beautiful finish.
Frequently Asked Questions
How Often Should I Clean My Brass Fireplace Tools?
For tools used regularly during the heating season, a thorough cleaning every two to three months works well. Outside of winter, a quick wipe-down once a month keeps dust and tarnish from settling in. The more often you maintain them, the easier each cleaning becomes, since buildup never has a chance to harden into stubborn, heavy corrosion that demands extra effort.
Can I Use Commercial Brass Cleaners Instead?
Yes, commercial brass cleaners work effectively and save time, especially on heavily corroded pieces. Just follow the product instructions carefully and test a small hidden area first. Keep in mind that these cleaners can be too harsh for brass-plated tools, wearing away the thin coating. If you prefer a gentler, budget-friendly option, the homemade vinegar and salt paste remains a reliable choice for most fireplace sets.
Why Did My Brass Turn Green?
That green tint is a natural reaction called verdigris, which forms when brass meets moisture and air over time. It signals that corrosion has progressed, but it is rarely permanent. A mild acidic cleaner, like the vinegar-salt paste described earlier, breaks it down effectively. Once removed, drying your tools thoroughly and applying a protective coat helps prevent the green discoloration from returning.
Is Vinegar Safe For All Brass Tools?
Vinegar is safe for solid brass and works beautifully to dissolve tarnish and corrosion. However, on brass-plated tools, use it sparingly and gently, since prolonged exposure can damage the thin plating beneath. Always rinse completely and dry right after cleaning. If you feel unsure about your tools, test the vinegar paste on a small, hidden spot before treating the entire surface for peace of mind.
How Do I Prevent Corrosion From Coming Back?
Prevention comes down to moisture control and protection. After every deep clean, dry your tools fully and apply a thin layer of mineral oil or brass wax to seal the surface. Store the set in a dry spot away from steam or humidity. Wiping the tools down occasionally and handling them with clean hands also reduces the oils and grime that speed up corrosion.
Conclusion
Restoring your fireplace set is a rewarding project that anyone can tackle with confidence. By following these seven simple steps, you now know how to clean corrosion off brass fireplace tools using everyday items you likely already own. The key takeaways are straightforward: identify your metal, clean gently, let a natural paste do the heavy lifting, and always dry and protect your tools afterward.
Regular care keeps your brass bright, safe, and beautiful for years to come, saving you money and adding charm to your home. Do not let tarnish steal the shine from your hearth any longer. Gather your supplies this weekend, set aside an hour, and give those tools the attention they deserve. With a little effort and the right technique, you will enjoy a gleaming fireplace set that looks as good as the day you bought it.

About
Stuart Rich is a distinguished figure in the world of metalworking and fabrication, with a decade of expertise creating innovative and sustainable metal projects. His professional focus lies in merging traditional blacksmithing and machining with modern manufacturing techniques, fostering designs that are both practical and durable. As the author of Metalenify, Stuart Rich delves into the art and science of metallurgy and DIY metal creation, inspiring artisans, hobbyists, and industry professionals alike.
Education
RMIT University
(Melbourne, Australia)
Associate Degree in Engineering Technology (Mechanical / Manufacturing)
Focus on metallurgical properties, industry-driven projects, and practical metal craftsmanship. Gained hands-on experience with traditional machining and digital manufacturing tools, such as CAD, CNC software, and precision welding equipment.
Nottingham Trent University
(United Kingdom)
Bachelor’s in Product Design and Materials Engineering (Honors)
Specialized in product design with a heavy focus on blending creativity with metal production and fabrication techniques. Participated in real-world industry projects, collaborating with architectural and hardware manufacturing companies to optimize material efficiency.
Publications and Impact
In Metalenify, Stuart Rich shares his insights on structural metal design processes, material grades, and strategies for efficient shop production. His writing bridges the gap between raw artisan knowledge and modern industrial needs, making it a must-read for both budding DIY metalworkers and seasoned fabrication professionals.





