
Welding upward against gravity can feel intimidating the first time you try it, but it’s a skill worth mastering. Learning how to mig weld vertical up steel opens the door to stronger joints, cleaner results, and more confidence on every project. Vertical up welding means you start at the bottom of a joint and work your way up, letting the molten metal build on itself for deep penetration. This technique is common in structural work, fabrication, and repair jobs where horizontal welding simply isn’t an option.
The good news? You don’t need years of experience to get started. With the right settings, a steady hand, and a little practice, anyone can produce solid vertical welds. In this guide, we’ll walk you through the why and the how, step by step, in plain language. Whether you’re a hobbyist working in your garage or a beginner stepping onto a job site, you’ll find practical tips you can use right away. Let’s turn that nervous first attempt into a clean, dependable bead you can be proud of.
Why MIG Welding Vertical Up Steel Matters
Vertical up welding matters because real-world projects rarely sit flat on a bench. Pipes, frames, gates, and structural beams often need welds made on vertical surfaces, and getting them right keeps everything safe and sturdy.
The biggest benefit is penetration. Working upward forces the weld puddle to fuse deeply into the base metal, creating joints that hold up under heavy loads and stress. You’ll also gain better control over heat, which reduces warping and burn-through on thicker steel.
Beyond strength, mastering this skill makes you far more versatile. Employers value welders who can handle out-of-position work, and confident vertical welds set your craftsmanship apart. Once you understand the fundamentals, you’ll approach tricky angles without hesitation and produce results that look as good as they perform.
Step-by-Step Guide to How to MIG Weld Vertical Up Steel
Step 1: Prepare and Clean Your Steel
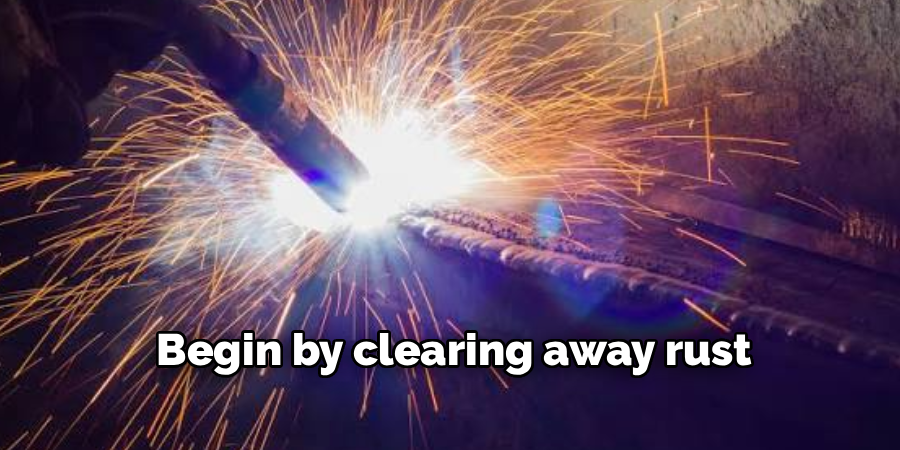
Good welds start long before you pull the trigger. Begin by clearing away rust, paint, oil, and mill scale from the joint using a wire brush or grinder. Clean metal lets the arc bite into solid steel instead of fighting contaminants that cause spatter and porosity.
Once the surface shines, position your workpiece securely. Vertical welding demands stability, so clamp the steel firmly and make sure your ground clamp connects to bare metal. A loose ground creates an inconsistent arc, which is the last thing you want when fighting gravity. Take a moment to check your stance too, because comfort and balance directly affect your control during the weld.
Step 2: Dial In the Right Machine Settings
Settings can make or break your results. For vertical up work, lower your voltage and wire feed speed slightly compared to flat welding. Cooler settings keep the puddle from getting too fluid and dripping downward, which gives you far more control as you climb.
A common starting point for thin steel is a lower amperage range, then adjust based on how the puddle behaves. If metal sags or runs, dial back the heat. If penetration looks shallow, nudge it up. Use a quality shielding gas mix, such as 75% argon and 25% CO2, for cleaner arcs and reduced spatter. Test on scrap first to fine-tune before committing to your real joint.
Step 3: Choose the Best Gun Angle and Position
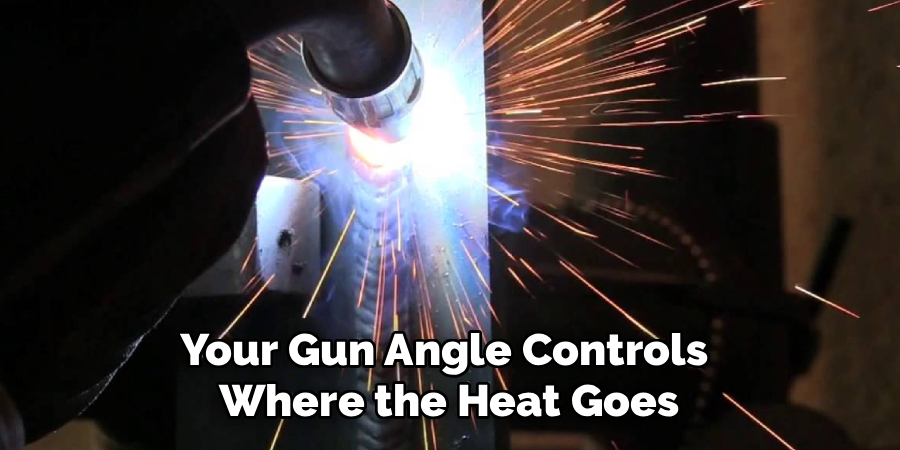
Your gun angle controls where the heat goes and how the puddle sits. Hold the torch at a slight upward push angle, roughly ten to fifteen degrees, so the arc force helps support the molten metal against gravity. Pushing rather than dragging keeps the puddle ahead of the wire and improves visibility.
Keep your contact tip distance short and consistent, around three-eighths of an inch. Too long, and the arc loses energy; too short, and the wire stubs into the work. Maintaining steady positioning is one of the most important parts of how to mig weld vertical up steel successfully, so practice holding that angle before striking your arc.
Step 4: Master the Upward Weave Pattern
Weaving is your secret weapon for vertical up welds. Instead of moving straight up, you’ll travel in small side-to-side motions, pausing briefly at each edge of the joint. This pattern spreads heat evenly and lets the puddle cool just enough to support the next layer climbing above it.
A simple “C” or upside-down “V” motion works well for most beginners. The pause at each side fuses the weld into the base metal and prevents the bead from piling up in the center. Keep your movements deliberate and rhythmic rather than rushed. Consistency in your weave creates a uniform, ripple-patterned bead that looks professional and holds strong.
Step 5: Control Your Travel Speed and Heat
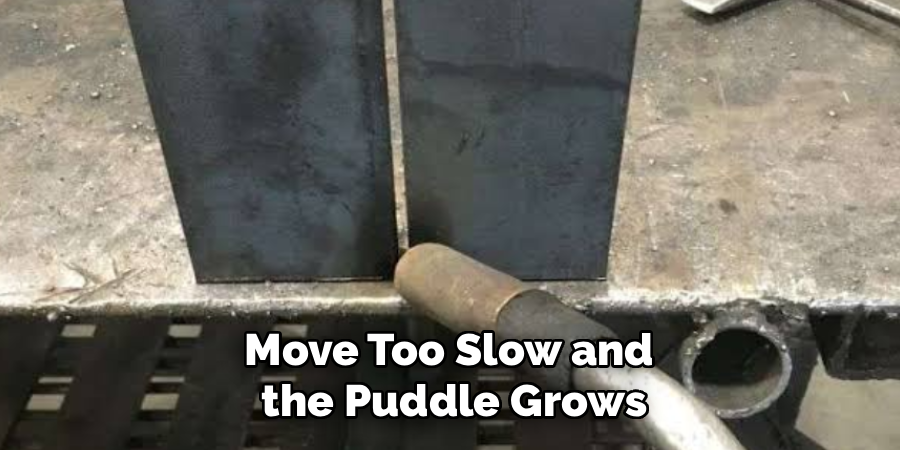
Speed control separates clean welds from messy ones. Move too fast and you’ll get weak, shallow beads; move too slow and the puddle grows large, sags, and drips. Aim for a steady pace that keeps the molten pool small and manageable as you work upward.
Watch the puddle closely, not the arc, because the puddle tells you everything about your heat. If it starts to droop or glow too brightly, you’re putting in too much heat, so quicken your weave or pause less at the edges. Knowing how to mig weld vertical up steel really comes down to reading that puddle and reacting in real time. With practice, these adjustments become second nature.
Step 6: Watch the Puddle and Adjust on the Fly
Every joint behaves a little differently, so staying observant matters. As you climb, keep your eyes locked on the leading edge of the weld puddle. A bright, fluid pool that holds its shape means your settings and motion are dialed in correctly.
If you notice the puddle widening or sagging, react immediately by speeding up or reducing your dwell time at the sides. Should the bead look cold and ropey with poor fusion, you may need slightly more heat or a shorter stickout. These small, continuous corrections are what experienced welders do without thinking. Trust your eyes, stay patient, and let the puddle guide your hands throughout the entire pass.
Step 7: Inspect, Clean, and Refine Your Weld
Finishing strong is just as important as starting clean. Once you complete the bead, let it cool naturally, then chip away any slag or spatter with a brush. Inspect your work for even ripples, consistent width, and solid fusion along both edges of the joint.
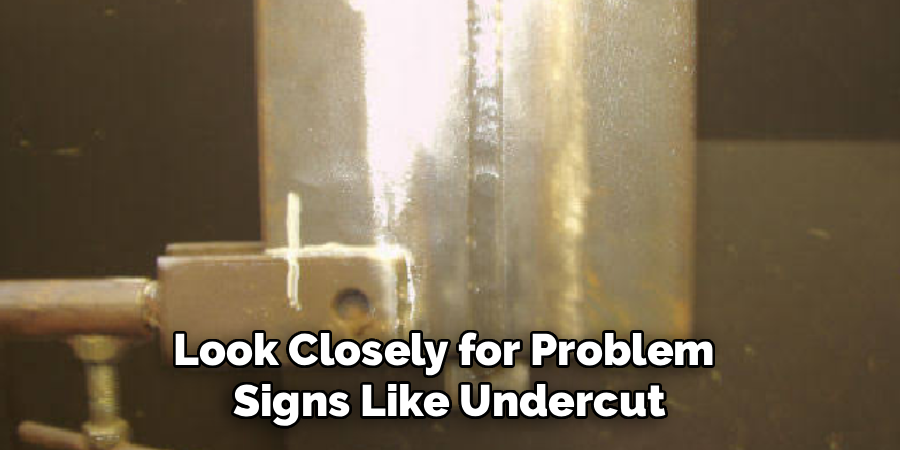
Look closely for problem signs like undercut, porosity, or gaps in penetration. If you spot weaknesses, note what caused them so you can adjust next time. Practice on scrap pieces repeatedly, changing one variable at a time to see how it affects your results. Every weld teaches you something, and refining your technique through honest self-review is the fastest path to lasting improvement.
Frequently Asked Questions
What Voltage and Wire Speed Should I Use for Vertical Up Welding?
Use slightly lower voltage and wire feed speed than you would for flat welding. Cooler settings keep the puddle controllable so it doesn’t sag or drip downward. Exact numbers depend on your steel thickness and machine, so always test on scrap first. Watch the puddle behavior and fine-tune until you get clean, consistent penetration without excessive heat buildup.
Why Does My Weld Keep Dripping or Sagging Downward?
Dripping usually means too much heat or moving too slowly. The puddle becomes overly fluid and gravity pulls it down. Try lowering your voltage, increasing your travel speed, or using a tighter weave with shorter pauses. Keeping a slight upward push angle on the gun also helps the arc force support the molten metal as you climb the joint.
Should I Push or Pull the Gun When Welding Vertical Up?
Push the gun for vertical up welding. A pushing angle of about ten to fifteen degrees directs arc force upward, helping hold the puddle in place against gravity. Pushing also improves your view of the joint and keeps shielding gas covering the weld properly. Pulling tends to dig too deep and makes controlling the climbing puddle much harder for beginners.
What Gas Works Best for MIG Welding Steel in This Position?
A blend of 75% argon and 25% CO2 is a reliable all-around choice for steel. It produces a smooth arc, good penetration, and minimal spatter, which makes vertical work easier to control. Pure CO2 offers deeper penetration but creates more spatter and a harsher arc. For most beginners, the argon-CO2 mix delivers the cleanest, most forgiving results.
How Can I Practice This Technique Safely as a Beginner?
Start on clean scrap steel of similar thickness to your project, and always wear proper protective gear including gloves, a helmet, and flame-resistant clothing. Practice in a well-ventilated area away from flammable materials. Change one setting or motion at a time so you can clearly see its effect. Repetition builds muscle memory, and reviewing each bead helps you improve quickly and confidently.
Conclusion
Mastering vertical up welding takes patience, but every weld you complete builds real, transferable skill. We’ve covered the essentials: prepare clean steel, dial in cooler settings, hold the right gun angle, weave steadily upward, control your heat, read the puddle, and inspect your results honestly. Each step works together to give you strong, professional-looking joints that hold up under pressure.
Remember that learning how to mig weld vertical up steel is a journey of small adjustments and steady practice. Don’t get discouraged by early attempts that drip or look rough, because every experienced welder started exactly where you are now. Grab some scrap metal, fire up your machine, and put these tips to work today. With each pass, you’ll gain confidence, sharpen your technique, and discover just how rewarding solid vertical welds can be. Your next great weld is only a practice session away.

About
Stuart Rich is a distinguished figure in the world of metalworking and fabrication, with a decade of expertise creating innovative and sustainable metal projects. His professional focus lies in merging traditional blacksmithing and machining with modern manufacturing techniques, fostering designs that are both practical and durable. As the author of Metalenify, Stuart Rich delves into the art and science of metallurgy and DIY metal creation, inspiring artisans, hobbyists, and industry professionals alike.
Education
RMIT University
(Melbourne, Australia)
Associate Degree in Engineering Technology (Mechanical / Manufacturing)
Focus on metallurgical properties, industry-driven projects, and practical metal craftsmanship. Gained hands-on experience with traditional machining and digital manufacturing tools, such as CAD, CNC software, and precision welding equipment.
Nottingham Trent University
(United Kingdom)
Bachelor’s in Product Design and Materials Engineering (Honors)
Specialized in product design with a heavy focus on blending creativity with metal production and fabrication techniques. Participated in real-world industry projects, collaborating with architectural and hardware manufacturing companies to optimize material efficiency.
Publications and Impact
In Metalenify, Stuart Rich shares his insights on structural metal design processes, material grades, and strategies for efficient shop production. His writing bridges the gap between raw artisan knowledge and modern industrial needs, making it a must-read for both budding DIY metalworkers and seasoned fabrication professionals.





