
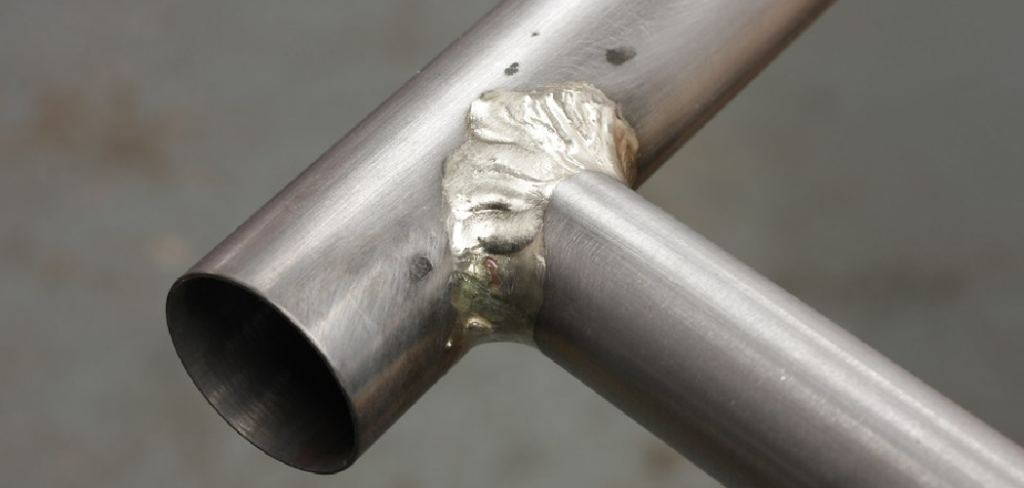
Welding copper alloys can feel intimidating at first, but once you understand the basics, it becomes one of the most rewarding skills in your toolkit. If you’ve ever wondered how to TIG weld silicon bronze overlay, you’re about to discover a technique that blends precision, control, and beautiful results. Silicon bronze overlay is a method where you lay down silicon bronze filler onto a base metal, creating a protective, corrosion-resistant, and visually appealing layer. It’s popular in marine fabrication, automotive bodywork, sculpture, and repair jobs where strength meets aesthetics.
What makes this process so appealing is its low heat requirement compared to steel welding, which reduces warping and gives you cleaner joints. Beginners love it because the filler flows smoothly, and experts appreciate the fine control it offers. Throughout this guide, we’ll break everything down into simple, manageable steps so you can build confidence at your own pace. Whether you’re repairing a thin panel or adding a decorative finish, mastering this skill opens up exciting possibilities. Let’s get started and turn those questions into hands-on know-how.
Why Silicon Bronze Overlay Is Worth Learning
Silicon bronze overlay gives you a rare combination of strength, flexibility, and corrosion resistance that few other techniques can match. Because it melts at a lower temperature than steel, you avoid the heavy distortion that often ruins thin metal projects. This makes it perfect for delicate repairs, bridging gaps, and joining dissimilar metals.
The finished result also looks stunning, with a warm golden hue that many fabricators leave exposed as a decorative feature. Beyond appearance, the overlay protects surfaces from rust and wear, extending the life of your work. You’ll find it widely used in boat building, art installations, and panel restoration. Learning this skill empowers you to tackle a broader range of jobs with confidence and deliver professional, lasting results every time.
Step-by-Step Guide to How to TIG Weld Silicon Bronze Overlay
Below you’ll find a clear, beginner-friendly walkthrough. Take your time with each stage, and remember that practice builds precision. Knowing how to TIG weld silicon bronze overlay starts with solid preparation and steady technique, so follow each step carefully and adapt the settings to your specific project.
Step 1: Gather Your Tools and Materials
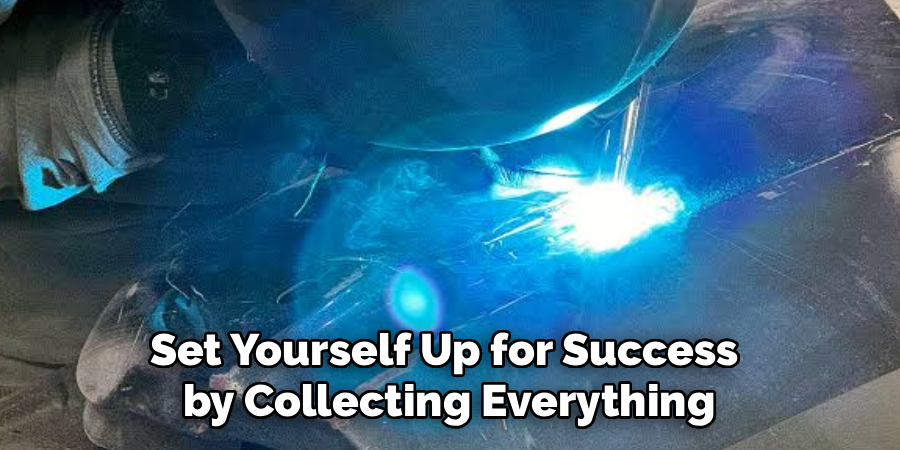
Before you strike an arc, set yourself up for success by collecting everything you need. You’ll want a TIG welder with high-frequency start, pure argon shielding gas, and silicon bronze filler rods, typically in 1/16-inch or 3/32-inch diameter. Choose a 2% thoriated or ceriated tungsten electrode, usually around 3/32 inch, and grind it to a sharp point for tight control. Keep a wire brush, acetone, and clean rags handy for prep work. Having organized supplies within reach means you can focus on technique rather than scrambling mid-weld, which makes the whole experience smoother and far more enjoyable.
Step 2: Clean the Base Metal Thoroughly
Clean metal is the secret behind every strong, attractive overlay. Contaminants like oil, paint, rust, or oxidation will sabotage your weld and create porosity. Start by mechanically removing any coatings with a dedicated stainless steel wire brush, one that you reserve only for nonferrous metals. Then wipe the surface down with acetone to strip away grease and fingerprints. Pay close attention to the exact area you plan to overlay, and let the solvent fully evaporate before you begin. This simple discipline dramatically reduces defects and gives the molten bronze a pristine surface to bond with, setting the foundation for clean results.
Step 3: Dial In Your Machine Settings
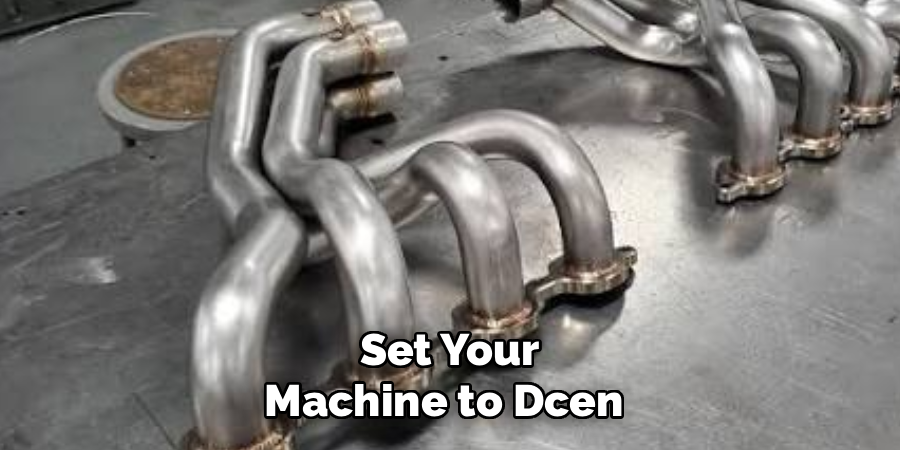
Getting your settings right makes learning how to TIG weld silicon bronze overlay far less frustrating. Set your machine to DCEN (direct current electrode negative), which concentrates heat into the base material. As a starting point, use roughly one amp per thousandth of base metal thickness, though bronze often needs slightly less heat than steel. Set your argon flow between 15 and 20 cubic feet per hour for solid coverage. If your welder has a foot pedal, use it, because controlling amperage on the fly is invaluable. Always run a quick test on scrap first to confirm your settings before committing to the real piece.
Step 4: Position Yourself and Set Up the Work Area
Comfort and stability directly affect weld quality, so take a moment to prepare your space. Secure your workpiece with clamps or a fixture so it won’t shift mid-pass. Position yourself so your torch hand can move freely and your filler hand stays steady. Make sure you have good lighting and clear sightlines to the joint. Brace your elbows or forearms against a stable surface to reduce hand tremor, which is especially helpful for beginners. A well-organized, ergonomic setup lets you maintain consistent torch angles and travel speed, both of which are essential for a uniform, professional overlay.
Step 5: Strike the Arc and Establish a Puddle
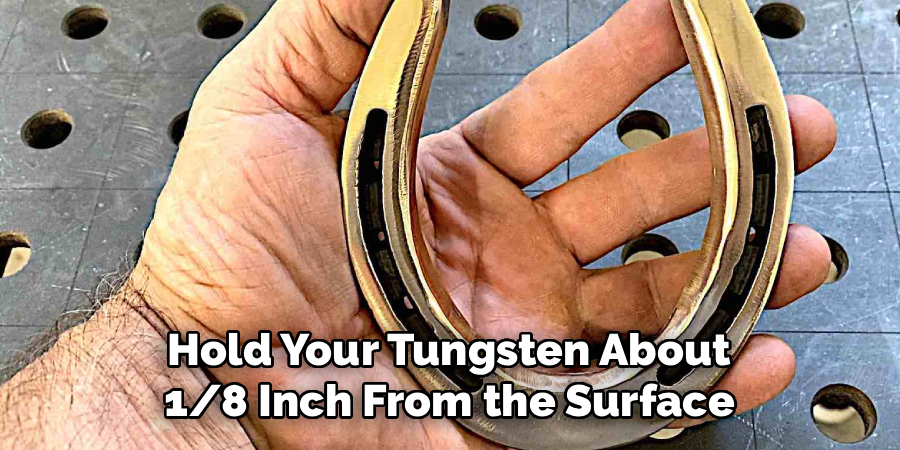
Now the real action begins. Hold your tungsten about 1/8 inch from the surface and initiate the arc using your high-frequency start. Keep the torch at roughly a 15-degree angle from vertical, tilting slightly in your direction of travel. Watch closely as the base metal begins to glow and form a small, shiny puddle. Don’t rush this moment, because a stable puddle is your launchpad for everything that follows. Maintain a consistent arc length, since drifting too far reduces heat and getting too close risks contaminating the tungsten. Patience here pays off with a smoother, more controlled bead.
Step 6: Add Filler and Build the Overlay
With your puddle established, gently dip the silicon bronze rod into the leading edge of the molten pool. Add the filler in small, rhythmic touches rather than holding it constantly in the arc. Move steadily across the surface, building up overlapping beads to form your overlay layer. Keep your travel speed even so each bead blends smoothly into the last, avoiding cold lumps or burn-through. If the metal starts overheating, ease off the pedal or pause briefly to let it cool. Consistent dipping and movement create that signature smooth, golden surface that makes silicon bronze work so satisfying.
Step 7: Inspect, Clean, and Finish
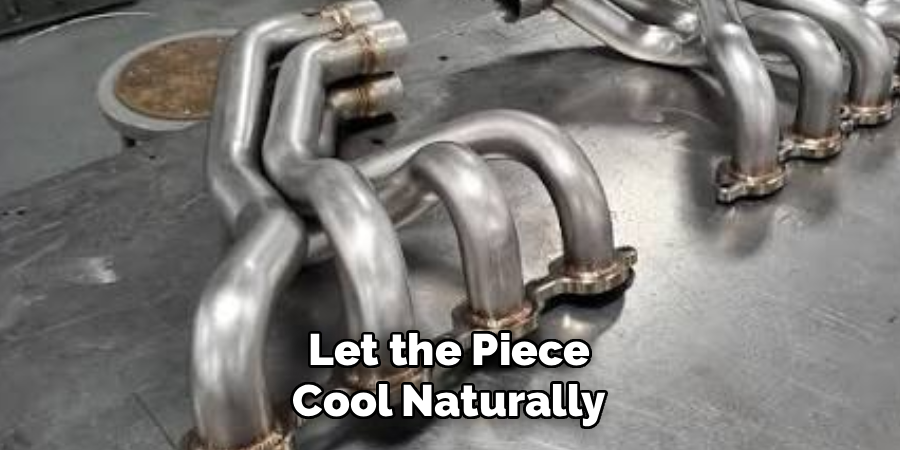
Once you’ve laid your overlay, let the piece cool naturally to avoid stress cracks. Inspect the surface for uniformity, checking for pinholes, uneven beads, or discoloration that might signal contamination. Lightly wire-brush away any residue to reveal the bright bronze finish underneath. If you spot weak spots, you can reheat and add more filler to correct them. For decorative projects, you might polish the surface to a high shine, while functional repairs may only need a quick cleanup. Take pride in your work and use each inspection as a learning opportunity to refine your technique for next time.
Frequently Asked Questions
What Type of Gas Should I Use for Silicon Bronze?
Pure argon is the go-to shielding gas for this process. It provides a clean, stable arc and protects the weld puddle from atmospheric contamination. Set your flow rate between 15 and 20 cubic feet per hour for reliable coverage. Avoid argon-CO2 mixes, since the carbon dioxide can introduce oxidation and ruin the bronze finish, leaving you with a porous, dull result instead of a clean one.
Can Beginners Learn This Technique Easily?
Absolutely. Silicon bronze is often considered more forgiving than steel because it flows smoothly and requires less heat. Beginners benefit from practicing on scrap metal first to dial in their settings and rhythm. With patience and steady hands, most newcomers see real improvement within a few sessions. Start slow, focus on a consistent puddle, and don’t hesitate to seek guidance whenever you hit a tricky spot.
Why Does My Overlay Look Porous or Bumpy?
Porosity and bumpiness usually point to contamination or incorrect heat. If your base metal wasn’t cleaned properly, trapped oils and oxides create tiny holes. Too little heat causes filler to bead up instead of flowing, while too much causes burn-through. Recheck your cleaning routine, confirm your amperage, and make sure your gas coverage is adequate. Small adjustments to these factors typically solve most surface quality problems quickly.
What Base Metals Work Best With Silicon Bronze?
Silicon bronze bonds beautifully with steel, copper, cast iron, and even galvanized metals when properly prepped. Its lower melting point lets you join thin or dissimilar materials without overheating them. This versatility makes it a favorite for repair work and decorative fabrication alike. Always clean each base metal thoroughly and test your settings on similar scrap, since different materials absorb and dissipate heat at different rates.
How Do I Prevent Warping on Thin Panels?
Heat management is your best defense against warping. Use the lowest effective amperage and work in short bursts rather than long continuous passes. A foot pedal helps you back off heat instantly when needed. You can also use heat sinks, like copper backing blocks, to draw warmth away from delicate areas. Tack first, then build gradually, allowing the metal to cool between passes for a flatter, cleaner finished result.
Conclusion
You now have a complete roadmap covering everything from gathering tools to inspecting your finished piece. The key takeaways are simple yet powerful: clean your metal thoroughly, dial in the right DCEN settings, maintain a stable puddle, and add filler with steady, rhythmic dips. Each step builds on the last, and consistent practice transforms hesitation into confidence. Remember that silicon bronze rewards patience, low heat, and attention to detail, making it one of the friendliest alloys to master.
Learning how to TIG weld silicon bronze overlay opens the door to stronger repairs, stunning decorative finishes, and a whole new range of projects you can tackle with pride. Don’t be afraid to grab some scrap metal and start experimenting today. Every bead you lay sharpens your skill and brings you closer to professional-quality results. So fire up your welder, trust the process, and enjoy the satisfying glow of a beautifully finished bronze overlay.

About
Stuart Rich is a distinguished figure in the world of metalworking and fabrication, with a decade of expertise creating innovative and sustainable metal projects. His professional focus lies in merging traditional blacksmithing and machining with modern manufacturing techniques, fostering designs that are both practical and durable. As the author of Metalenify, Stuart Rich delves into the art and science of metallurgy and DIY metal creation, inspiring artisans, hobbyists, and industry professionals alike.
Education
RMIT University
(Melbourne, Australia)
Associate Degree in Engineering Technology (Mechanical / Manufacturing)
Focus on metallurgical properties, industry-driven projects, and practical metal craftsmanship. Gained hands-on experience with traditional machining and digital manufacturing tools, such as CAD, CNC software, and precision welding equipment.
Nottingham Trent University
(United Kingdom)
Bachelor’s in Product Design and Materials Engineering (Honors)
Specialized in product design with a heavy focus on blending creativity with metal production and fabrication techniques. Participated in real-world industry projects, collaborating with architectural and hardware manufacturing companies to optimize material efficiency.
Publications and Impact
In Metalenify, Stuart Rich shares his insights on structural metal design processes, material grades, and strategies for efficient shop production. His writing bridges the gap between raw artisan knowledge and modern industrial needs, making it a must-read for both budding DIY metalworkers and seasoned fabrication professionals.





