To cut thin sheet metal effectively, start by marking your cut line with a scribe or permanent marker. Secure the metal using clamps to prevent movement, then use aviation snips, a nibbler, or an angle grinder depending on the thickness and curve of the cut. Always wear heavy-duty gloves and safety glasses, and finish by deburring the edges with a file.
Working with thin sheet metal is a foundational skill for both DIY enthusiasts and professional fabricators, enabling you to build everything from HVAC ductwork to custom automotive body panels. Knowing the proper techniques ensures a clean edge, reduces material waste, and prevents serious injuries.
Mastering this skill requires understanding the specific material properties of your metal and pairing that knowledge with the correct tools and safety protocols. Follow a structured approach, and you can achieve professional-grade results on your next fabrication project without putting yourself at risk. In this guide on how to cut thin sheet metal, we will cover the basics of cutting sheet metal, as well as some advanced tips and techniques to help you take your fabrication skills to the next level.
What Are the Common Types of Thin Sheet Metal?
Thin sheet metal comes in several distinct materials, each suited for different applications based on its durability, malleability, and resistance to corrosion. Aluminum sheet metal is highly popular due to its lightweight nature and natural resistance to rust, making it a practical choice for aerospace components and outdoor siding.
Stainless steel is another standard option, valued for its tensile strength and resistance to harsh environmental conditions. Cold-rolled carbon steel offers superior surface finishes and precise dimensions for automotive panels. Galvanized steel, coated in a layer of zinc to prevent oxidation, appears most frequently in HVAC systems and roofing applications. The metal you select will largely dictate which cutting tool belongs in your hand and how long the finished piece is likely to hold up.
What Safety Precautions Should You Take Before Cutting?
Cutting sheet metal produces razor-sharp edges, airborne metal splinters, and noise levels that can cause permanent hearing damage over time. Heavy-duty leather or Kevlar gloves are non-negotiable — raw sheet metal and freshly cut edges are capable of causing deep lacerations before you realize what has happened. Safety goggles with side shields are equally important, since metal shavings become airborne with very little encouragement.
Beyond personal protective equipment, your workspace should be well-ventilated and clear of flammable materials, particularly if you plan to use an angle grinder that throws sparks. Long sleeves and closed-toe work boots round out the essentials, offering a first line of defense against falling metal scraps that might otherwise go unnoticed until they find bare skin.
What Tools and Materials Will You Need?
When it comes to using an angle grinder, there are a few key tools and materials that you will need in order to work efficiently and safely. These include:
- An Angle Grinder
- Grinding Discs or Wheels
- Safety Equipment
- Clamps or Vises
- Workbench or Sturdy Surface
- Personal Protective Equipment (PPE)
7 Simple Step-By-Step Guidelines on How to Cut Thin Sheet Metal
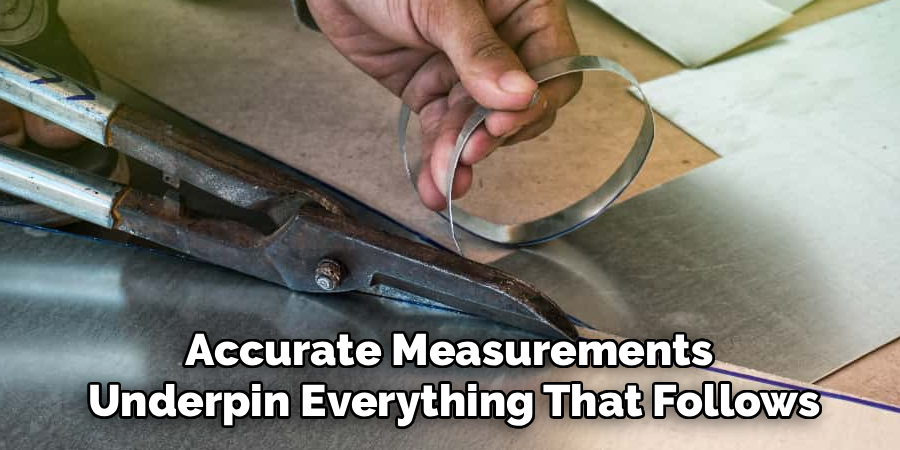
Step 1: Measure and Mark the Cutting Line
Accurate measurements underpin everything that follows. Use a heavy-duty tape measure or a metal machinist’s scale to determine the exact dimensions you need, accounting for any overlap required at seams or joints. Double-check those measurements before committing a single mark to the metal surface.
Once confirmed, use a straightedge and either a fine-tipped permanent marker or a carbide scribe to draw the cutting line. A scribe cuts a shallow physical groove into the metal, which guides hand tools more reliably than ink alone and resists being wiped away by gloves mid-cut — a small detail that pays off on longer runs.
Step 2: Secure the Sheet Metal in Place
Cutting metal that is not properly secured is both dangerous and counterproductive. Place the marked sheet flat on a sturdy, level workbench, positioning the cutting line so it overhangs the table edge just enough to give your tool clearance without letting the sheet flex or bow.
Fasten the metal tightly with C-clamps or locking pliers. If you are working with polished aluminum or stainless steel that scratches easily, a piece of scrap wood or heavy rubber between the clamp jaw and the surface will distribute the pressure and prevent deep marring that could affect the final appearance of the piece.
Step 3: Choose the Right Cutting Tool for the Job

Tool selection has to account for both the gauge of the metal and the geometry of the cut. For short, straight cuts on lightweight aluminum or 26-gauge steel, straight-cut aviation snips — typically identified by yellow handles — provide good control and require minimal setup. Tight circular cuts call for left-leaning (red) or right-leaning (green) snips, depending on which direction you need to follow.
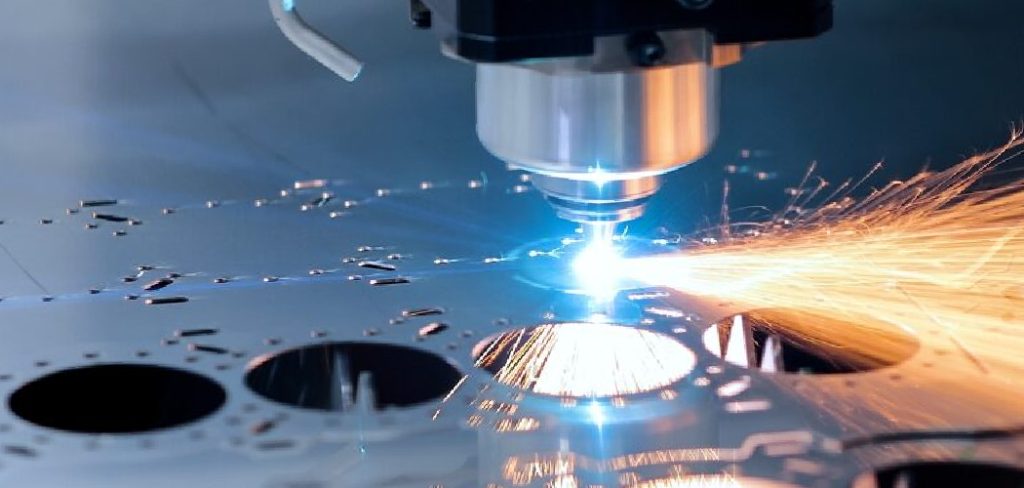
For longer continuous cuts, an electric shear or power nibbler is considerably more practical, eliminating hand fatigue and maintaining a consistent speed through the material. An angle grinder fitted with a 1-millimeter cutoff wheel handles thicker sheets well, though it generates substantial heat and sparks, which demand a higher level of situational awareness.
Step 4: Begin Cutting Along the Marked Line
Position your chosen tool at the edge where your scribed line begins. With manual snips, open the jaws fully and slide the metal as far back into the blades as possible to maximize mechanical leverage. Squeeze the handles firmly through the cut, but stop short of snapping the tips completely together — closing them fully tends to create a small jagged tear at the end of each stroke.
With power tools, let the motor reach full speed before contacting the material. Forcing a grinder or shear through the metal before it is up to speed will bog down the motor, potentially warp the sheet, and in worse cases cause the blade or wheel to fail. Let the tool do what it was designed to do.
Step 5: Maintain Control and Pace While Cutting
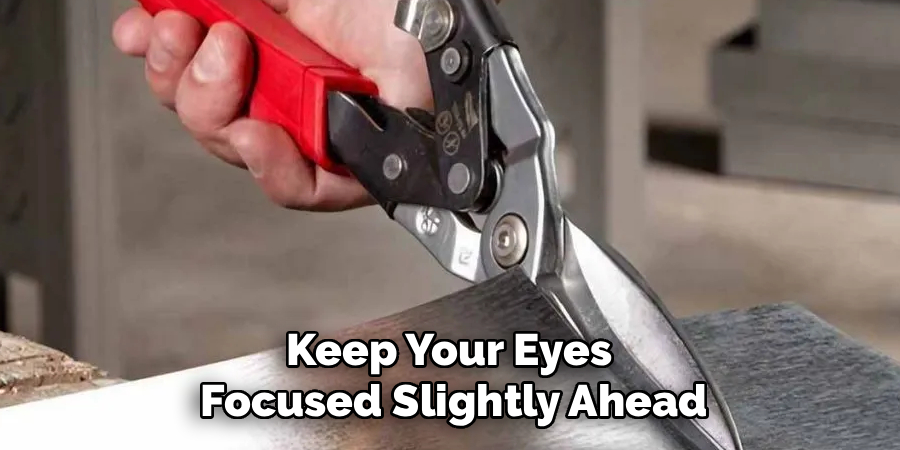
Keep your eyes focused slightly ahead of the tool as you progress, tracking the scribed line rather than the blade itself. On long manual cuts, the waste piece will start curling upward and crowding your hand. Bend it away using pliers rather than your fingers, clearing the path for the snips without risking contact with the freshly sheared edge.
Consistency of pace and angle matters more with power tools. A steady, even pass is what you are after. Pausing too long in one spot with an angle grinder transfers excessive heat into a localized area, causing discoloration and potentially altering the mechanical properties of the metal around the cut — a problem that may not become visible until the piece is under stress later.
Step 6: Smooth and Deburr the Cut Edges
Regardless of the cutting method, the freshly cut edge will carry sharp burrs and minor imperfections. These are not cosmetic concerns alone — raw edges can cause lacerations during handling and may interfere with the fitment of adjoining parts. Keep the metal clamped to the bench while you address them.
Run a flat metal file or a dedicated deburring tool along the edge at roughly a 45-degree angle, pushing away from your body in smooth, even strokes until the sharpness is gone and the edge feels uniformly smooth. For longer cuts, a flap disc on an angle grinder can achieve a cleaner finish in considerably less time, though a hand file gives you finer control over the final profile.
Step 7: Clean Up the Workspace and Inspect the Cut
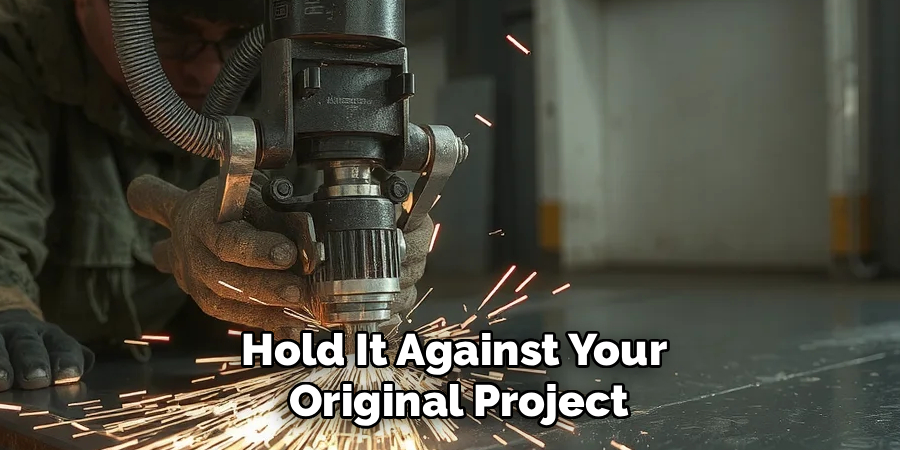
With the edge deburred, release the clamps and lift the finished piece carefully. Wipe it down with a clean rag to remove metallic dust and any residual marker, then hold it against your original project plans to confirm the dimensions are where they need to be.
Sweep the workbench and surrounding floor thoroughly, collecting all shavings, offcuts, and debris in a dedicated metal recycling bin. Metal shards on the floor have a way of damaging footwear, and they present a real hazard to children and pets. A clean workspace at the end of each session is part of the discipline, not an afterthought.
What Are the Common Mistakes to Avoid When Cutting?
Failing to secure the metal before cutting is the most frequent error, and it tends to produce both ruined material and close calls with injury. Using the wrong tool for the cut — straight snips forced into a curve, for instance — distorts the metal and leaves edges that no amount of filing will fully correct. Skipping gloves even once is the kind of gamble that usually ends with a trip to the emergency room.
On the power tool side, rushing through cuts generates heat that can warp or weaken the metal in ways that only show up later. And leaving cut edges undeburred is not just a finishing oversight — it creates a lasting hazard for anyone who handles the piece after you.
Where Can You Apply Cut Thin Sheet Metal?
Cut sheet metal appears across a surprisingly broad range of applications. In automotive fabrication, precisely cut steel and aluminum go into patching rusted body sections, building custom floor pans, and shaping interior trim. HVAC professionals depend on galvanized sheet metal for custom ductwork, plenums, and ventilation hoods.
At the residential level, cut sheet metal turns up in roofing repairs, custom chimney flashing, and durable heat-resistant backsplashes in kitchens and workshops — applications where both durability and a clean finish are worth the effort of doing the cutting properly.
Following these steps on how to cut thin sheet metal can help you achieve precise and professional-looking results for your DIY projects or professional work.
Frequently Asked Questions About Cutting Sheet Metal
Q1: What Is The Best Tool For Cutting Thin Sheet Metal?
The right tool depends on the nature of the cut. For straight cuts on metal 24-gauge or thinner, straight-cut aviation snips offer a reliable combination of precision and affordability. Longer continuous cuts, or work on slightly thicker gauges, are better suited to an electric metal shear or an angle grinder fitted with a thin cutoff wheel.
Q2: How Can I Prevent Sheet Metal From Warping During A Cut?
Warping typically results from inadequate support or from using a tool that is wrong for the geometry of the cut. Clamping the metal firmly to a flat surface as close to the cutting line as possible addresses the support problem. A nibbler tool reduces warping risk on internal cutouts because it removes small chips of material rather than prying the metal apart as traditional shears tend to do.
Q3: Do I Need Special Training To Cut Thin Sheet Metal Safely?
Formal certification is not required for basic DIY cutting work, but a working knowledge of the fundamentals is. Understanding how to secure the material correctly, selecting a tool appropriate for the metal’s gauge, and consistently wearing leather gloves and safety glasses are the baseline requirements. Practicing on scrap metal before cutting your final pieces is worth the time — the tolerance for error on scrap is forgiving in a way that project material rarely is.
Final Thoughts and Next Steps
Cutting thin sheet metal accurately and safely is a skill that repays the effort of learning it properly. Prioritizing safety, selecting the right tools for each specific situation, and working through a methodical approach will consistently produce clean, accurate cuts across aluminum, steel, and galvanized sheet.
To develop your technique further, spend time on inexpensive scrap metal and pay attention to how different tools behave across different gauges. Keep your snips and blades sharp, maintain a clean workspace, and treat personal protective equipment as a given rather than an option. The results will follow. Thanks for reading this guide on how to cut thin sheet metal.
About
Stuart Rich is a distinguished figure in the world of metalworking and fabrication, with a decade of expertise creating innovative and sustainable metal projects. His professional focus lies in merging traditional blacksmithing and machining with modern manufacturing techniques, fostering designs that are both practical and durable. As the author of Metalenify, Stuart Rich delves into the art and science of metallurgy and DIY metal creation, inspiring artisans, hobbyists, and industry professionals alike.
Education
RMIT University
(Melbourne, Australia)
Associate Degree in Engineering Technology (Mechanical / Manufacturing)
Focus on metallurgical properties, industry-driven projects, and practical metal craftsmanship. Gained hands-on experience with traditional machining and digital manufacturing tools, such as CAD, CNC software, and precision welding equipment.
Nottingham Trent University
(United Kingdom)
Bachelor’s in Product Design and Materials Engineering (Honors)
Specialized in product design with a heavy focus on blending creativity with metal production and fabrication techniques. Participated in real-world industry projects, collaborating with architectural and hardware manufacturing companies to optimize material efficiency.
Publications and Impact
In Metalenify, Stuart Rich shares his insights on structural metal design processes, material grades, and strategies for efficient shop production. His writing bridges the gap between raw artisan knowledge and modern industrial needs, making it a must-read for both budding DIY metalworkers and seasoned fabrication professionals.


