
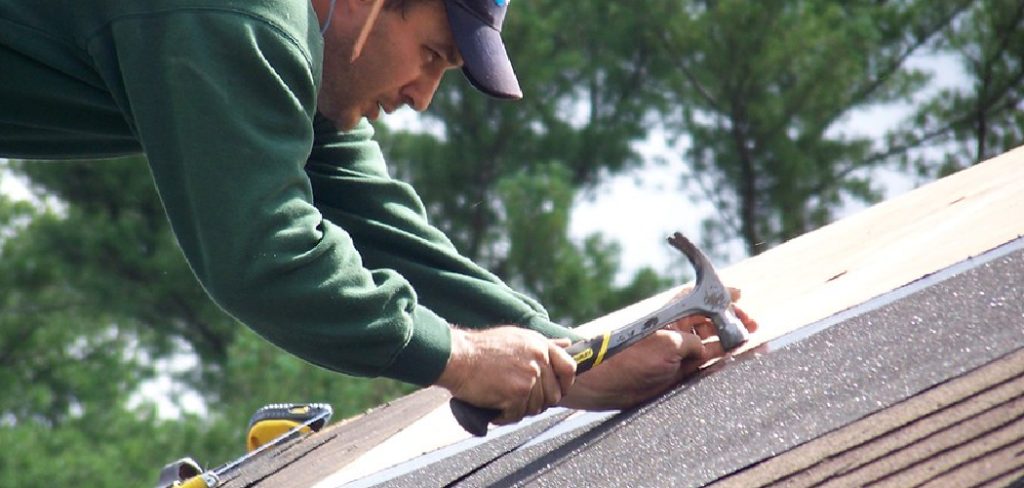
working with old tin can feel intimidating, especially when rust has already taken hold and the surface looks beyond saving. the truth is, learning how to apply primer to rusty tin is one of the most useful skills you can pick up for any restoration or repair job. rust forms when metal meets air and moisture, and once it starts, it spreads quietly beneath the surface. paint alone won’t stop it. primer will.
this article breaks the process down into simple, manageable parts so anyone can follow along, regardless of experience. you’ll discover what supplies to grab, how to treat the corroded metal, and the right way to build a strong protective base. think of primer as the unsung hero of a great finish: it bonds, it seals, and it shields. by the time you reach the end, you’ll feel confident tackling that weathered tin shed, vintage bucket, or rusty roof panel. let’s turn that tired metal into something worth showing off.
Why Priming Rusty Tin Surfaces Is Important
skipping primer might seem like a way to save time, but it almost always backfires. primer creates a protective shield between the corroded metal and your topcoat, locking out moisture and stopping rust from creeping back. it also helps paint cling tightly, so you get fewer chips, less peeling, and richer color that holds up season after season.
beyond protection, primer saves you money in the long run. a properly primed surface soaks up less paint, which means you stretch every can further. it also smooths out imperfections, giving your final coat a clean, even appearance. without that foundation, even premium paint struggles to bond and tends to fail early. with it, your hard work pays off with a durable, professional-looking result that genuinely lasts.
Step-by-Step Guide to How to Apply Primer to Rusty Tin
Step 1: Pull Together Your Supplies
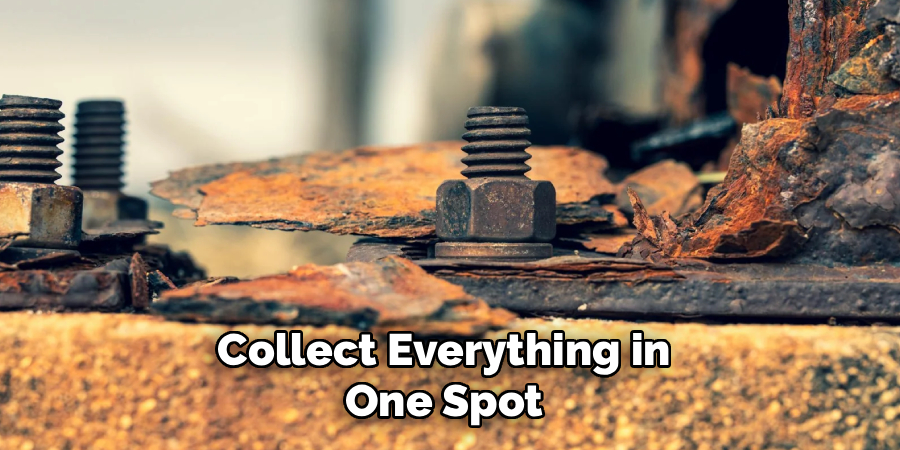
before any work begins, collect everything in one spot so nothing slows you down later. you’ll need a stiff wire brush, sandpaper in coarse and fine grades, a bucket of soapy water, lint-free cloths, and a trustworthy rust-inhibiting primer. don’t forget protective gear like gloves, safety glasses, and a respirator mask to keep dust and fumes away from your lungs.
choose a workspace with plenty of airflow, ideally outdoors or in an open garage. spread a tarp underneath to catch drips and debris. taking a few minutes to organize now keeps your focus on the job rather than hunting for tools mid-project, and it makes the whole experience smoother and far more enjoyable.
Step 2: Knock Off the Loose, Flaky Rust
begin by attacking the worst of the corrosion. grip your wire brush and scrub firmly across the surface, switching directions to dislodge stubborn flakes. for badly pitted areas, an angle grinder fitted with a wire wheel makes quick work of heavy buildup, though steady hand scrubbing handles smaller spots just fine.
your aim here isn’t perfection. you simply want to clear away anything crumbly or peeling that paint could never hold onto. quality primers are built to tackle thin layers of remaining surface rust, so resist the urge to obsess. once the loose material is gone, brush off the leftover dust with a dry cloth and check that nothing flakes when you run a finger across it.
Step 3: Wash Away Grease and Grime
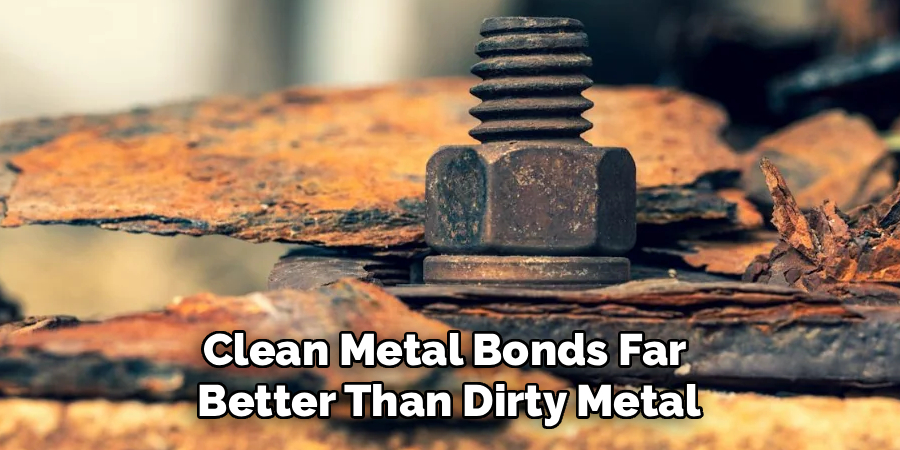
clean metal bonds far better than dirty metal, so this stage matters more than people expect. dip a cloth into warm, soapy water and scrub the entire surface to lift oil, dust, and old residue. greasy patches are a leading cause of primer failure, so spend extra effort anywhere the metal feels slick or sticky.
rinse thoroughly with fresh water, then dry the tin completely before moving forward. trapped moisture invites fresh rust and weakens adhesion, so patience here protects everything you do next. a clean towel speeds drying, but you can also let the piece air-dry in a warm, breezy spot. when you understand how to apply primer to rusty tin properly, you’ll always start from a spotless, dry foundation.
Step 4: Roughen the Surface With Sandpaper
once the metal is dry, grab your coarse sandpaper and lightly scuff the whole area. this step creates tiny grooves that give primer something to grab, much like how a textured wall holds paint better than a glossy one. sanding also feathers the edges where you removed rust, blending them into the surrounding metal for a seamless look.
switch to fine-grit paper to polish things up, especially on parts that will be visible. use gentle, even pressure rather than grinding hard in one spot. when you finish, wipe the surface with a slightly damp cloth to clear away every speck of grit, then allow it to dry. this quick effort dramatically boosts how well your coatings stick.
Step 5: Lay Down the First Layer of Primer
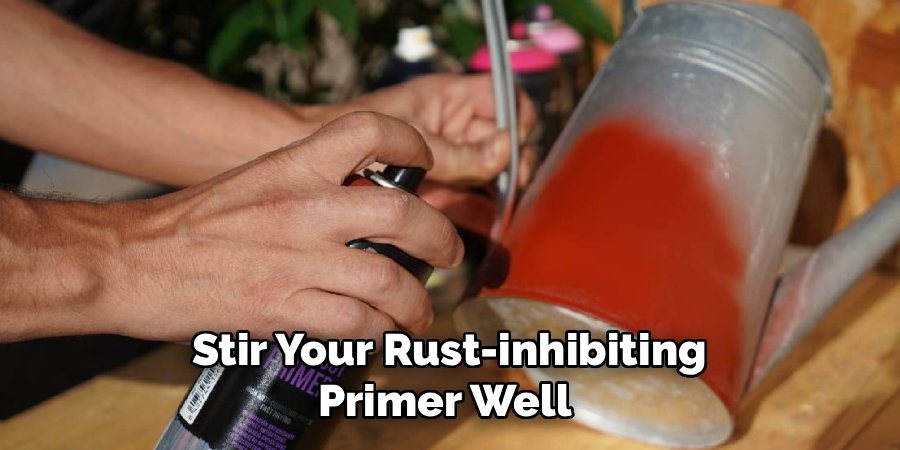
now for the part that ties it all together. stir your rust-inhibiting primer well so the formula mixes evenly, then spread a thin, uniform coat using a brush, foam roller, or spray can, whichever suits your surface best. thin layers cure faster and bond stronger than one heavy, drippy application, so go light and build gradually.
move in smooth, overlapping passes to dodge streaks and bare patches. give extra attention to seams, corners, and the spots that were rustiest, since those areas crave the most defense. mastering how to apply primer to rusty tin really comes down to control: steady hands and thin coats reward you with a finish that resists wear and weather beautifully over time.
Step 6: Allow Drying Time, Then Recoat
resist the temptation to rush. let that first coat dry fully according to the timing printed on the product label, which often falls between two and several hours. cutting this short traps moisture underneath and weakens the entire bond, undoing your careful work.
after it dries, scan the surface under good light for thin or skipped areas. a second coat fills those gaps and reinforces the barrier guarding against future corrosion. apply it with the same care as the first, keeping each pass light and even. two well-applied coats deliver dependable coverage and a surface that’s genuinely ready for paint, slashing the odds of rust sneaking back to ruin your finish.
Step 7: Inspect, Touch Up, and Get Ready to Paint
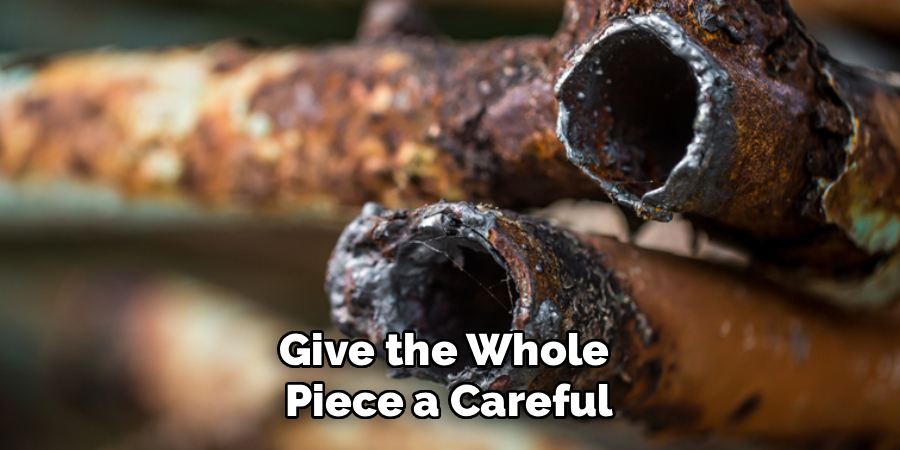
before you celebrate, give the whole piece a careful once-over in bright lighting. hunt for runs, uneven sheen, or any tiny spots where bare metal still peeks through. smooth out rough zones with fine sandpaper, wipe them clean, and dab on a little extra primer wherever it’s needed.
this final check is your safety net against disappointment later on. once you’re satisfied with the coverage, let everything cure completely so the primer hardens into a solid base. the finished surface should feel dry, even, and smooth to the touch. at that point, your tin is fully prepped and waiting for a topcoat that will look sharp and endure for years.
Frequently Asked Questions
Should Every Speck of Rust Be Removed First?
not at all. you only need to clear away loose, flaky, or crumbling rust that paint could never grip. modern rust-inhibiting primers are designed to bond with and neutralize thin surface rust that remains. as long as the metal is stable, clean, and dry, your primer will form a strong protective layer and stop corrosion from advancing.
Which Primer Works Best on Corroded Tin?
a rust-inhibiting or rust-converting primer is your best bet for tin. these products bond tightly to metal, block moisture, and halt spreading corrosion. oil-based formulas offer outstanding toughness, while water-based ones rinse up easily and dry quickly. always read the label to confirm it’s rated for metal and rust. picking the right product makes a noticeable difference in how long your finish survives.
How Long Must Primer Cure Before Painting?
curing times differ by brand, but most primers need anywhere from two to twenty-four hours. check the manufacturer’s instructions for exact figures. for the strongest results, let the primer cure completely before adding your topcoat. painting too early can seal in moisture and weaken the bond. in cold or damp conditions, build in extra waiting time, since temperature and humidity both slow the process.
Can Priming Be Done in Damp or Chilly Weather?
it’s smartest to prime on mild, dry days for trustworthy results. cold air slows curing, and high humidity can trap moisture, leading to weak adhesion or fresh rust. pick a day with moderate temperatures and low humidity whenever possible. if you must work inside, keep the space well ventilated and the environment steady so the primer cures evenly and properly.
How Many Coats Do I Actually Need?
two thin coats deliver the most reliable protection for corroded tin. a single layer often leaves weak spots where rust can sneak back through. thin applications dry faster and bond better than one thick coat. lay down your first layer, let it dry fully, then add a second for complete, even coverage. this approach builds a sturdy shield that keeps your finish looking fresh.
Conclusion
bringing rusty tin back to life is far more achievable than it first appears. once you grasp how to apply primer to rusty tin the right way, that corroded, neglected surface transforms into a smooth, protected base ready for a flawless finish. the essentials stay simple: gather your tools, strip away loose rust, scrub the metal clean, sand it for grip, and build up thin, even coats of a quality rust-inhibiting primer.
every stage supports the next, and a little patience rewards you with results that genuinely endure. never rush the drying time, and always inspect your work in good light before painting. now the ball is in your court. round up your supplies, prepare your space, and start priming with confidence. your finished project will repay that effort with lasting protection and a clean, polished look you’ll be proud of.

About
Stuart Rich is a distinguished figure in the world of metalworking and fabrication, with a decade of expertise creating innovative and sustainable metal projects. His professional focus lies in merging traditional blacksmithing and machining with modern manufacturing techniques, fostering designs that are both practical and durable. As the author of Metalenify, Stuart Rich delves into the art and science of metallurgy and DIY metal creation, inspiring artisans, hobbyists, and industry professionals alike.
Education
RMIT University
(Melbourne, Australia)
Associate Degree in Engineering Technology (Mechanical / Manufacturing)
Focus on metallurgical properties, industry-driven projects, and practical metal craftsmanship. Gained hands-on experience with traditional machining and digital manufacturing tools, such as CAD, CNC software, and precision welding equipment.
Nottingham Trent University
(United Kingdom)
Bachelor’s in Product Design and Materials Engineering (Honors)
Specialized in product design with a heavy focus on blending creativity with metal production and fabrication techniques. Participated in real-world industry projects, collaborating with architectural and hardware manufacturing companies to optimize material efficiency.
Publications and Impact
In Metalenify, Stuart Rich shares his insights on structural metal design processes, material grades, and strategies for efficient shop production. His writing bridges the gap between raw artisan knowledge and modern industrial needs, making it a must-read for both budding DIY metalworkers and seasoned fabrication professionals.





