
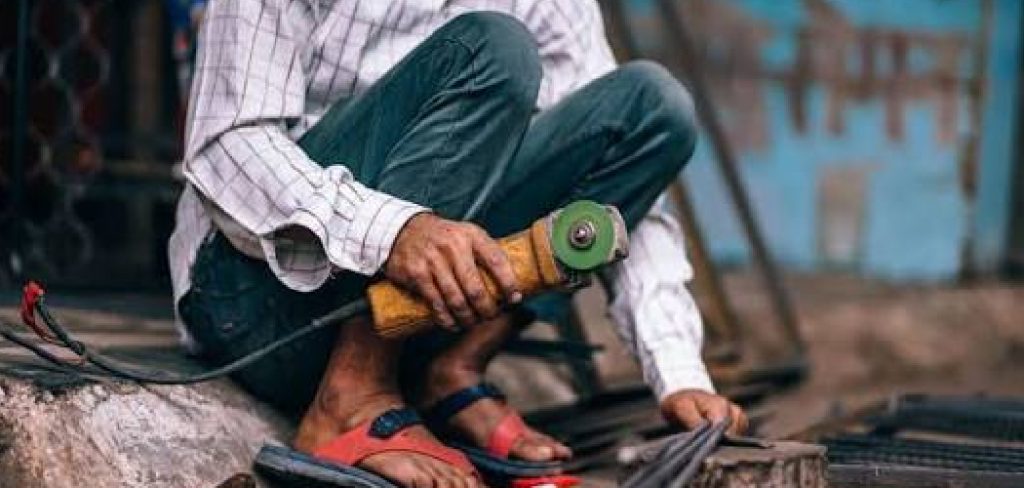
Cutting metal pipe can feel intimidating when you are just getting started, but it does not have to be. An angle grinder is one of the most versatile tools in any workshop, and once you understand the basics, you can make clean, precise cuts every single time. Knowing how to cut pipe straight with angle grinder skills opens the door to countless projects, from building furniture frames to repairing fences and plumbing lines.
The good news is that this is a beginner-friendly task. You do not need years of experience or a fancy workshop to get great results. With the right preparation, a steady hand, and a few smart techniques, you can avoid wobbly, crooked cuts that ruin your materials and slow you down.
In this guide, we will walk you through exactly what you need and how to do it safely. You will learn how to mark your pipe correctly, set up your tool, and finish each cut like a pro. By the end, you will feel confident tackling your next metal project with ease.
Why Cutting Pipe Straight Matters
A straight cut is more than just a tidy detail. When your pipe ends are even and square, every piece you join fits together properly, which makes welding, threading, and assembly far easier. Crooked cuts lead to weak joints, gaps, and frustrating rework that wastes both time and material.
Accuracy also affects safety and strength. A pipe cut at a slight angle can throw off the alignment of an entire structure, leaving it unstable or prone to failure. By taking the time to cut cleanly, you protect your project and your budget. Whether you are building a railing, repairing a frame, or completing a plumbing job, precision pays off. Mastering this skill empowers you to work faster, reduce errors, and produce results you can be proud of every time.
Step-by-Step Guide to How to Cut Pipe Straight With Angle Grinder
Step 1: Gather Your Tools and Materials
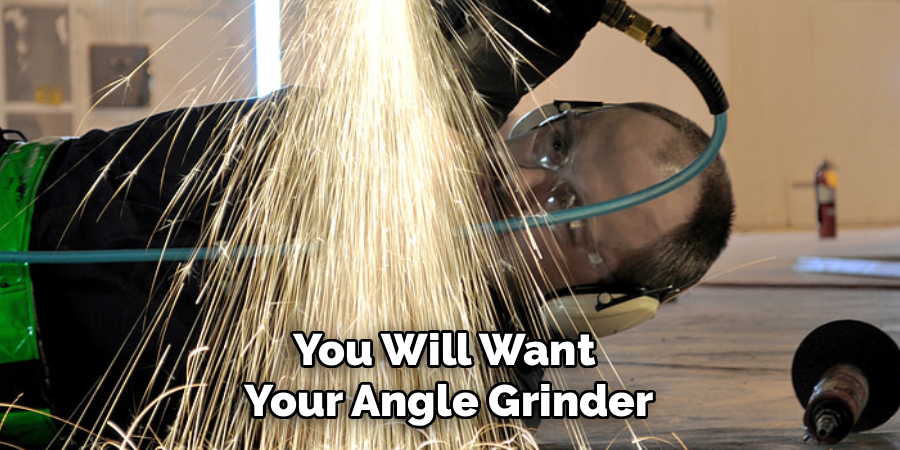
Before you begin, set yourself up for success by collecting everything you need in one place. You will want your angle grinder fitted with a metal cutting disc, a tape measure, a permanent marker, and a sturdy clamp or vise to hold the pipe. Safety gear is essential too, so grab your gloves, safety glasses, and ear protection. Having these items ready means you will not have to stop mid-task to search for something. Take a moment to inspect your cutting disc for cracks or wear, since a damaged disc can be dangerous and produce uneven results.
Step 2: Measure and Mark the Pipe
Accurate marking is the foundation of a clean cut, so take your time here. Use your tape measure to find the exact length you need, then make a small mark with your permanent marker. To learn how to cut pipe straight with angle grinder precision, wrap a piece of paper or tape tightly around the pipe so the edge lines up with your mark. This creates a perfectly straight guideline all the way around. Trace along the edge of the paper to draw a continuous line. This simple trick removes guesswork and gives you a clear path to follow once you start cutting.
Step 3: Secure the Pipe Firmly
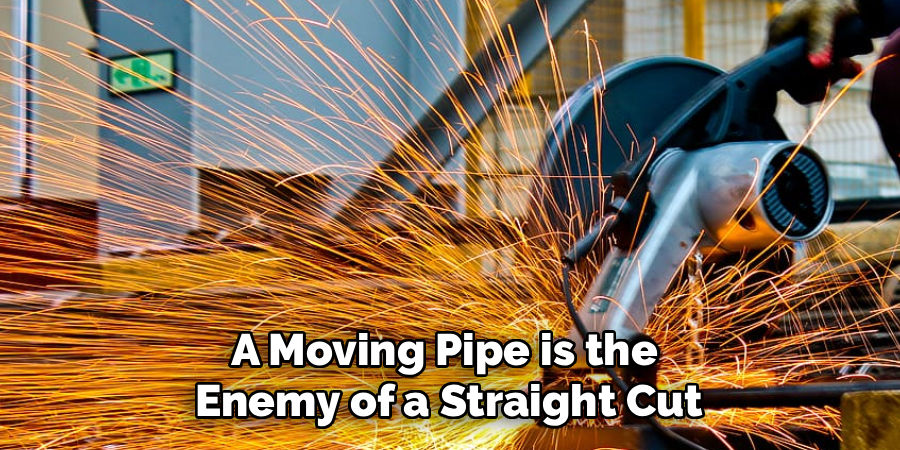
A moving pipe is the enemy of a straight cut, so clamping it down matters more than almost anything else. Place the pipe in a bench vise or use a sturdy clamp to lock it onto your work surface. Make sure the section you plan to cut hangs slightly off the edge of your bench, giving the grinder room to pass through cleanly without hitting anything. Wiggle the pipe gently to confirm it does not shift. If it moves, tighten your grip or add a second clamp. A stable setup keeps both you and your cut safe and accurate.
Step 4: Put On Your Safety Gear
Never underestimate the importance of protection when working with a grinder. Sparks, metal shards, and loud noise are all part of the job, so dress accordingly before you switch on the tool. Put on your safety glasses or a full face shield to guard your eyes, and slip on heavy-duty gloves to protect your hands. Ear protection will save your hearing from the high-pitched whine of the grinder, and long sleeves help shield your arms from flying sparks. Make sure no loose clothing or jewelry can catch in the spinning disc. Taking these precautions keeps your project enjoyable and injury-free.
Step 5: Position the Grinder Correctly
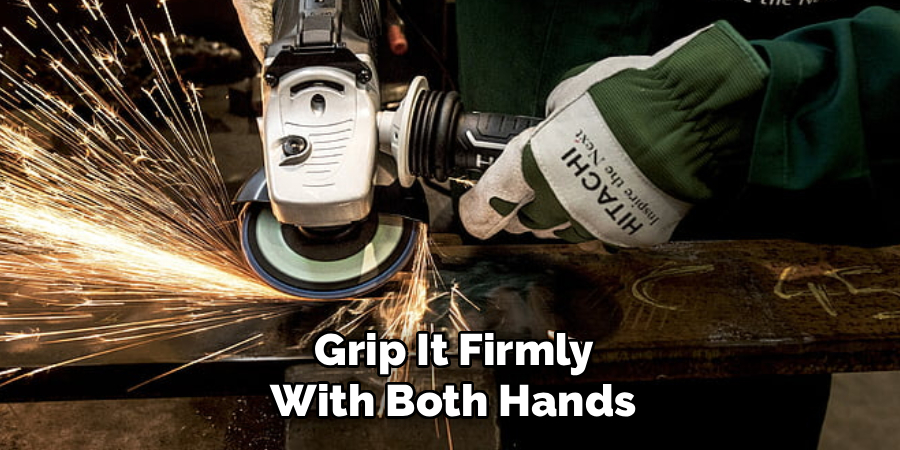
How you hold the grinder makes a huge difference in your results. Grip it firmly with both hands, keeping a relaxed but controlled stance with your feet shoulder-width apart. Align the cutting disc directly above your marked line, holding the tool at a ninety-degree angle to the pipe. This is the key moment when learning how to cut pipe straight with angle grinder techniques truly comes together. Before you make contact, double-check that the disc lines up perfectly with your guideline. A steady, square position now prevents the disc from drifting and wandering off course once the cutting begins.
Step 6: Start Cutting Slowly and Steadily
With everything in place, power on the grinder and let it reach full speed before touching the pipe. Lower the disc gently onto your marked line, applying light, even pressure rather than forcing it down. Let the tool do the work, since pushing too hard can bend the disc or cause it to bind. Move slowly along your guideline, keeping the grinder steady and following the line all the way around the pipe. Rotate the pipe if needed to reach the underside. Stay patient and focused, because rushing this stage is the most common cause of crooked or jagged cuts.
Step 7: Smooth and Inspect the Cut
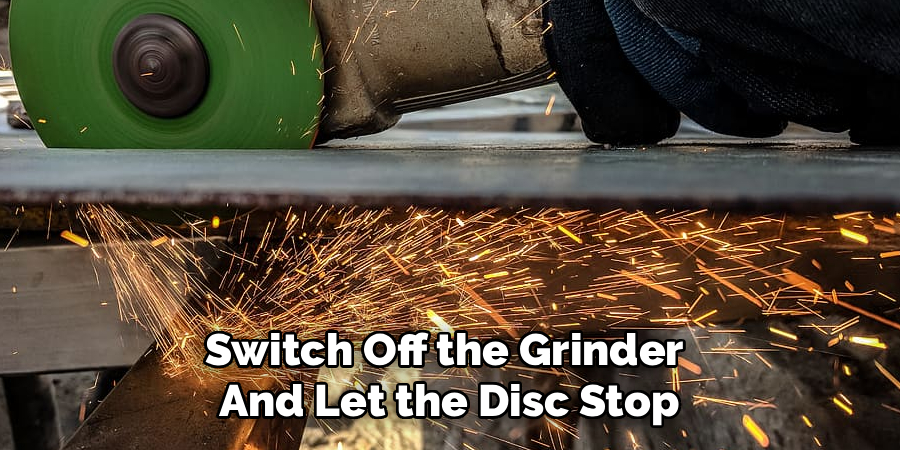
Once you have made it all the way through, switch off the grinder and let the disc stop spinning completely before setting it down. The fresh cut edge will likely have sharp burrs and rough spots, so use a flap disc or a metal file to smooth them away. Run your finger near, but not directly on, the edge to check for snags. Inspect the cut to confirm it is square and even. If you spot minor unevenness, a few gentle passes with the grinder will tidy it up. A clean, smooth finish means your pipe is ready to use.
Frequently Asked Questions
What Type of Disc Should I Use to Cut Metal Pipe?
For cutting metal pipe, choose a thin metal cutting disc designed specifically for grinders. These discs are usually around one millimeter thick and slice through steel quickly with less effort. Avoid grinding discs, which are thicker and meant for smoothing rather than cutting. Always check the disc rating to confirm it matches your grinder’s speed, and inspect it for damage before every use to stay safe.
How Do I Stop My Cut From Going Crooked?
The secret to straight cuts lies in preparation and patience. Mark a clear guideline around the entire pipe using paper or tape, clamp the pipe securely so it cannot move, and hold the grinder at a steady ninety-degree angle. Let the disc do the work without forcing it, and follow your line slowly. Rushing or applying uneven pressure is the most common reason cuts drift off course.
Is It Safe for Beginners to Cut Pipe With an Angle Grinder?
Yes, beginners can safely use an angle grinder with the right precautions. Always wear safety glasses, gloves, and ear protection, and secure the pipe firmly before cutting. Keep both hands on the tool and work in a clear, well-lit space. Start with light pressure and take your time. If you ever feel unsure, practice on scrap material first to build confidence before tackling your main project.
How Long Does It Take to Cut Through a Pipe?
Cutting time depends on the pipe’s thickness and material. A thin steel pipe might take only ten to twenty seconds with a sharp disc, while thicker or harder metals can take a minute or more. Never rush by forcing the grinder, as this damages the disc and creates uneven cuts. Let the tool cut at its own pace, and you will get cleaner results with far less effort.
Do I Need to Smooth the Edges After Cutting?
Smoothing the edges is highly recommended for both safety and function. Fresh cuts leave sharp burrs that can cut your skin or interfere with fitting pipes together. Use a flap disc or metal file to gently remove rough spots and round off the edge. This quick finishing step takes just a minute and ensures your pipe joins cleanly and looks professional, which is well worth the extra effort.
Conclusion
Mastering how to cut pipe straight with angle grinder techniques is a skill that will serve you for years across countless projects. With the right tools, careful measuring, a secure setup, and a steady hand, you can turn a tricky-looking task into a smooth and satisfying part of your workflow. The key takeaways are simple: prepare thoroughly, mark your guideline clearly, clamp the pipe firmly, and never rush the cut.
Remember that safety always comes first, so wear your protective gear and let the tool do the hard work for you. Smoothing the edges afterward gives your pipe a clean, professional finish that fits perfectly into any build. Now that you understand each step, it is time to put your knowledge into action. Grab your grinder, set up your workspace, and start your next project with confidence. Every cut you make will sharpen your skills and bring you closer to becoming a true workshop pro.

About
Stuart Rich is a distinguished figure in the world of metalworking and fabrication, with a decade of expertise creating innovative and sustainable metal projects. His professional focus lies in merging traditional blacksmithing and machining with modern manufacturing techniques, fostering designs that are both practical and durable. As the author of Metalenify, Stuart Rich delves into the art and science of metallurgy and DIY metal creation, inspiring artisans, hobbyists, and industry professionals alike.
Education
RMIT University
(Melbourne, Australia)
Associate Degree in Engineering Technology (Mechanical / Manufacturing)
Focus on metallurgical properties, industry-driven projects, and practical metal craftsmanship. Gained hands-on experience with traditional machining and digital manufacturing tools, such as CAD, CNC software, and precision welding equipment.
Nottingham Trent University
(United Kingdom)
Bachelor’s in Product Design and Materials Engineering (Honors)
Specialized in product design with a heavy focus on blending creativity with metal production and fabrication techniques. Participated in real-world industry projects, collaborating with architectural and hardware manufacturing companies to optimize material efficiency.
Publications and Impact
In Metalenify, Stuart Rich shares his insights on structural metal design processes, material grades, and strategies for efficient shop production. His writing bridges the gap between raw artisan knowledge and modern industrial needs, making it a must-read for both budding DIY metalworkers and seasoned fabrication professionals.





