
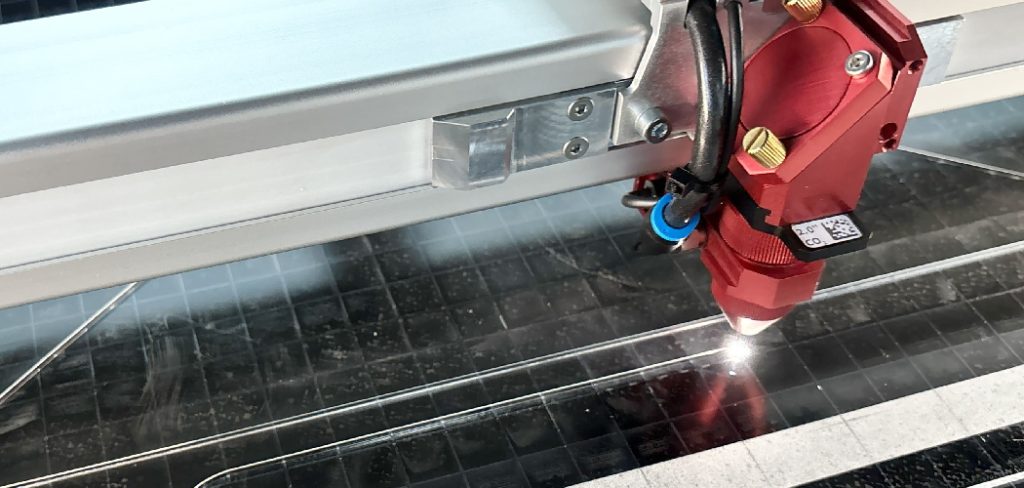
acrylic is one of the most versatile materials you can work with, and learning how to cut acrylic sheeting opens the door to countless projects, from custom shelving and picture frames to protective barriers and craft pieces. acrylic looks like glass but behaves very differently, which is exactly why so many beginners feel nervous before making that first cut. the good news is that with the right tools and a little patience, anyone can get clean, professional results at home.
acrylic sheeting tends to chip, crack, or melt when handled the wrong way, so understanding the proper technique matters more than raw strength or expensive equipment. in this guide, you will learn simple, reliable methods that work for thin and thick sheets alike. we will walk through preparation, tool selection, and the actual cutting process step by step. whether you are a complete newcomer or someone who has tried before and ended up with rough edges, this beginner-friendly walkthrough will give you the confidence to tackle your next acrylic project safely and accurately.
Why Cutting Acrylic Sheeting Matters
cutting acrylic correctly is the difference between a polished finished product and a wasted sheet full of cracks and chips. acrylic is not cheap, so every clean cut saves you money and reduces frustration. precise cuts also matter for safety, since rough or splintered edges can cause injury during handling or assembly.
beyond saving material, good technique gives you creative freedom. when you trust your cutting skills, you can design custom dimensions, fit pieces together snugly, and create projects that look store-bought. clean edges also bond better when you glue acrylic, leading to stronger and more attractive results. mastering this skill empowers you to take on a wide range of tasks, from simple repairs to detailed builds, all while keeping your work looking neat, professional, and genuinely impressive to anyone who sees it.
Step-by-Step Guide to How to Cut Acrylic Sheeting
Step 1: Gather Your Tools and Materials
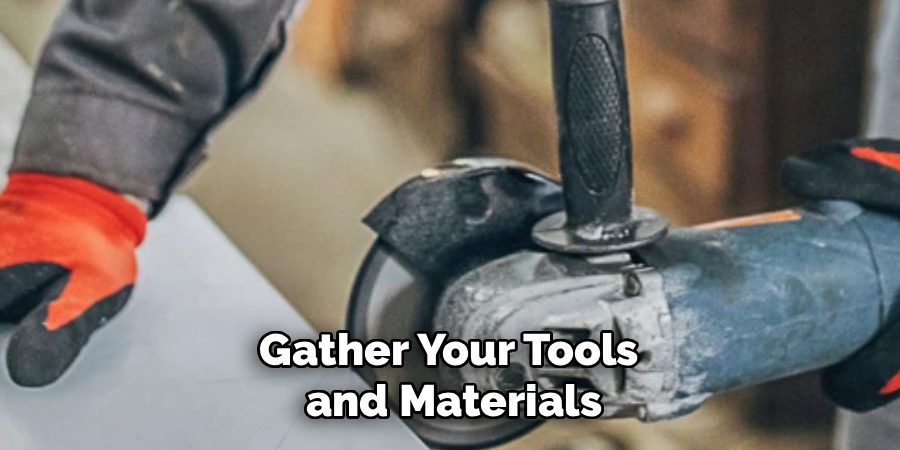
before you begin, set up your workspace with everything within reach. you will need a sharp acrylic scoring knife or a fine-tooth saw, a straightedge or metal ruler, clamps, a permanent marker, and safety glasses. having the right gear ready makes the whole process smoother and reduces mistakes. if you plan to cut thicker sheets, a power saw with a blade designed for plastics works best. keep the protective film on the acrylic for now, since it shields the surface from scratches. a clean, stable table also helps, because any wobble during cutting can throw off your line and ruin the edge.
Step 2: Measure and Mark Your Cut Line
accuracy starts with careful measurement, so take your time here. use a tape measure to find your desired dimensions, then mark the cut line directly on the protective film with a permanent marker. double-check your numbers before moving on, because a single misread can waste an entire sheet. for straight cuts, line up your metal ruler along the marks and confirm it sits perfectly even. many beginners rush this stage and regret it later. remember the old advice to measure twice and cut once, since correcting acrylic after the fact is nearly impossible. a clear, visible line gives you a reliable guide to follow.
Step 3: Secure the Sheet Firmly
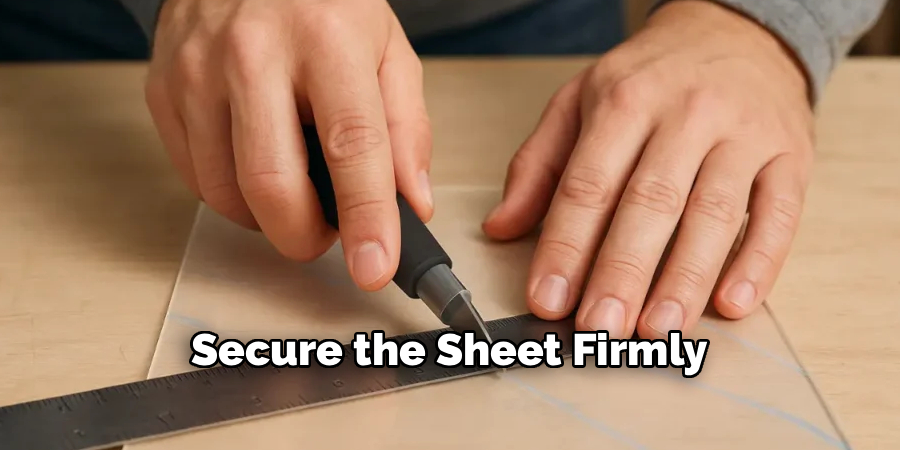
a stable sheet is essential when you learn how to cut acrylic sheeting without chips or cracks. place the acrylic flat on your work surface and position your straightedge along the marked line. clamp both the sheet and the ruler tightly so nothing shifts during the cut. movement is the enemy of a clean edge, and even slight slipping can cause jagged results. if you are using clamps, add a piece of scrap wood underneath to protect your table and to give the blade somewhere to exit safely. take a moment to test the setup by gently pressing on the sheet to confirm it stays completely still.
Step 4: Score the Acrylic Repeatedly
for thinner sheets up to about a quarter inch, scoring is a reliable method. hold your acrylic knife firmly and drag it along the straightedge to create a shallow groove. apply steady, even pressure and repeat the motion several times, usually seven to ten passes, until the groove is deep. do not try to cut all the way through in one stroke, because that causes cracking. keep your strokes consistent and let the blade do the work. the deeper and cleaner your score line, the easier the next step becomes. patience here pays off with a smooth, controlled break that looks professional.
Step 5: Snap or Saw Through the Sheet
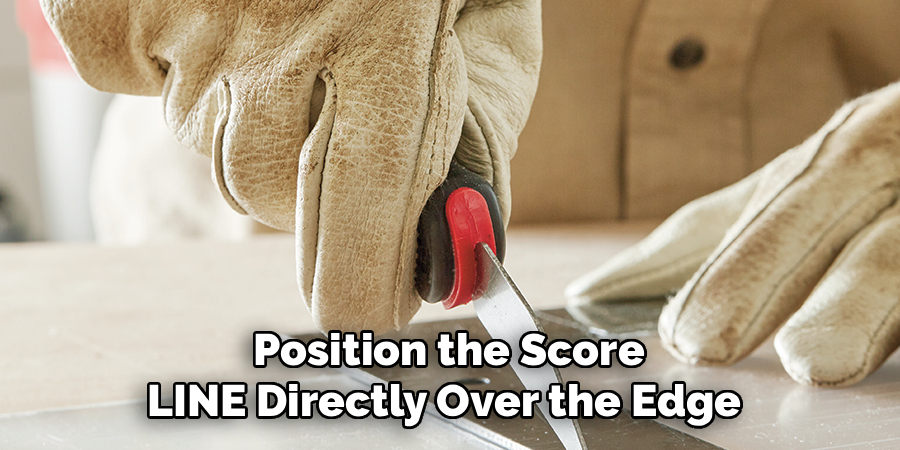
once your groove is deep enough, position the score line directly over the edge of your table. hold the larger section firmly, then apply quick, downward pressure to the overhanging piece. the acrylic should snap cleanly along the line. for thicker sheets, scoring will not work, so this is where knowing how to cut acrylic sheeting with a power saw matters. feed the sheet slowly into a fine-tooth blade, letting the saw move at its own pace. rushing causes melting and rough edges. whichever method you choose, keep your hands clear and maintain control throughout the entire motion for the safest result.
Step 6: Smooth and Finish the Edges
freshly cut acrylic almost always has rough or sharp edges that need attention. start with medium-grit sandpaper, around 120 to 180, to remove any burrs or unevenness. work your way up to finer grits, like 400 and then 600, for a smoother feel. if you want a crystal-clear, polished edge, you can buff it with a flame or a polishing compound, but practice on scrap first. take your time and check your progress often. smooth edges are not just about looks, they also make the piece safer to handle and help it bond better if you plan to glue sections together later.
Step 7: Clean and Inspect Your Work
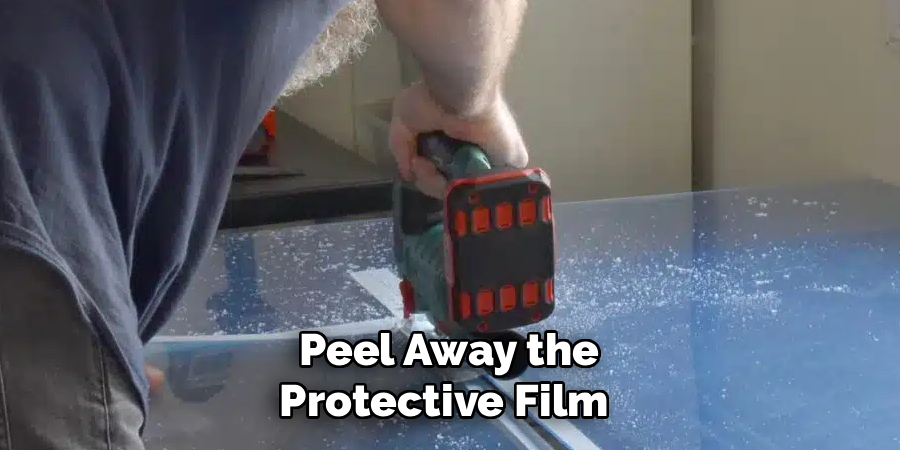
after cutting and finishing, peel away the protective film and wipe the surface with a soft, lint-free cloth. avoid harsh cleaners, since some chemicals can cause acrylic to cloud or crack over time. a mixture of mild soap and water works perfectly. inspect your cut closely under good lighting to spot any chips, scratches, or uneven areas you may have missed. if you find rough spots, return to sanding before considering the job finished. taking this final look ensures your piece meets the standard you want. a careful inspection now saves you from disappointment when you assemble or install the finished project.
Frequently Asked Questions
What Is the Best Tool for Cutting Acrylic at Home?
the best tool depends on thickness. for thin sheets, an acrylic scoring knife works well and is very affordable. for thicker pieces, a fine-tooth saw, such as a jigsaw or table saw with a plastic-specific blade, gives cleaner results. always choose blades designed for plastics to avoid chipping. matching your tool to the job is the simplest way to get smooth, reliable cuts every time.
Why Does My Acrylic Keep Cracking When I Cut It?
cracking usually happens from too much force, dull blades, or an unstable sheet. if you snap before scoring deeply enough, the acrylic breaks unevenly. with saws, moving too fast generates heat that causes stress fractures. slow down, secure the sheet firmly, and make sure your blade is sharp. keeping the protective film on also helps reduce surface stress, leading to far fewer cracks and much cleaner edges overall.
Can I Cut Acrylic Without Special Tools?
yes, you can cut thin acrylic using a sharp utility knife and a metal straightedge. score the line repeatedly until the groove is deep, then snap it over a table edge. this method works best for sheets under a quarter inch. for thicker material, you will need a saw. while basic tools work in a pinch, proper acrylic cutters give you noticeably smoother and more consistent results.
How Do I Get a Polished, Clear Edge?
start by sanding the cut edge with progressively finer sandpaper, moving from 120 grit up to 600 or higher. once smooth, you can apply a plastic polishing compound and buff with a soft cloth. for a glass-like finish, careful flame polishing works, but practice on scrap first to avoid burning. patience during this stage transforms a rough edge into a clear, professional-looking finish that elevates your entire project.
Should I Remove the Protective Film Before Cutting?
no, keep the protective film on while you cut. that film shields the acrylic surface from scratches, helps your marker lines stay visible, and reduces stress during scoring or sawing. only peel it away once your cutting and edge finishing are completely done. removing it too early exposes the surface to accidental damage, so leaving it in place protects your work right up until the final inspection.
Conclusion
learning how to cut acrylic sheeting is a genuinely rewarding skill that gives you the freedom to build, repair, and create with confidence. the key takeaways are simple: gather the right tools, measure carefully, secure your sheet, and let patience guide every cut. whether you score and snap thinner sheets or saw through thicker ones, slowing down and following each step protects both your material and your results. finishing the edges and inspecting your work ensures a clean, professional outcome you can be proud of.
now it is your turn to put these techniques into practice. start with a small project, take your time, and do not be discouraged if your first attempt is not perfect. each cut builds your skill and confidence. with the steps in this guide, you have everything you need to tackle acrylic projects safely and successfully, so grab your tools and start creating today.

About
Stuart Rich is a distinguished figure in the world of metalworking and fabrication, with a decade of expertise creating innovative and sustainable metal projects. His professional focus lies in merging traditional blacksmithing and machining with modern manufacturing techniques, fostering designs that are both practical and durable. As the author of Metalenify, Stuart Rich delves into the art and science of metallurgy and DIY metal creation, inspiring artisans, hobbyists, and industry professionals alike.
Education
RMIT University
(Melbourne, Australia)
Associate Degree in Engineering Technology (Mechanical / Manufacturing)
Focus on metallurgical properties, industry-driven projects, and practical metal craftsmanship. Gained hands-on experience with traditional machining and digital manufacturing tools, such as CAD, CNC software, and precision welding equipment.
Nottingham Trent University
(United Kingdom)
Bachelor’s in Product Design and Materials Engineering (Honors)
Specialized in product design with a heavy focus on blending creativity with metal production and fabrication techniques. Participated in real-world industry projects, collaborating with architectural and hardware manufacturing companies to optimize material efficiency.
Publications and Impact
In Metalenify, Stuart Rich shares his insights on structural metal design processes, material grades, and strategies for efficient shop production. His writing bridges the gap between raw artisan knowledge and modern industrial needs, making it a must-read for both budding DIY metalworkers and seasoned fabrication professionals.





