
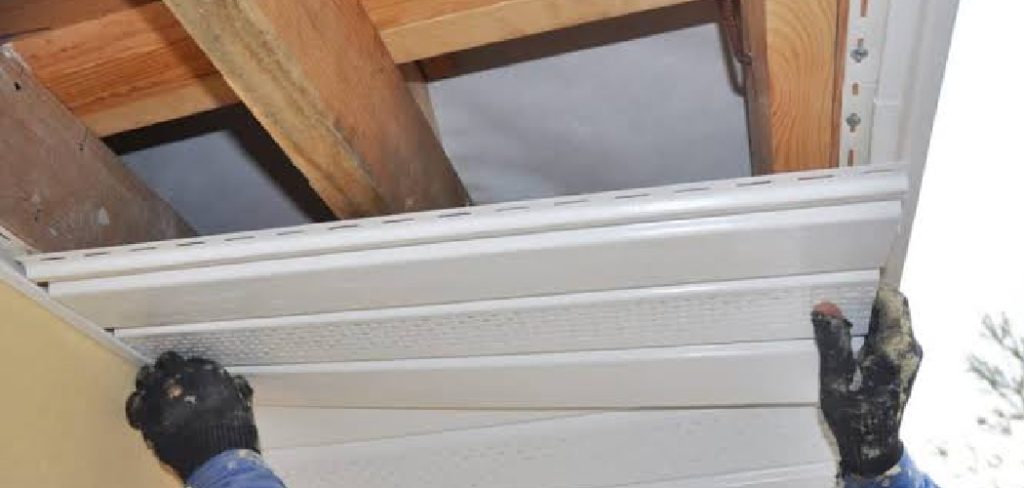
aluminum soffit panels sit tucked under your roof’s overhang, protecting your home while letting fresh air reach your attic. over time, though, they can dent, fade, or hide pests and moisture damage that needs your attention. whether you’re upgrading your exterior, fixing a leak, or simply replacing worn pieces, knowing how to remove aluminum soffit panels is a skill that saves you money and frustration.
the good news is that this project is friendlier than it looks. you don’t need years of experience or a truck full of specialty tools. with a steady ladder, a few basic supplies, and a little patience, most homeowners can handle it in an afternoon. this guide breaks the whole process into clear, manageable steps so you always know what comes next.
we’ll walk you through preparation, removal, and cleanup, plus answer the questions people ask most. by the end, you’ll feel confident tackling your soffit panels without second-guessing yourself. ready to roll up your sleeves? let’s get started with the why behind this project and then move into the hands-on work.
Why Removing Aluminum Soffit Panels Matters
soffit panels do more than fill a gap under your roof. they shield rafters from rain, block birds and insects, and keep your attic ventilated so heat and moisture don’t build up. when panels get damaged, all of those benefits start to slip away, which is exactly why removal matters.
taking old or broken panels down lets you inspect what’s hidden behind them. you might find rotting wood, signs of water intrusion, or nests that need clearing out. catching these problems early prevents costly repairs later and keeps your home healthier overall. removal also opens the door to fresh upgrades, like better insulation or improved ventilation. in short, learning this process empowers you to maintain your home on your own terms, protecting both its structure and its value for years to come.
Step-By-Step Guide To How to Remove Aluminum Soffit Panels
Step 1: Gather Your Tools And Materials
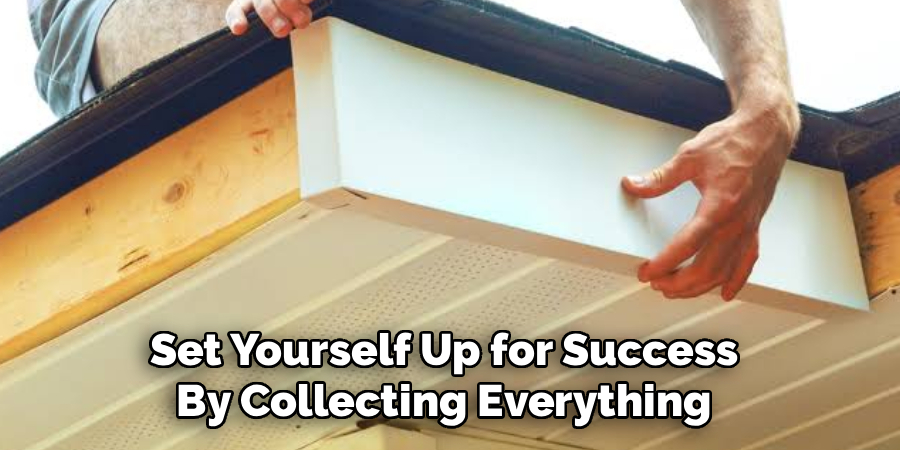
before you touch a single panel, set yourself up for success by collecting everything you’ll need. a sturdy ladder, a pry bar, a utility knife, a drill or screwdriver, work gloves, and safety glasses form your core kit. keep a small container nearby to hold screws and nails so they don’t scatter across your yard.
having the right gear within arm’s reach saves you countless trips up and down the ladder. it also keeps you safe and focused on the task. take a moment to inspect your tools too, making sure your blade is sharp and your ladder feels solid before you begin climbing.
Step 2: Inspect And Prepare The Work Area
walk around your home and study the soffit area closely before starting. look for signs of damage, loose panels, or spots where fasteners have rusted. clear away any furniture, planters, or obstacles below so you have a clean, safe space to work and a soft landing if anything drops.
knowing how to remove aluminum soffit panels safely begins with this careful prep. set your ladder on firm, level ground and double-check its stability. if you spot wasp nests or signs of pests, deal with them first. good preparation reduces surprises and gives you a smooth, steady start to the whole project.
Step 3: Locate The Fascia And Trim
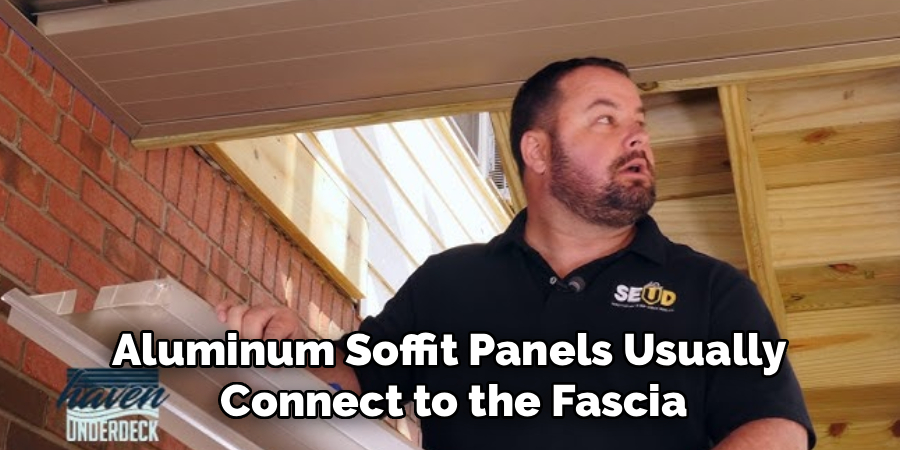
aluminum soffit panels usually connect to the fascia board along the edge and a J-channel or trim strip against the wall. take a few minutes to identify these connection points before you start prying. understanding how the pieces fit together tells you exactly where to apply pressure and where to release fasteners.
look for visible screws, nails, or hidden clips holding the panels in place. some systems lock together with subtle tabs, while others rely on simple fasteners. tracing the layout now means you won’t accidentally bend a panel you hoped to reuse. a little observation here makes every following step quicker and far less stressful.
Step 4: Remove The Fascia Cover Or Trim
start by gently loosening the fascia cover or trim cap that holds the outer edge of your panels. slide your pry bar behind the trim and apply slow, even pressure to ease it away from the surface. work along the length rather than yanking at one spot, which helps you avoid kinks and creases.
if screws hold the trim, back them out with your drill and set them aside in your container. take your time here, since the trim often protects the panels and may be reusable. once the fascia cover lifts free, you’ll expose the edges of the soffit panels and gain the access you need for the next step.
Step 5: Detach The Soffit Panels
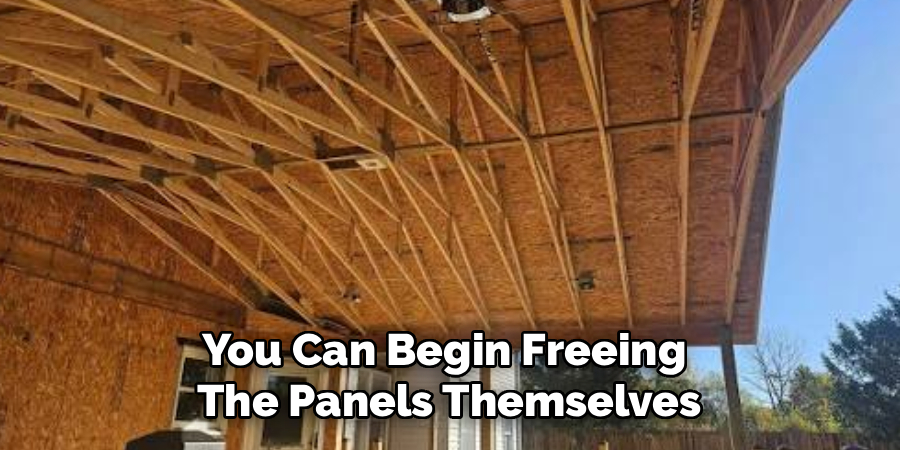
with the trim out of the way, you can begin freeing the panels themselves. mastering how to remove aluminum soffit panels comes down to working methodically from one end to the other. slide each panel out of its channel, gently flexing it if needed to release it from the locking groove or fasteners.
support the panel with one hand as it comes loose so it doesn’t bend or fall. if a piece resists, recheck for hidden screws or clips you might have missed. move steadily and avoid forcing anything. as each panel releases, set it down carefully in a safe spot, keeping reusable pieces flat and protected from dents.
Step 6: Clear Debris And Inspect The Cavity
once the panels are down, you finally get a clear view of the space behind them. brush away dust, old insulation scraps, leaves, and any nesting material that has collected over the years. wear your gloves and mask during this part, since hidden debris can be dirty or irritating to breathe in.
now is the perfect time to inspect the rafters and underside of your roof. check for water stains, soft wood, mold, or gaps that need sealing. spotting these issues now lets you address them before installing new panels. a thorough cleanup and inspection turns a simple removal into smart, preventive home maintenance.
Step 7: Organize Materials And Plan Next Steps
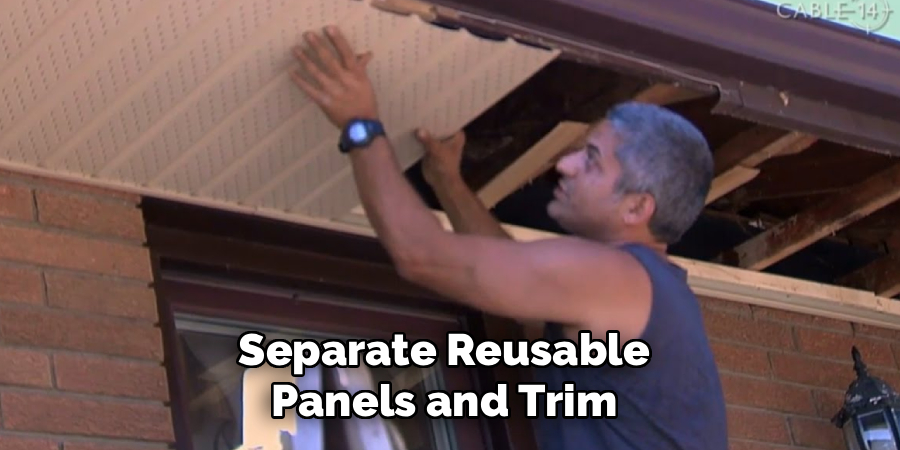
finish strong by tidying your work area and sorting everything you removed. separate reusable panels and trim from damaged pieces destined for recycling. aluminum recycles beautifully, so check with your local center rather than tossing it in the trash. gather your screws and small parts so nothing goes missing.
with the area clear, you can plan what comes next, whether that’s repairs, repainting, or installing fresh panels. take photos of the exposed structure for reference, especially if you’re hiring help for the rebuild. a little organization now makes the next phase of your project far smoother and keeps your momentum going strong.
Frequently Asked Questions
What Tools Do I Need For This Project?
you’ll want a sturdy ladder, a pry bar, a utility knife, a drill or screwdriver, and a container for fasteners. safety glasses, work gloves, and a dust mask round out the kit. these basic, affordable tools handle most soffit jobs. having them ready before you start keeps the process smooth, safe, and free of frustrating midproject trips to the hardware store.
Can I Reuse The Panels After Taking Them Down?
yes, you often can, as long as you work gently and avoid bending or creasing the aluminum. ease panels out of their channels slowly and store them flat in a protected spot. inspect each one for dents, corrosion, or warping before reinstalling. panels in good shape can absolutely go back up, saving you money and reducing waste in the process.
Is This A Safe Diy Project For Beginners?
absolutely, this is a beginner-friendly project when you follow safe practices. work on a stable ladder placed on level ground, wear protective gear, and never rush. having a helper nearby adds an extra layer of safety, especially when handling longer panels. take regular breaks, stay aware of your surroundings, and you’ll complete the job confidently without putting yourself at risk.
What Should I Do If I Find Damage Behind The Panels?
finding damage is actually a win, because you’ve caught it early. document water stains, rot, or pest activity with photos and notes. small issues like minor sealing gaps may be a quick fix on your own. for structural rot or extensive moisture damage, consult a professional. addressing problems now protects your home and prevents far bigger repairs later.
How Long Does The Whole Process Usually Take?
most homeowners finish in a single afternoon, though timing depends on your home’s size and the panel condition. a small section may take an hour, while wrapping an entire house could stretch across a full day. working carefully always beats rushing. budget extra time for cleanup and inspection, and you’ll move through the project at a comfortable, steady pace.
Conclusion
removing soffit panels doesn’t have to feel intimidating. once you understand how to remove aluminum soffit panels step by step, the whole project becomes an approachable weekend task rather than a daunting chore. you’ve learned how to gather the right tools, prepare your workspace, detach the trim and panels safely, and inspect the space behind them for hidden problems.
the real reward goes beyond a tidy exterior. by handling this yourself, you save money, catch potential damage early, and take real ownership of your home’s upkeep. each panel you remove gives you a clearer picture of what your roofline truly needs.
so grab your ladder, double-check your tools, and trust the process you’ve just walked through. start small, work patiently, and lean on this guide whenever you need a refresher. your home, your skills, and your confidence will all be better for it. you’ve got everything you need to begin today.

About
Stuart Rich is a distinguished figure in the world of metalworking and fabrication, with a decade of expertise creating innovative and sustainable metal projects. His professional focus lies in merging traditional blacksmithing and machining with modern manufacturing techniques, fostering designs that are both practical and durable. As the author of Metalenify, Stuart Rich delves into the art and science of metallurgy and DIY metal creation, inspiring artisans, hobbyists, and industry professionals alike.
Education
RMIT University
(Melbourne, Australia)
Associate Degree in Engineering Technology (Mechanical / Manufacturing)
Focus on metallurgical properties, industry-driven projects, and practical metal craftsmanship. Gained hands-on experience with traditional machining and digital manufacturing tools, such as CAD, CNC software, and precision welding equipment.
Nottingham Trent University
(United Kingdom)
Bachelor’s in Product Design and Materials Engineering (Honors)
Specialized in product design with a heavy focus on blending creativity with metal production and fabrication techniques. Participated in real-world industry projects, collaborating with architectural and hardware manufacturing companies to optimize material efficiency.
Publications and Impact
In Metalenify, Stuart Rich shares his insights on structural metal design processes, material grades, and strategies for efficient shop production. His writing bridges the gap between raw artisan knowledge and modern industrial needs, making it a must-read for both budding DIY metalworkers and seasoned fabrication professionals.





